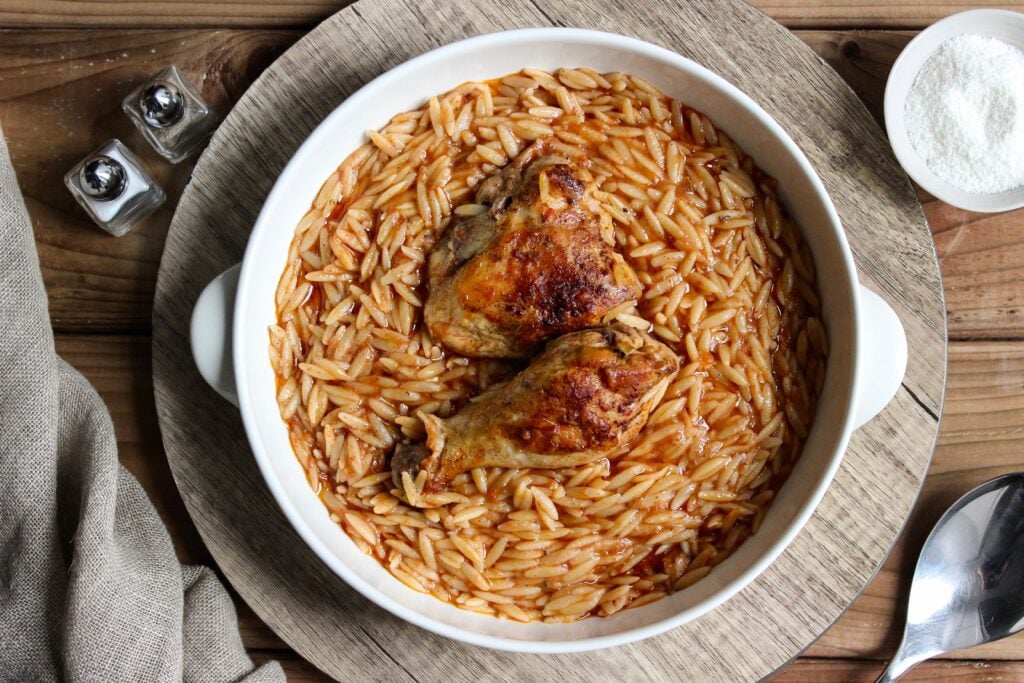
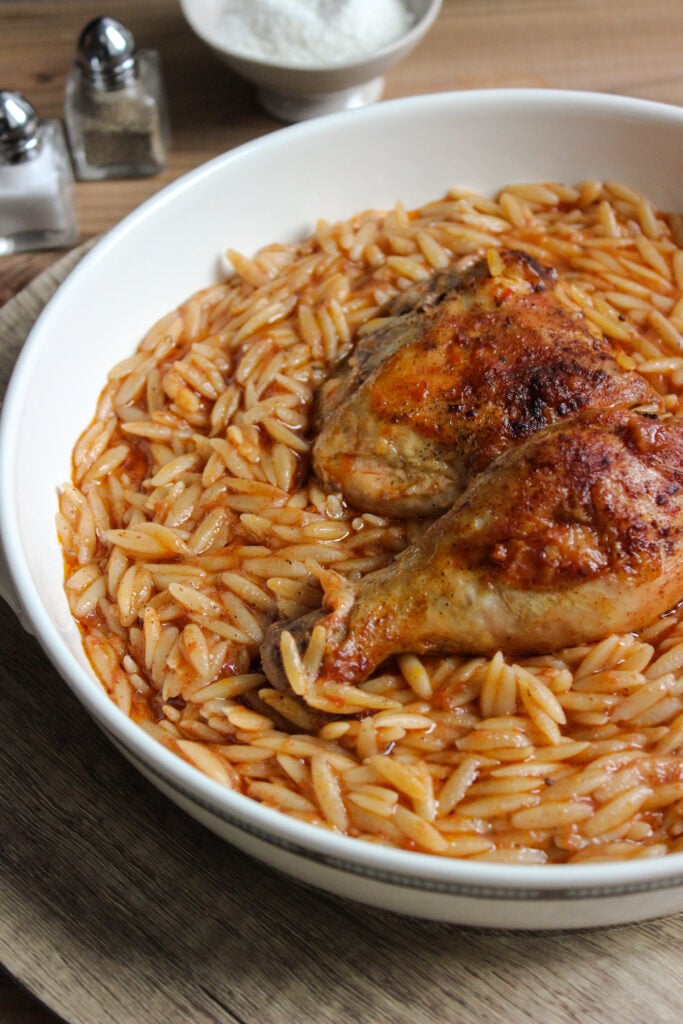
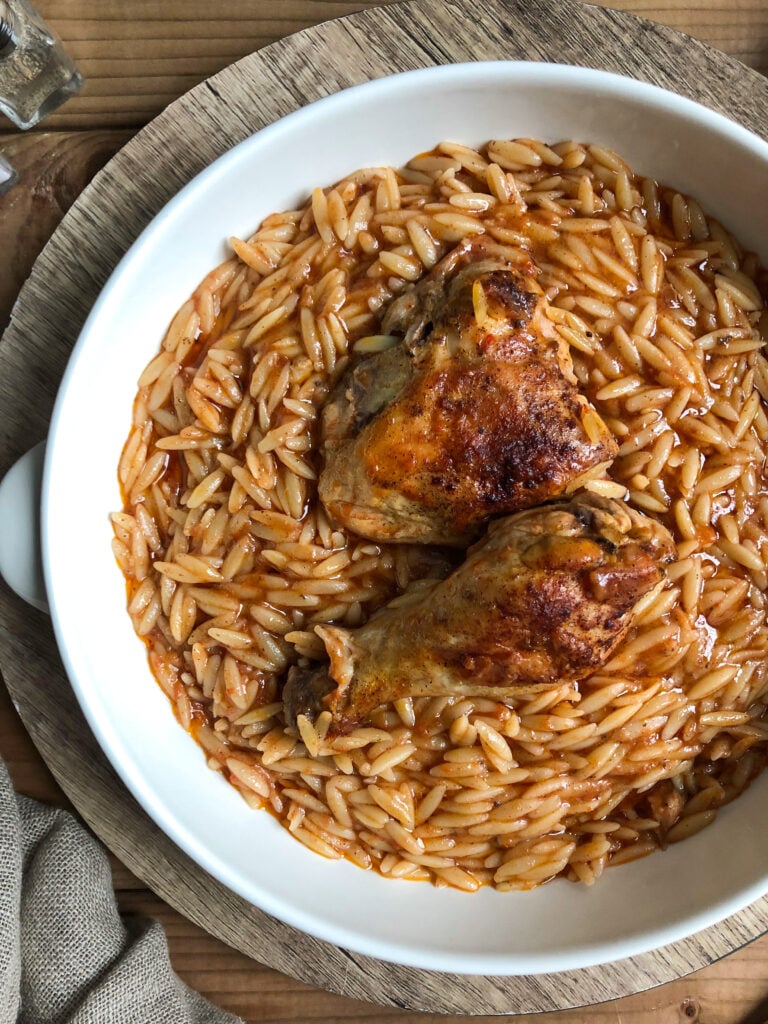
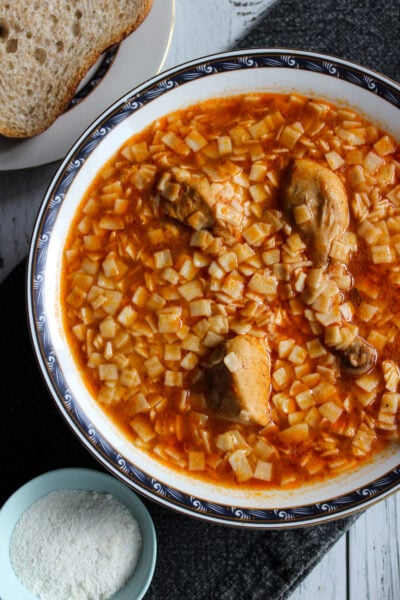
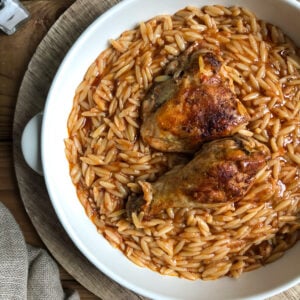
Youvetsi with chicken (Κοτόπουλο γιουβέτσι)
Tender chicken and wonderful orzo baked in a rich tomato based sauce. Made with chicken thighs and drumsticks which are fried until browned and then baked along with orzo in a tomato sauce. The meal is delicately flavoured with cinnamon, which is common in savoury Greek dishes.
Youvetsi with chicken is pure comfort food and I find that it exemplifies everything that is wonderful about traditional Greek recipes. There are very few ingredients, and those that are used are pretty basic. This makes the recipe simple, but also economical. Other Greek recipes which are similar in their simplicity but immense flavour include Rooster with pasta and tomato sauce (Kokora me makaronia), Veal kokkinisto with rice, and Roasted chicken and Greek potatoes. All of these recipes are complete meals which even the novice cook can master and I just know you will love them!
Why I love this recipe
Youvetsi (sometimes spelled Giouvetsi) may be the most comforting Greek meal you will ever eat. There is nothing presumptuous or complicated here, nothing overly sophisticated. Youvetsi is simply a plate full of goodness which will delight your palate and warm your belly. And you’ll wonder, how could such simple ingredients come together to prepare something so reminiscent of love and home?
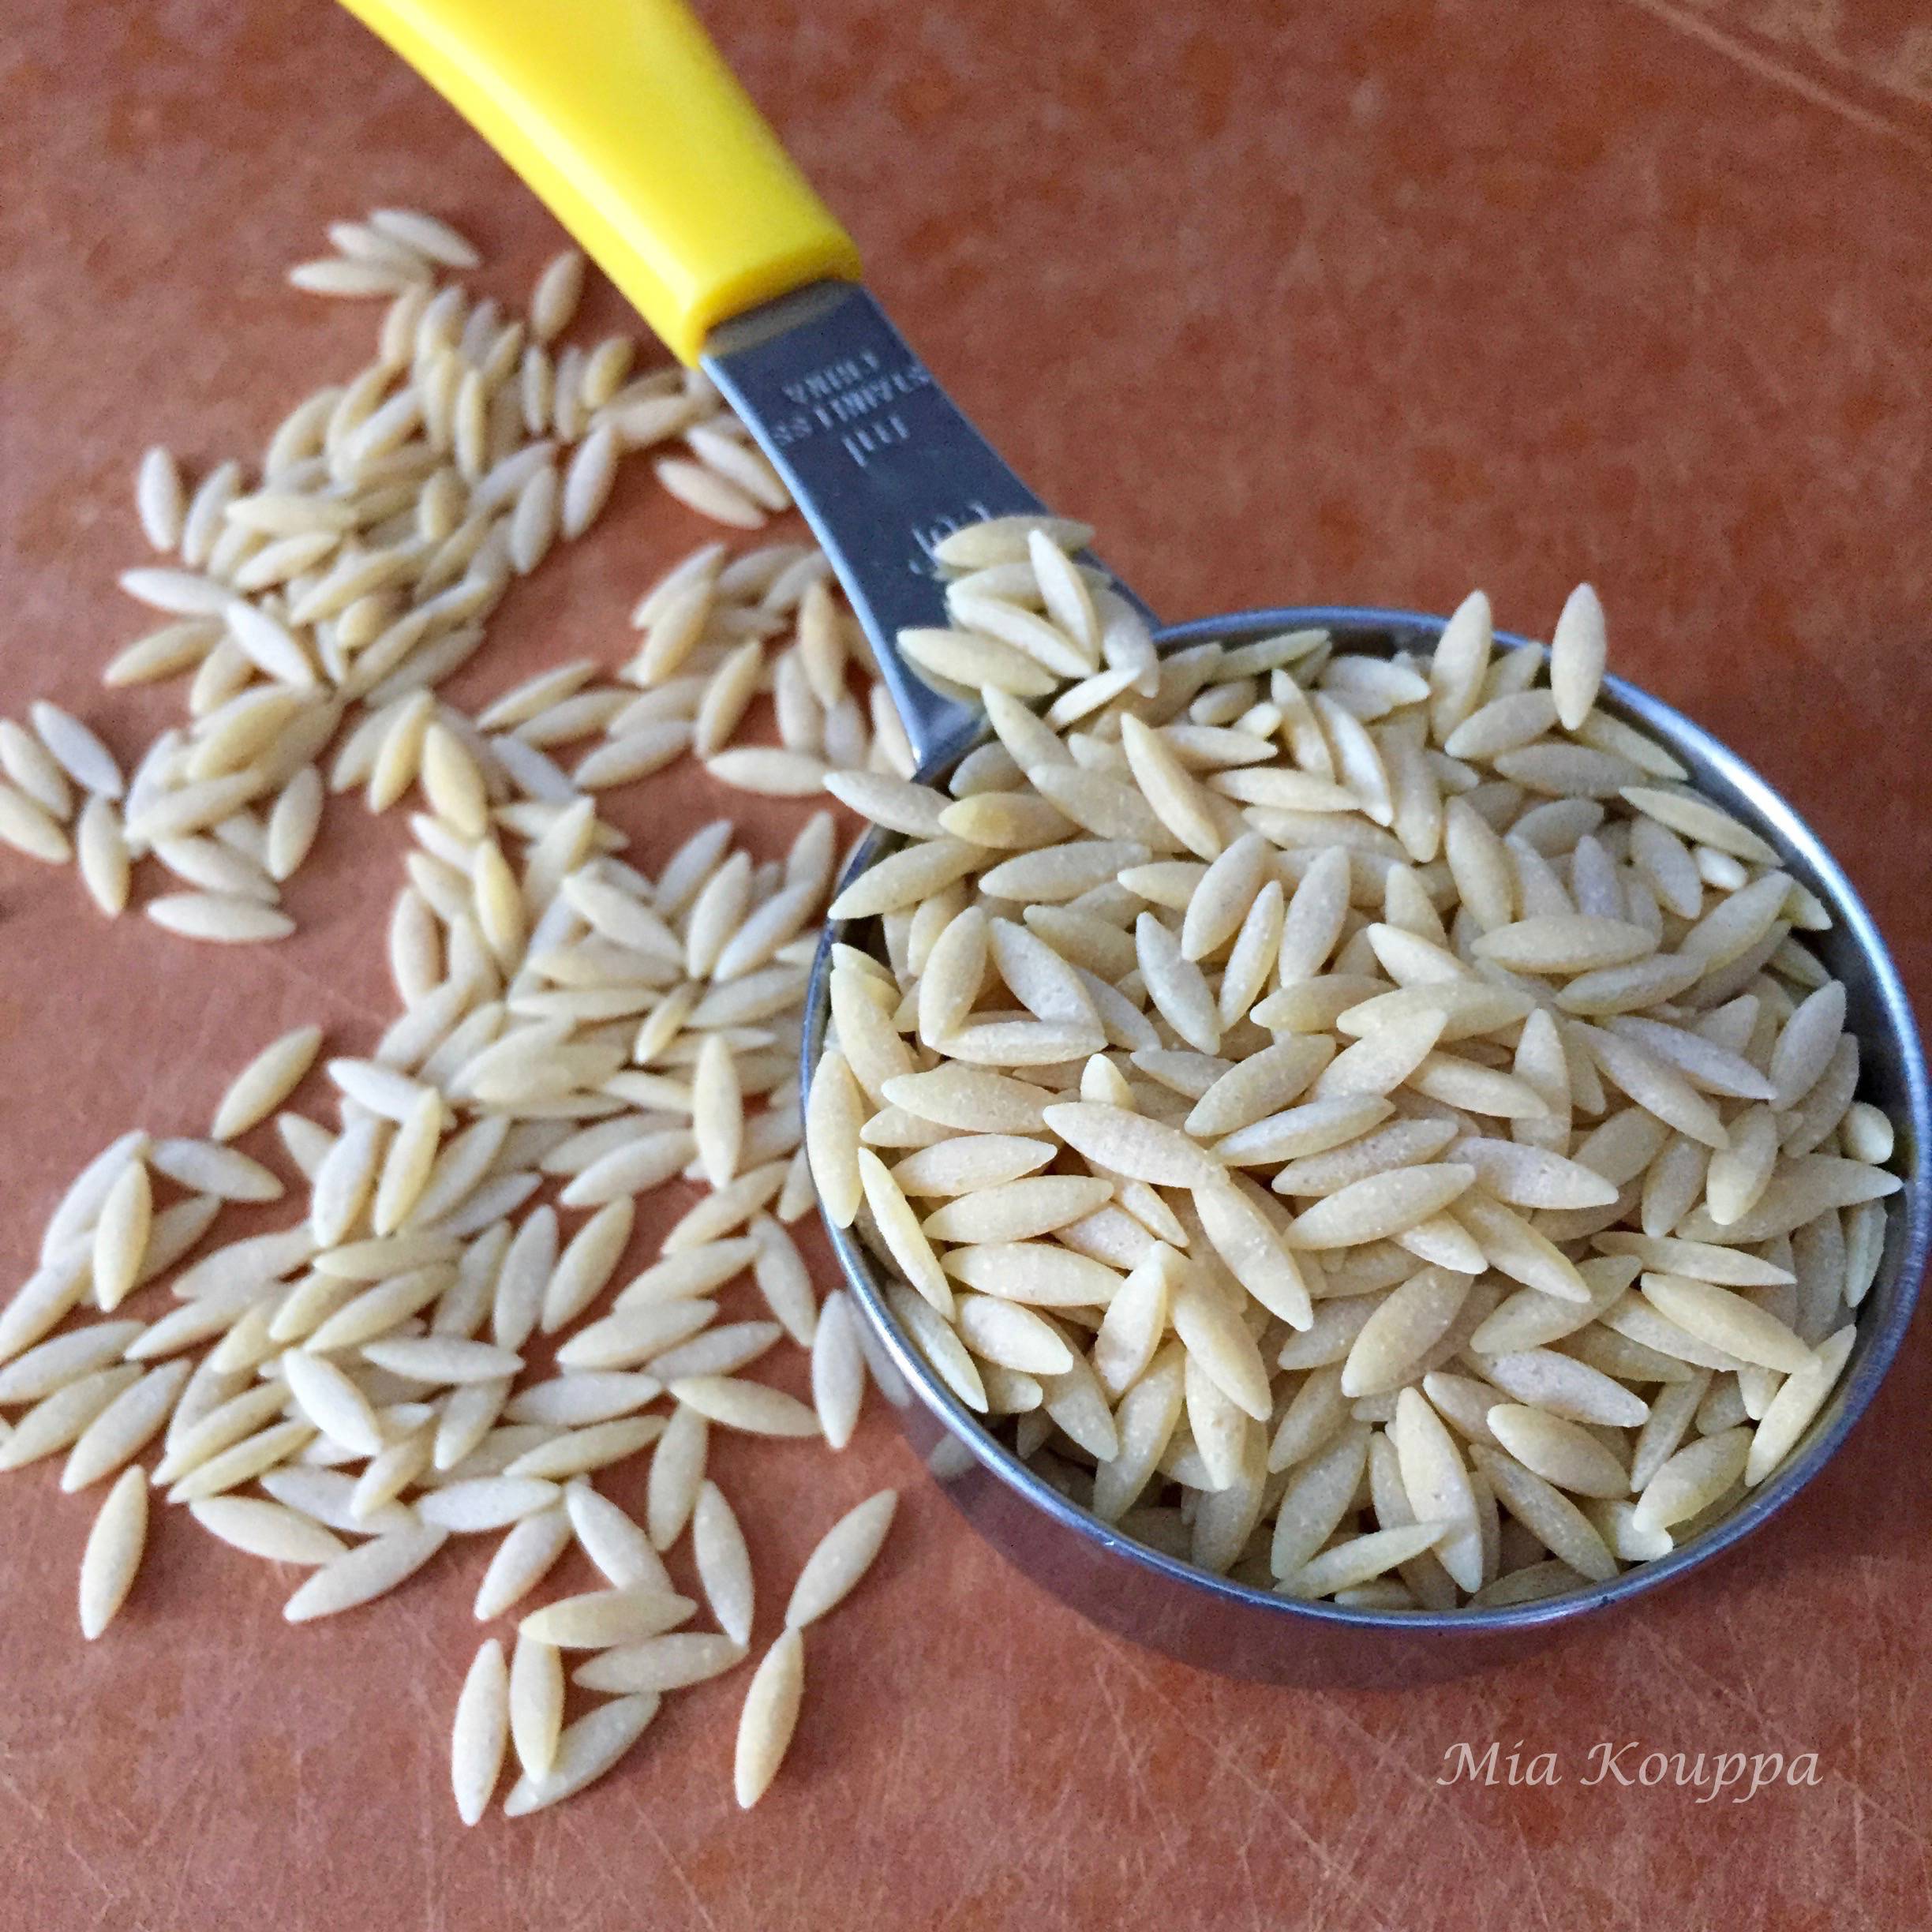
Youvetsi is a baked stew-like dish which usually combines orzo (κριθαράκι) and meat in a tomato based sauce. Orzo is a magical pasta, typically made of durum wheat semolina. It’s adorably small and oval shaped, making it perfect for soaking up the flavours that it thoroughly gets coated with in this dish. In this recipe, I chose to use chicken drumsticks and thighs as the meat component. Although other sources of protein can also be used (resulting in many variations of this super supper) I chose to use these pieces of chicken because of their easy availability and low cost. That is always a good thing.
Pin this recipe if you like it!
Key ingredients
Chicken thighs and drumsticks I like to use bone-in chicken thighs and drumsticks, with the skin still on. This gives the most flavourful and tender chicken.
Orzo This rice shaped pasta is one of my favourites and is traditional for this dish. In Greek orzo is called kritharaki.
Tomato sauce or tomato juice I like to use homemade tomato sauce, but if you have not made your own, a good quality tomato juice (with no added flavours) will work just as well.
Vegetable oil I use vegetable oil to lightly fry my chicken pieces before baking them in the oven. This gives the chicken more flavour, and a nice colour.
Olive oil When I bake the yiouvetsi I add Greek olive oil. This helps to keep the orzo from sticking, but also tastes great.
Boiling water Regular tap water is boiled and then added to the roasting pan. This will help reduce the cooking time, because the water is already hot.
Lemon Before frying the chicken pieces I toss them with a bit of lemon juice for flavour.
Cinnamon You may be surprised to learn that cinnamon is often used in Greek savoury dishes. A little goes a long way, and it tastes fantastic!
Salt & pepper Staple seasonings!
Grated mizithra cheese
How to make it
Step 1
Preheat oven to 400 degrees Fahrenheit.
Step 2
Heat vegetable oil in a deep frying pan so that you can brown the chicken pieces. The oil should be approximately 1/4 inch deep in pan.
Step 3
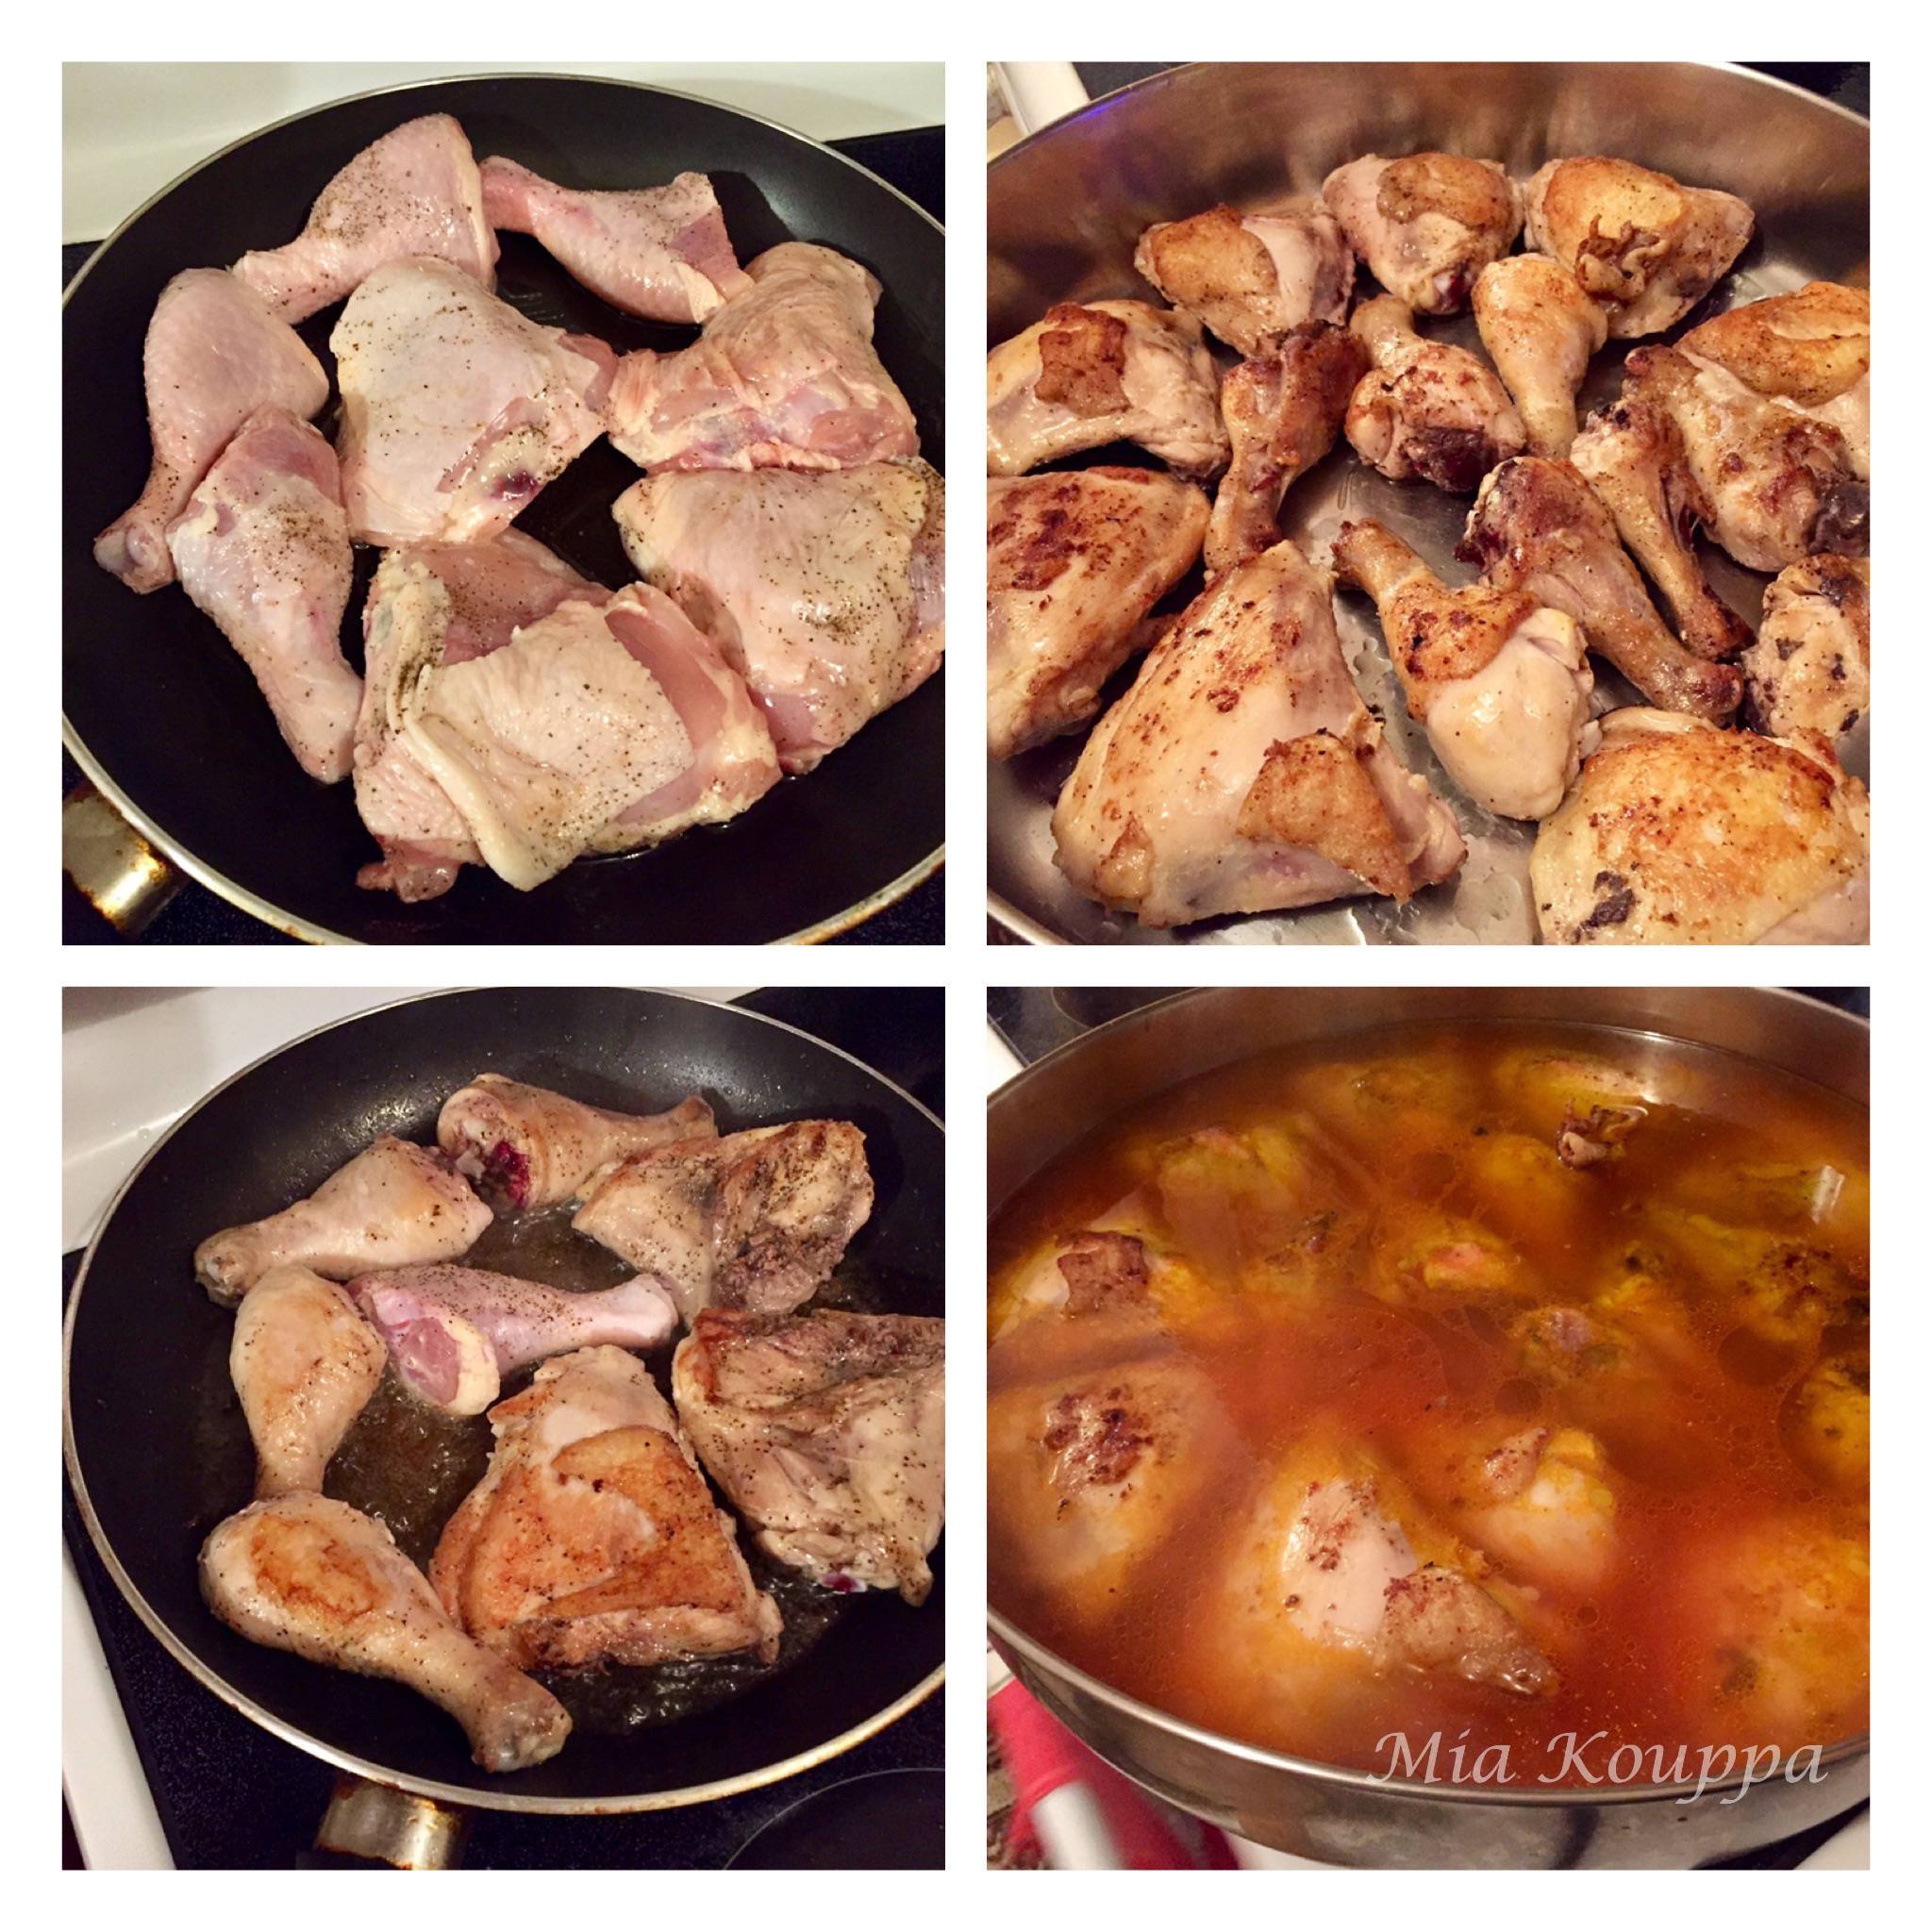
Prior to placing the chicken in the frying pan, remove any excess fat and overhanging skin. Squeeze the juice of one lemon over all the chicken pieces, on all sides. Sprinkle evenly with 1 teaspoon salt and 1 teaspoon pepper.
Step 4
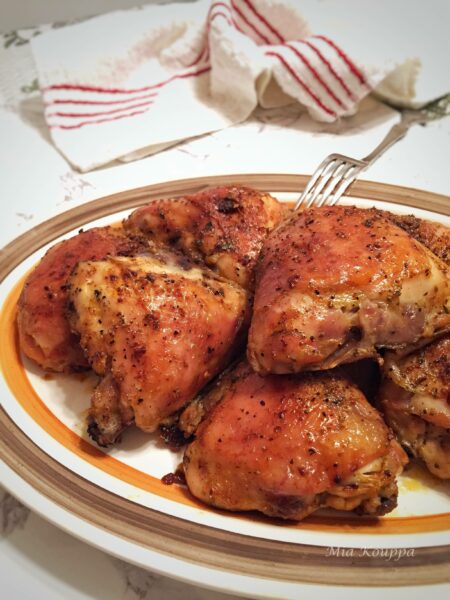
Fry the chicken pieces until all sides are nicely browned, approximately 5 – 7 minutes per side (remember, you are not cooking the chicken through, simply frying the skin).
Step 5
Once all of the chicken is browned, transfer the pieces to a baking pan. I use a round roasting pan which is approximately 15 inches in diameter.
Step 6
To the pan add the olive oil, tomato sauce, and boiling water. Sprinkle with cinnamon.
Step 7
Place your roasting pan on the bottom rack of oven and bake, uncovered, for 45 minutes
Step 8
Carefully remove the pan from the oven and add the uncooked orzo. Stir carefully. Return pan to oven.
Step 9
After 10 minutes, carefully stir the orzo in the pan as it will have a tendency to stick to the bottom. I have found that the easiest way to do this was with a spatula (easy to scrape up the orzo pieces stuck to the bottom of the pan), using an oven mitt, while the pan is still in the oven. Alternatively you can place the pan onto the stove top, mix, and then return to the oven. Repeat this every 5 minutes for the next 15 minutes.
Step 10
The total cooking time after adding the orzo should be 25 minutes.
Step 11
If at any point after adding the orzo, your meal appears too dry, you can add a bit of boiling water and mix well.
Step 12
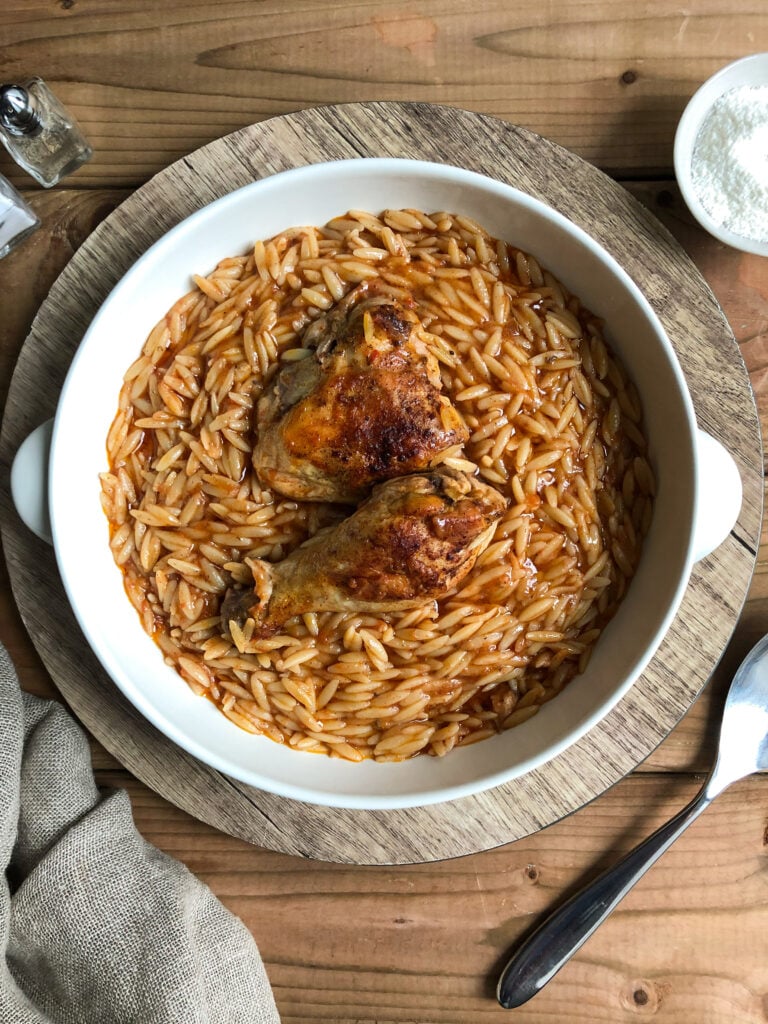
Remove from oven, let cool slightly and serve. I like to add grated mizithra cheese on top but this is optional.
Recipe substitutions
You can use chicken breasts for this recipe as well, for a leaner dish. However, you will have to watch the cooking time as you don’t want the breasts to overcook and become dry.
If you can’t find mizithra cheese, a good substitute is a combination of grated parmesan and grated romano cheese; only one of these would also work.
Cooking tips and helpful hints
Orzo is a wonderful pasta but it has some issues. In this recipe the orzo is cooked in the liquid in which it will be served. Because of this, and the fact that it is not rinsed, the starch found on each tiny orzo seeps into the sauce. The up-side to this (and it is a very big up-side) is that you end up with a thick, creamy tomato sauce. The down-side is that you can end up with individual orzo pastas which clump together to create an orzo ball. This is something which is especially prone to happen as your youvetsi sits and cools.
There are a couple of ways to deal with clumpy orzo. The first is to ensure that the orzo is stirred relatively regularly in the baking pan while it cooks. This will prevent not only premature clumping, but it will also help keep the orzo from sticking to the bottom of the pan. Second, if you find that your sauce really is too thick and your orzo too clumpy, simply add some hot water or warmed up tomato juice.
Frequently asked questions
Is it easy to make youvetsi?
It is actually really simple to make this traditional Greek recipe. I have described in great detail how to cook the chicken, and then how to bake it together with the orzo to get the perfect result. Even a novice cook will succeed with my recipe if you follow all the steps carefully, and read the helpful hints.
Can you make youvetsi ahead of time?
You can! If you decided to make youvetsi the day before you are serving it, simple store in the refrigerator, covered, and reheat in the oven. As you will read below in my reheating instructions, you may need to add a little more water if your orzo has gotten too thick.
Serving size
This recipe serves 8 people generously. I decided to present it this way because that is the quantity my parents usually cook for when making youvetsi. Feel free to half, or even quarter the recipe if you like. The beauty of cooking (versus baking) uncomplicated recipes such as this one is that you can easily modify quantities without altering the end result.
How to serve
Youvetsi with chicken does not need much else to be a perfect and satisfying meal…but I like to serve it with some homemade bread, some feta cheese and olives and maybe a light salad, like this fennel salad which is my current obsession!
Storing and reheating
If you have leftovers, store them in the refrigerator for up to 3 days.
You can freeze your cooked youvetsi in a freezer-safe container (or even a freezer bag) for up to 3 months. Thaw in the refrigerator for several hours before reheating.
Don’t panic when you take your youvetsi out of the refrigerator to serve; it will appear to have congealed into a solid mass. This is fine and will resolve itself once you heat your youvetsi in the microwave or on the stovetop. You may or may not need to add some water at this point, depending upon how thick your sauce is.
Recipe variations
If you are looking to make youvetsi but would rather not use chicken, then you can definitely make it with lamb. Lamb youvetsi is a wonderful meal. If you want to make a meatless version, then youvetsi with chickpeas is the perfect vegan (lenten) alternative.
Related recipes
Looking for more Greek recipes starring chicken? Then you must definitely check these out:
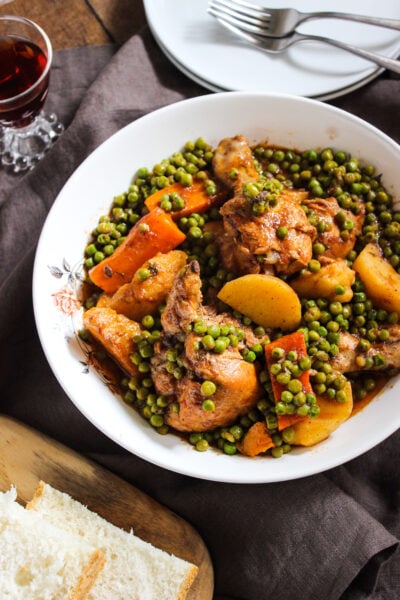
Chicken with tomato sauce and peas
Hilopites with chicken (Κοτόπουλο κοκκινιστό με χυλοπίτες)
Youvetsi with chicken
Equipment
- 1 15 inch diameter round roasting pan or a large rectangular roasting pan (14 x 10 inch)
Ingredients
- 8 chicken thighs
- 8 chicken drumsticks
- 1 lemon
- 1 tsp salt
- 1 tsp pepper
- vegetable oil for frying
- 1/4 cup Greek olive oil
- 2 3/4 cups tomato sauce, or tomato juice
- 7 1/2 cups boiling water
- 1 tsp ground cinnamon
- 500 grams orzo
- 1/4 cup mizithra cheese (or a combination of parmesan and romano) optional
Instructions
- Preheat oven to 400 degrees Fahrenheit.
- Heat vegetable oil in a deep frying pan so that you can brown the chicken pieces. Oil should be approximately 1/4 inch deep in pan.8 chicken thighs, 8 chicken drumsticks, vegetable oil for frying
- Prior to placing chicken in frying pan, remove any excess fat and overhanging skin. Squeeze the juice of one lemon over all the chicken pieces, on all sides. Sprinkle evenly with 1 teaspoon salt and 1 teaspoon pepper.1 lemon, 1 tsp salt, 1 tsp pepper
- Fry chicken pieces until all sides are nicely browned, approximately 5 – 7 minutes per side (remember, you are not cooking the chicken through, simply frying the skin).
- Once all of the chicken is browned, transfer the pieces to a baking pan. I used a round roasting pan which was approximately 15 inches in diameter.
- To the pan add olive oil, tomato sauce, and boiling water. Sprinkle with cinnamon.1/4 cup Greek olive oil, 2 3/4 cups tomato sauce, or tomato juice, 7 1/2 cups boiling water, 1 tsp ground cinnamon
- Place in bottom rack of oven and bake, uncovered, for 45 minutes
- Carefully remove the pan from the oven and add the uncooked orzo. Stir carefully. Return pan to oven.500 grams orzo
- After 10 minutes, carefully stir the orzo in the pan as it will have a tendency to stick to the bottom. I found that the easiest way to do this was with a spatula (easy to scrape up the orzo pieces stuck to the bottom of the pan), using an oven mitt, while the pan was still in the oven. Alternatively you can place the pan onto the stove top, mix, and then return to the oven. Repeat this every 5 minutes for the next 15 minutes.
- The total cooking time after adding the orzo should be 25 minutes.
- If at any point after adding the orzo, your meal appears too dry, you can add a bit of boiling water and mix well.
- Remove from oven, let cool slightly and serve.
- I love to sprinkle our serving with mizithra cheese; this is optional, but highly recommended 🙂1/4 cup mizithra cheese (or a combination of parmesan and romano)
- Enjoy!
Can you substitute boneless skinless chicken thighs and reduce the cooking time?
Absolutely! You can definitely do that; just make sure your chicken cooks through, and your orzo is also done to perfection. Enjoy! xoxo Helen & Billie
I normally parboil my orzo for 3 minutes
Hi Connie, that is a good trick if you want to remove some of the starchiness of the orzo – it may help prevent the clumping that it is prone too. At the same time, the starch is what helps thicken your youvetsi and give it the texture we love. Either way, this is a great meal 🙂 xoxo Helen & Billie