Growing chives and making chive blossom vinegar
An easy way to enjoy beautiful chive flowers
We’re so excited to share this post on growing chives and making chive blossom vinegar. It is the first of a series of posts which will focus on growing herbs and then showing you interesting and easy ways to use them, where they are the star!
Growing up our parents always had a garden. When there was little outdoor space available, tomatoes and eggplant were grown in buckets on the balcony. As soon as they had access to a back yard, their garden exploded and they grew everything from asparagus to zucchini. They still keep a massive garden and we are all the benefactors of their harvest.
Despite the availability of our parents’ fresh produce, one of us has begun to keep a vegetable garden as well. Not as large as our parents, it still contains some of the basics – tomatoes, cucumbers and peppers. We also tend to grow things which our parents don’t. Kale for example, and rhubarb.
Fresh herbs make up a significant part of our garden, and even the one of us who prefers to grow flowers over vegetables has devoted a corner of her yard to them. For those of you who are not avid, seasoned, or interested gardeners, we hope to convince you that a few pots of earth and some easy to grow (usually) herbs are worth the time and effort.
What are chives?
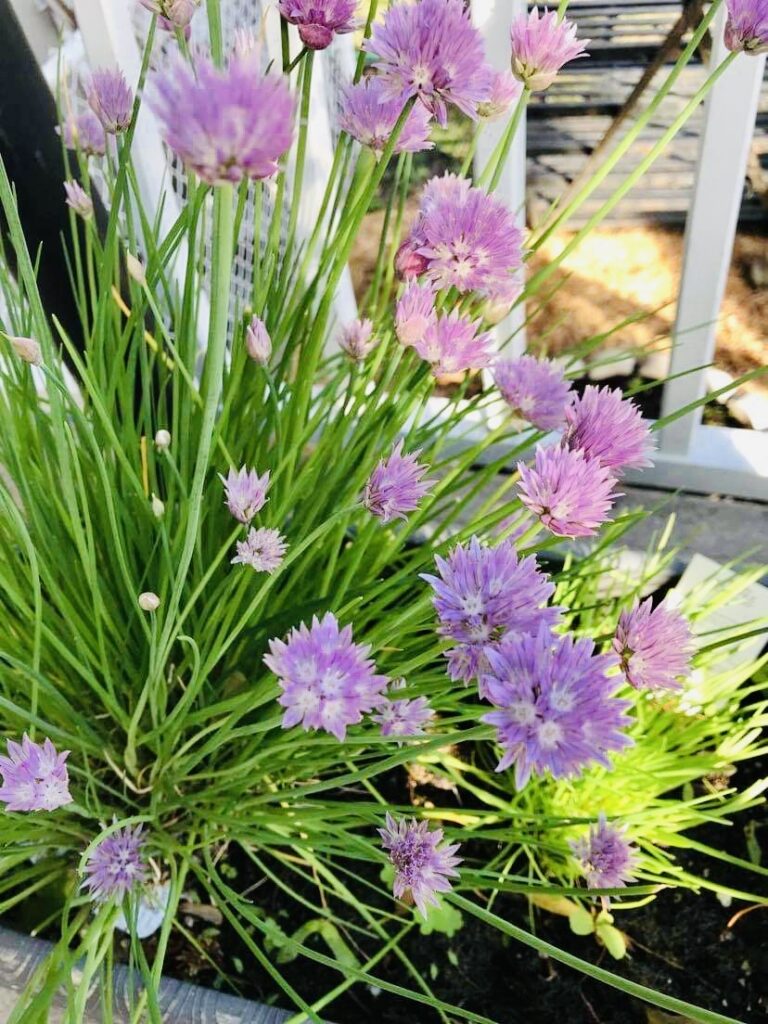
Their scientific name is Allium schoenoprasum and they are botanically an aromatic grass with pretty pale lilac flowers. These flowering plants are related to the onion, garlic, shallot and leek. The leaves and flowers that they produce are edible and the flowers are amazing pollinators, attracting bees and butterflies.
In culinary terms chives are considered an herb, and along with chervil, parsley and tarragon they are part of the collection of fine herbs used in French haute cuisine.
Are chives easy to grow?
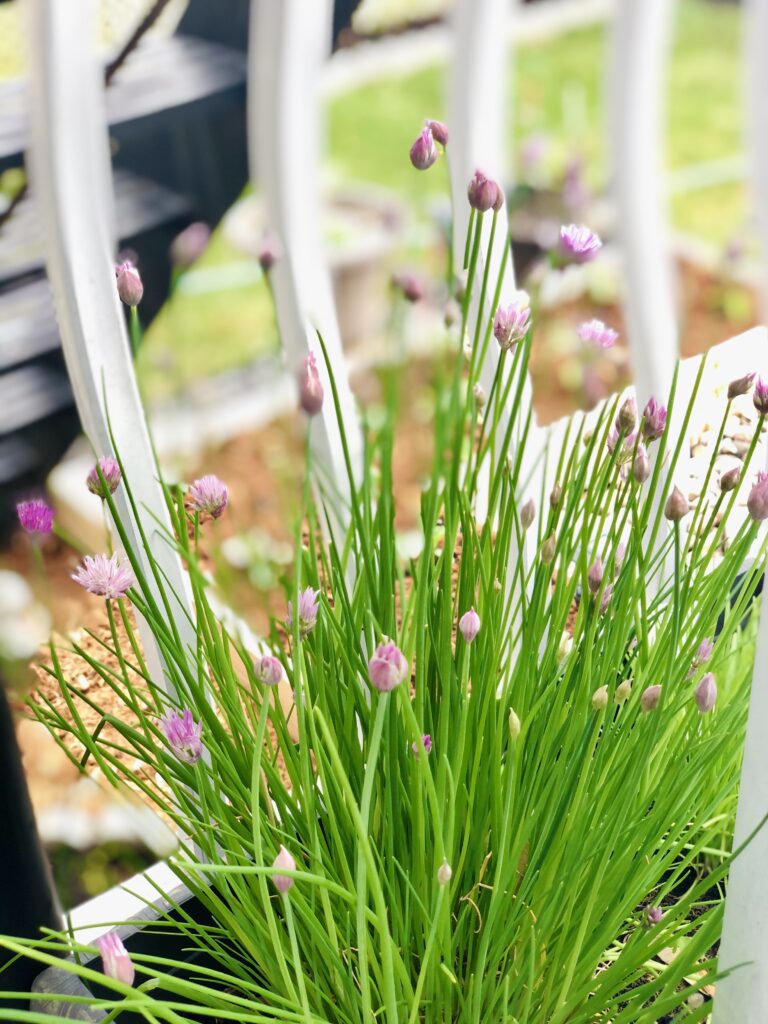
Yes! Like, SO easy! Our parents don’t grow chives as they are not typically used in Greek cooking, so we didn’t have their knowledge to guide us on how to care for this lovely herb. The first year we planted chives in a large pot and enjoyed using them throughout the summer as a garnish for deviled eggs, and as subtle flavour for salads. As fall approached and then winter came, we left that pot of chive dirt in place in the garden, figuring we would clean the soil out in the spring and replant our chives. Who knew that chives are perennial, and indestructible? Well, probably a lot of people actually – but not us.
Imagine our surprise when the snow melted and we began to see little green shoots poking out through the dirt. So, the take home message is, chives clearly don’t need much attention to grow well. There are a few tips that are helpful however:
- They grow well in either full sun or partial shade
- You can grow them indoors if you have a well-lit windowsill.
- They prefer a fertile, moist, but well-drained soil. When we plant in pots we place a layer of rocks (about 1 – 2 inches deep) at the bottom before adding the dirt. This really helps with drainage.
- The use of compost or other organic matter is always a good idea; mix that with your soil for maximum chive health.
Is it better to plant seeds or young chive plants?
We have used young chive plants when we have added chives to our garden. They are easy to find, easy to plant (just transfer them to your soil or to the pot you will be using) and inexpensive. The baby chive plants are inserted into the soil so that the base of the leaves is just at soil level.
If you choose to start with seeds however, sow them indoors from March to June in pots or trays filled with seed sowing compost. Try to maintain a temperature of 18-21C (65-70F). Lightly cover the seed with more compost and keep them moist (a spray bottle works great for this). When the seedlings are large enough to handle, transplant them into 7.5-10cm (3-4in) pots in bunches of 4-6 seedlings per pot. At this point keep them a bit of a cooler temperature to get them used to being outdoors. You can then plant your chives outdoors.
How do I take care of my chives?
Honestly, we don’t do much more than harvest them regularly (see below) and water them to ensure that the soil is moist, particularly during very hot summer days.
You could feed them with a general plant food in the spring if you like; we never have and they don’t seem to be suffering from it.
When the plant becomes very large you can carefully dig it up in sections and separate it for re-planting elsewhere, or gifting.
How do I harvest chives?
Scissors are your friend here. Cut the chives as close to the base as possible. The more regularly you cut them, the more they will produce – so don’t be shy to use your chives often, and to offer them to friends, co-workers and strangers on the street.
Although they are best used fresh, as soon as they are cut, we like to wash, dry and then freeze our chives by wrapping bundles tightly in plastic wrap and placing them in a freezer bag. The taste is not as good as when they are fresh, but they are still very good. Also, chopping them up from frozen is super easy!
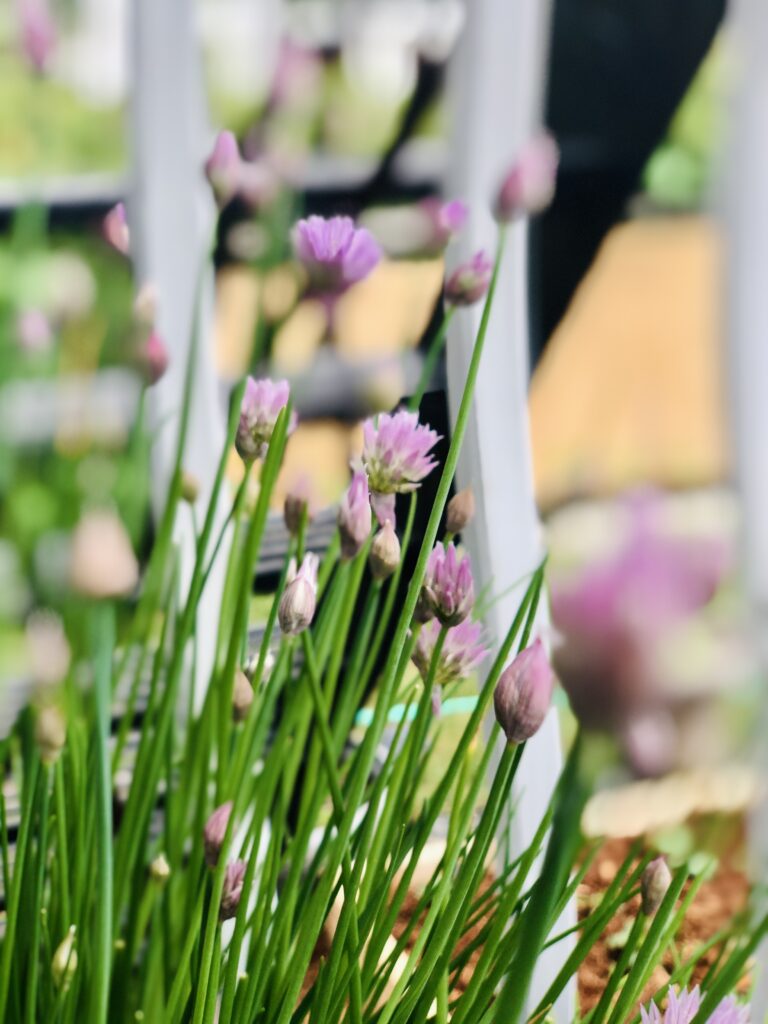
The flowers should be harvested as soon as they are open; this will keep the plant productive with the best-flavoured leaves. They can be used in salads, as a garnish, and to make the delicious chive vinegar we are showcasing here. The flavour of the flowers is milder than the leaf, so feel free to use them liberally.
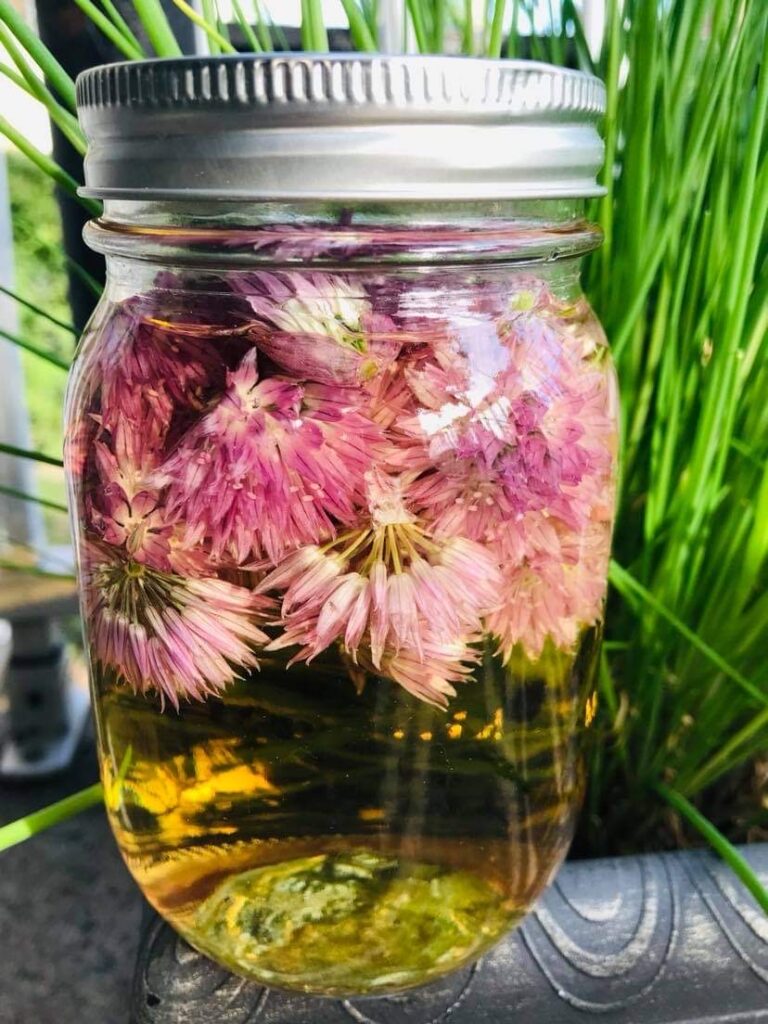
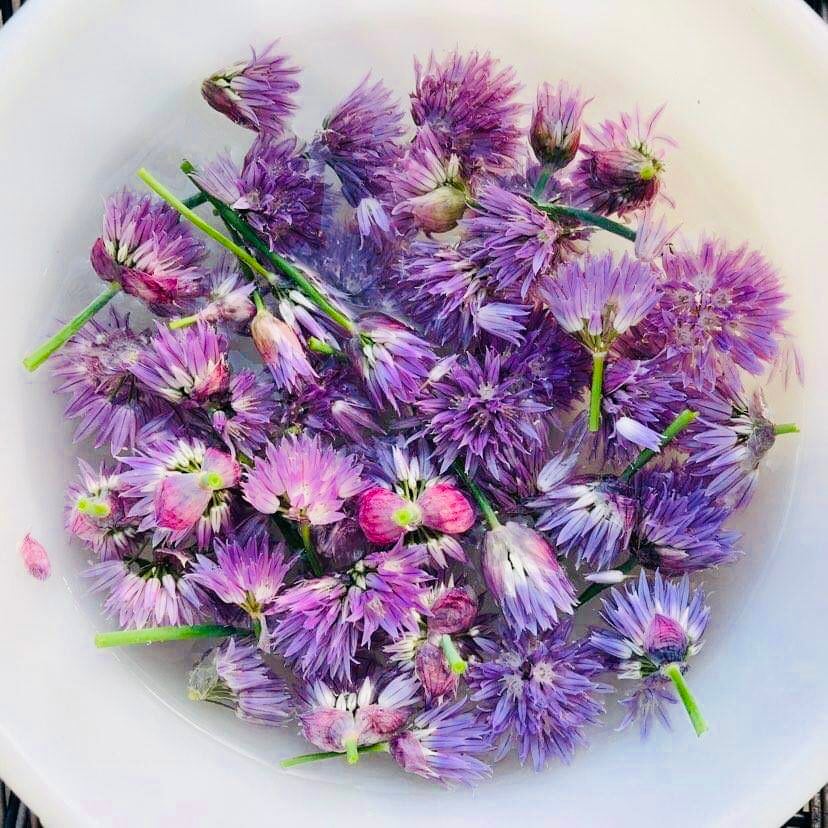
Chive blossom vinegar
Chive blossom vinegar is a deliciously fragrant vinegar that is also pretty! This makes it a great gift to offer.
There are actually 2 ways to prepare chive blossom vinegar. The first is the quick method, where you pour heated vinegar over your chive blossoms and let that steep for about 3 days. This works in a pinch, but really – when are you so desperate for chive blossom vinegar that you can’t wait the weeks it takes to prepare the alternate version described below which gives you a more flavourful result?
We love hearing from you! If you have made our recipes, or if you have a question or comment, or simply want to say Hi!, please leave a comment below!
Equipment
- Mason jar
Ingredients
- 1 1/2 cups (375 mL) vinegar white wine vinegar or champagne vinegar works best in our opinion, but any vinegar will do.
- 1 cup chive blossoms
Instructions
- Wash your chive blossoms and place them into your mason jar.
- Press down on them a little bit with a spoon to crush them slightly.
- Pour in the vinegar and cover your jar tightly.
- Store in a dark place for 2 - 3 weeks.
- When you are ready to use your vinegar, you can either leave it as it is or drain it to remove the blossoms. Your vinegar will have taken on the hue of the lilac blossoms and looks very pretty in a clear container.
This is a really good post! I make chive blossom vinegar every year, and usually make it with the warmed vinegar. It is a treat to enjoy all year long, and it also makes great gifts!
Thank you so much Dorothy! It really does make for a unique, simple and appreciated gift.