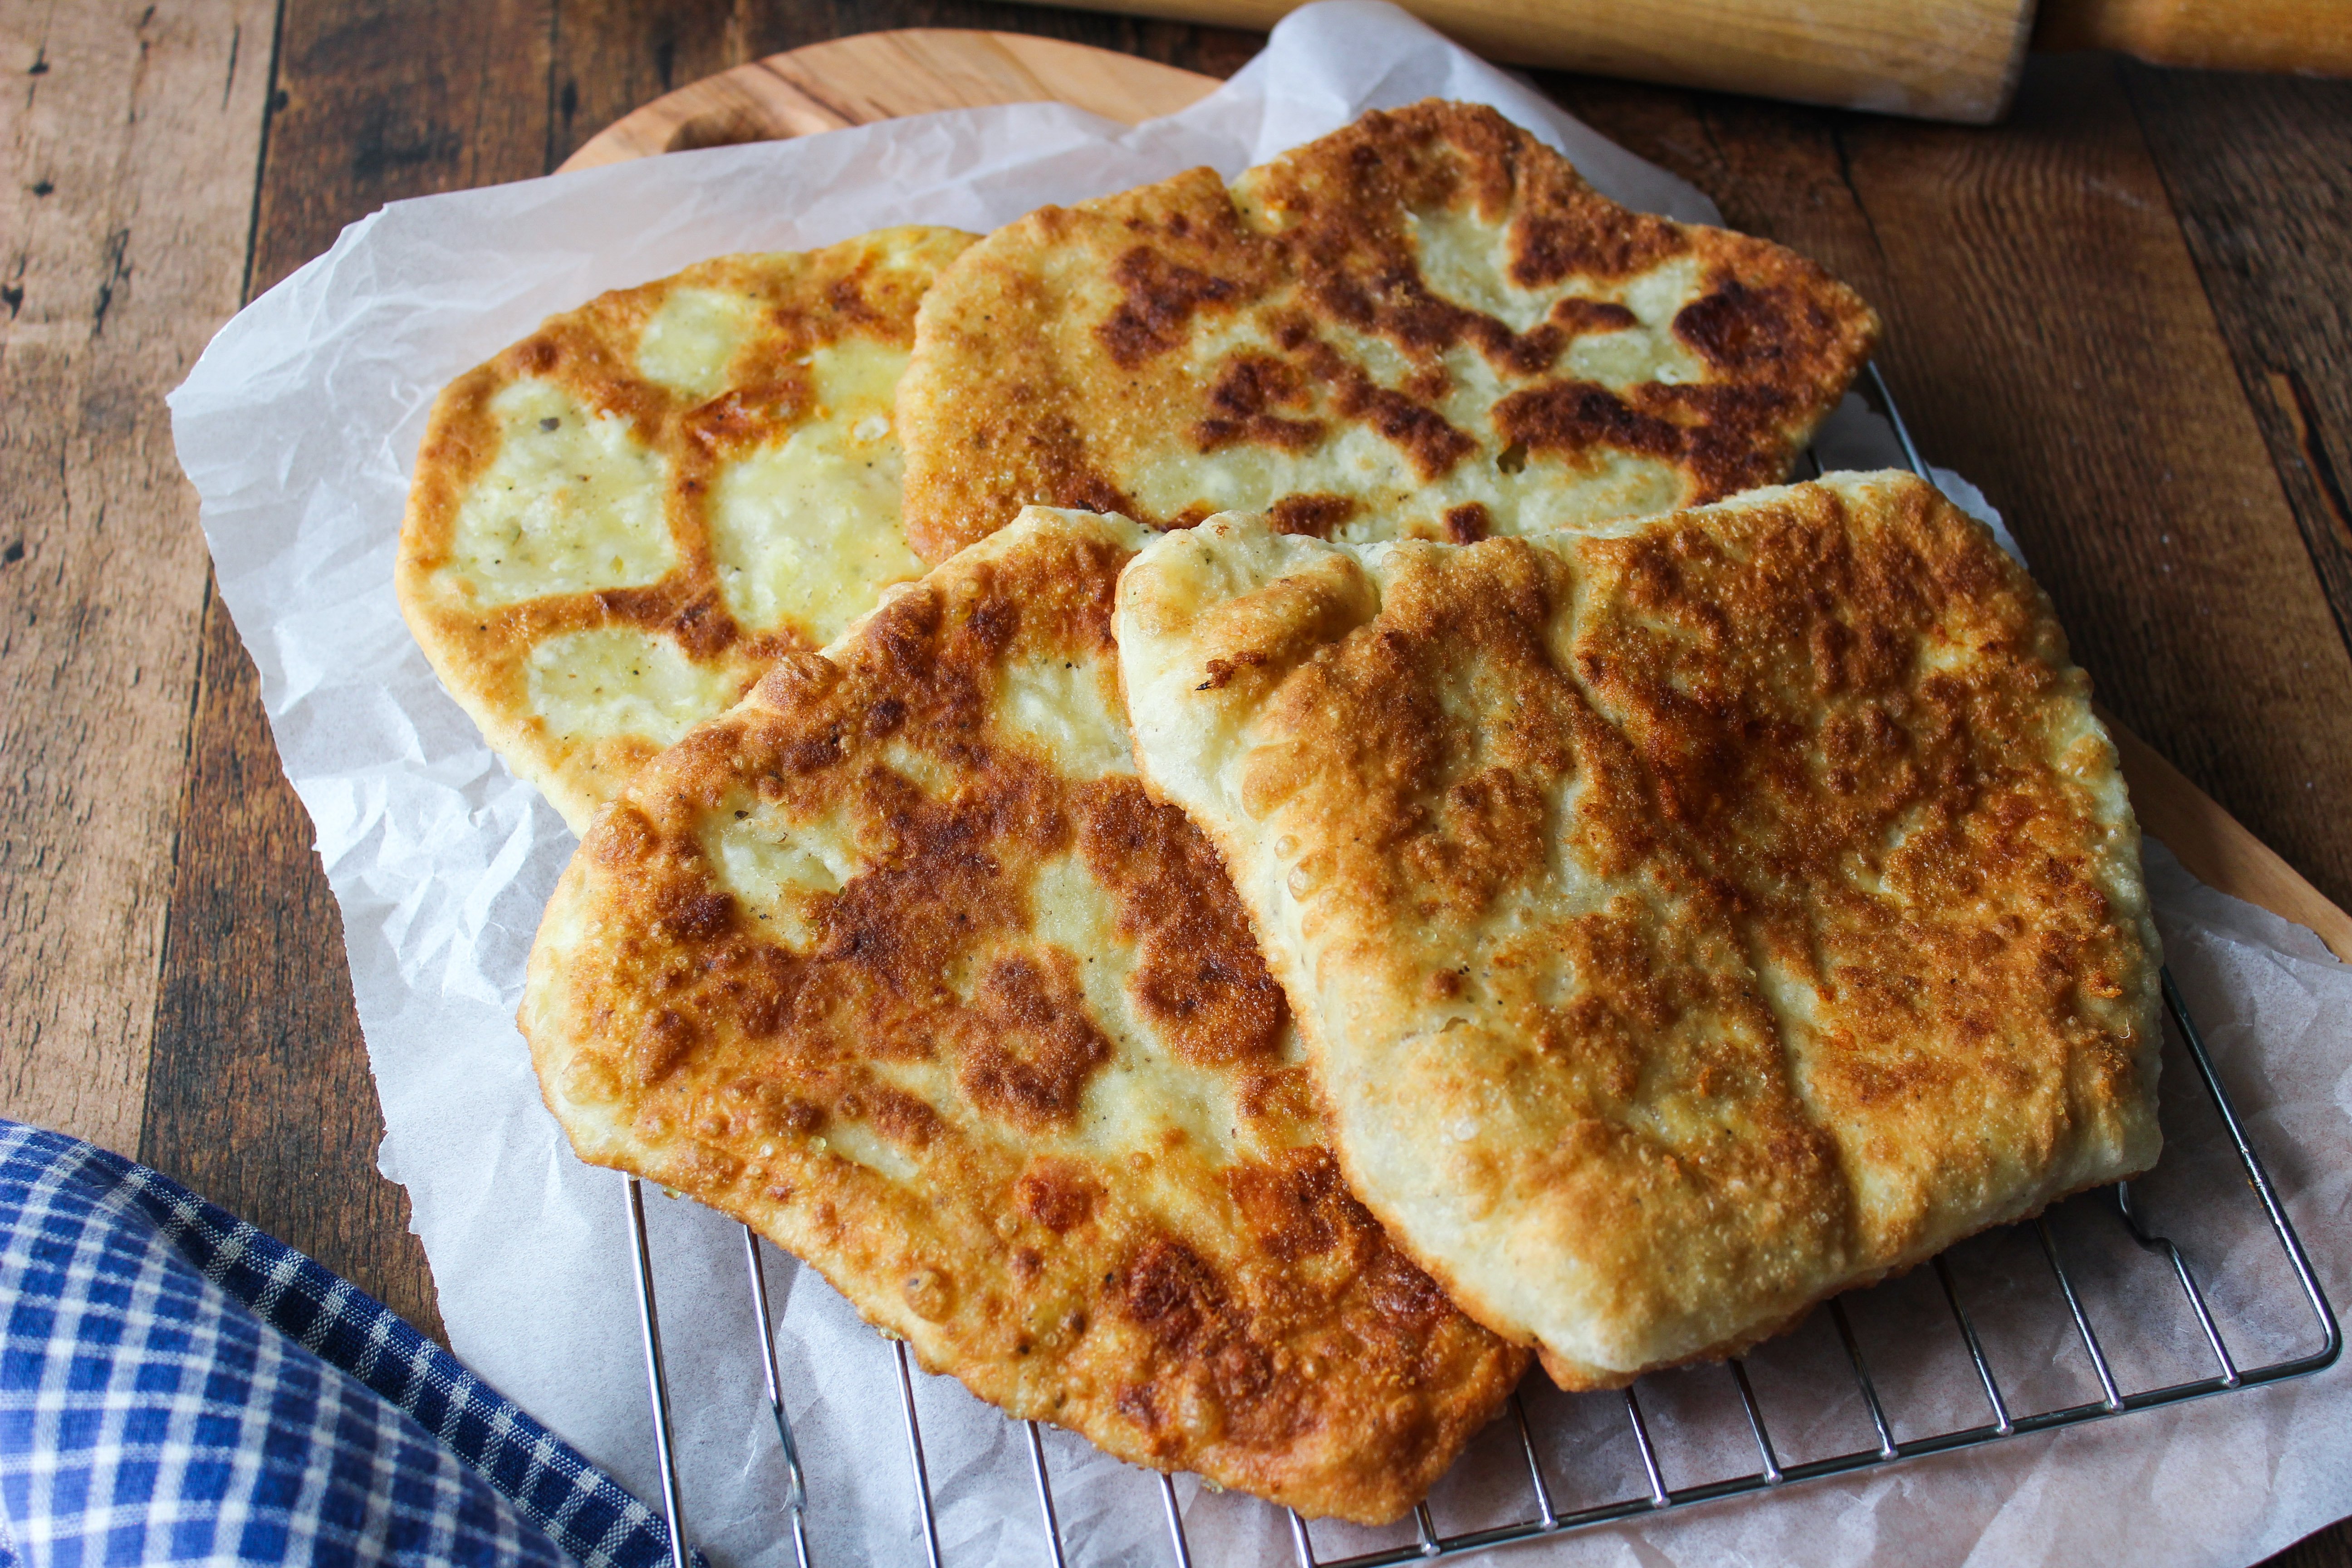
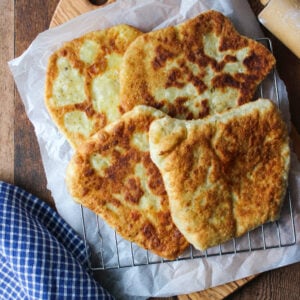
Tiganopsomo with feta (Τηγανόψωμο με φέτα)
Delicious packets of fried dough filled with soft and creamy feta cheese. These Greek fried breads are perfect as part of a light meal, vegetarian meal. Drizzled with honey they also make a sweet addition to a mid-afternoon tea, or buffet table.
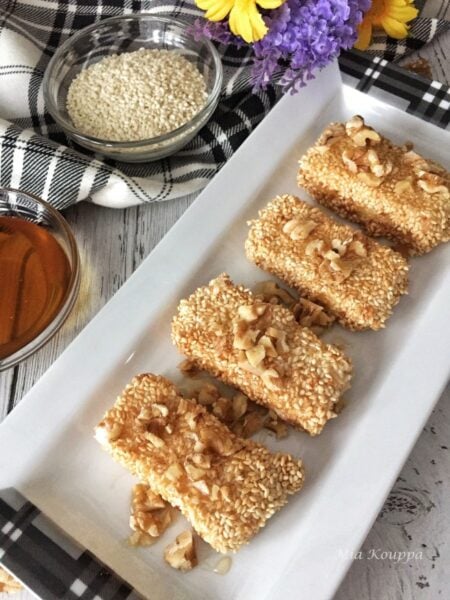
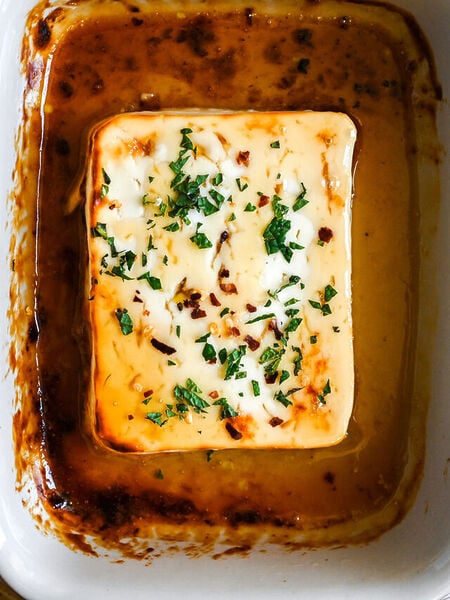
Growing up Greek we always had feta in the refrigerator, and my parents found so many ways to use it in their cooking. Whether they were making sesame coated fried feta drizzled with honey and walnuts, or a favourite breakfast of feta and tomato on bread, feta made an almost daily appearance. Even when they didn’t incorporate feta in a recipe, there was a plate of feta in the center of the table, along with a bowl of olives. These are Greek meal-time staples!
One of my most favorite recipes, then and now, was this fried bread filled with feta, called tiganopsomo. Tigani means frying pan in Greek, and psomi is bread, so you can see where the name comes from. I suppose that there is a sub-set of the population, those who shun carbs and avoid bread-y things like the plague, who really won’t appreciate a recipe which not only stars dough, but fried dough at that! But I think that the rest of you (which includes me), will welcome this recipe for crispy, fried bread stuffed with feta and you will thank me for every lovely calorie.
Why this recipe is great
There are so many things to love about this recipe. First of all, how can you not fall in love with fried dough!? Seriously though, I love that this dough has oregano added to it, along with some pepper – it adds flavour that is subtle but still noticeable.
The versatility of this recipe is also wonderful. Although here I show you how to make the dough from scratch, Greek home cooks will often use leftover dough from making spanakopita or kolokithopita (winter squash pita) or any other type of pita to make tiganospomo. I love that this becomes a creative and delicious way to ensure that nothing goes to waste.
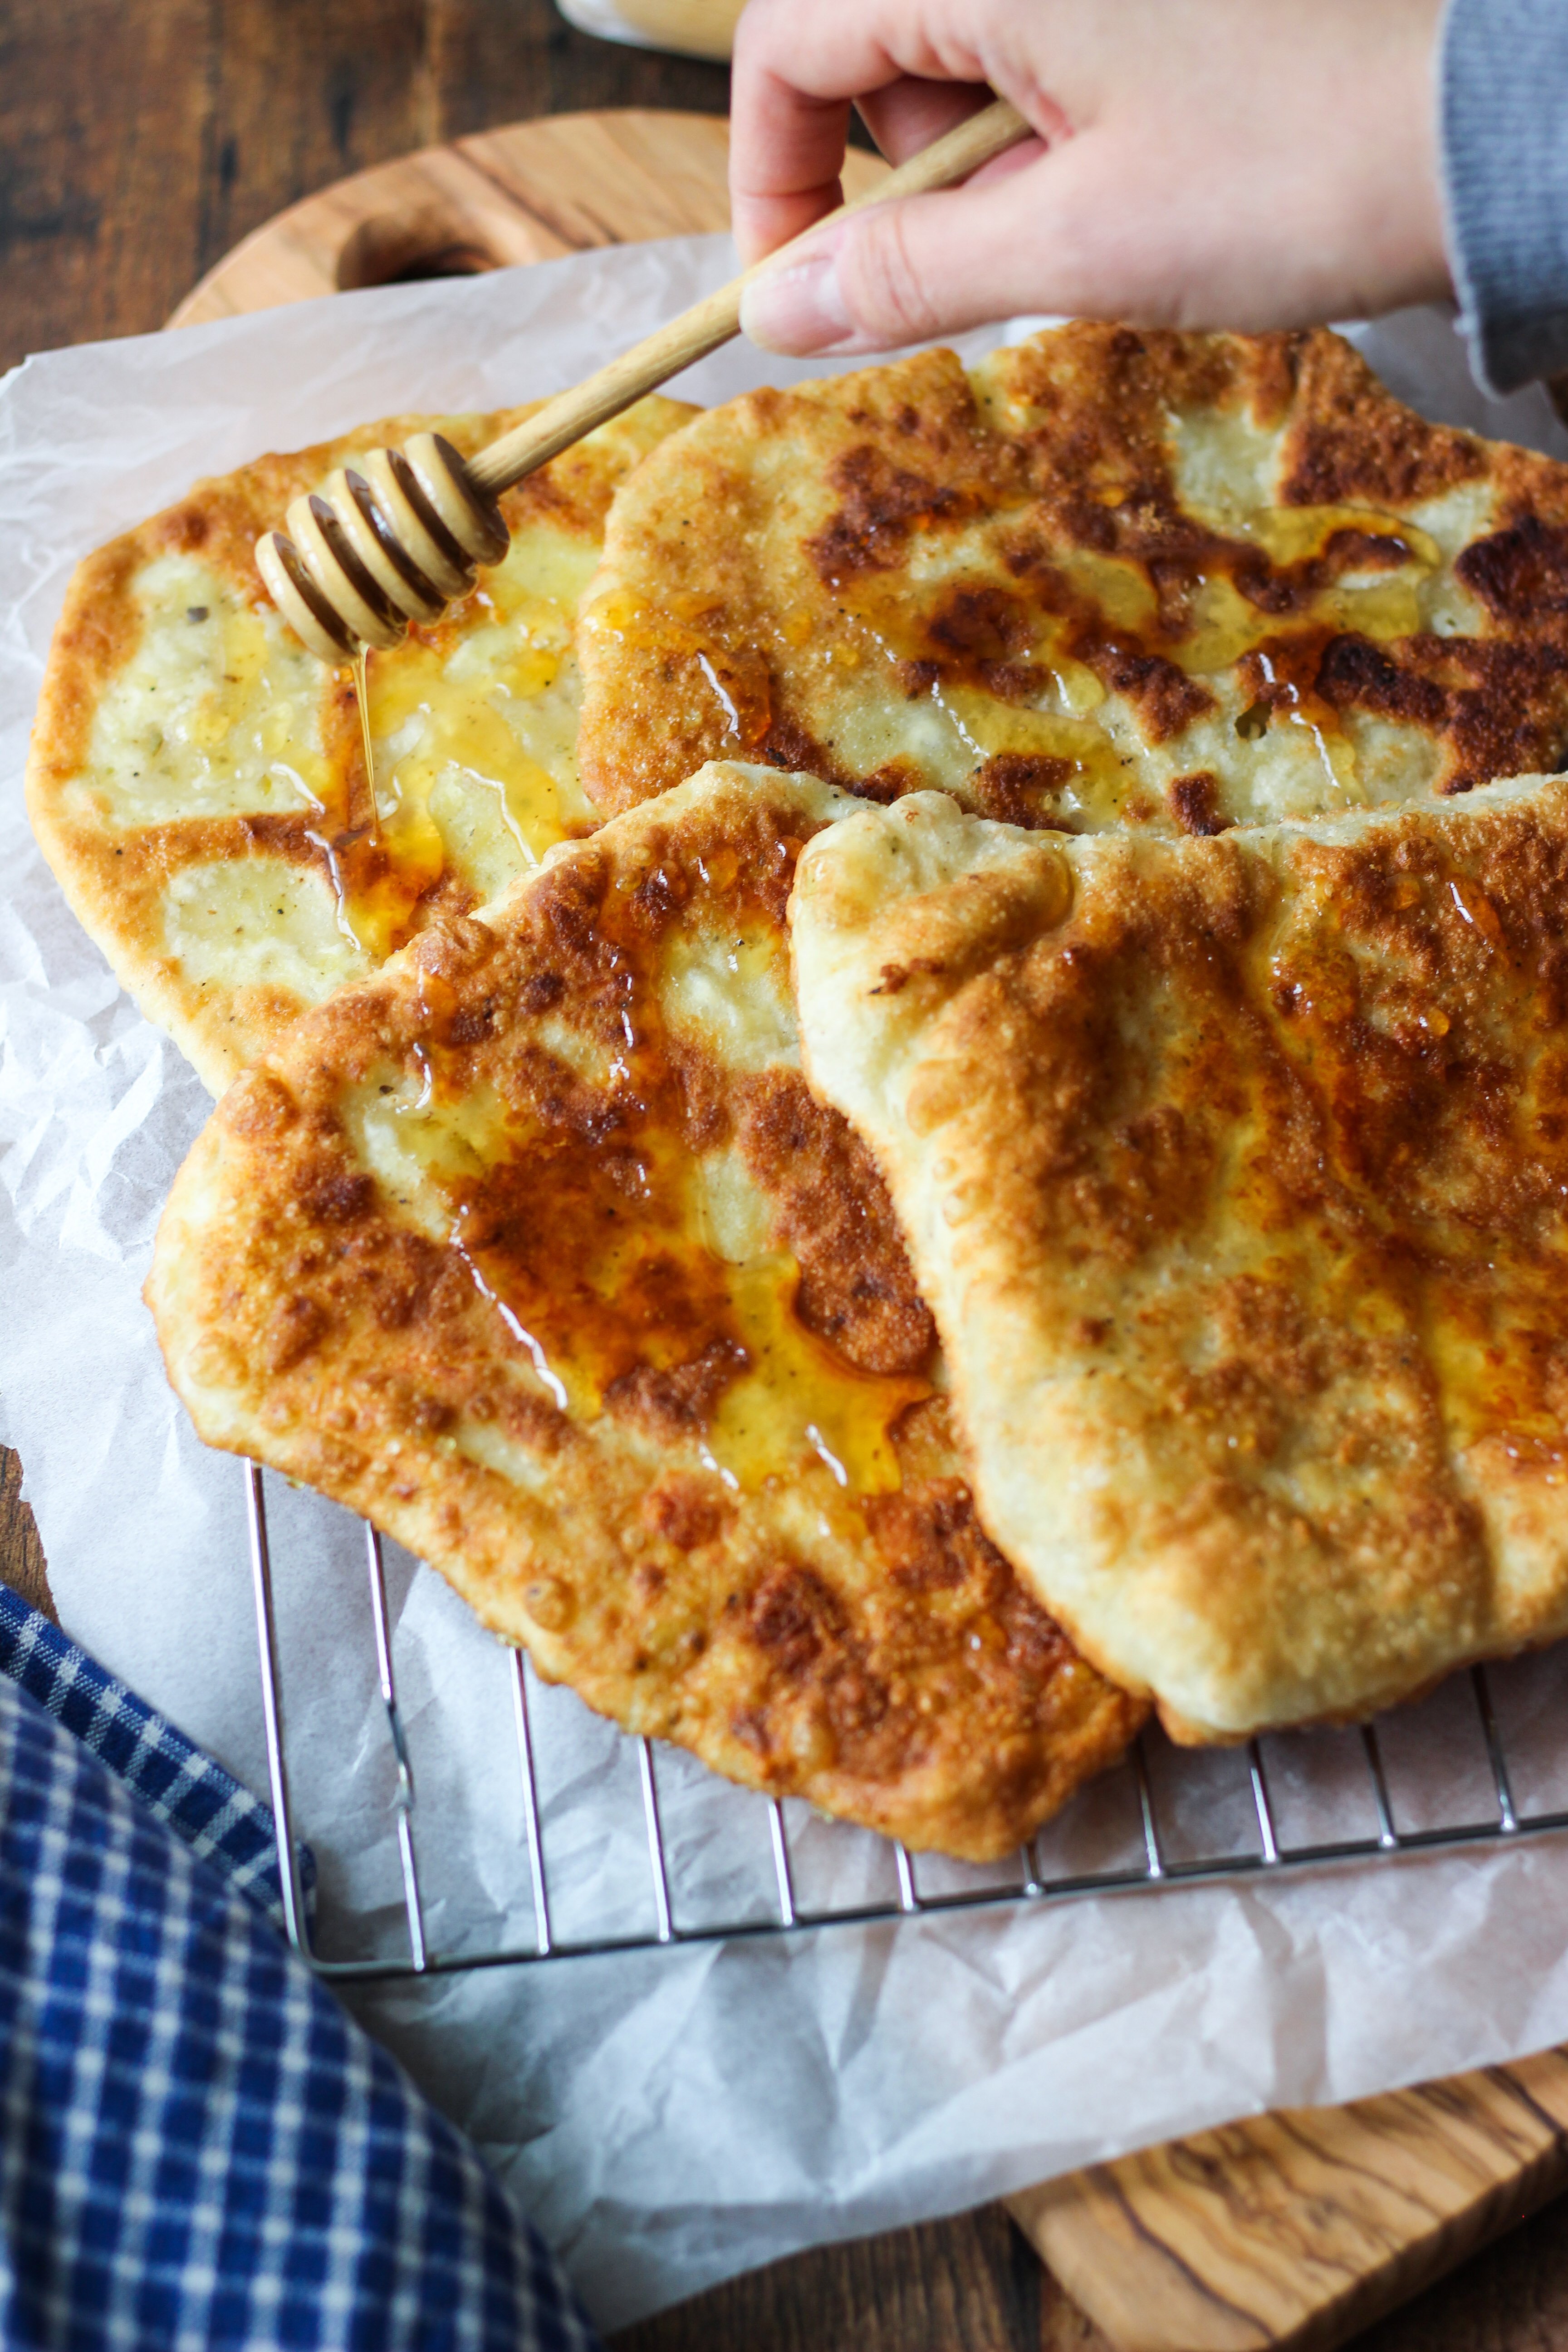
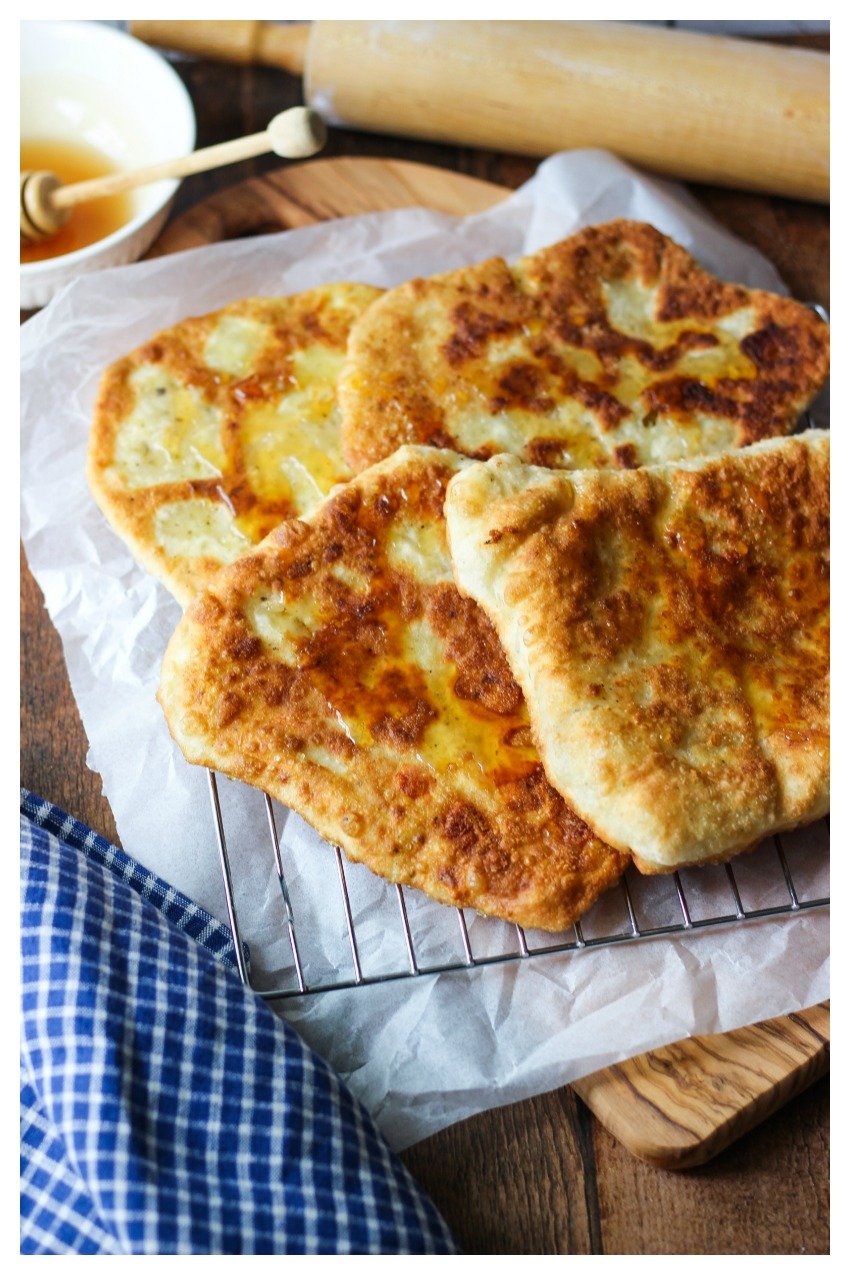
Tiganopsomo with feta is a very versatile indulgence. Drizzle the warm bread with honey and you have the makings of a perfect breakfast or snack; it even substitutes for dessert, in our opinion. Honey-less, tiganopsomo with feta is a savoury side that goes quite perfectly with everything! It is particularly wonderful when you have the opportunity for dunking, like with stewed green beans and potatoes or a lovely horiatiki salad.
Key ingredients
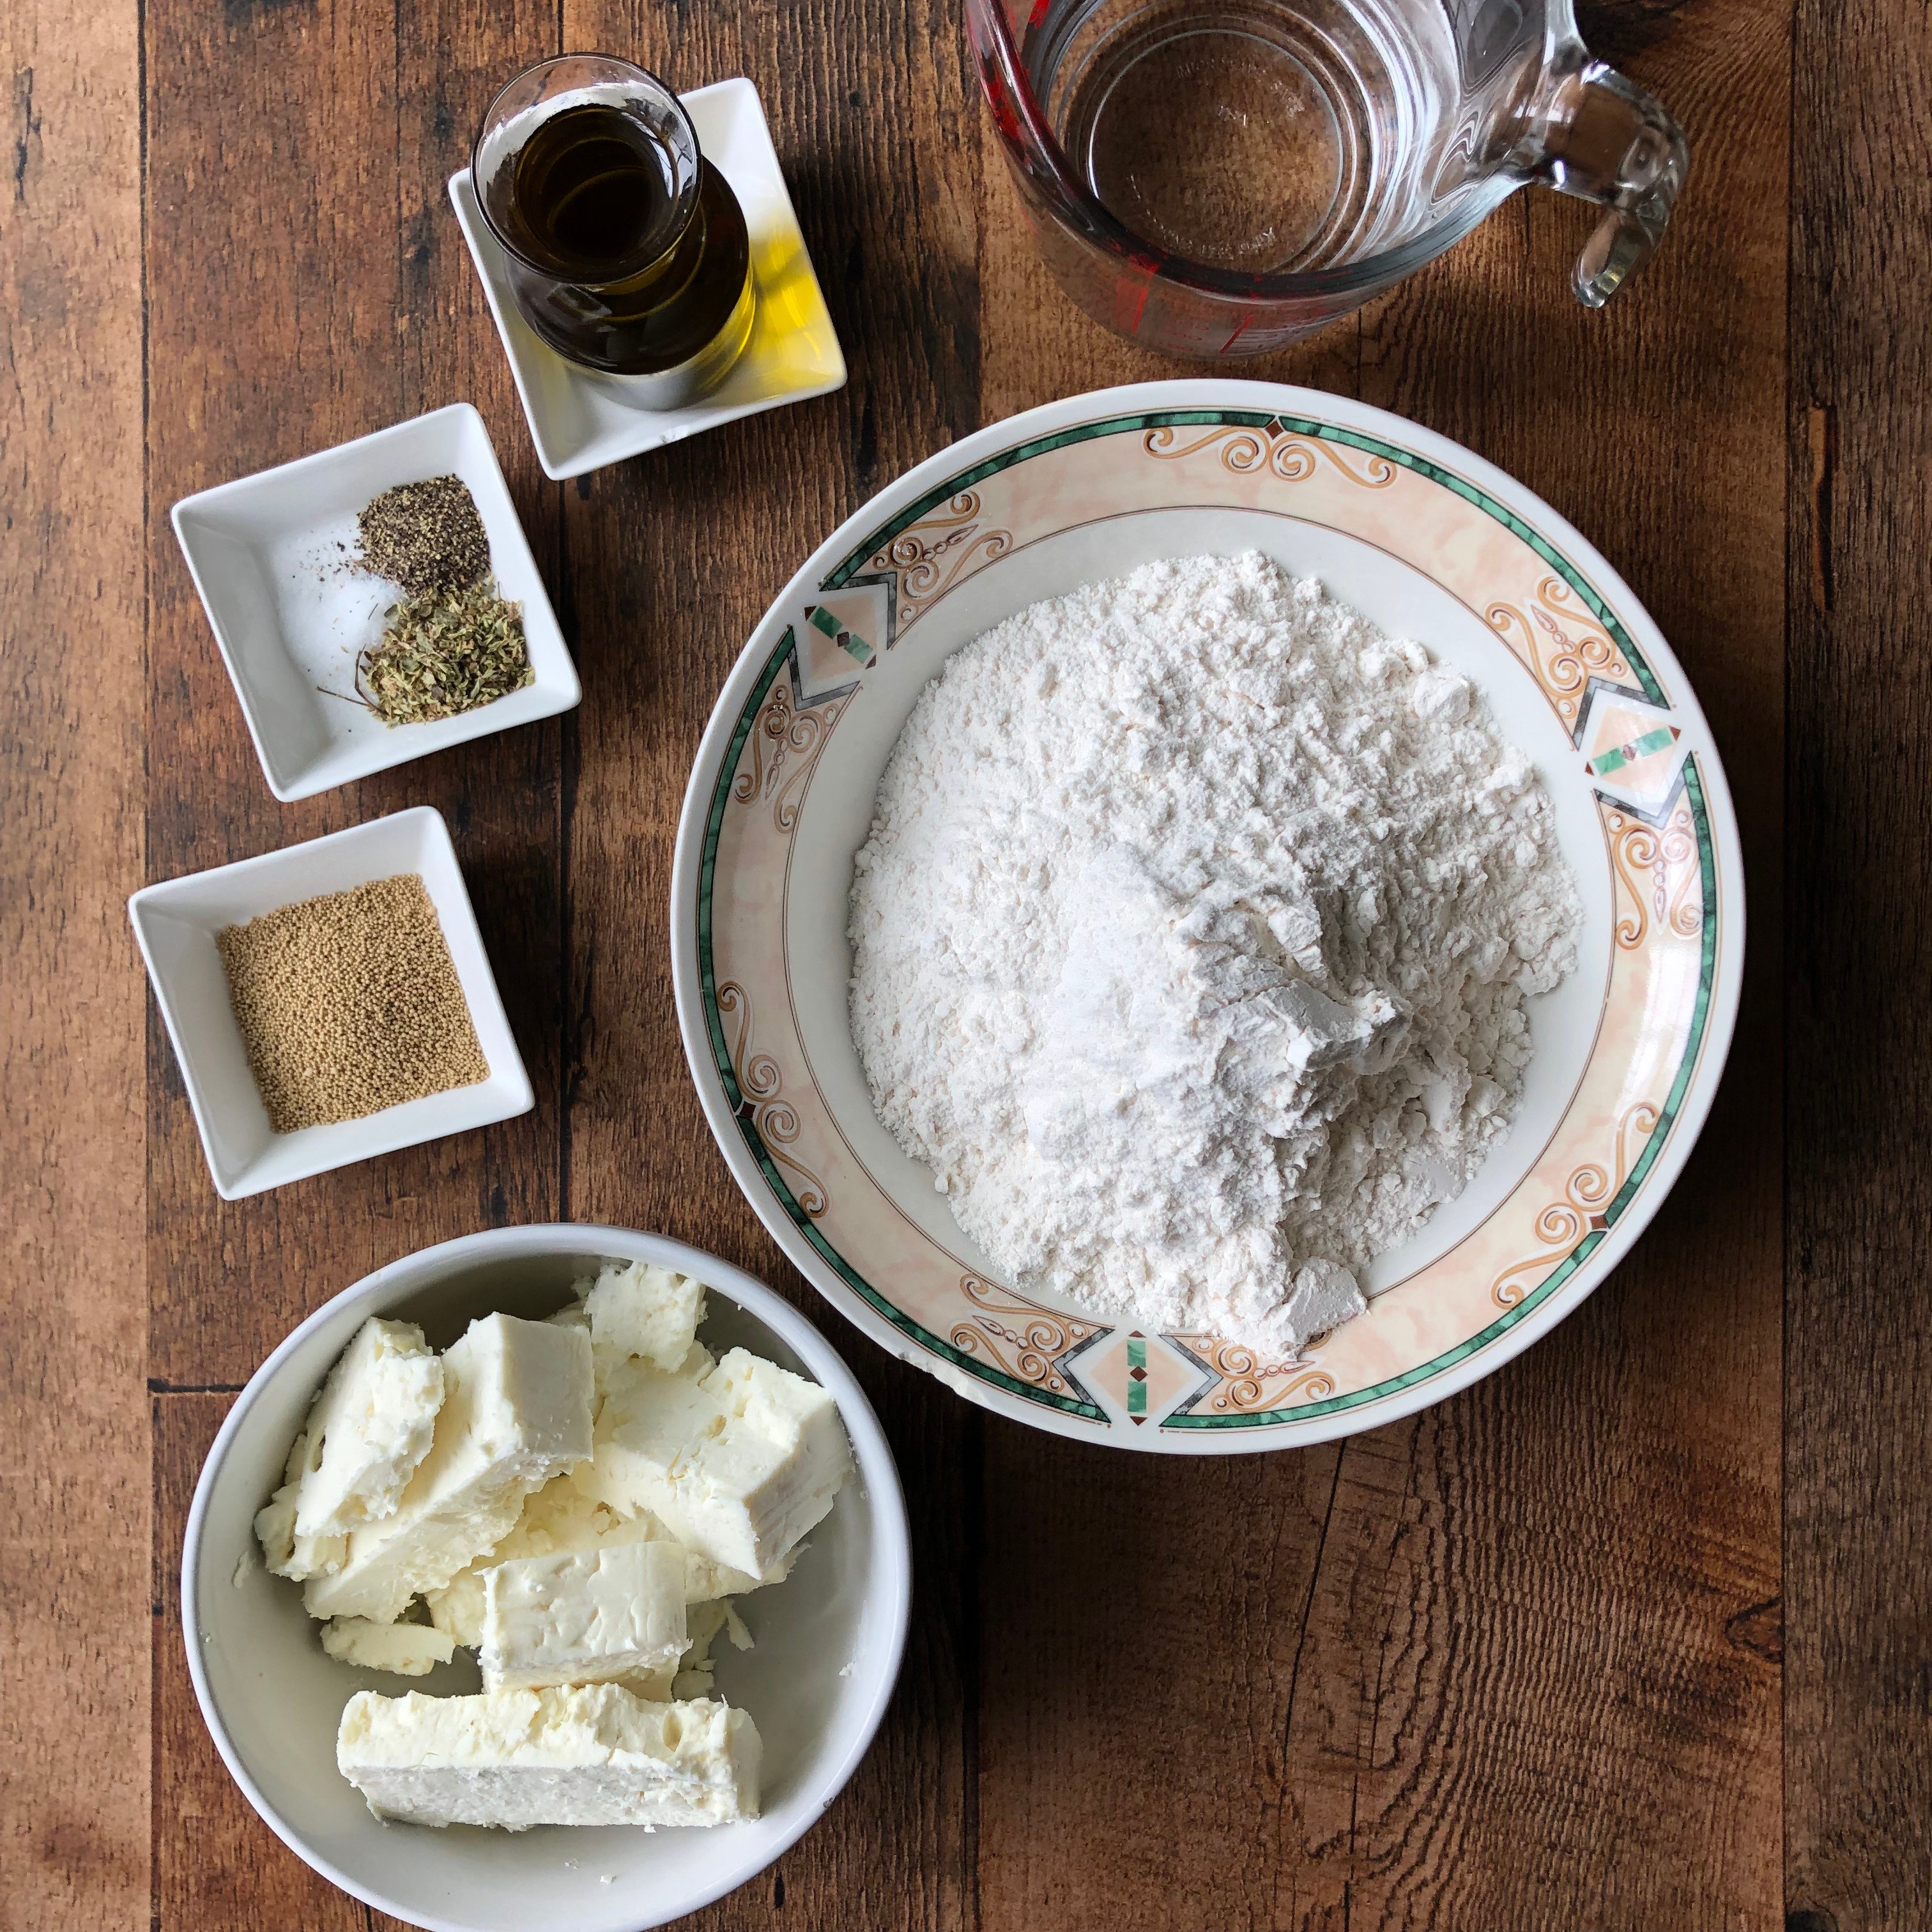
All purpose flour I use all-purpose (also called plain or regular flour) in most of my baking and bread making. It is versatile, easy to find, an inexpensive flour and it works out really well in most recipes.
Dry yeast This is the leavening agent I use. I almost always keep a jar of dry yeast in a mason jar in my fridge as it lasts longer that way (as opposed to being in the pantry). Still, you want to be sure that your yeast is still active before you start adding all the other ingredients.
Sugar Only a bit of sugar is needed to help activate the yeast. I use white granulated sugar because it is handy and readily available.
Dry oregano The best Greek herb! Dry oregano has such a wonderful fragrance and aroma, it really cannot be beat and finds its way in so many Greek recipes.
Black pepper I don’t add too much pepper; just enough to add a bit of heat and flavour.
Salt Every recipe can use a bit of salt. It helps to balance and highlight all the different flavours.
Olive oil I use olive oil in the actual dough for the tiganopsomo and to fry the dough. This gives a great flavour.
Warm water Regular tap water will do here. The water should be warm, but not hot. You can tell it is fine if you are able to comfortably put your finger in the water without burning yourself.
Crumbled feta Although you can sometimes purchase crumbled feta, I never do. It is usually more expensive to do so, and it occasionally dries out. I prefer to purchase my feta in blocks or wedges, and stored in brine. I also always buy Greek feta, which is made with sheep milk or a combination of sheep and goat milk.
Honey Although this is optional, it is really delicious to serve your tiganopsomo with a drizzle of honey. I like to use local honey or Greek honey.
How to make it
Making tiganopsomo is actually really fun! Hiding the feta in the dough, and then seeing how easily and quickly it cooks up is so satisfying!
Instructions
Step 1
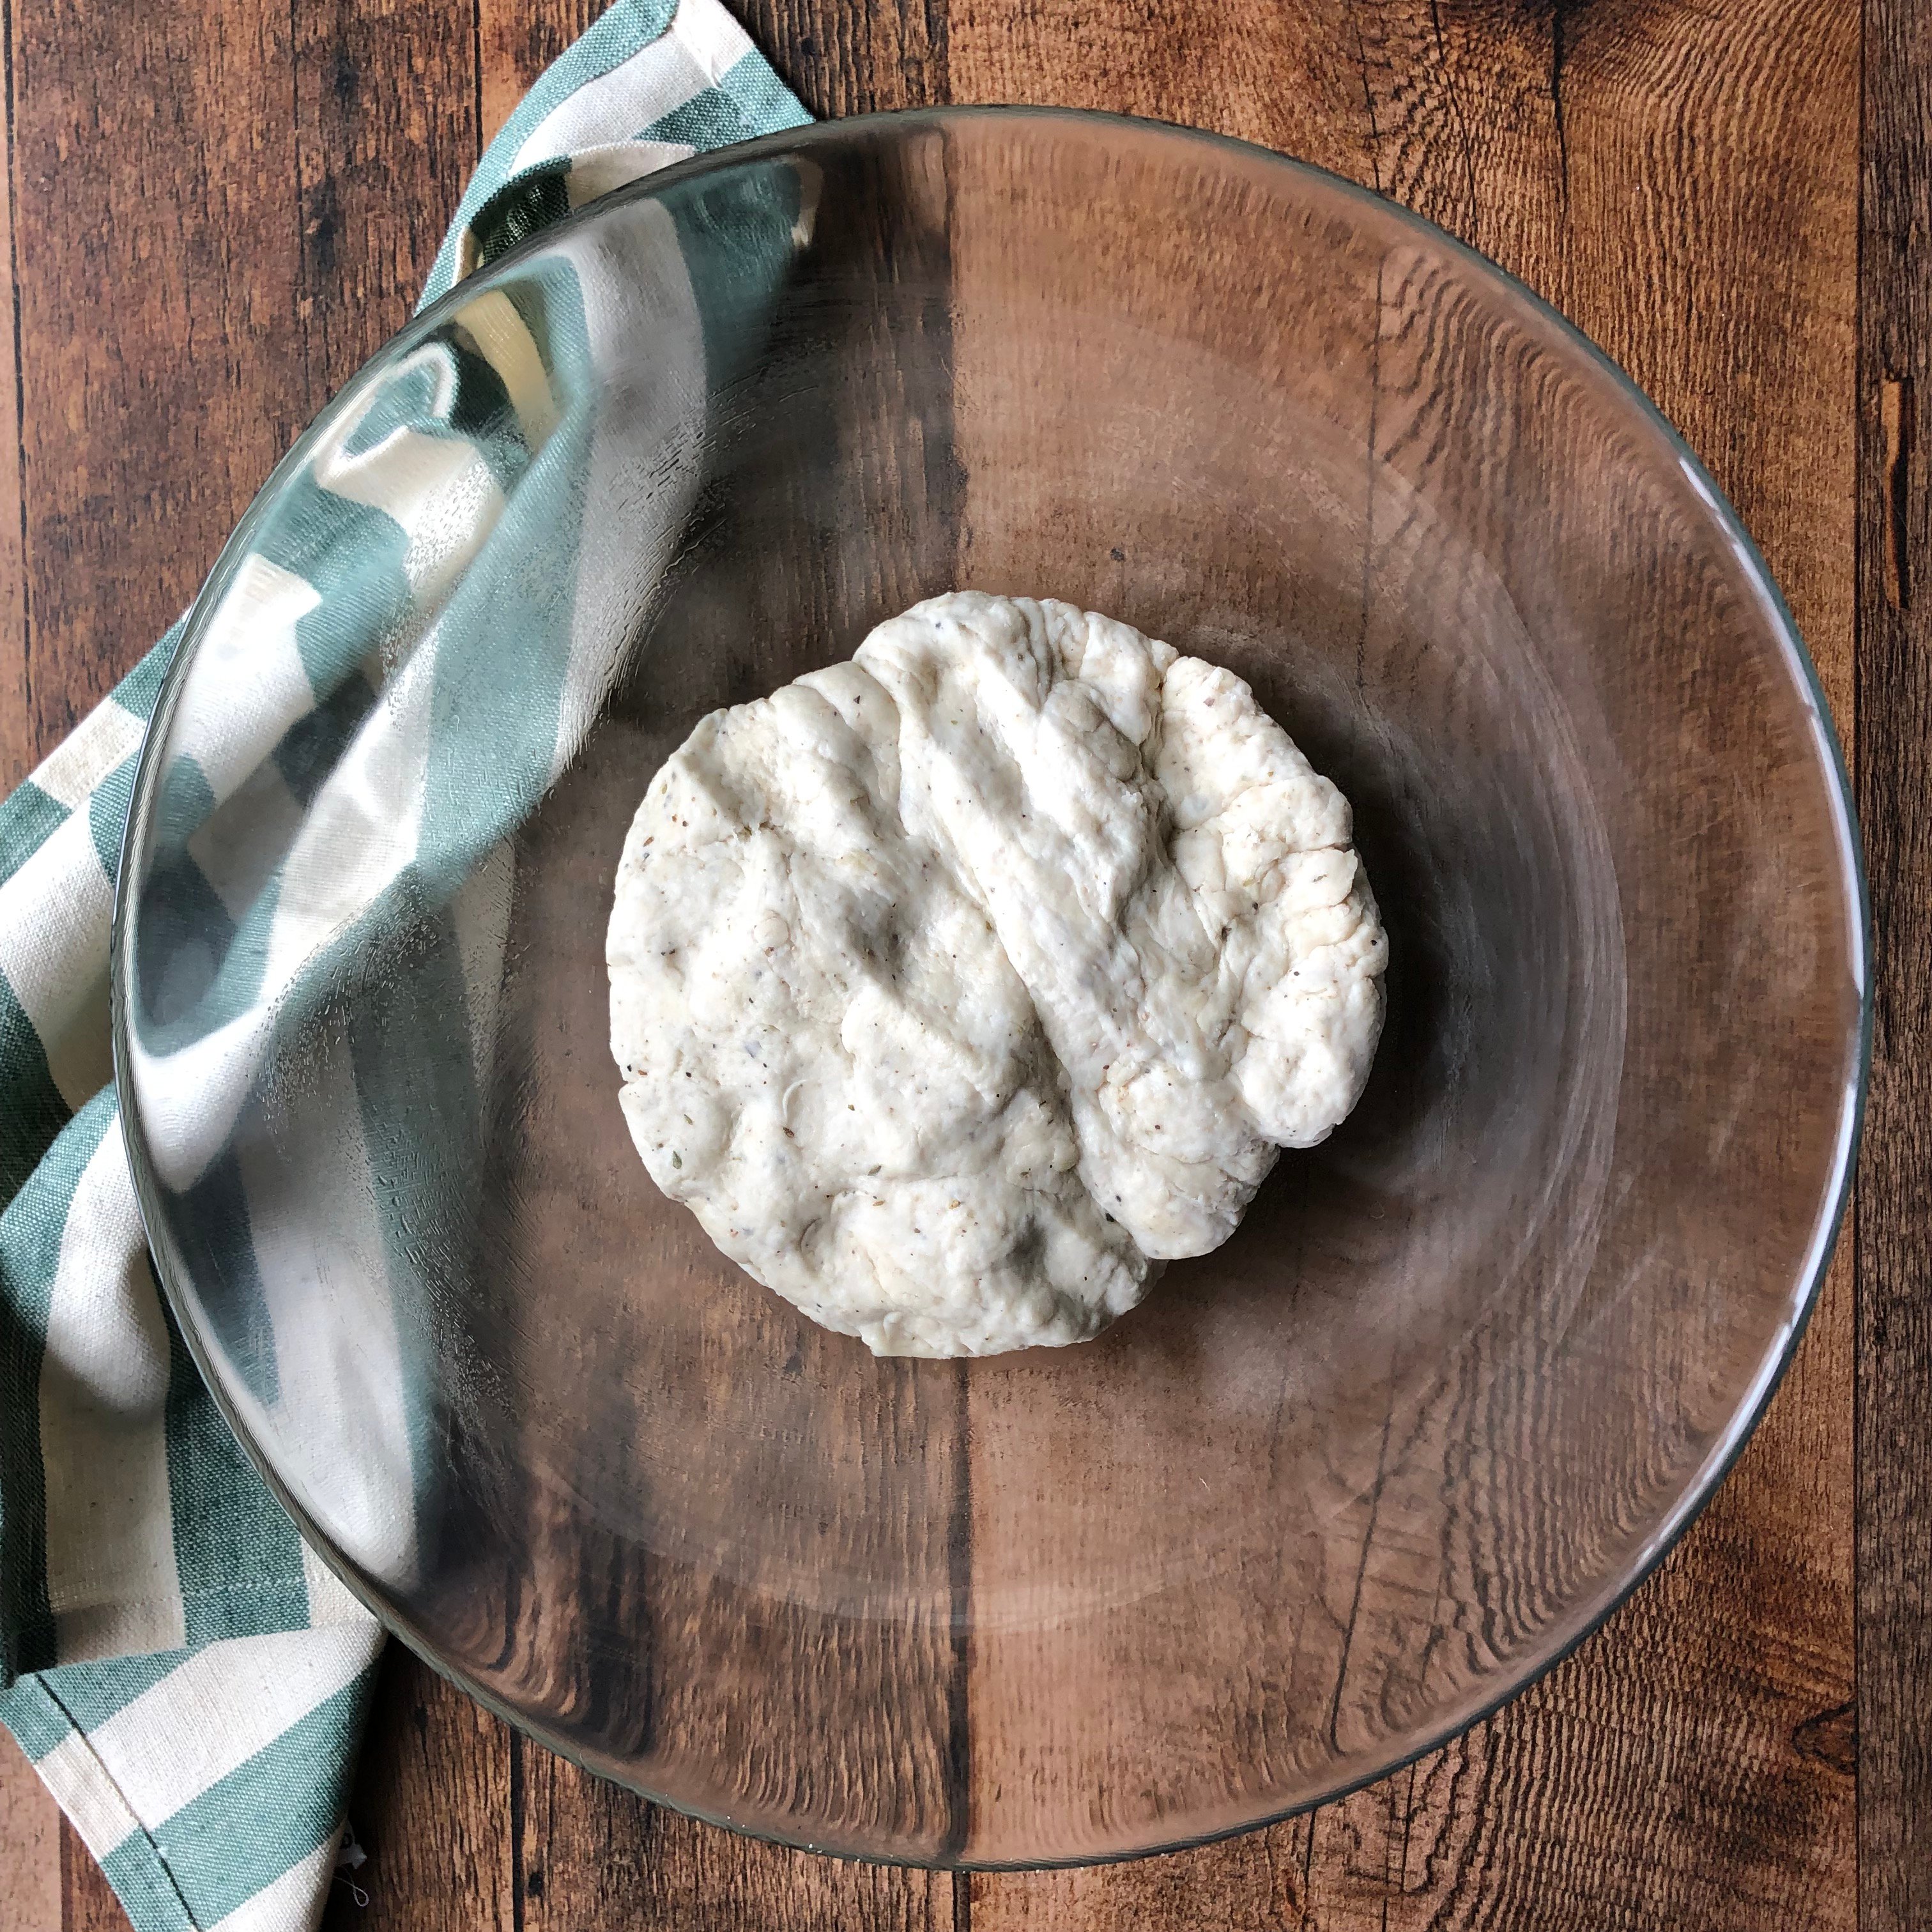
In the bowl of a stand mixer combine the flour, yeast, sugar, oregano, salt, pepper, olive oil and warm water. Using the dough hook attachment of your mixer, mix the ingredients and the dough for approximately 5 minutes.
Step 2
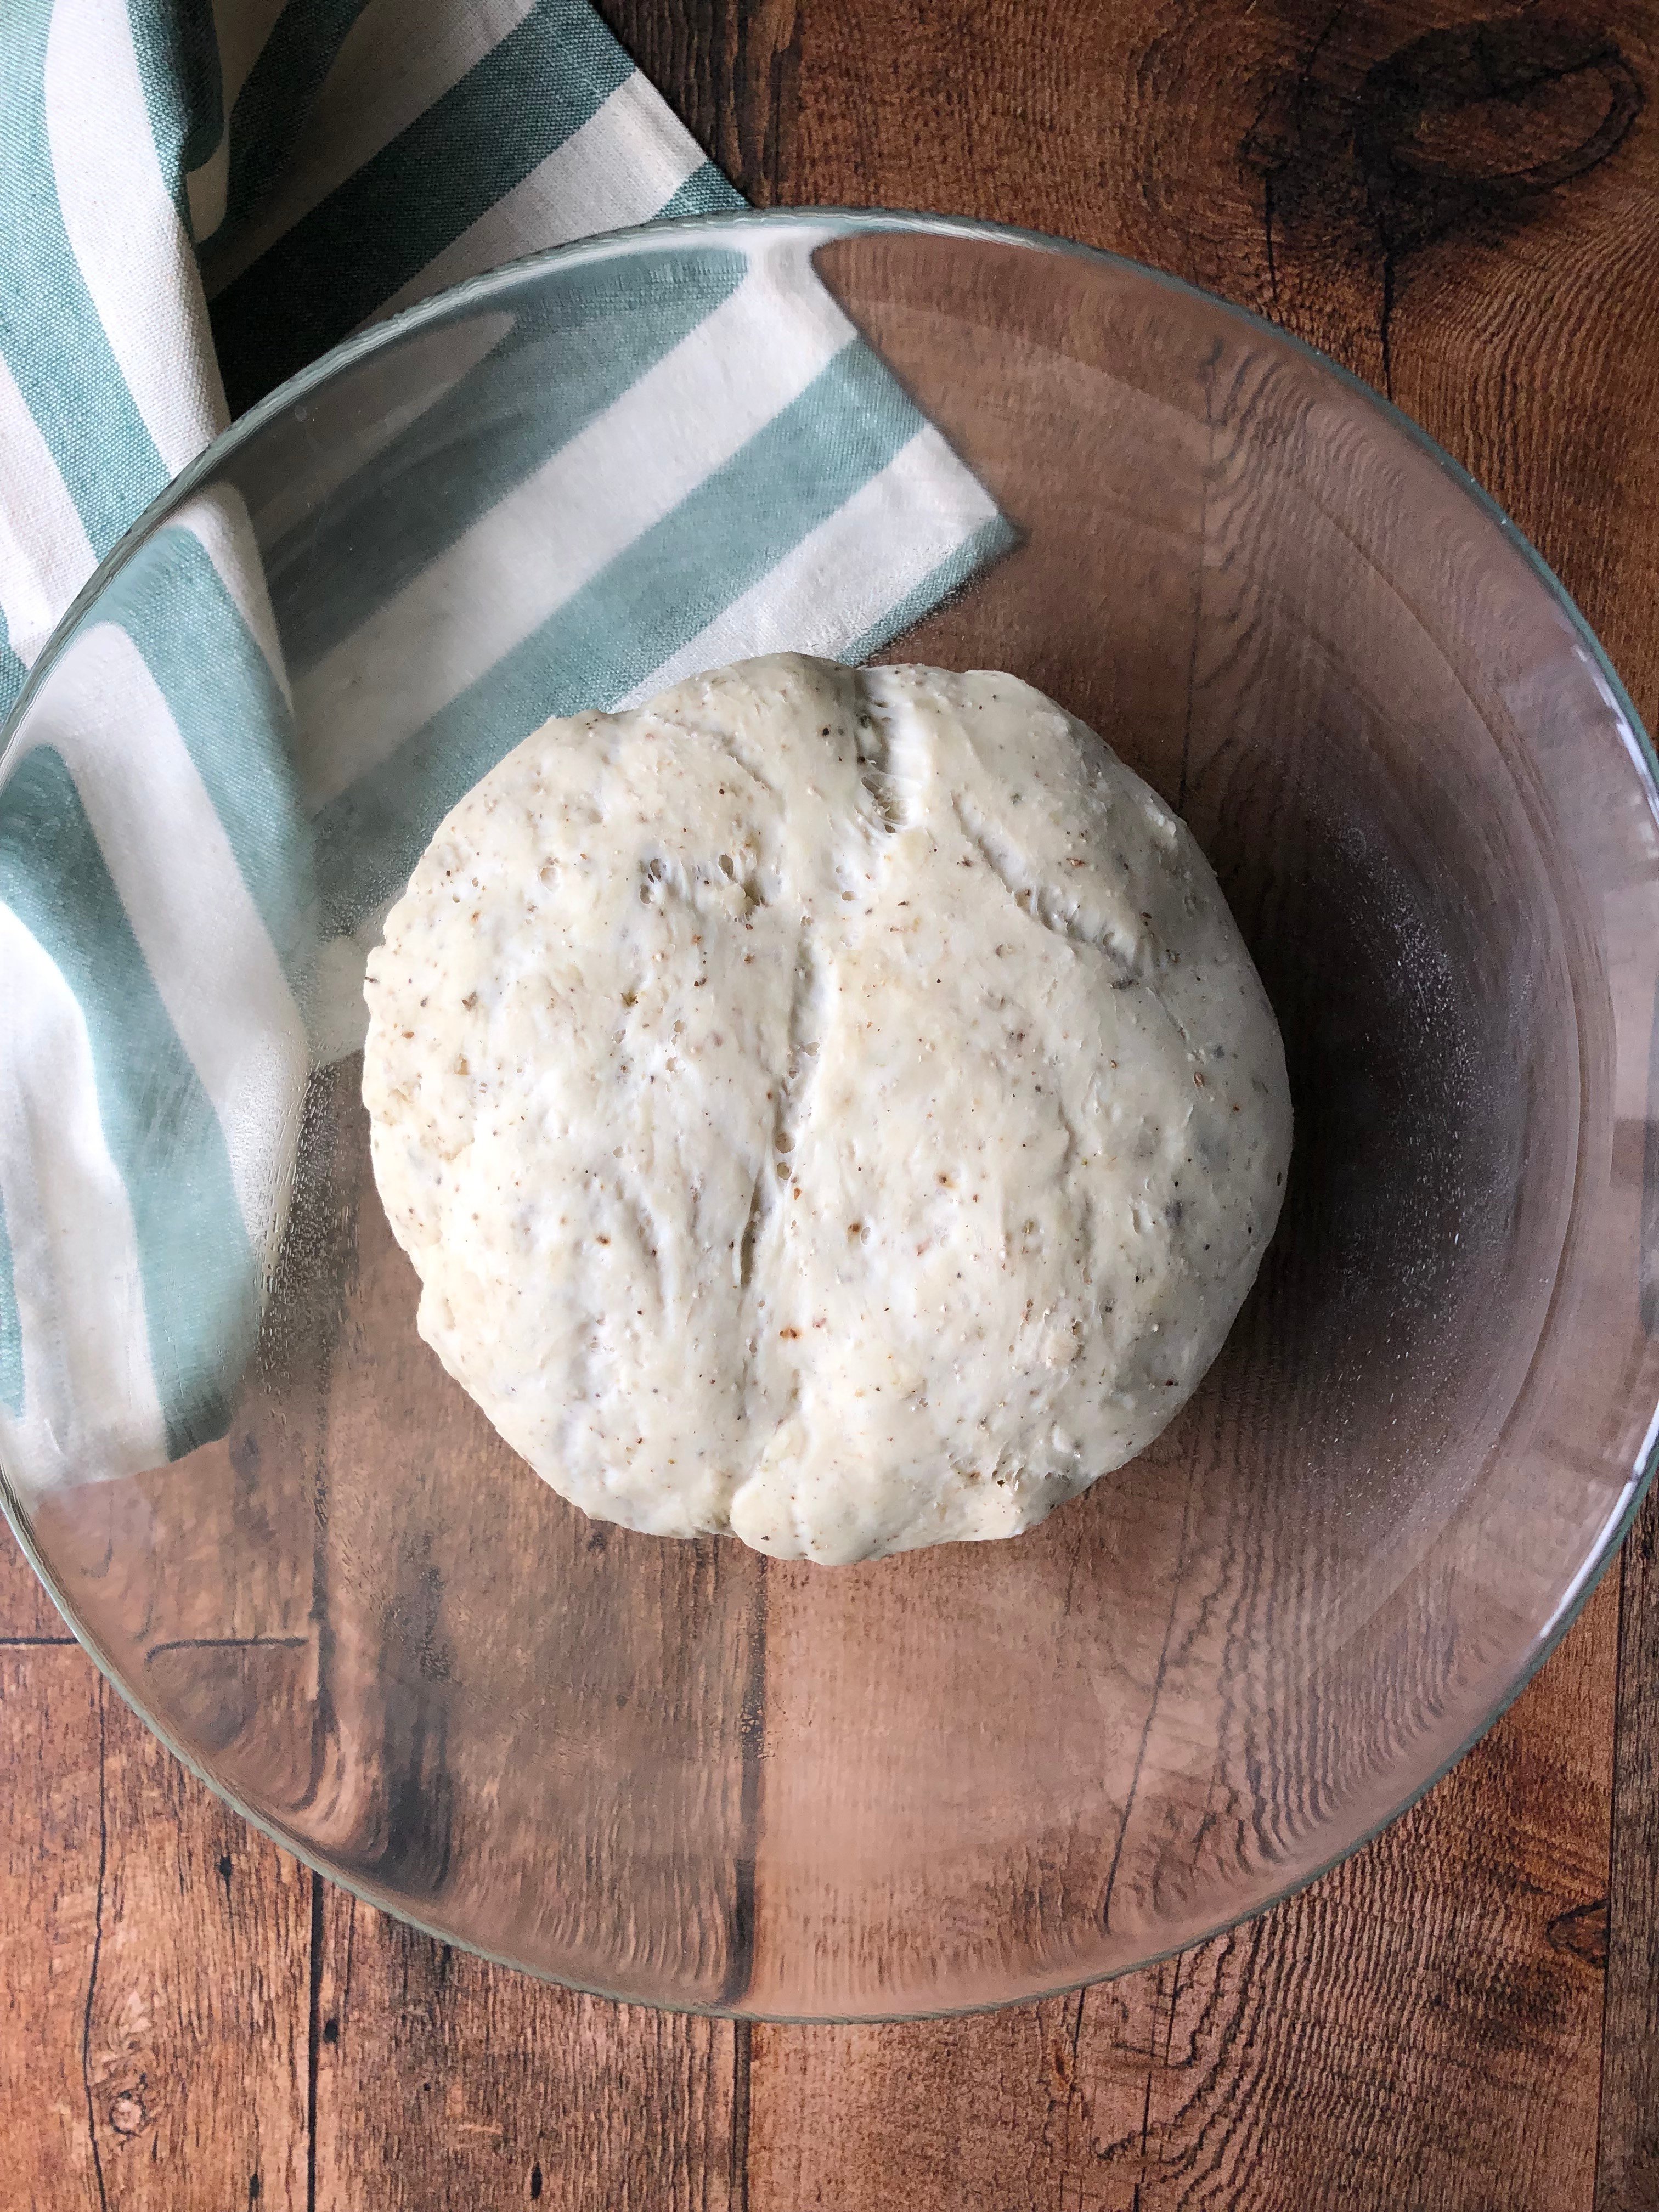
Lightly grease a medium sized bowl and transfer the dough to it. Cover loosely with a clean kitchen towel and let rise for at least one hour.
Step 3
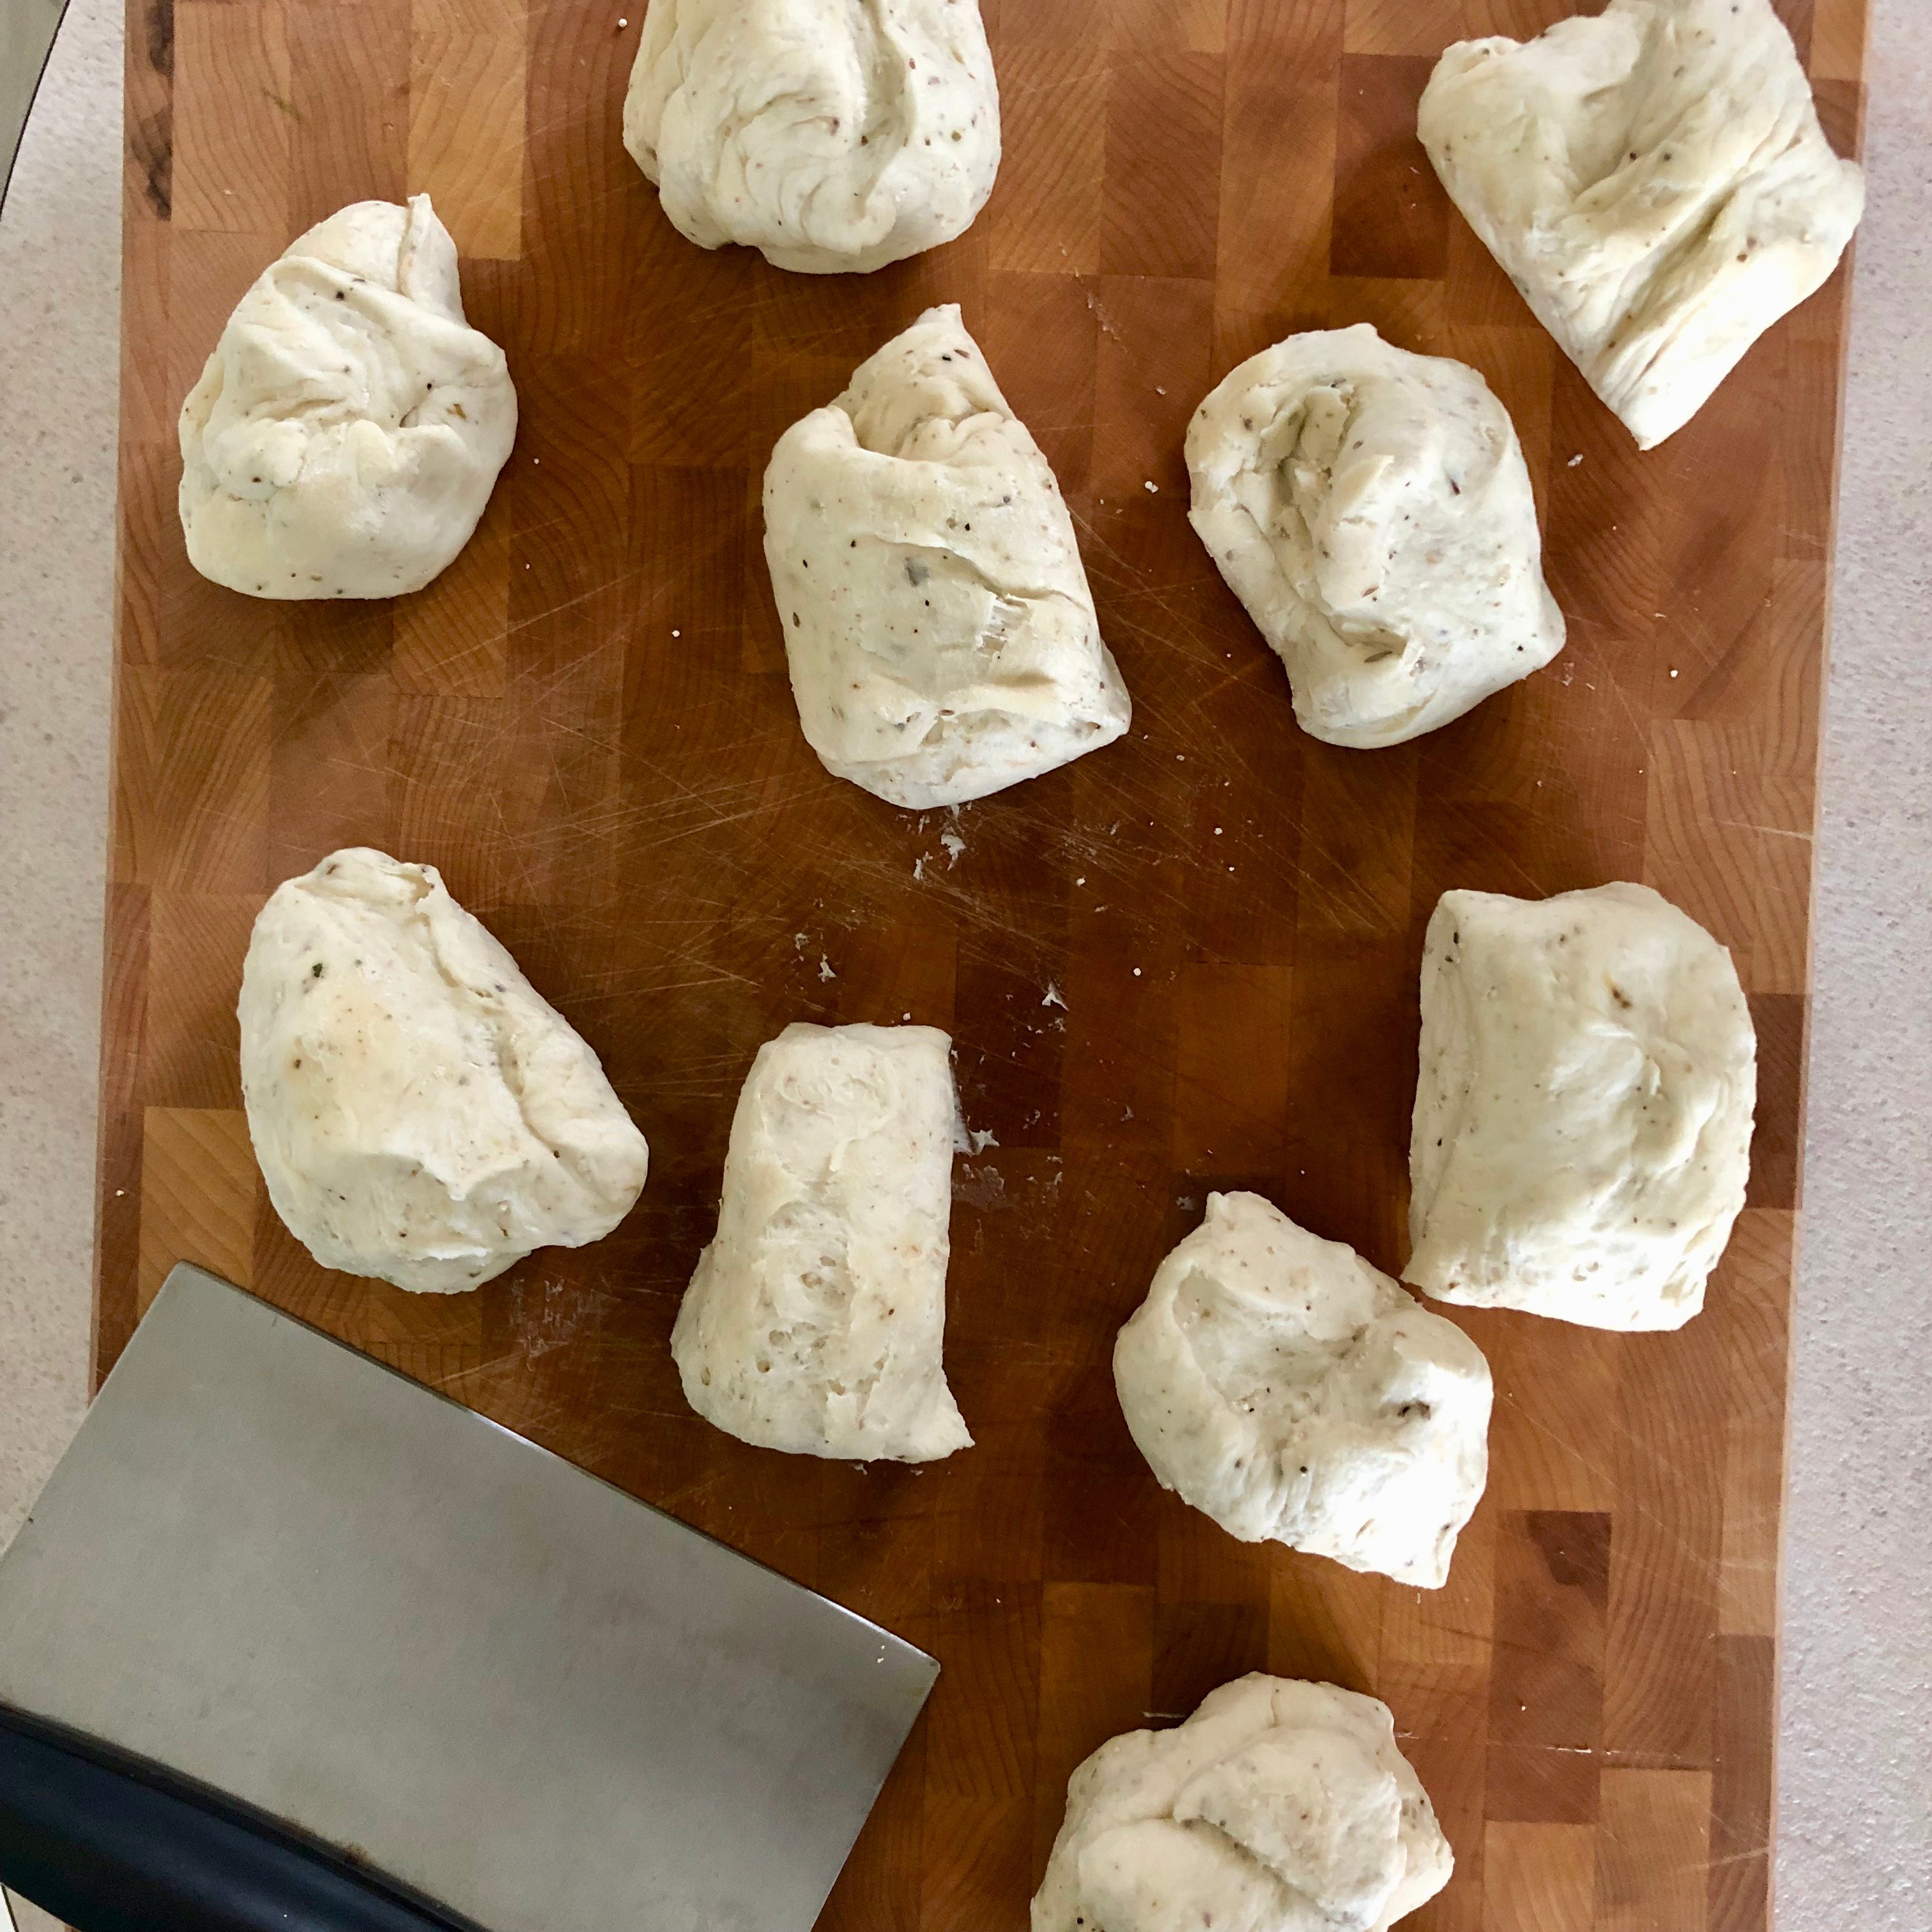
Once the rising time has past, divide your dough into 10 equal pieces (this does not need to be exact.)
Step 4
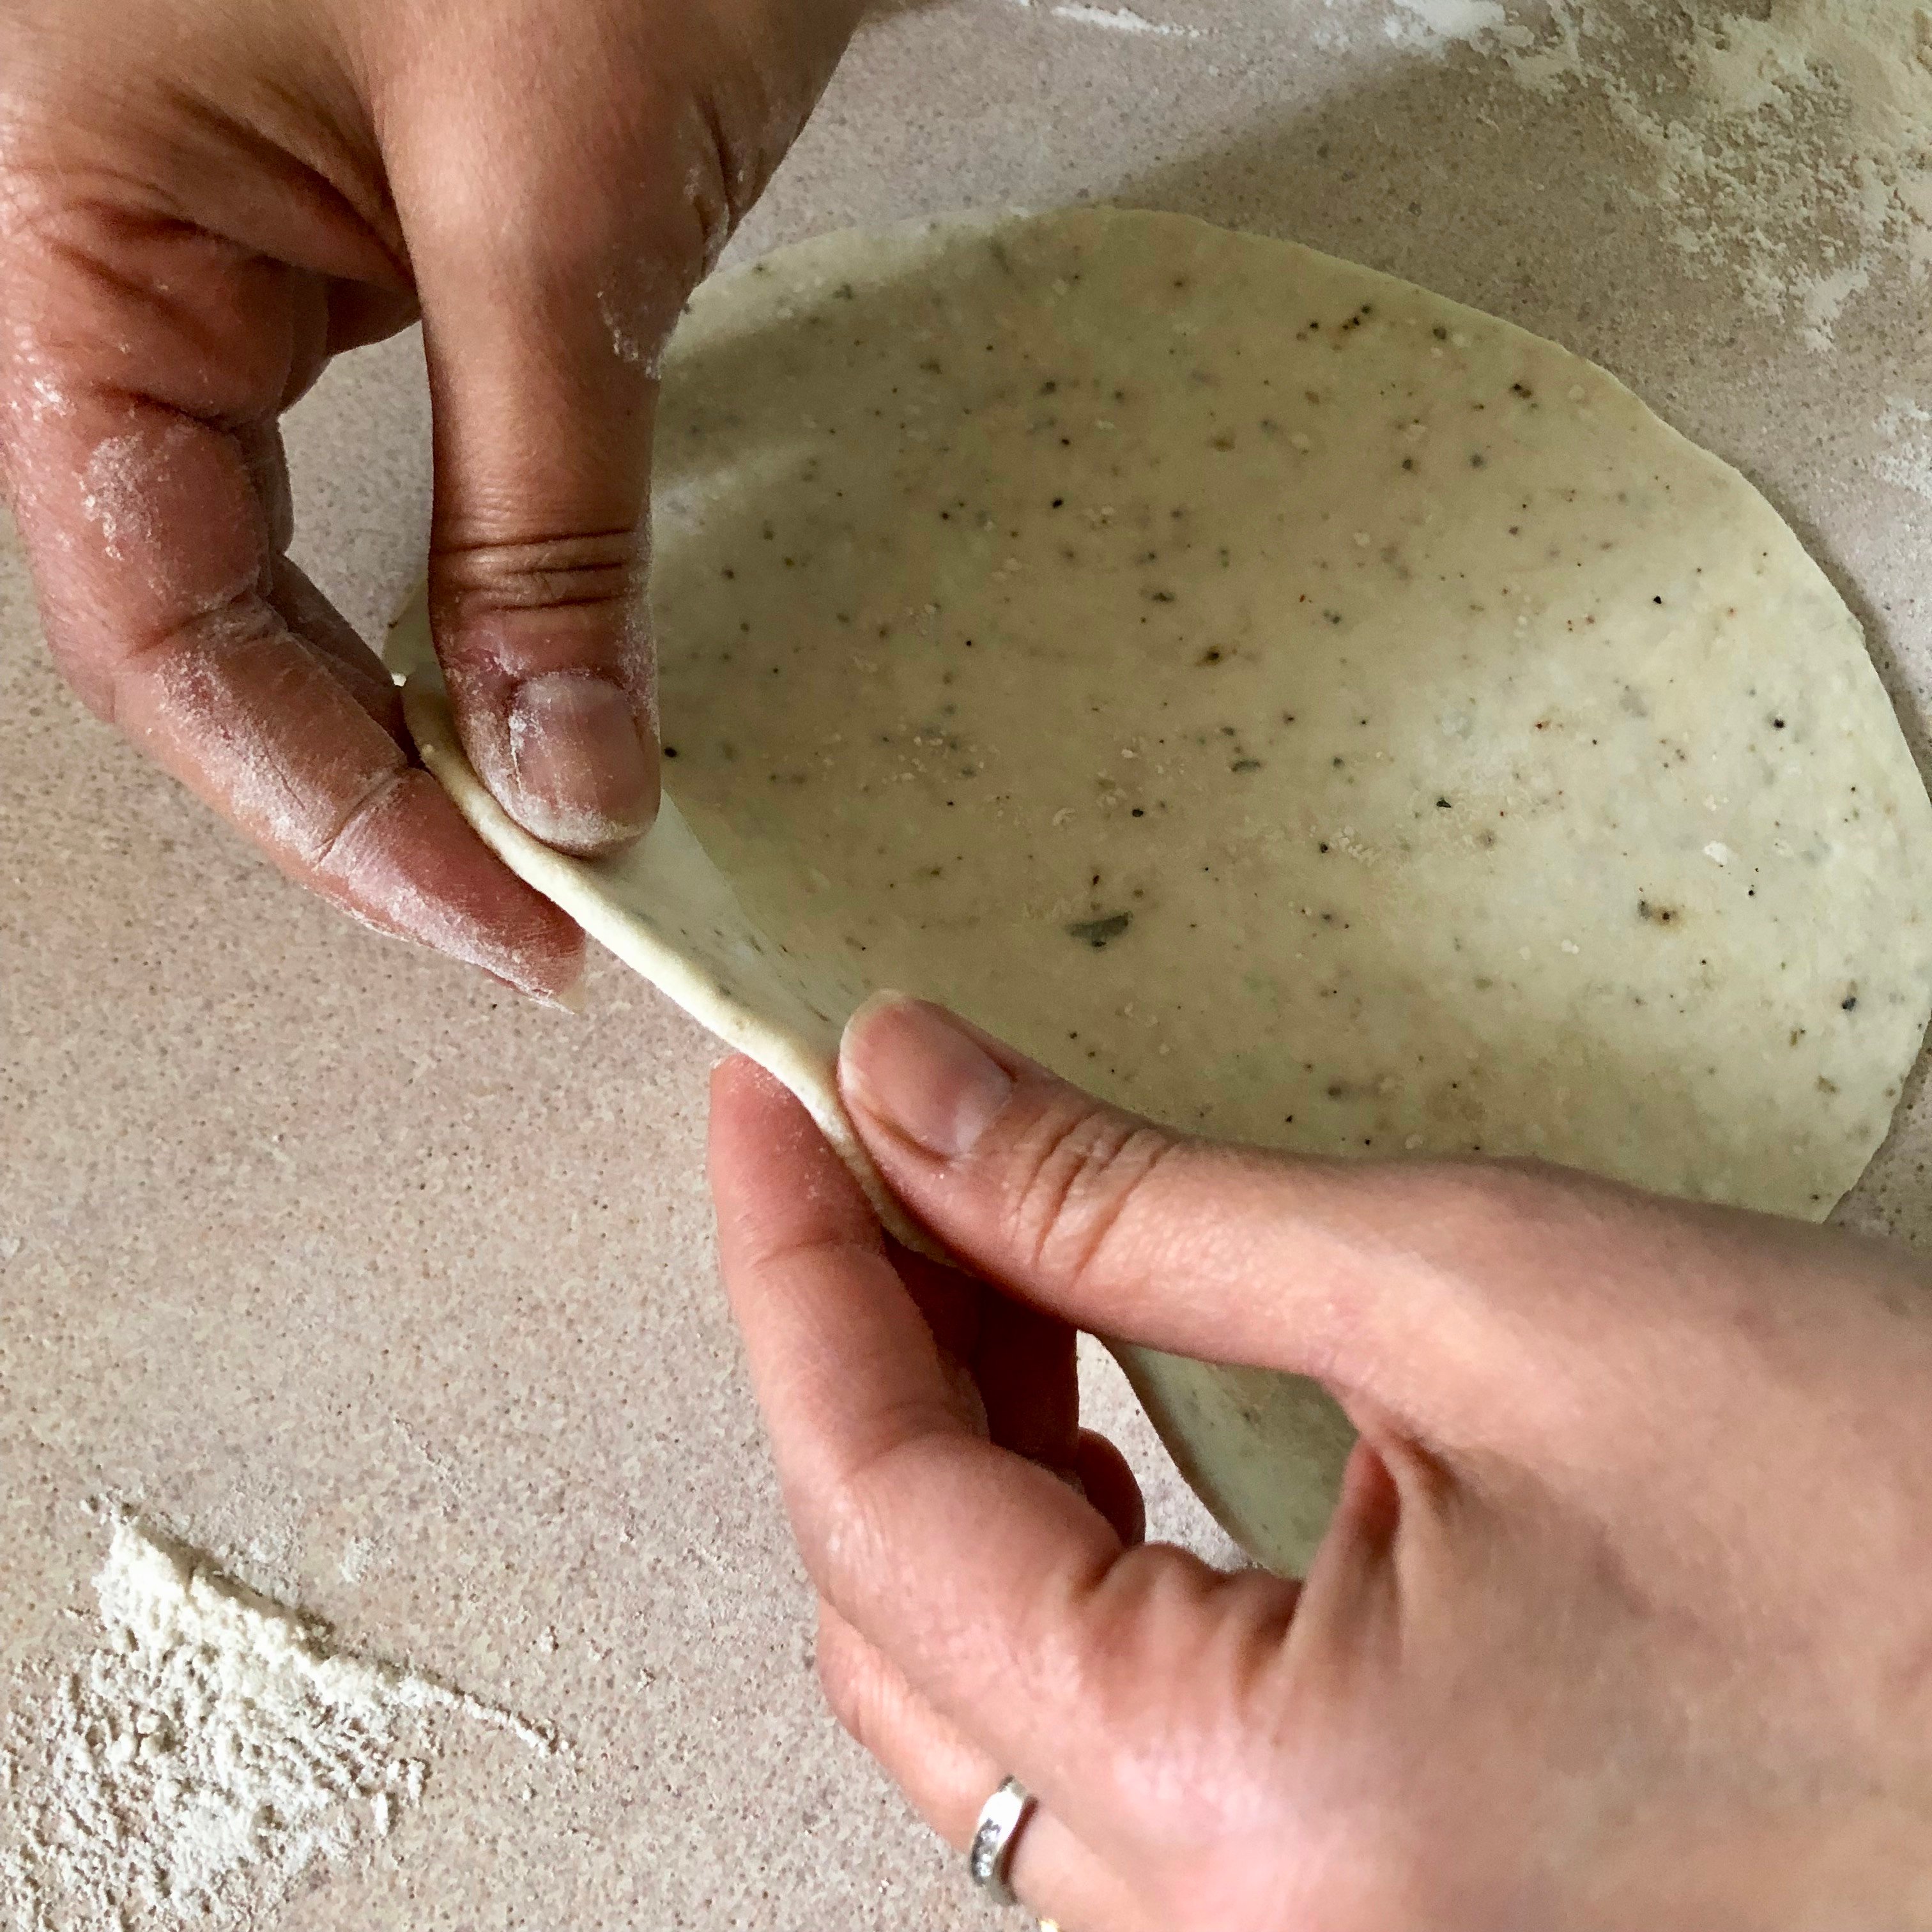
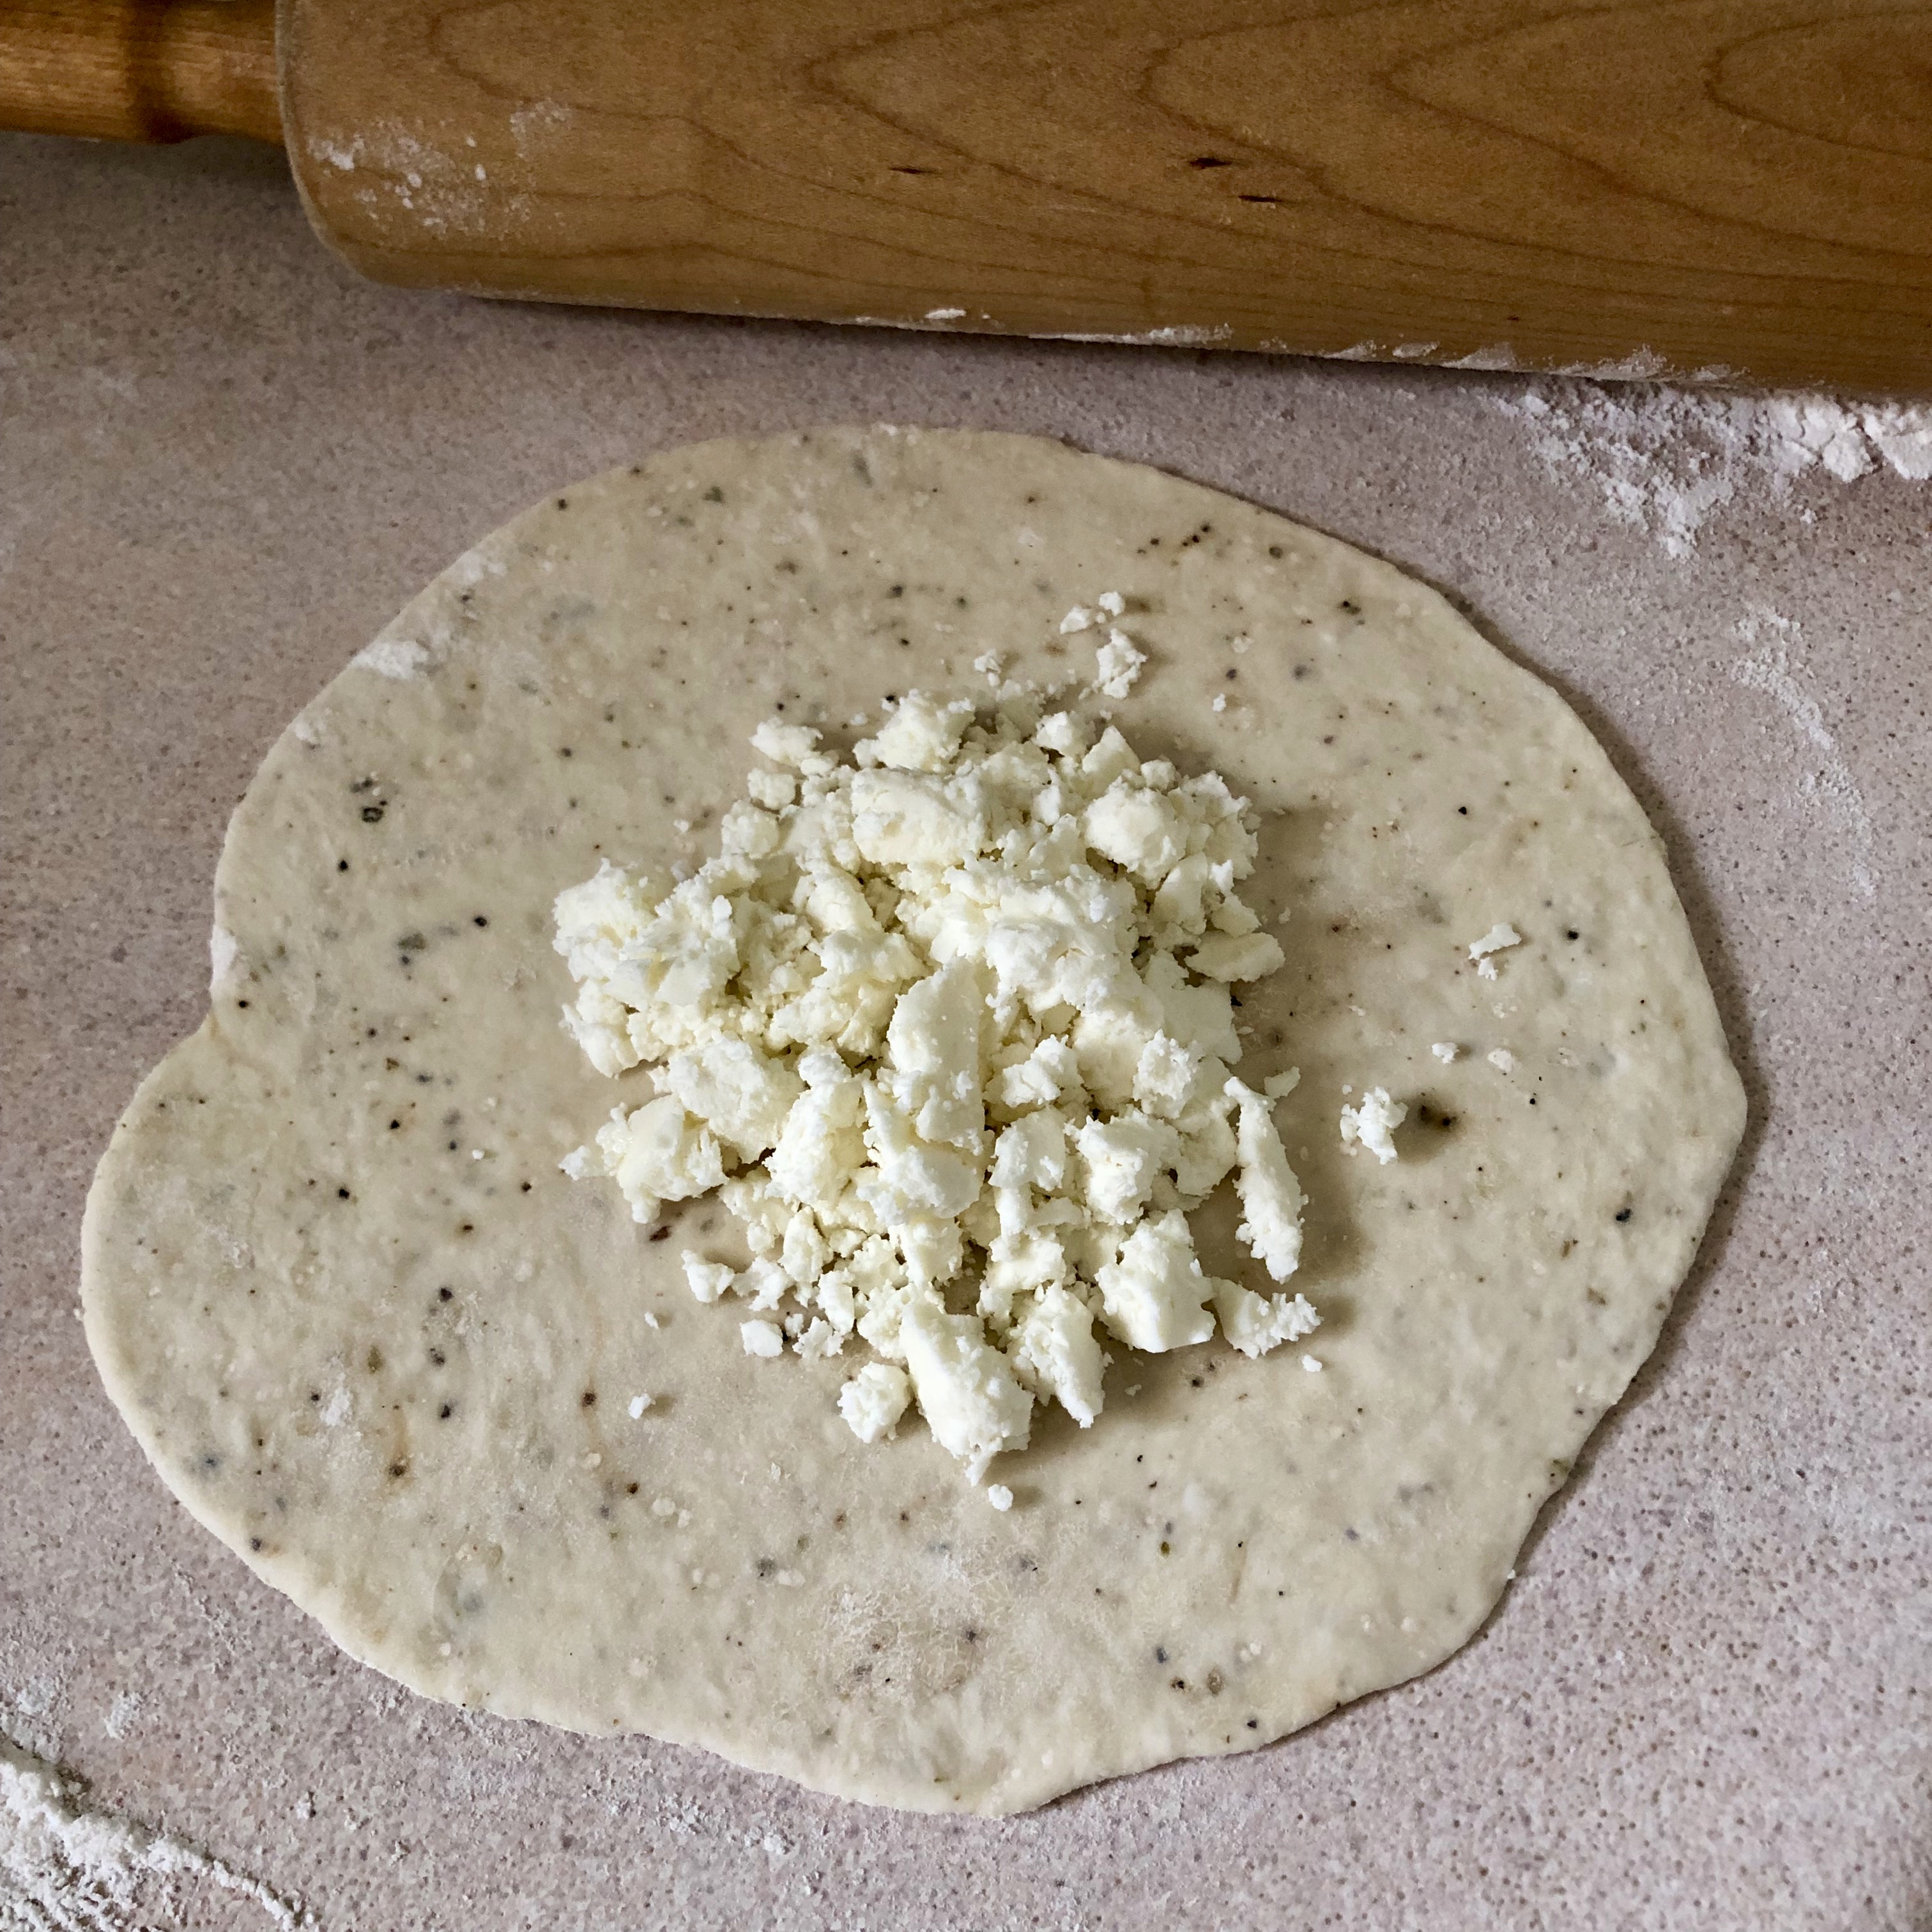
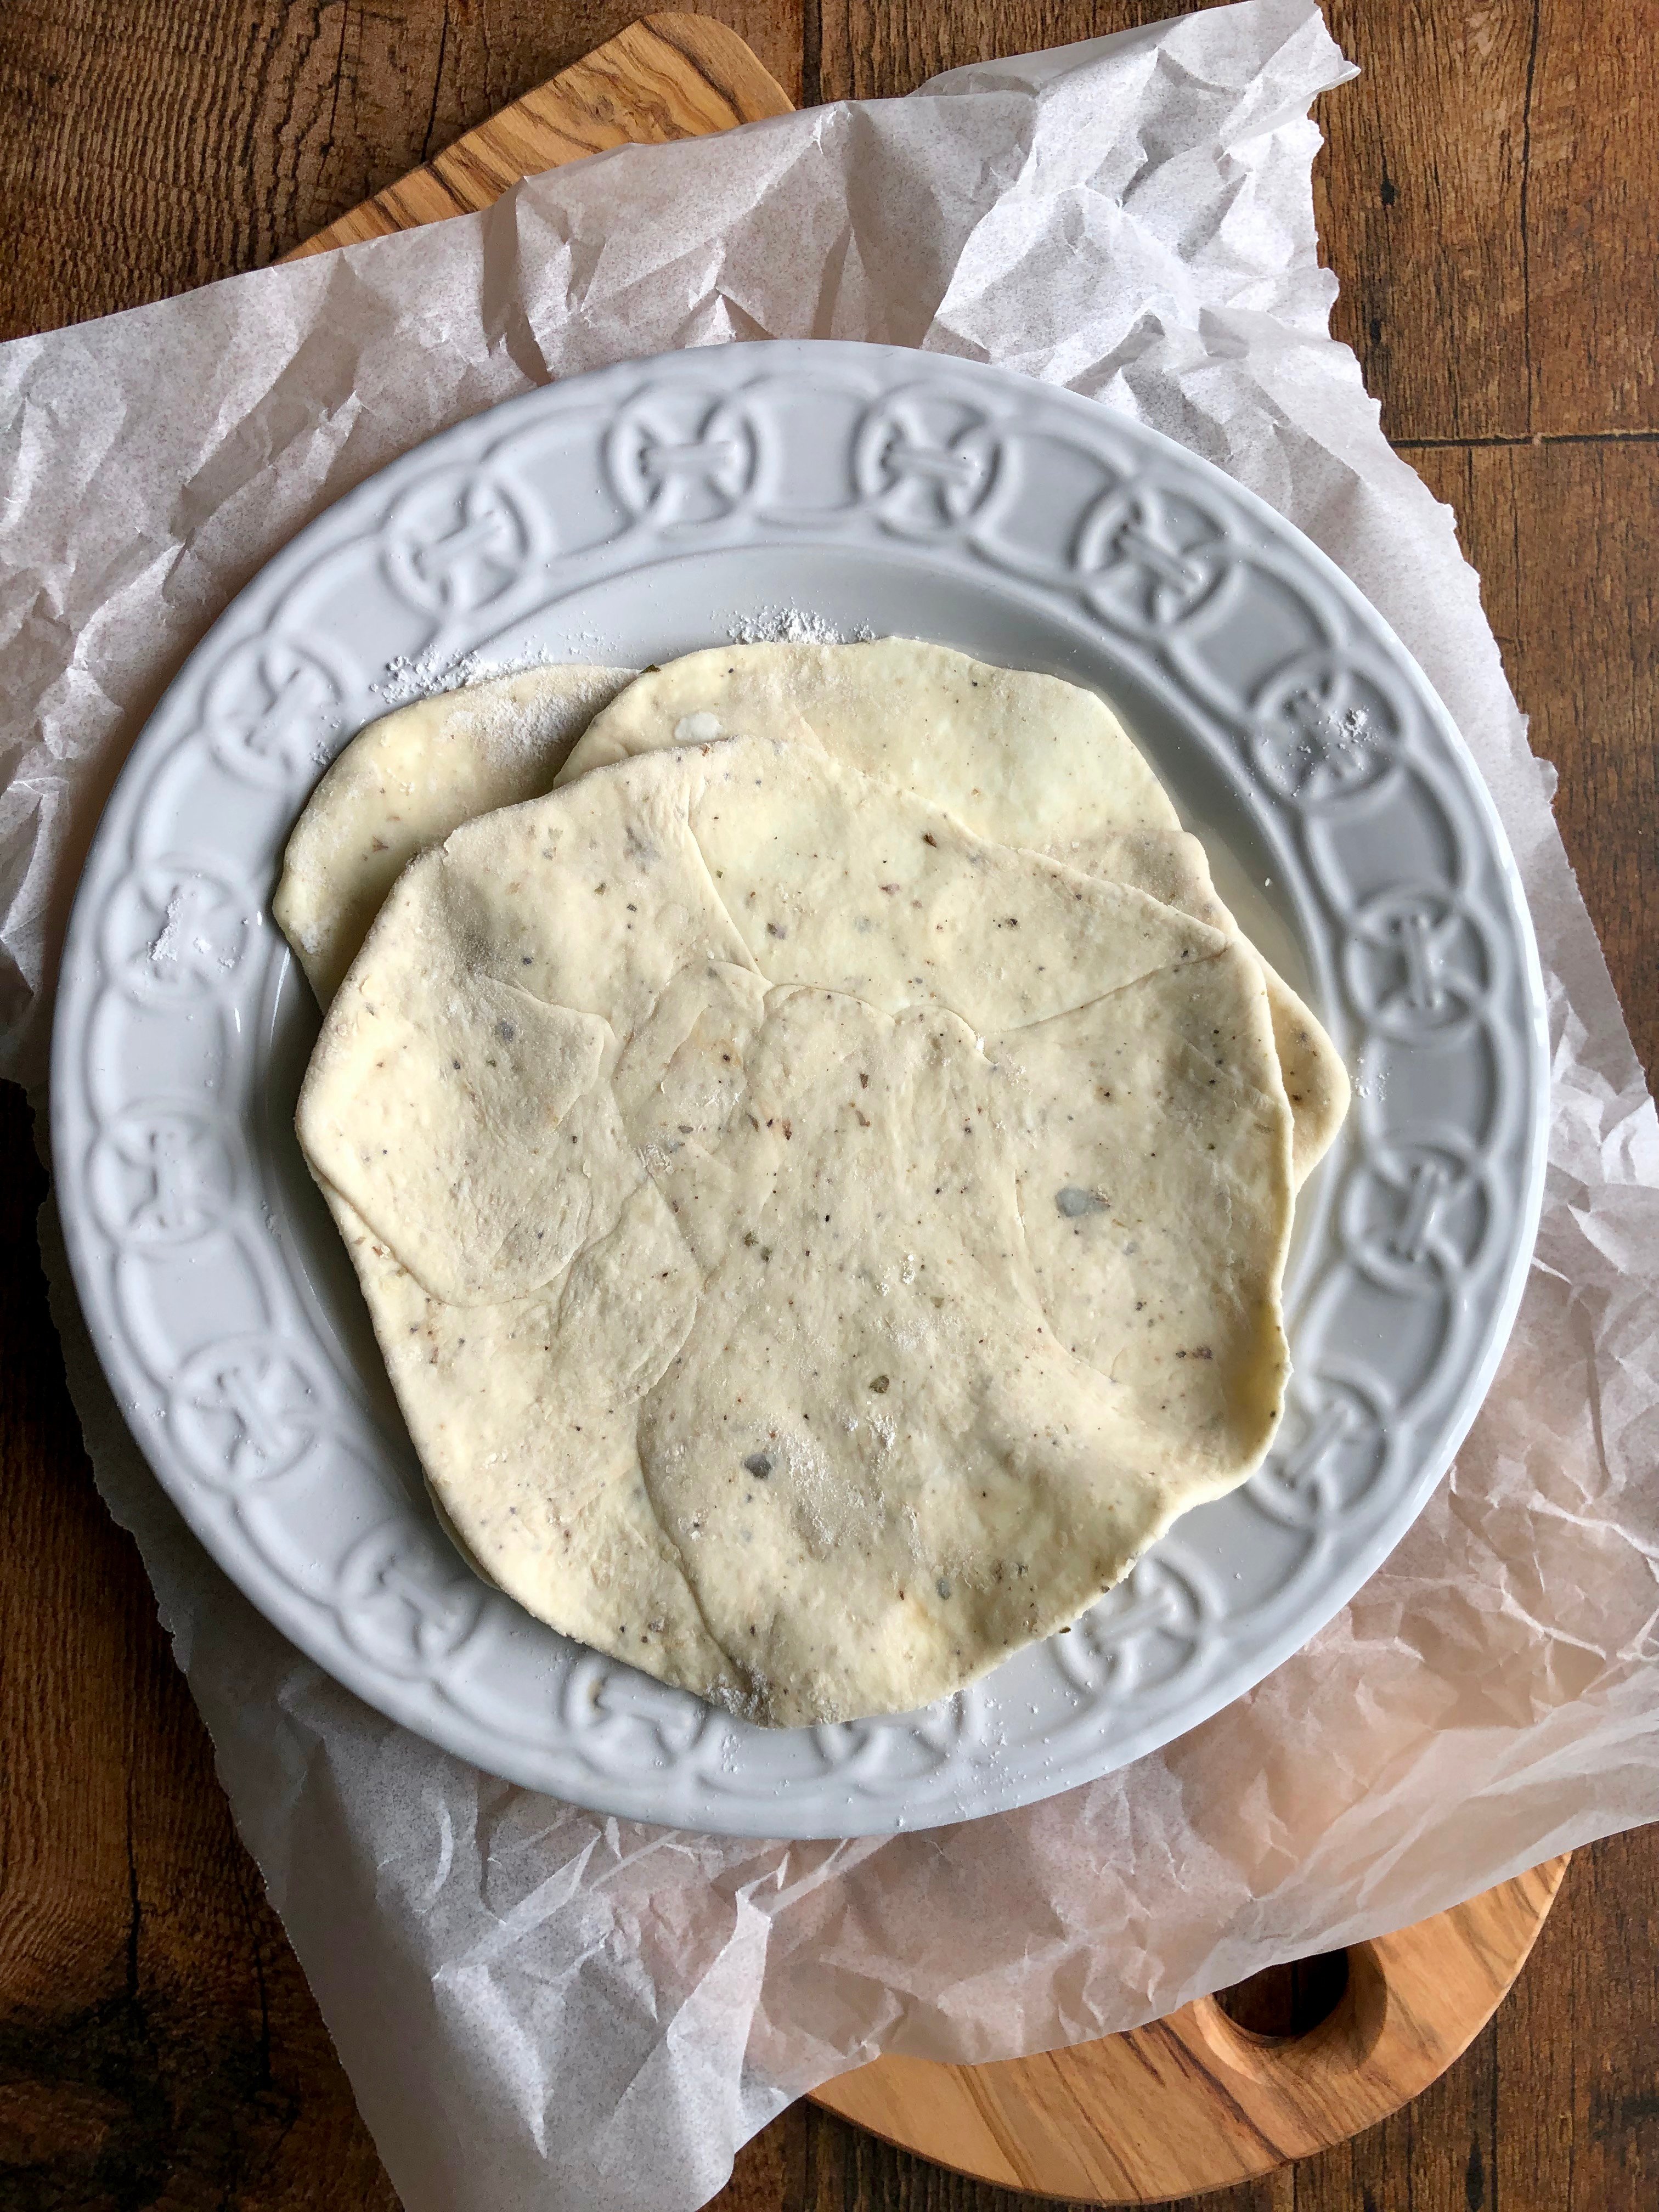
Take one piece of dough and roll it into a circle until it is about 1/3 – 1/4 of a centimeter thick. Into the center of this circle place 1/10 of the crumbled feta (again, this does not need to be exact).
Step 5
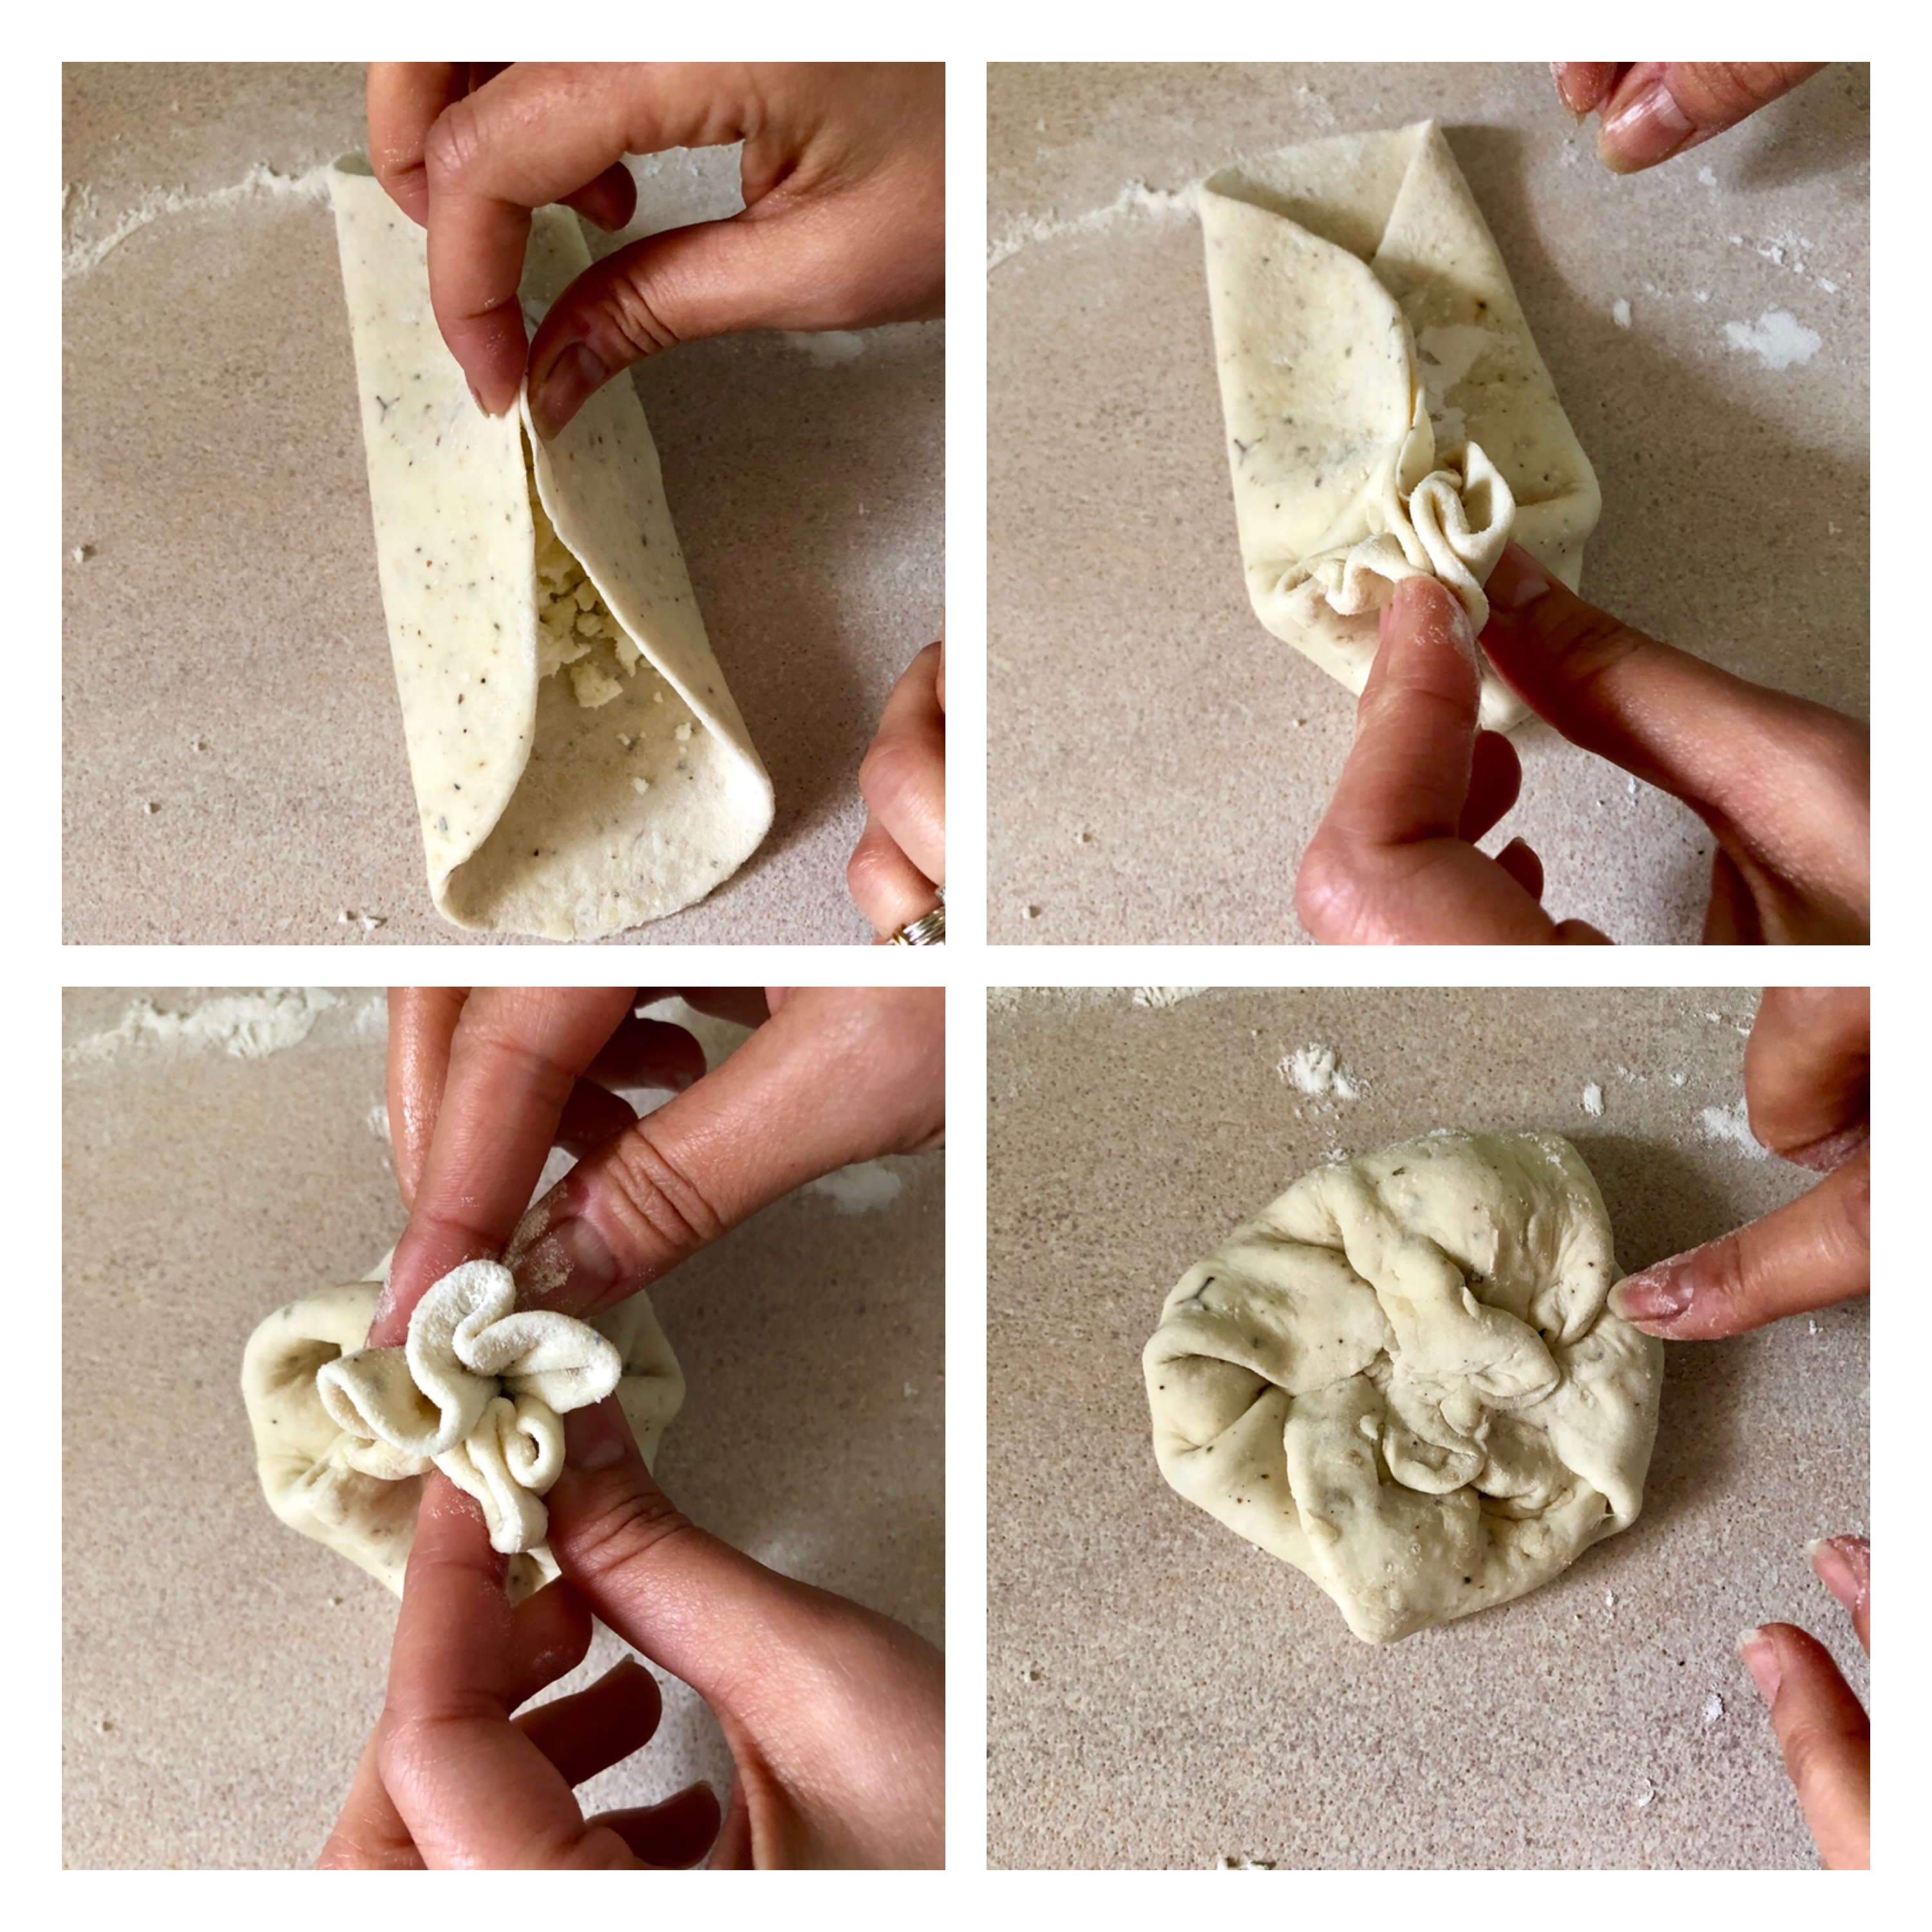
Fold your dough so that you create a pouch (see photos). Using your fingers, seal all edges of the dough together. Press down and flatten with the palm of your hand. Then, using your rolling pin, roll our the dough so that you make a circle which is the diameter of a dessert plate (approximately). See video here. Set aside. Sprinkle a bit of flour on top of your dough. As you prepare the rest of your dough you can stack them one on top of the other until you are ready to fry them; the flour will prevent them from sticking to one another.
Step 6
Repeat with the rest of your dough.
Step 7
To fry the tiganopsoma, add enough olive oil to a non-stick pan so that it comes up about 1/3 of an inch. Set the heat to medium.
Step 8
When your oil is hot, add one tiganospomo at a time. Cook for between 1 minutes to 2 minutes per side, depending upon how hot the oil is, and how thin you have made your tiganospoma. The dough should be a golden brown colour. We find it works best when we cook each side for a minute, and then flip over again if required for 30 seconds at a time.
Step 9
When cooked, transfer to a wire rack while you repeat with the rest of the dough.
Step 10
If you would like to serve these as a sweet, drizzle honey on top of the tiganospomo. If you prefer them savoury, serve as is.
Helpful hints
Allow the dough to rest
When making tiganopsomo make sure that you allow the dough to rest for the indicated amount of time as this will make it easier to roll. When rolling out your dough, both before you fill it with feta and after, make sure to keep it thin as indicated (I suggest between 1/3 and 1/2 centimeter thick). This will ensure that the bread cooks through.
How to add the feta
Although you might be tempted to pack your tiganopsomo full of feta (because feta is just that good!), this is a case where less is more. Use too much feta and you might find yourself with dough that splits open, and feta the seeps out during the frying process.
Perhaps the most complicated part of making tiganopsomo is inserting the feta in a way that it does not leak out while cooking. I have included step by step instructions in the actual recipe, but encourage you to consult the photos as well. You may find your own technique, but this is the way my parents taught me to do it, and it works really well.
Fry carefully
When making tiganospomo with feta you have to be sure to fry it so that it is cooked through, without burning the bread. This is relatively easy to do if you keep a few things in mind. Do not put too much oil in your pan; you are not deep-frying the bread. Keep your heat at medium, and check your time. I find that cooking the tiganospomo for one minute per side, and then flipping it for an additional 30 seconds per side (for a total of 3 minutes) works perfectly. Remember that this is pretty thin bread, so it cooks up quickly.
Burst any bubbles when frying
If your tiganospomo starts to bubble up as it is frying, take a sharp knife and pierce the bubble. You don’t want dough and feta exploding everywhere.
Recipe variations
You can make tiganospomo with different types of cheeses; tiganospomo with halloumi is great (you can grate the halloumi) or kefalotyri would also be amazing. Even using a soft mizithra would taste great, and work out well.
How to serve
Serve this amazing Greek fried bread alongside a fresh salad like a Greek horiatiki or maroulosalata; this will make a great light meal.
How to store
Tiganopsomo is best served immediately after it is made. If you must make them in advance however, you can reheat them in the oven. Preheat to 320 degrees Fahrenheit and place your fried bread on a baking sheet and heat until warmed through, about 10 minutes.


Related recipes
Sesame coated fried feta with honey and walnuts
Tiganopsomo with feta
Ingredients
- 500 grams all purpose flour
- 8 grams dried yeast
- 1/2 tbsp sugar
- 1 tsp dried oregano
- 1/2 tsp ground black pepper
- 1/2 tsp salt
- 2 tsp olive oil
- 300 grams warm water
- 350 grams crumbled feta
- 1/4 cup all purpose flour for dusting counter and rolling out dough
- 1/3 cup olive oil for frying
- 1/4 cup honey optional
Instructions
- In the bowl of a stand mixer combine the flour, yeast, sugar, oregano, salt, pepper, olive oil and warm water. Using the dough hook attachment of your mixer, mix the ingredients and the dough for approximately 5 minutes.500 grams all purpose flour, 8 grams dried yeast, 1/2 tbsp sugar, 1 tsp dried oregano, 1/2 tsp ground black pepper, 1/2 tsp salt, 2 tsp olive oil, 300 grams warm water
- Lightly grease a medium sized bowl and transfer the dough to it. Cover loosely with a clean kitchen towel and let rise for at least one hour.
- Once the rising time has past, divide your dough into 10 equal pieces (this does not need to be exact.)
- Take one piece of dough and roll it into a circle until it is about 1/3 – 1/4 of a centimeter thick. Into the center of this circle place 1/10 of the crumbled feta (again, this does not need to be exact).350 grams crumbled feta
- Fold your dough so that you create a pouch (see photos). Using your fingers, seal all edges of the dough together. Press down and flatten with the palm of your hand. Then, using your rolling pin, roll our the dough so that you make a circle which is the diameter of a dessert plate (approximately). See video here. Set aside. Sprinkle a bit of flour on top of your dough. As you prepare the rest of your dough you can stack them one on top of the other until you are ready to fry them; the flour will prevent them from sticking to one another.1/4 cup all purpose flour
- Repeat with the rest of your dough.
- To fry the tiganopsoma, add enough olive oil to a non-stick pan so that it comes up about 1/3 of an inch. Set the heat to medium.1/3 cup olive oil
- When your oil is hot, add one tiganospomo at a time. Cook for between 1 minutes to 2 minutes per side, depending upon how hot the oil is, and how thin you have made your tiganospoma. The dough should be a golden brown colour. We find it works best when we cook each side for a minute, and then flip over again if required for 30 seconds at a time.
- When cooked, transfer to a wire rack while you repeat with the rest of the dough.
- If you would like to serve these as a sweet, drizzle honey on top of the tiganospomo. If you prefer them savoury, serve as is.1/4 cup honey
- Enjoy!
First time making it… came out great, but My question is how loose is the dough supposed to be? I added the 500 grams of flour and rest of the ingredients and the dough didn’t tighten up
So I ended up adding way more flour than called for until it formed a ball. Maybe I got lucky lol because the dough didn’t rise much. Tips or tell
Me what I did wrong ? Thanks
Hi Mary! We’re so glad that you tried the recipe and loved it! As for the dough – it needs to hold together enough where you can make it into a ball and then roll it out; it doesn’t need to feel too “tight” when you allow it to rise. Many factors may affect how much flour you add, including how the flour was measured in the first place, and the flour itself. So long as the final texture turned out well, then we would continue to do as you did, and add flour until you reach the consistency you see in the photos and video of the post. Hope that’s helpful! xoxo Helen & Billie
Thank you ! Keep giving us your lovely recipes!!!
You’re welcome! We plan to 🙂 Thanks for being here with us! oxoxo Helen & Billie
Thank you ffor this
You’re welcome!!! Enjoy! xoxo Helen & Billie
How do I store these? I made them and they are great. I have them sitting on the counter now uncovered. Do they go in the fridge? Do I keep them at room temp? Do I cover?
Hi Stell! So glad that you made our recipe for tiganospomo and are enjoying them. We usually keep them at room temperature for a day or so – any longer and they go in the fridge. To reheat we place them in the microwave and then a dry skillet to crisp them up. Hope that helps, xoxo Helen & Billie
Absolutely delicious. The amount of rigani and pepper is just right. I especially like the idea of using up dough left over from other purposes.
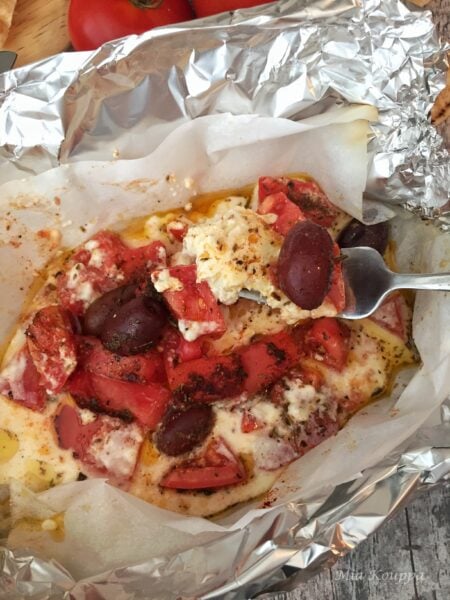
Slices of tomato on top (like one of your favourite breakfasts) almost turned it into a Greek stuffed-crust pizza, which was delightful.
Thank you Charles!! We are so happy that you enjoyed the recipe! Thanks for trying it, and great idea with the tomato! Have a great rest of the day, xoxo Helen & Billie