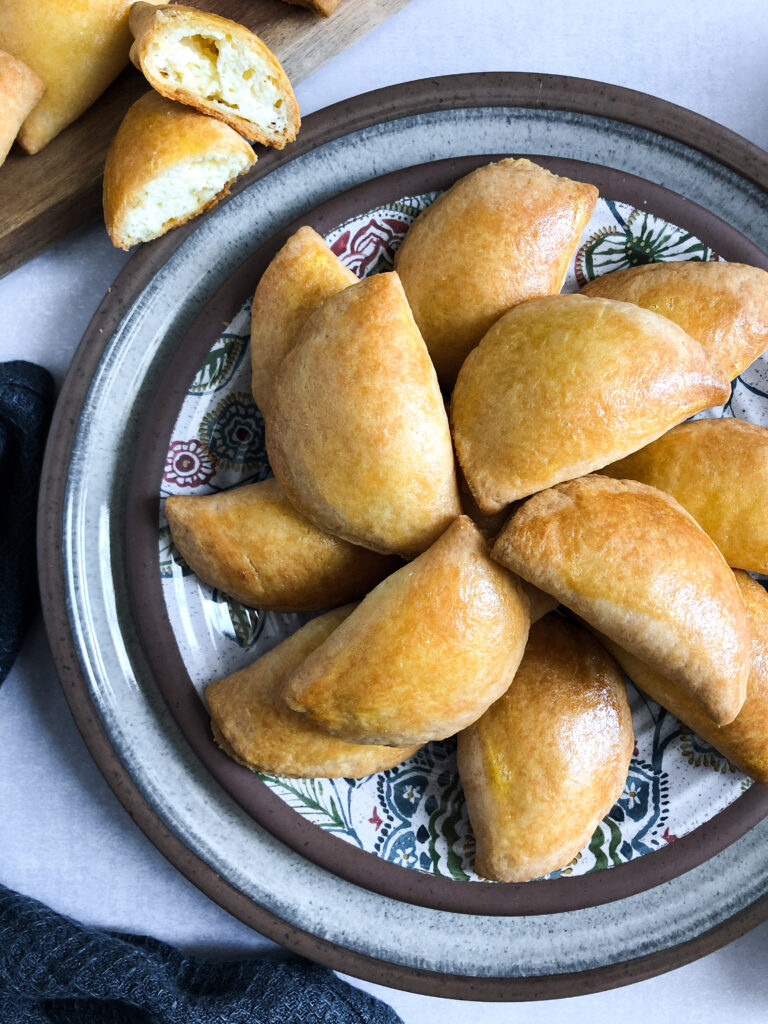
Tyropites with homemade phyllo (Τυρόπιτες με σπιτικό φύλλο)

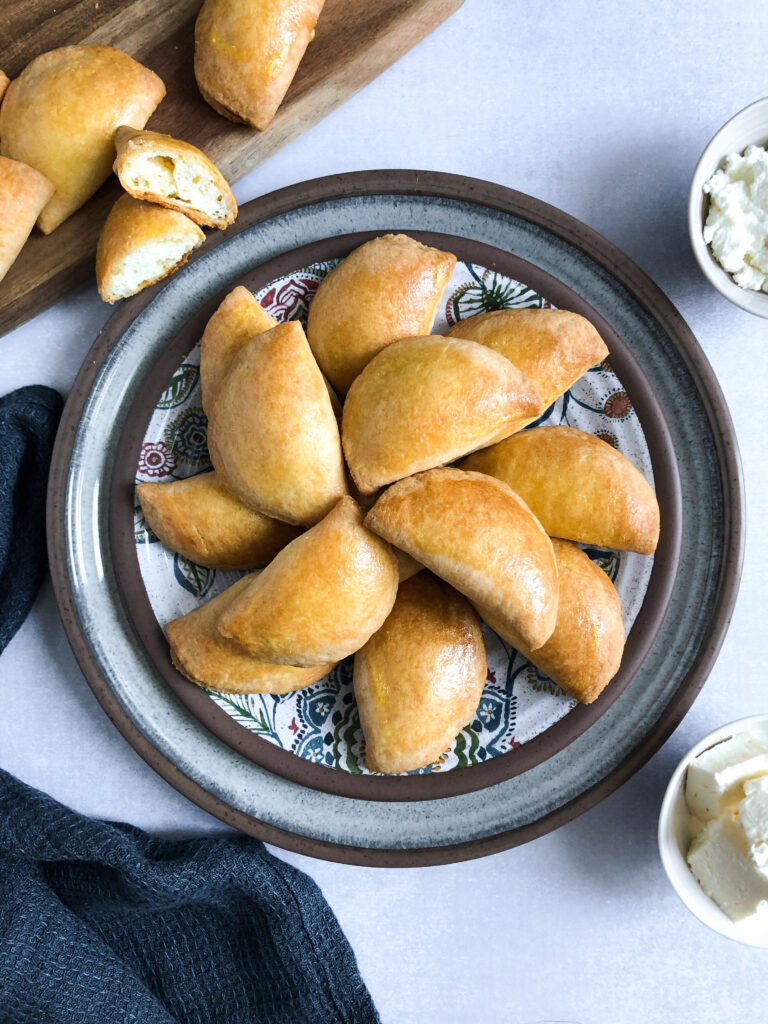
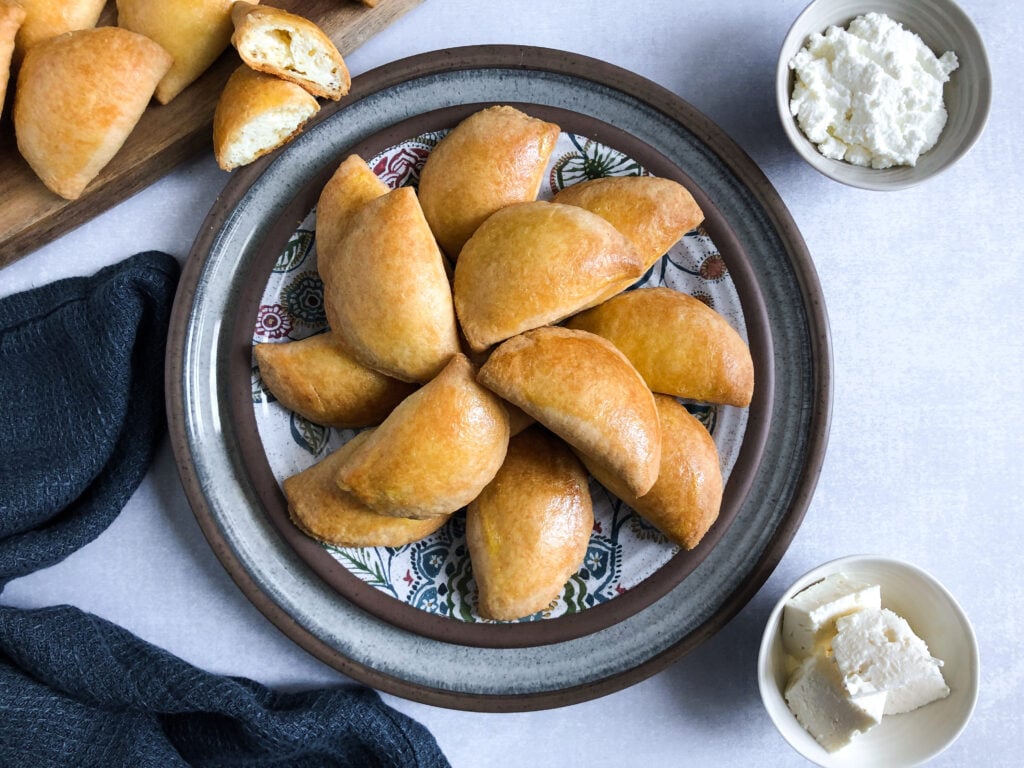
Tyropites with home made phyllo are the perfect appetizer or snack
In Greece, this week marks the last week of a festive carnival season, before the start of Great Lent, which precedes Orthodox Easter. It is a week where many abstain from meat, but happily over indulge in cheese and dairy products in anticipation of the upcoming period of fast, which for many, typically prohibits most animal products. Even those who will not follow a strict fast enjoy the opportunity to celebrate and feast on cheese and things made with cheese. These tyropites, with homemade phyllo dough, are our nod to this carnival week of Tyrini (cheese week).
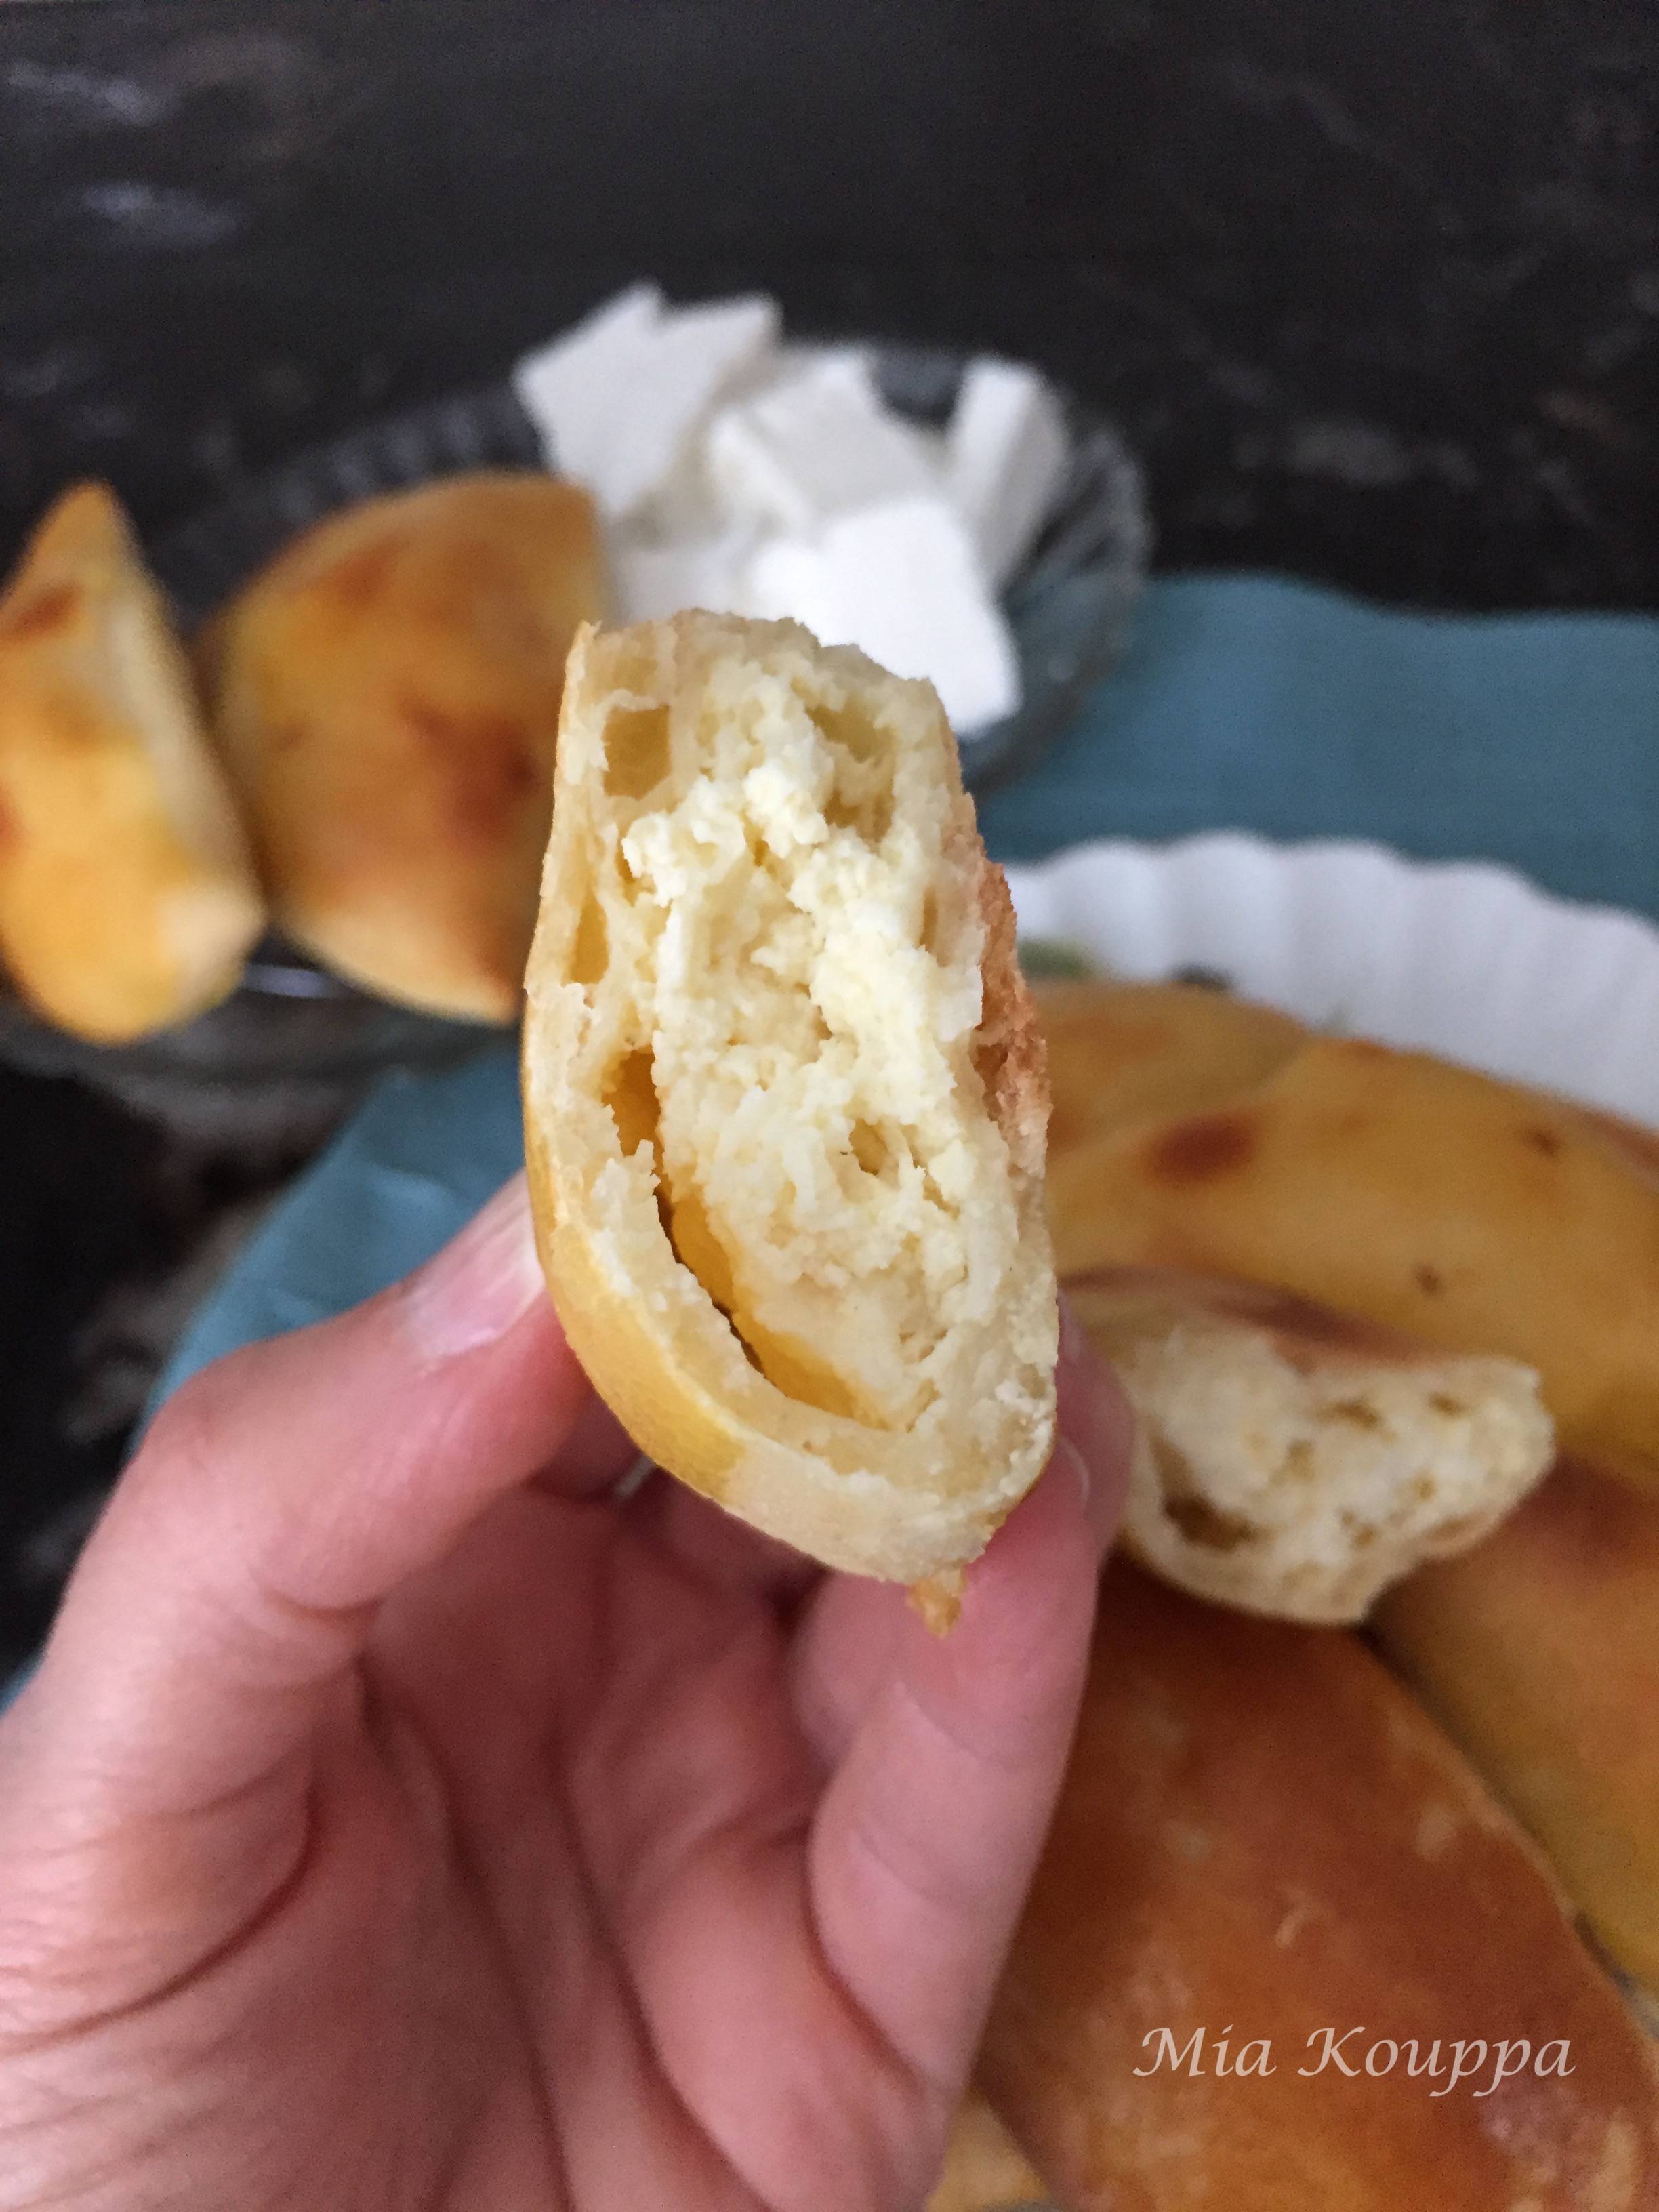
There are so many ways to make tyropites, and every family certainly has their favourite recipe. This is ours. Although making tyropites using store-bought phyllo dough (similar in technique to the spanakopitakia we have shared with you) is another delicious option, making your own phyllo adds another level of deliciousness. In this particular recipe the phyllo is made with yogourt (let’s get as much dairy in here as we can) and the filling is a mixture of ricotta cheese and Greek feta; a combination which is flavourful and light. The result are small packets of creamy, cheese filling wrapped in a flaky, but light, dough. Lovely.
Helpful hints:
We have indicated the total time for preparing these tyropites to be 3 hours; take that with a grain of salt. Keep in mind that preparing your dough will take you about 15 – 20 minutes. It then needs to rest for about 1 hour. During this hour you can start to prepare your filling (total time to prepare your filling should not really be more than about 15 – 20 minutes). At that point, it is time to form your tyropites, and to bake them. Total time will depend on how many hands you have helping you, and how easily you get the hang of shaping them. We estimate that if you decide to shape and then cook the entire batch, you are committing to about 3 hours of work, start to finish.
The filling for these tyropites uses a combination of ricotta cheese and feta cheese. Prior to mixing everything together, drain the ricotta to remove as much liquid as you can. A too wet filling can result in a soggy and unevenly cooked dough.
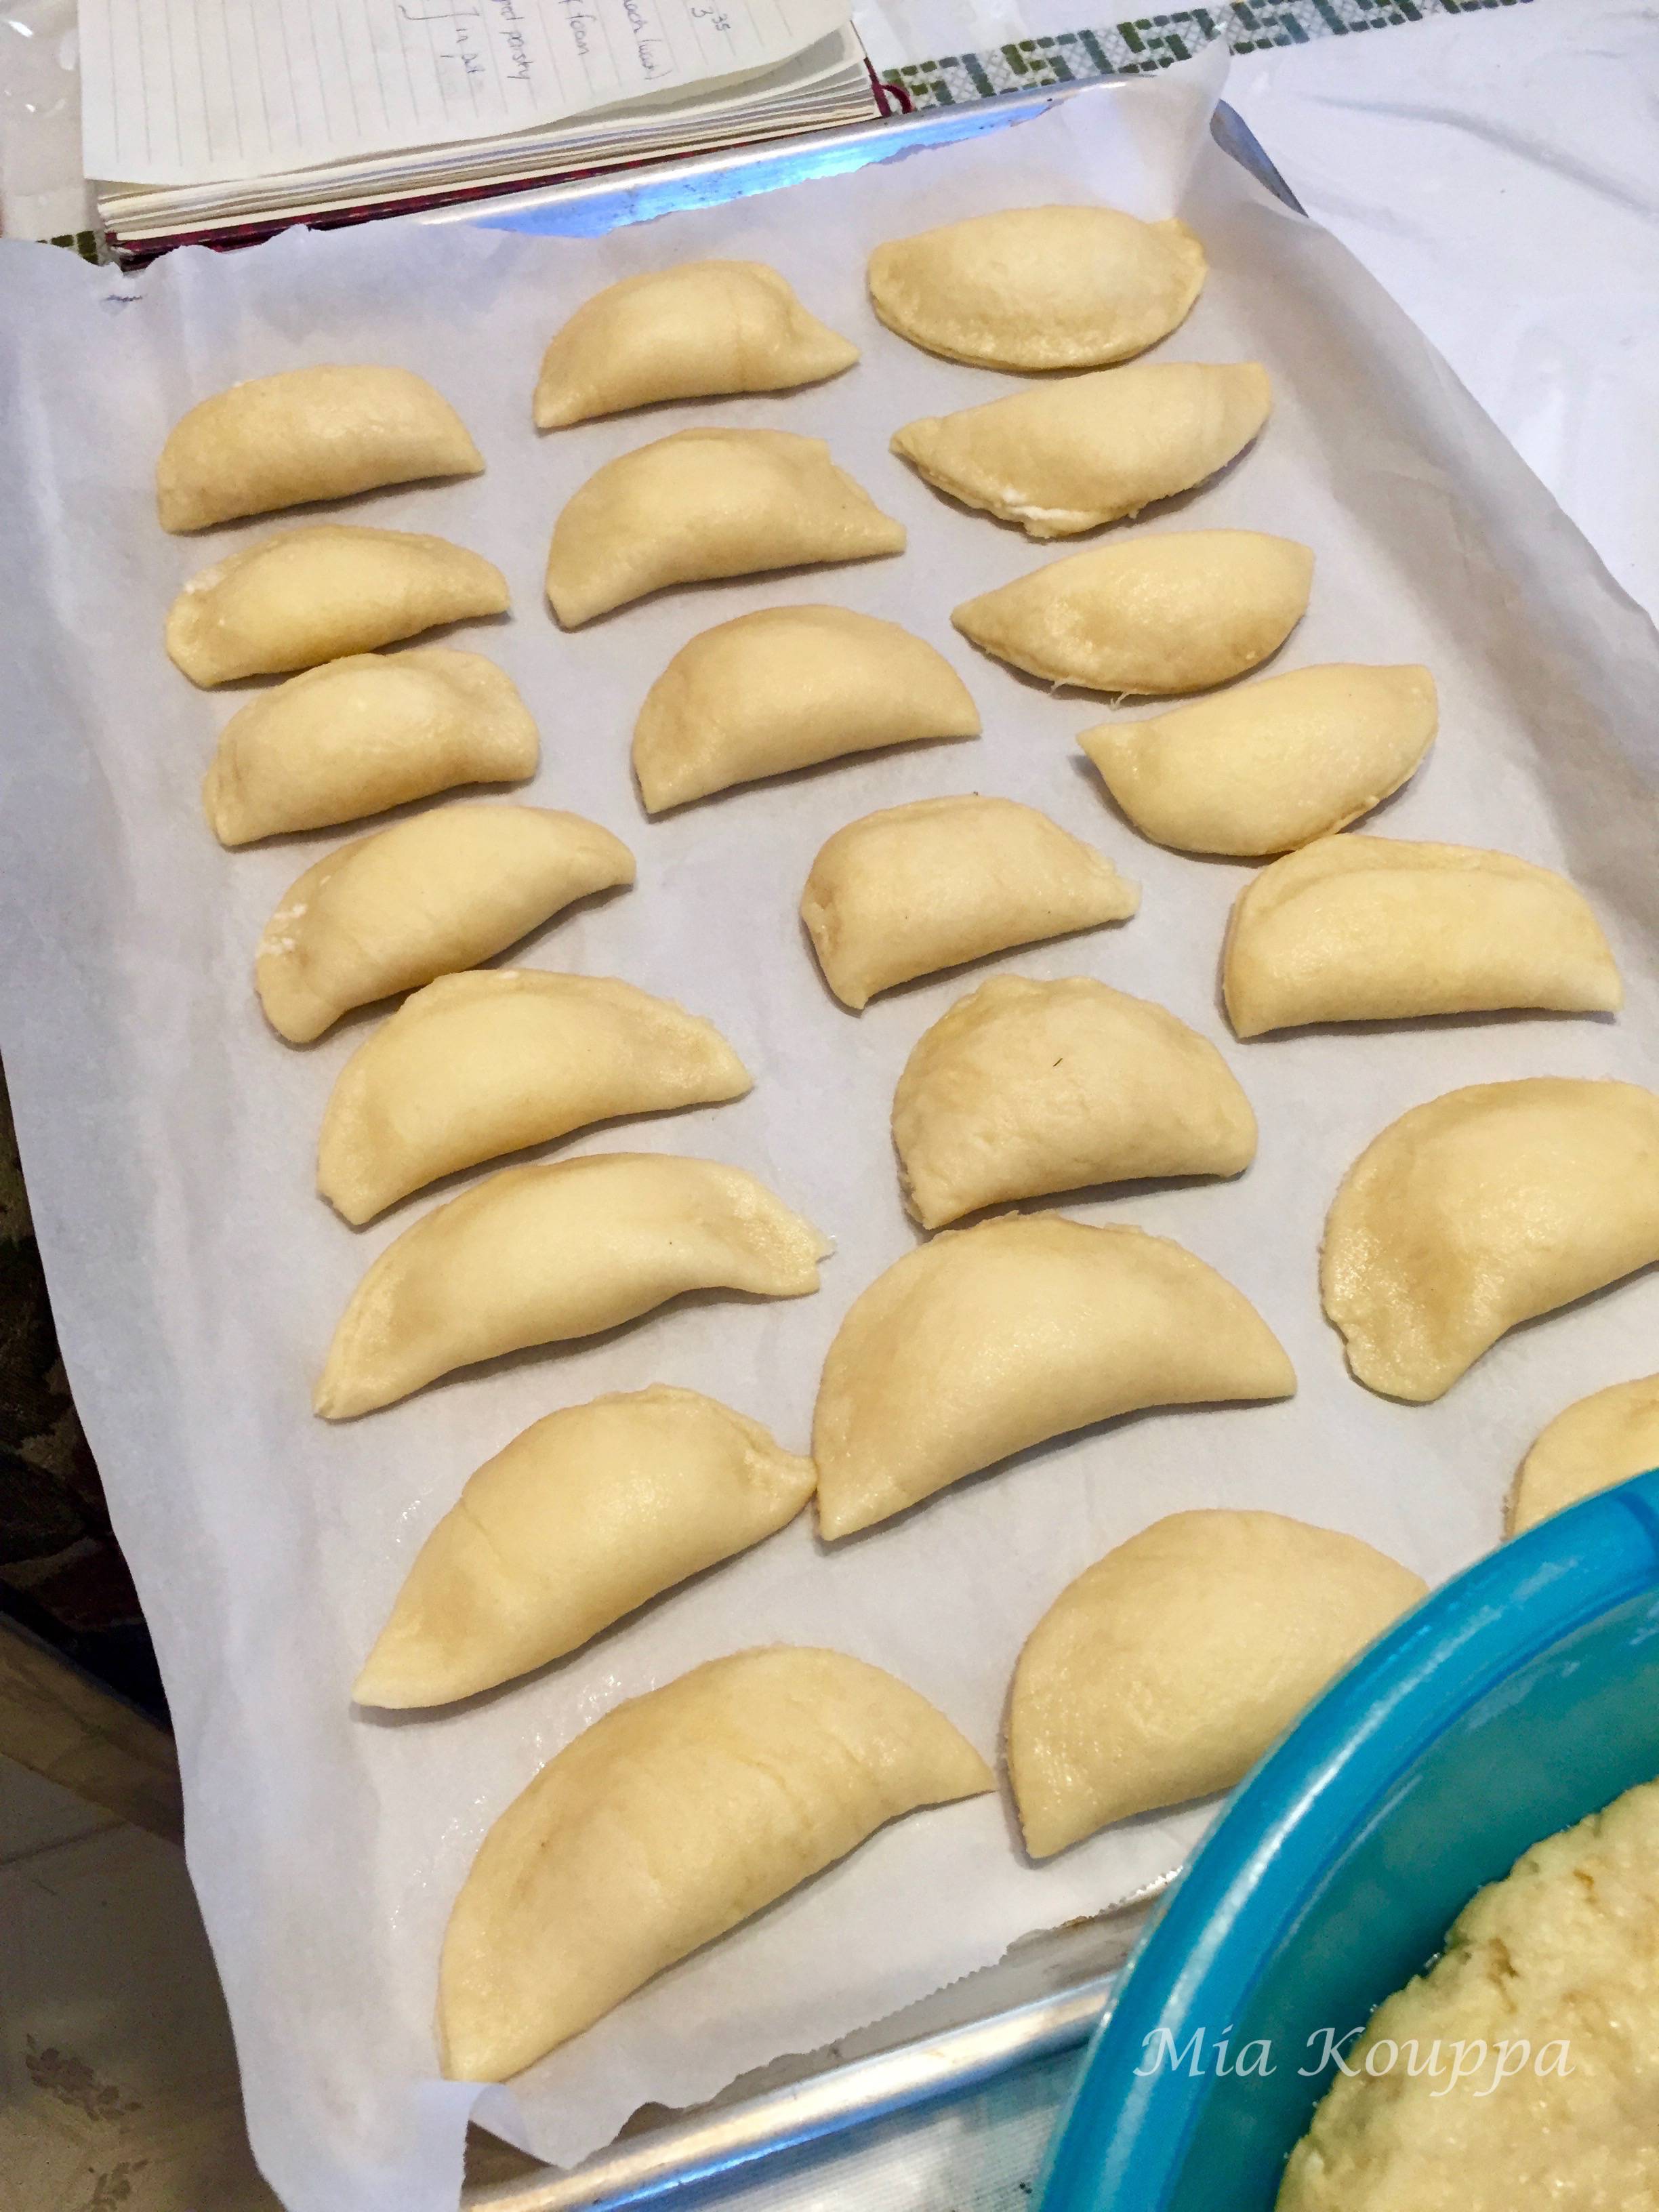
This recipe makes a lot of tyropites…about 70 of them. Although you can easily half the recipe, we don’t think you should. Making these tyropites is an minor event, and takes a time commitment. It really won’t take you that much longer to make 70 versus 35 tyropites, especially if you enlist some help (and for the record, help, when making any kind of pita is a very good thing). Once you have formed your 70 or so tyropites you can bake what you like, and freeze the rest. To freeze, simply place the tyropites on a baking sheet lined with parchment paper, and then, once frozen, store in a freezer bag. When you are ready to bake a few (or 30), simply let them sit out for about 30 minutes, and then bake as directed below. Trust us, you’ll be happy to have this stock on hand.
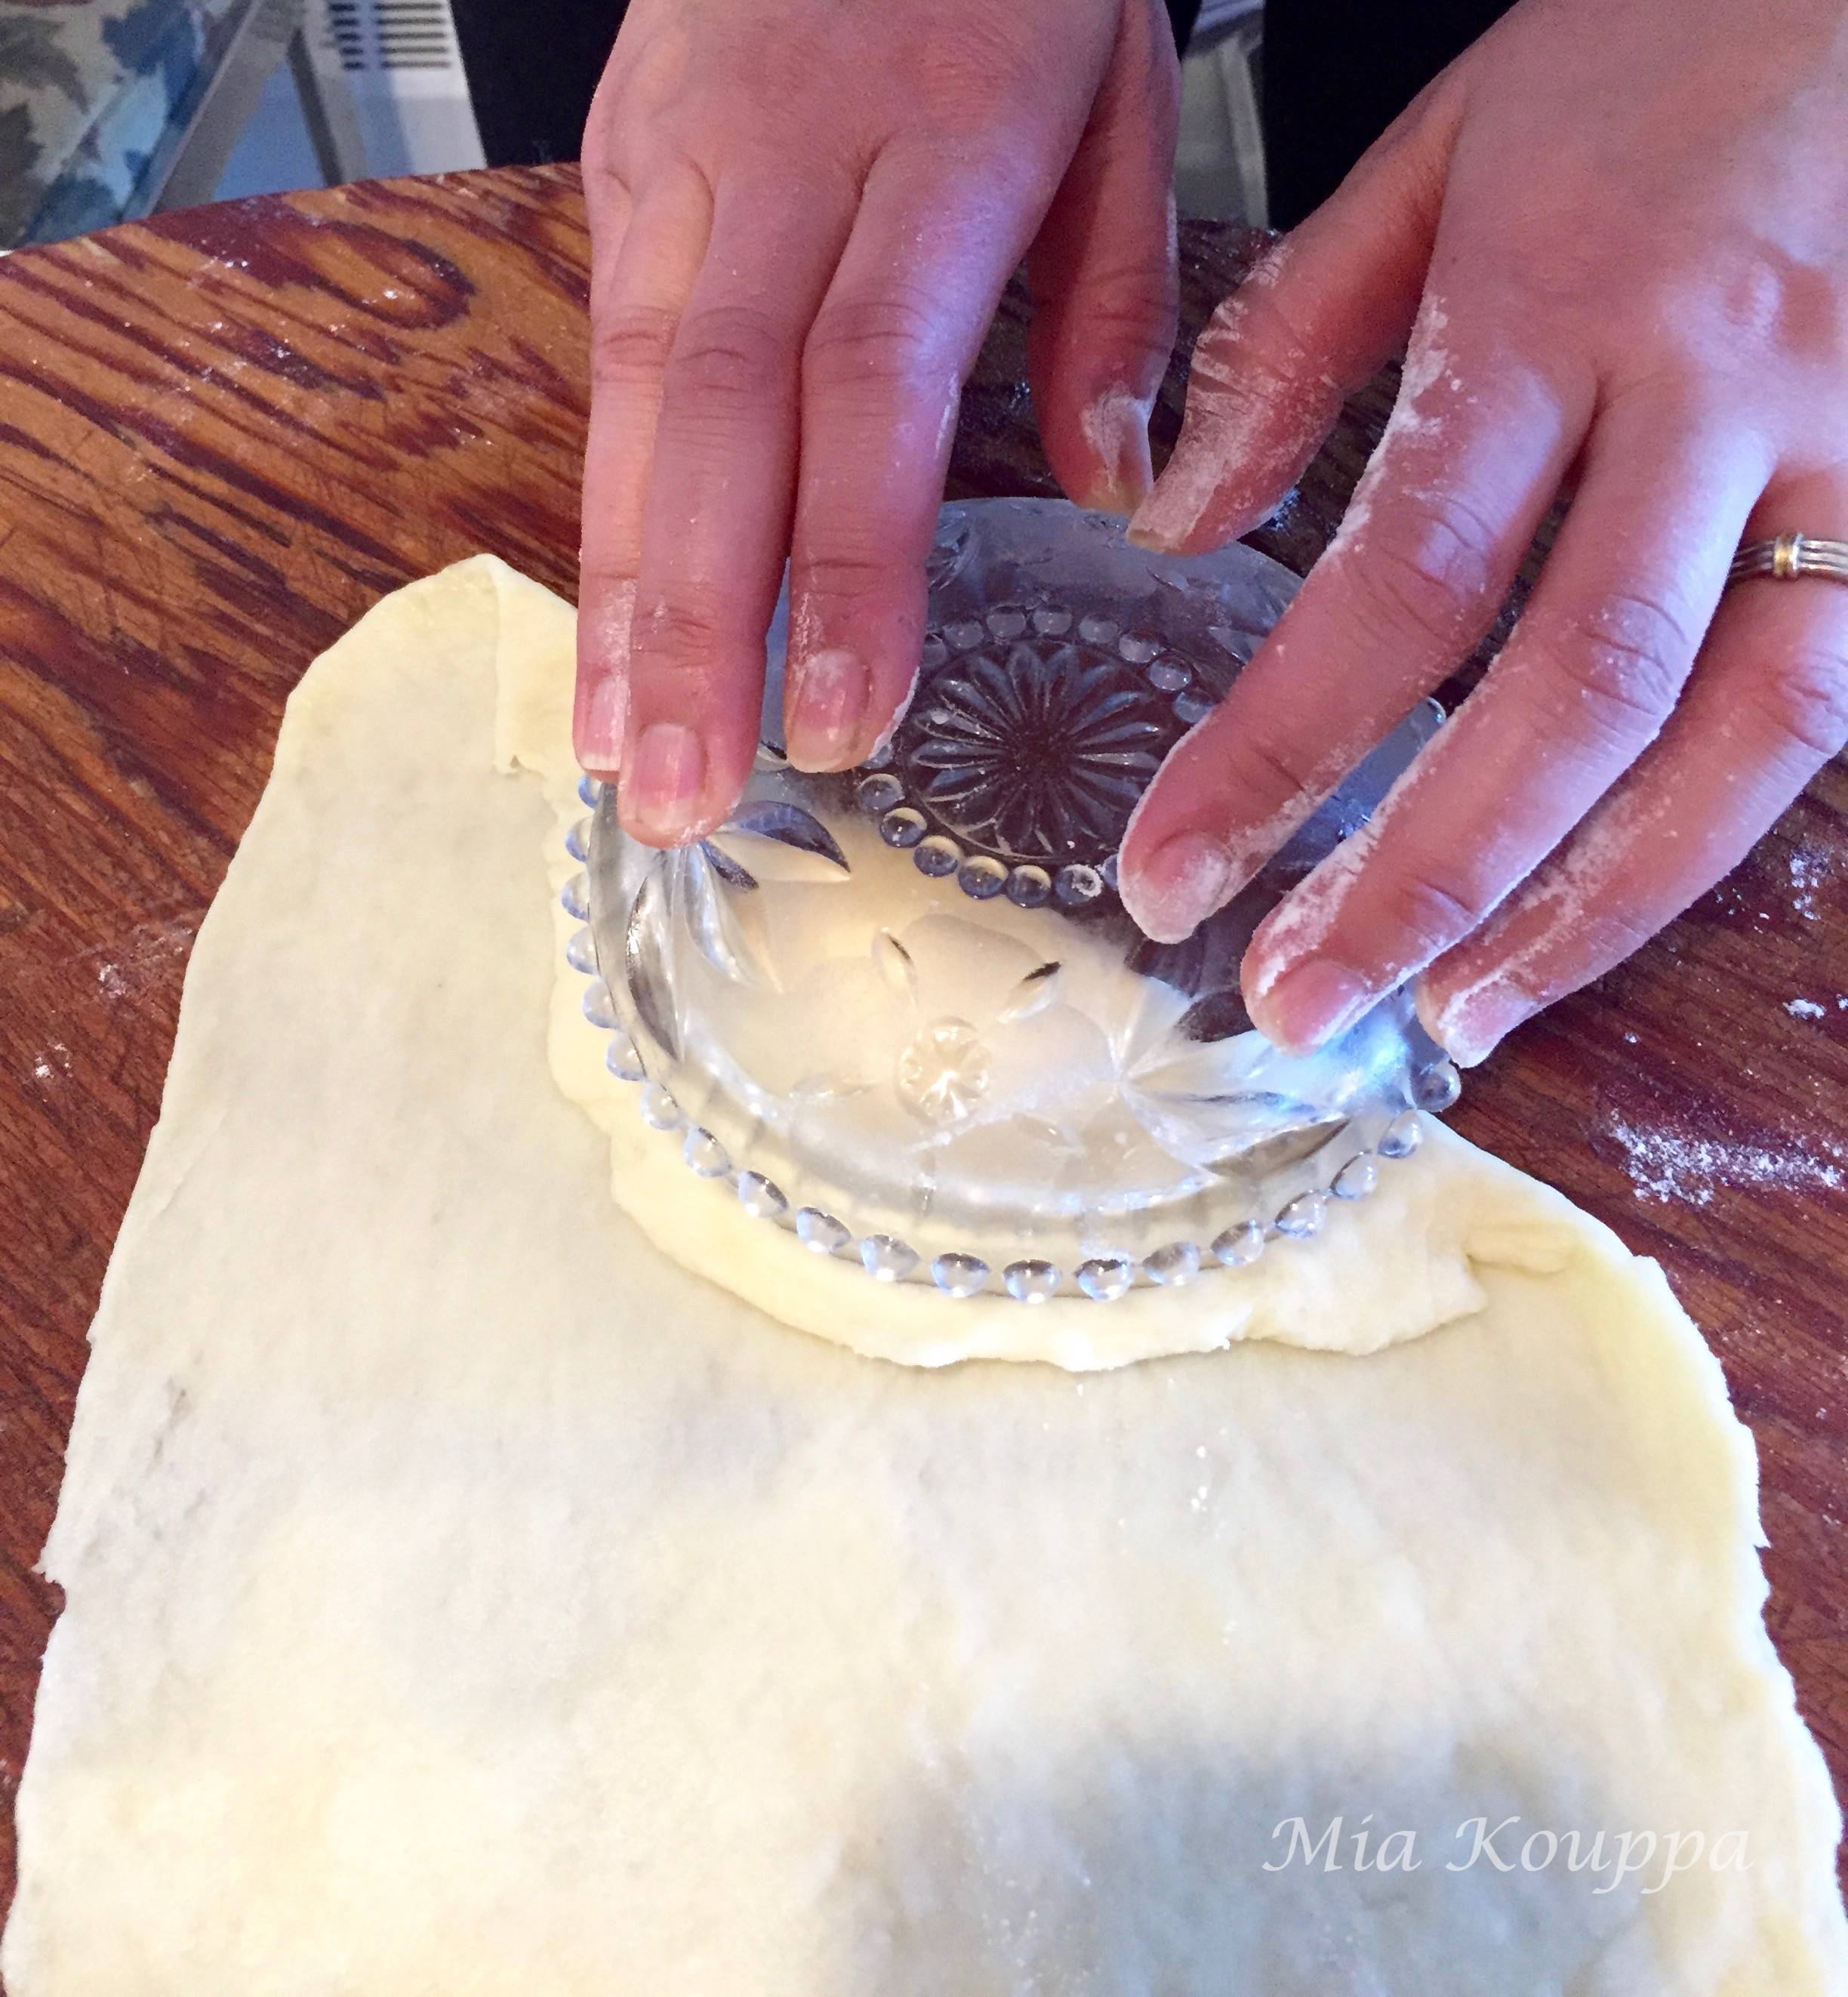
You can certainly use a fancy little dumpling turnover maker to help shape your tyropites…but why would you do that? Be like our parents and decide that some random household object would work just as well. Our parents seem to alternate between using an old plastic glass and a candy dish bomboniere that they got from a wedding close to 30 years ago. Thankfully, the bride and groom are still happily married (and will likely be surprised to learn that their bomboniere is so versatile).
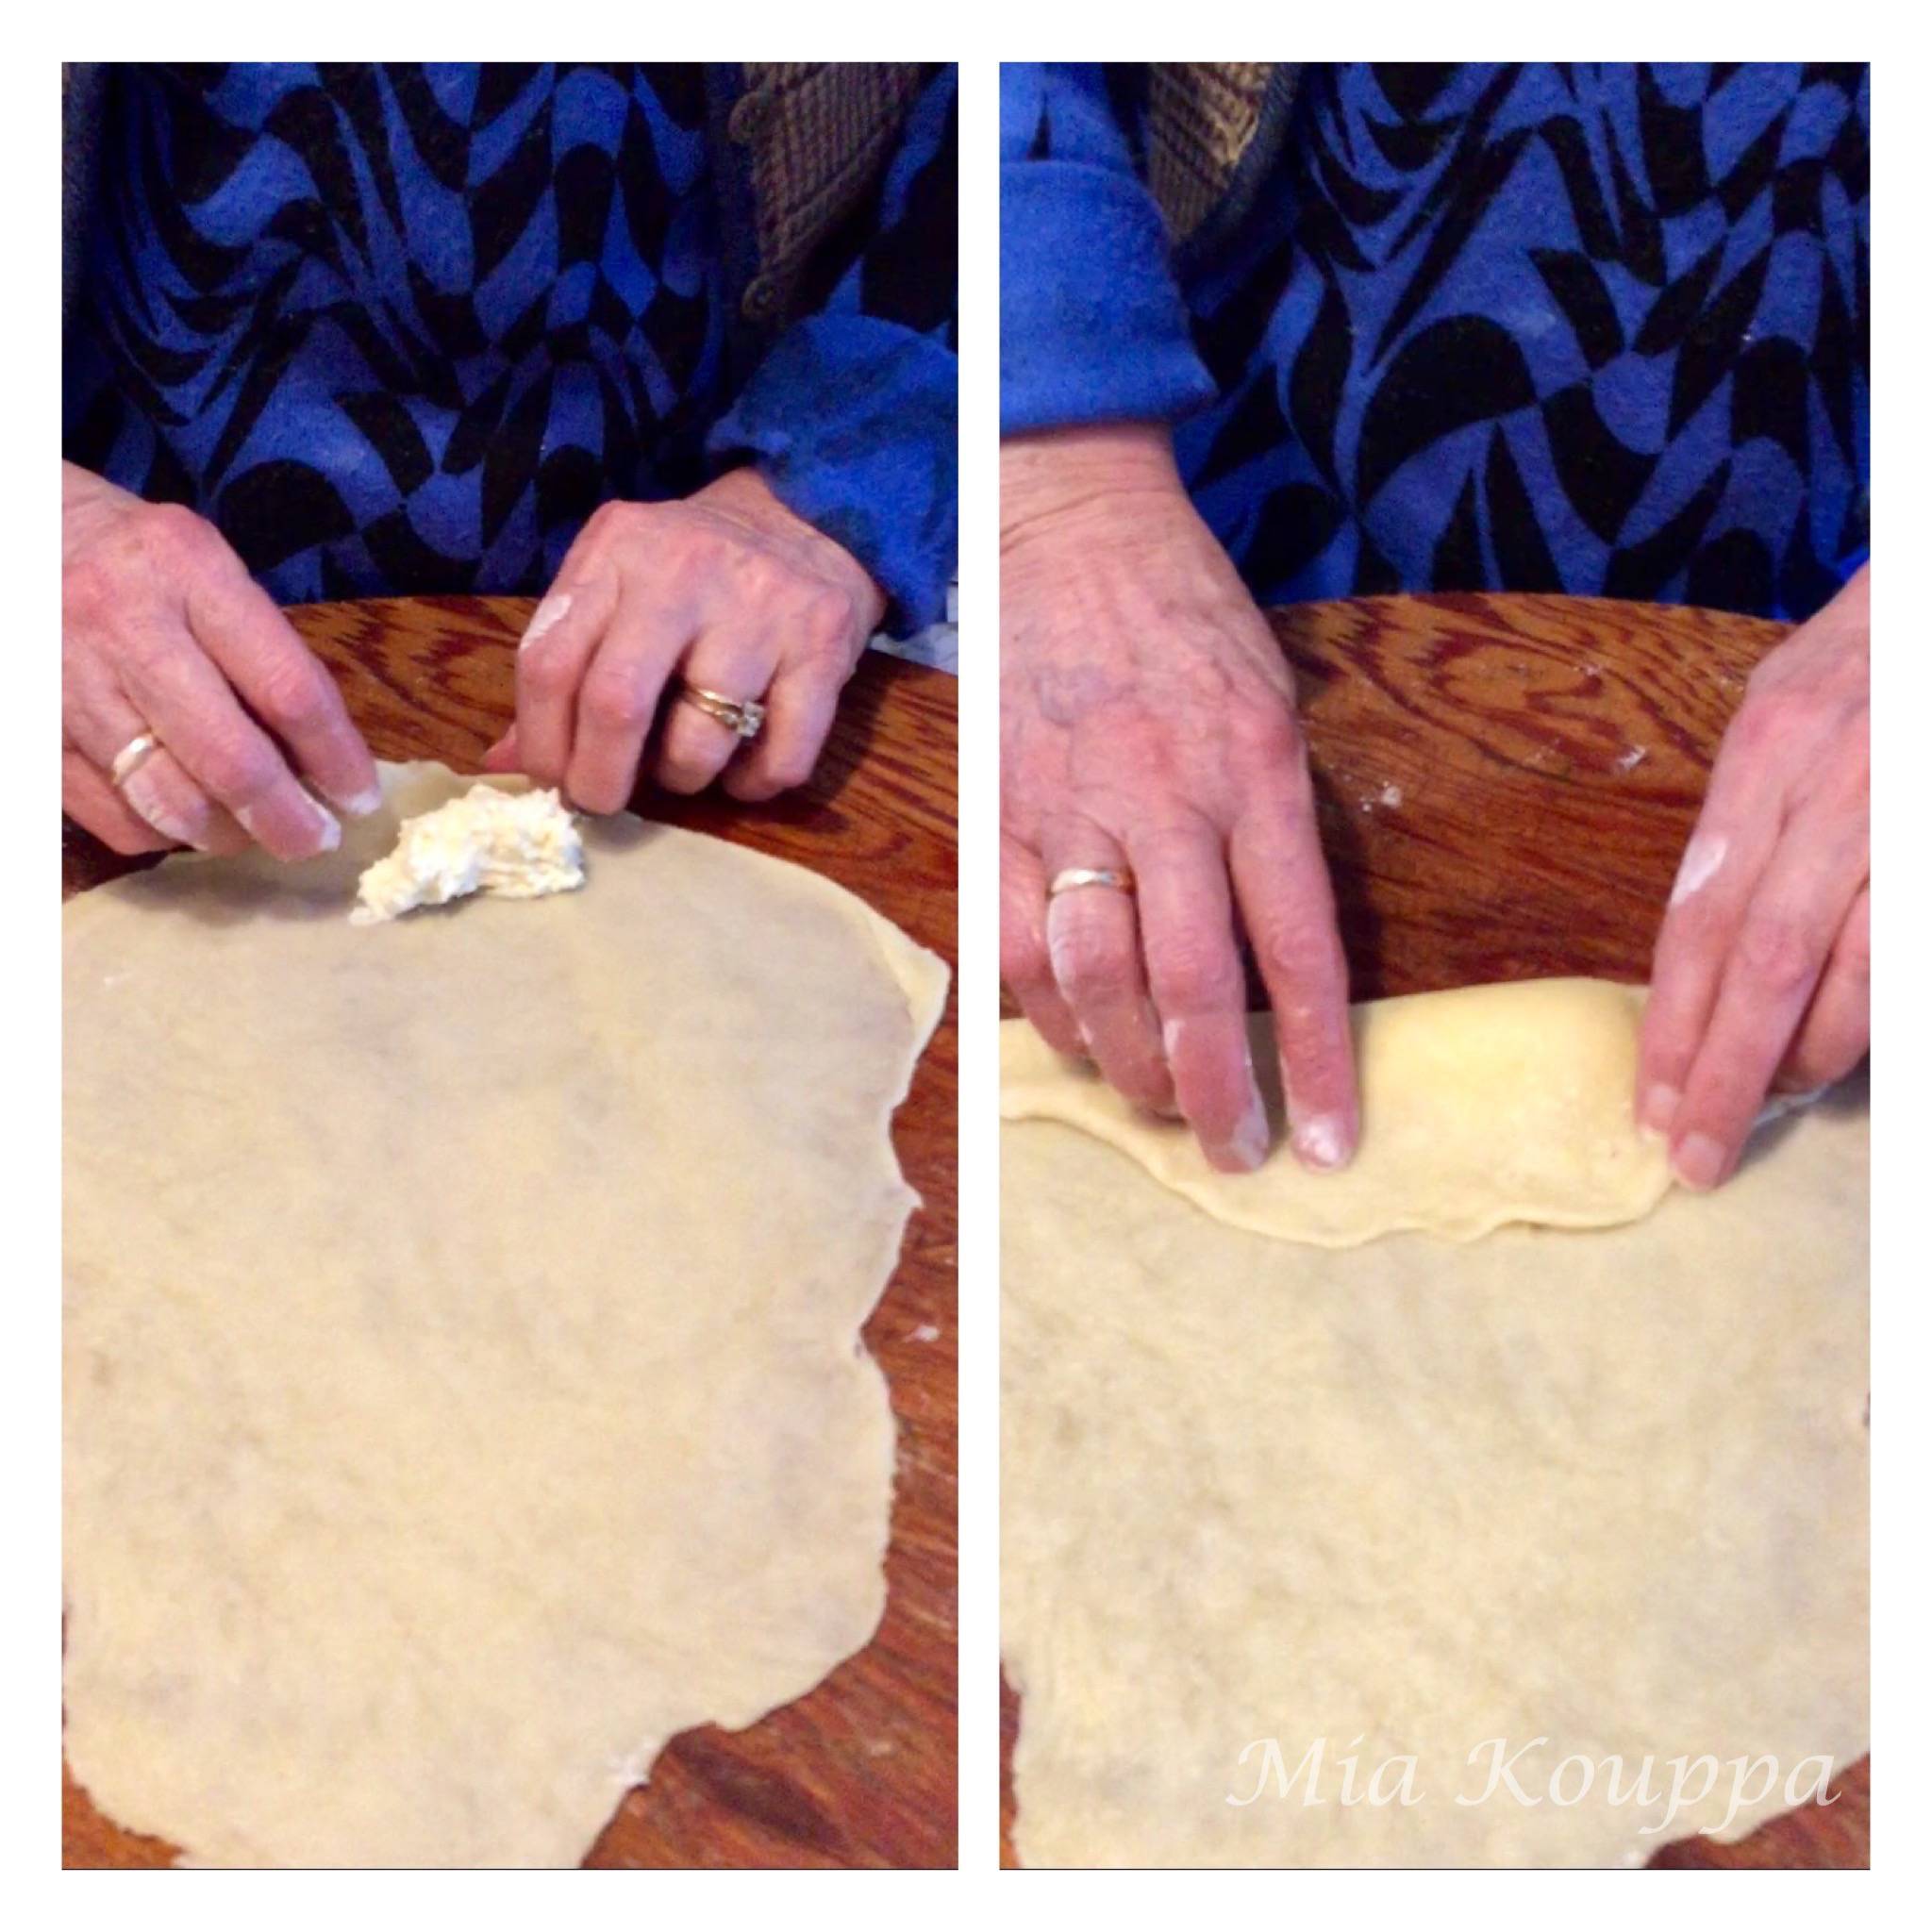
Shaping these little pitas can take some practice, (watch this video, of the master at work.) Be patient, they certainly don’t have to be perfect. The key is to make sure that the phyllo dough is pretty equal in thickness once you have rolled it out (to ensure even cooking) and that the cheese filling is enclosed fully. Having said that, we were somewhat surprised to notice that our parents didn’t put too much emphasis on sealing the edges closed. We think that the dough is the type that just tends to stick together when one edge is placed over the other. Still, if you are uncertain, a little pressure around the edges won’t hurt.
Looking for more cheese-y recipes, check these out:
Spaghetti with olive oil and mizithra
Pasta with tomato sauce and feta
We love hearing from you! If you have made our recipes, or if you have a question or comment, or simply want to say Hi!, please leave a comment below!
Pin this recipe if you like it!

Tyropites with homemade phyllo dough
Equipment
Ingredients
For the phyllo dough:
- 5½ cups all purpose flour, sifted
- 1/2 cup melted unsalted butter
- 1 cup corn or vegetable oil
- 2 large eggs
- 1½ cup natural yogurt (we use the brand Astro, balkan natural yogurt)
- 1 tbsp baking powder
- 1 teaspoon salt
For the filling:
- 2½ cups ricotta cheese
- 2 cups grated feta cheese
- 3 large eggs
- 1/4 cup all purpose flour
- flour for dusting dough when rolling it out
- 2 eggs for brushing onto tyropites
Instructions
For the phyllo dough:
- Sift the flour into a large bowl. Add the baking powder and salt and mix well with a fork or a whisk. Add in the rest of the phyllo dough ingredients in the following order: melted butter, vegetable oil, eggs, and natural yogurt.5½ cups all purpose flour, sifted, 1/2 cup melted unsalted butter, 1 cup corn or vegetable oil, 2 large eggs, 1 tbsp baking powder, 1 teaspoon salt, 1½ cup natural yogurt
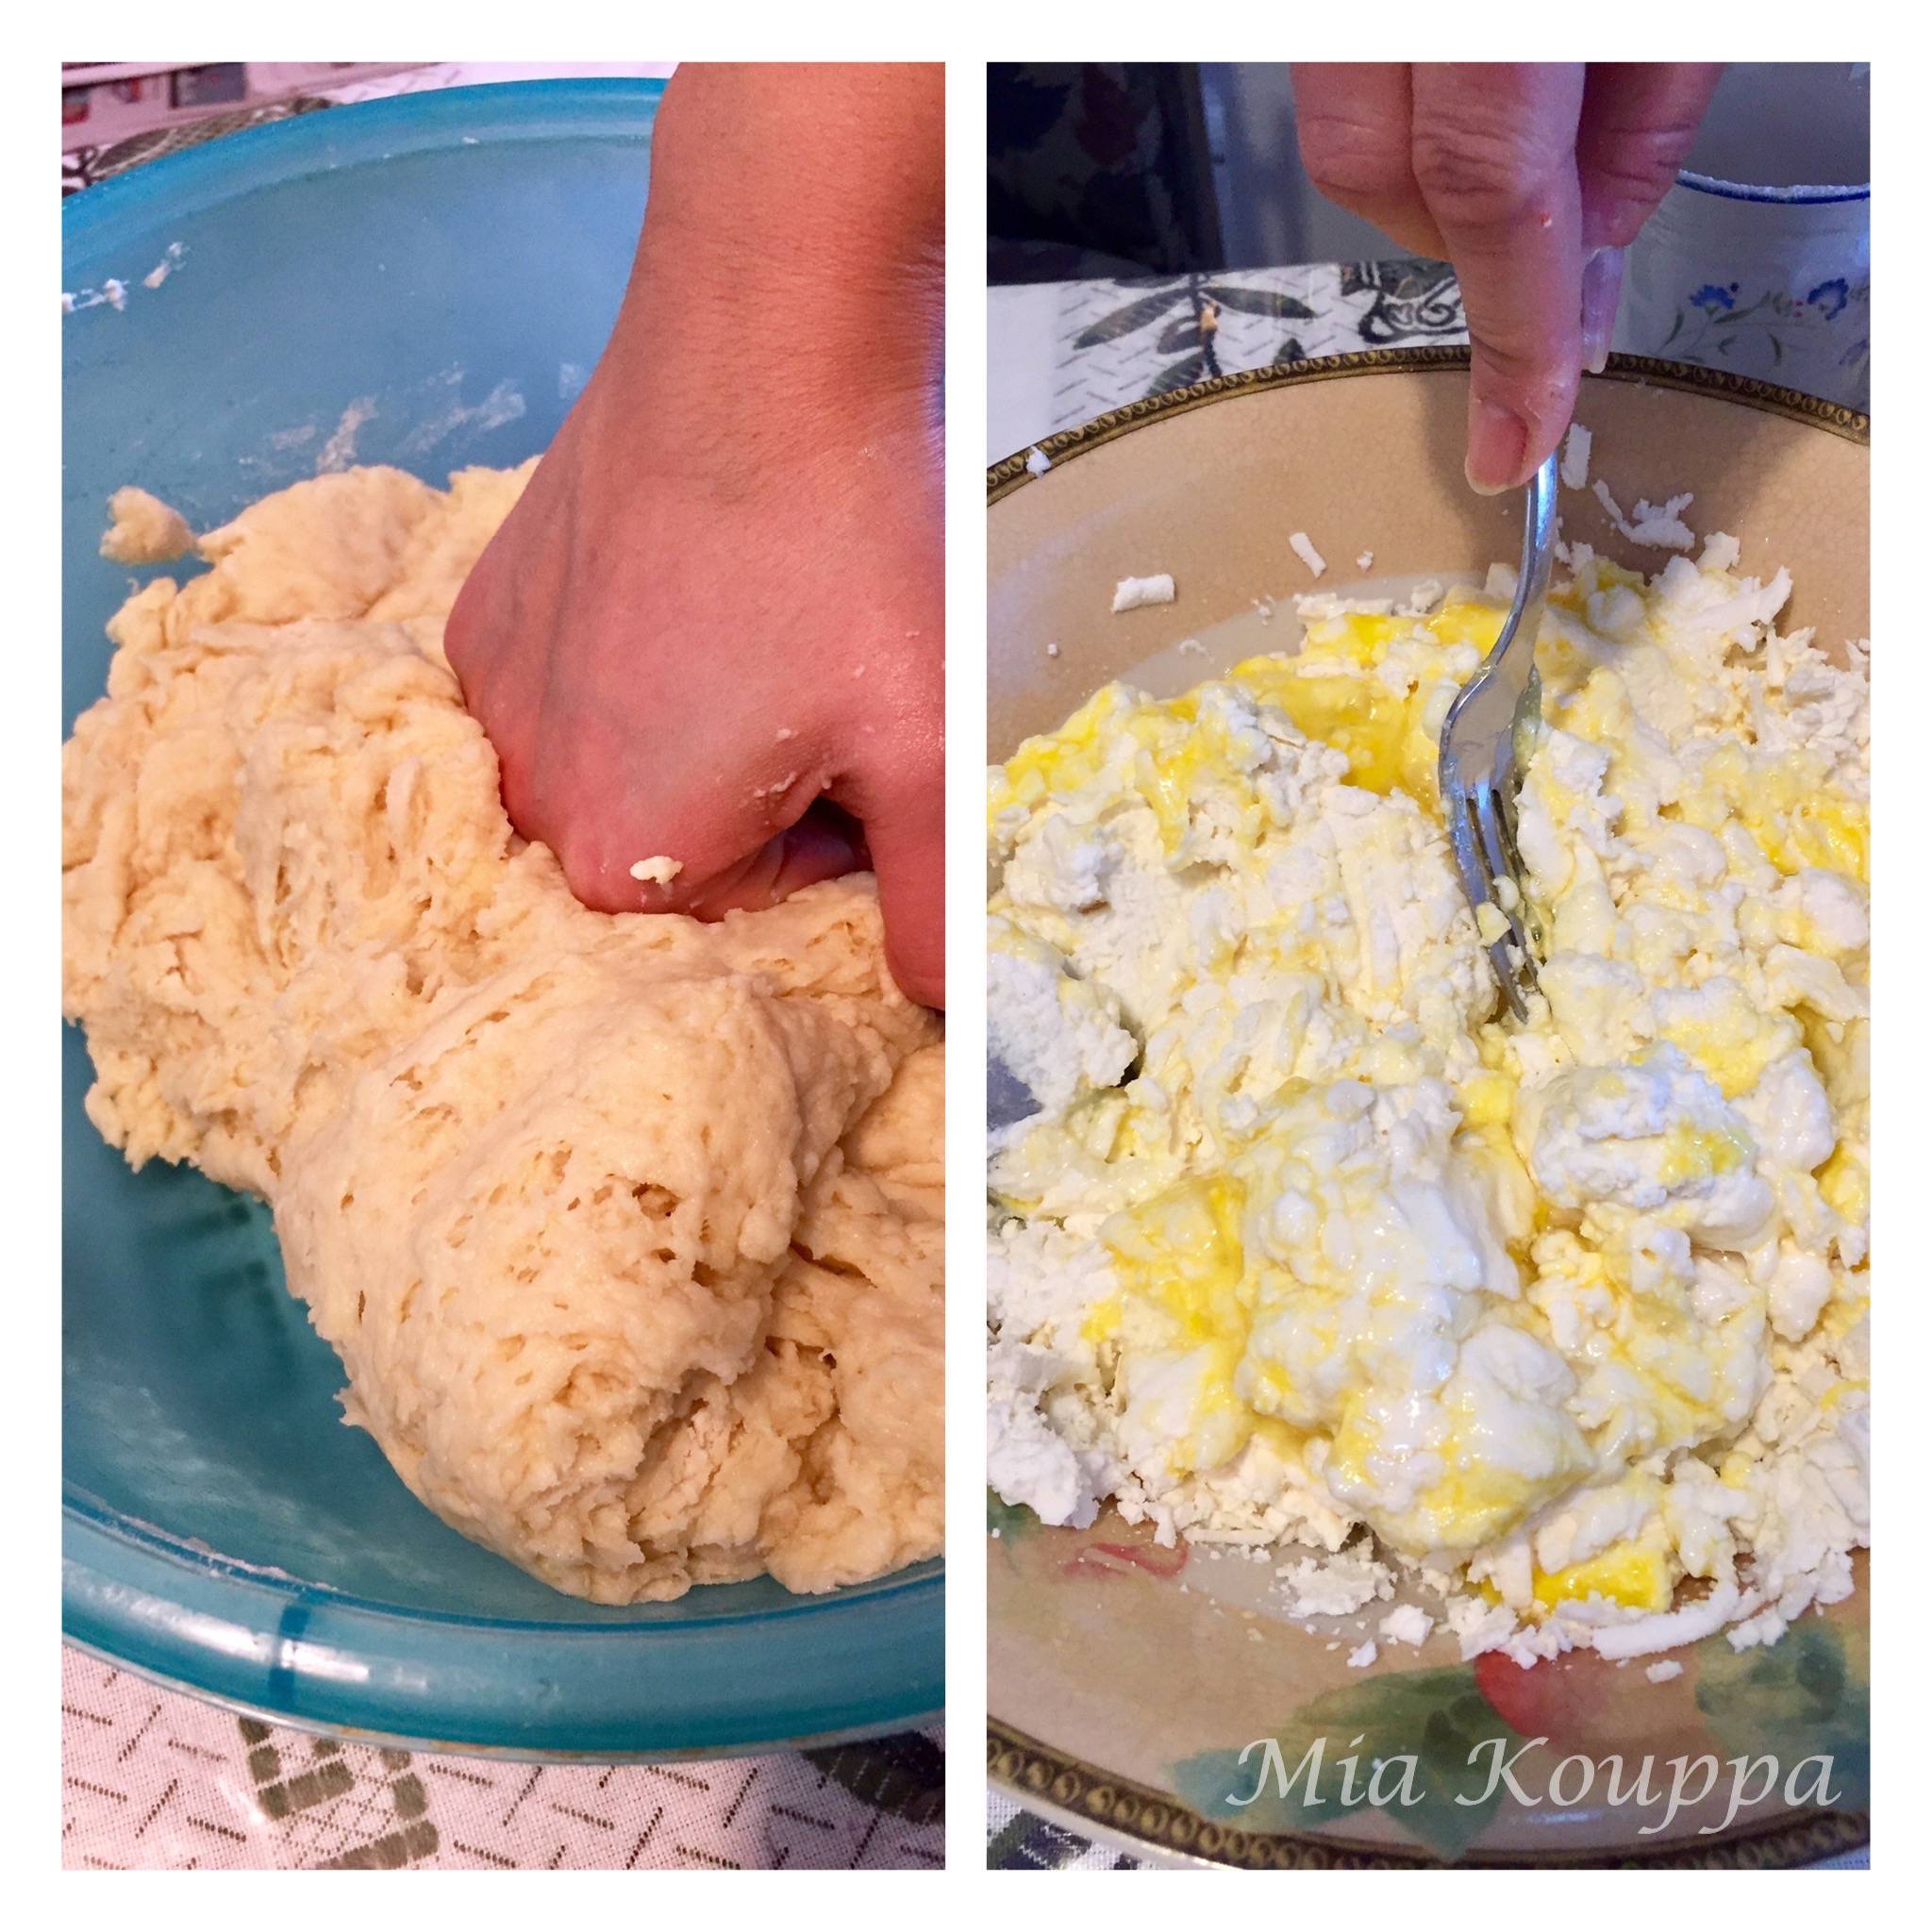
- Mix the dough well with your hands or a wooden spoon. When the ingredients are all incorporated together, knead the dough (by hand) for approximately 5 minutes. You will notice that the dough is somewhat greasy and wet. This is fine. Once you have thoroughly kneaded the dough, cover with a clean kitchen towel and let the dough rest for about one hour.
- When the hour is almost up you can start to prepare the filling.
For the filling:
- Combine, in a large bowl, the ricotta cheese (try to drain off any liquid in the ricotta container and discard this liquid), the feta, the eggs and the flour. Mix well with a fork. Set aside.2½ cups ricotta cheese, 2 cups grated feta cheese, 3 large eggs, 1/4 cup all purpose flour
- When your dough is ready to be rolled, take a handful of dough at a time and start to roll it out using a rolling pin. You may find that the dough is too sticky. If that is the case, sprinkle each handful of dough with a bit of flour. This will make the rolling out process simpler.
- Roll the dough out so that it is quite thin – almost as thin as a cardboard piece of paper. Each piece should also be large enough to be able to form at least one tyropita (to be “safe”, it should be about as large as a dessert plate).
- Place approximately one tablespoon of cheese filling on one end of the phyllo dough. Fold it over to create a pocket (watch the video in the Helpful Hints link above). You will then use something (anything!) to cut the phyllo dough, so that you are left with a half moon shaped tyropita.
- Have your oven preheated to 350 degrees Fahrenheit. Place your tyropites on a parchment lined baking sheet and place in bottom rack of oven for about 15 minutes. Move baking sheet to middle rack of oven and cook for an additional 15-20 minutes, or until they’re golden in colour. After those 15-20 minutes, remove your baking sheet from the oven. Beat together 1 – 2 eggs (depending on how many tyropites you are actually baking in the moment) and brush on to the top of the tyropites.2 eggs for brushing onto tyropites
- Return to middle rack of oven and bake for approximately 10 more minutes.
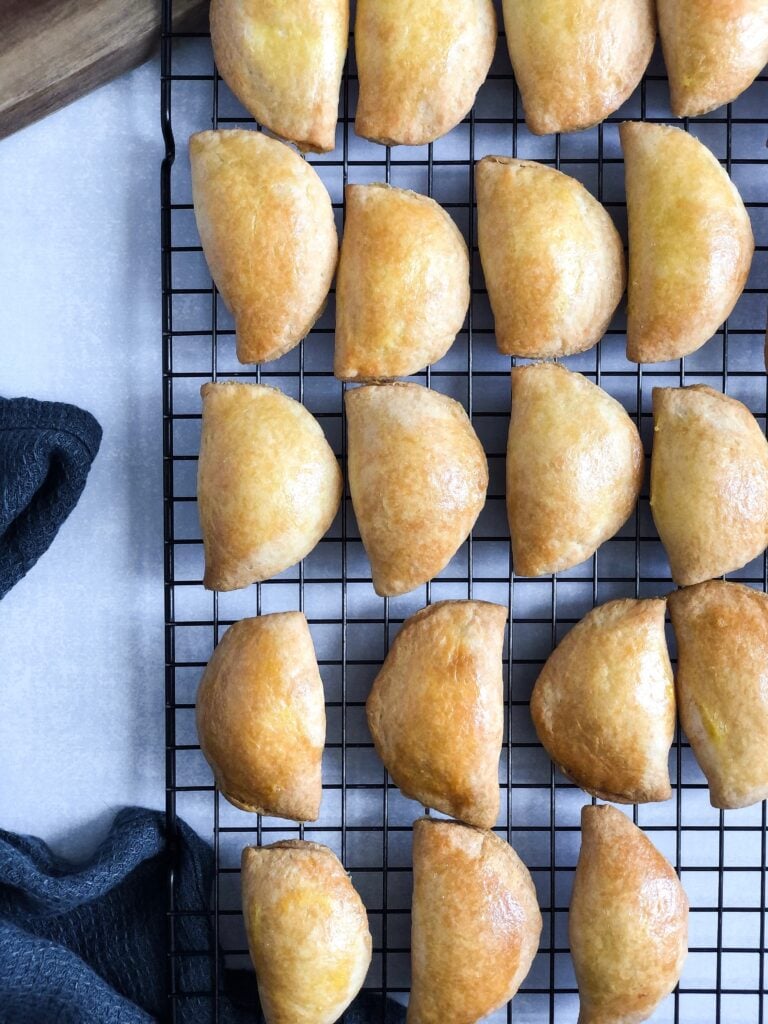
- Your tyropites are done when the phyllo and egg wash are golden brown.
- Enjoy!
I love all cheese pies. And seems to me that I will love this as well 🙂 thank you for sharing 🙂
We agree…cheese pies are super 😉 Let us know how you like these !
I’m looking forward to making this recipe.
Just two questions……
(1) Can the dough be made without yogurt?
(2) Can they be fried?
Hi Mary. So sorry for the delay in getting back to you 😦 Great questions. I think that the yogourt in this recipe is pretty integral (and I only say this because the recipe calls for a significant amount of yogourt… which makes me think that omitting it might be a problem). Having said that, our parents have other recipes for phyllo (or dough) which does not contain yogourt. We look forward to sharing those with you in the future. As for the second question, after consultation with our parents, the answer is that this particular recipe is really meant for oven baking. They did however remind us that they have yet other recipes for tyropitakia which are fried. We’ll be sharing those too! Thanks for your interest in these recipes 🙂
Yes, you need the yogurt. This dough is called ‘Kourou’ and is not the typical pita/fyllo dough that’s crispy. This dough should also not be kneaded/handled a lot as the oil will separate.
Hi. I have the same questions like Mary. About the yogart and also the frying. Would appreciate the new recipes. I remember my mom in law making a Cretan pita. And she would fry or bake them. Dough but no yogart. And then sprinkle sugar or honey. Sooooo good. But i do not remember what ingredients used. Thank you, Bia.
Hi Bia. Thanks for your questions 🙂 We will certainly be posting our parents’ other recipes for cheese pies. There are so many variations which they, and others, have that I think we can have a whole website devoted to these delicious treats 🙂 Also, my neighbours are from Crete and I think I know what you are referring to. They make something called kaltsounakia, which are fried cheese pies. When we were in Crete a few years ago, we had these warm from the oven, drizzled with honey. Divine. We are actually planning to introduce “guest posts” in the near future, and we hope to include the recipe for these kaltsounakia. Stay tuned! 🙂
Hi, I have a question,
Do we put the dough to rest in the refrigerator for an hour or just on the kitchen counter?
Thank you
Great question. We should make that clearer. Our parents let the dough sit on the counter to rest. I imagine it would be okay to leave it in the refrigerator as well, however the dough may be a bit more difficult to work with if it’s cold.
Love Tiropitakia…. Maybe too much. Your photos are very helpful. 🙂
Oh thank you! So happy the photos are helpful! And we agree…tyropitas are highly addictive! Hard to stop with just 1…or 7! 🙂
Thanks for the recipe! They became very delicious! Greetings, Ekaterina
Oh yeah!! You’re welcome! Thanks for taking the time to let us know 🙂