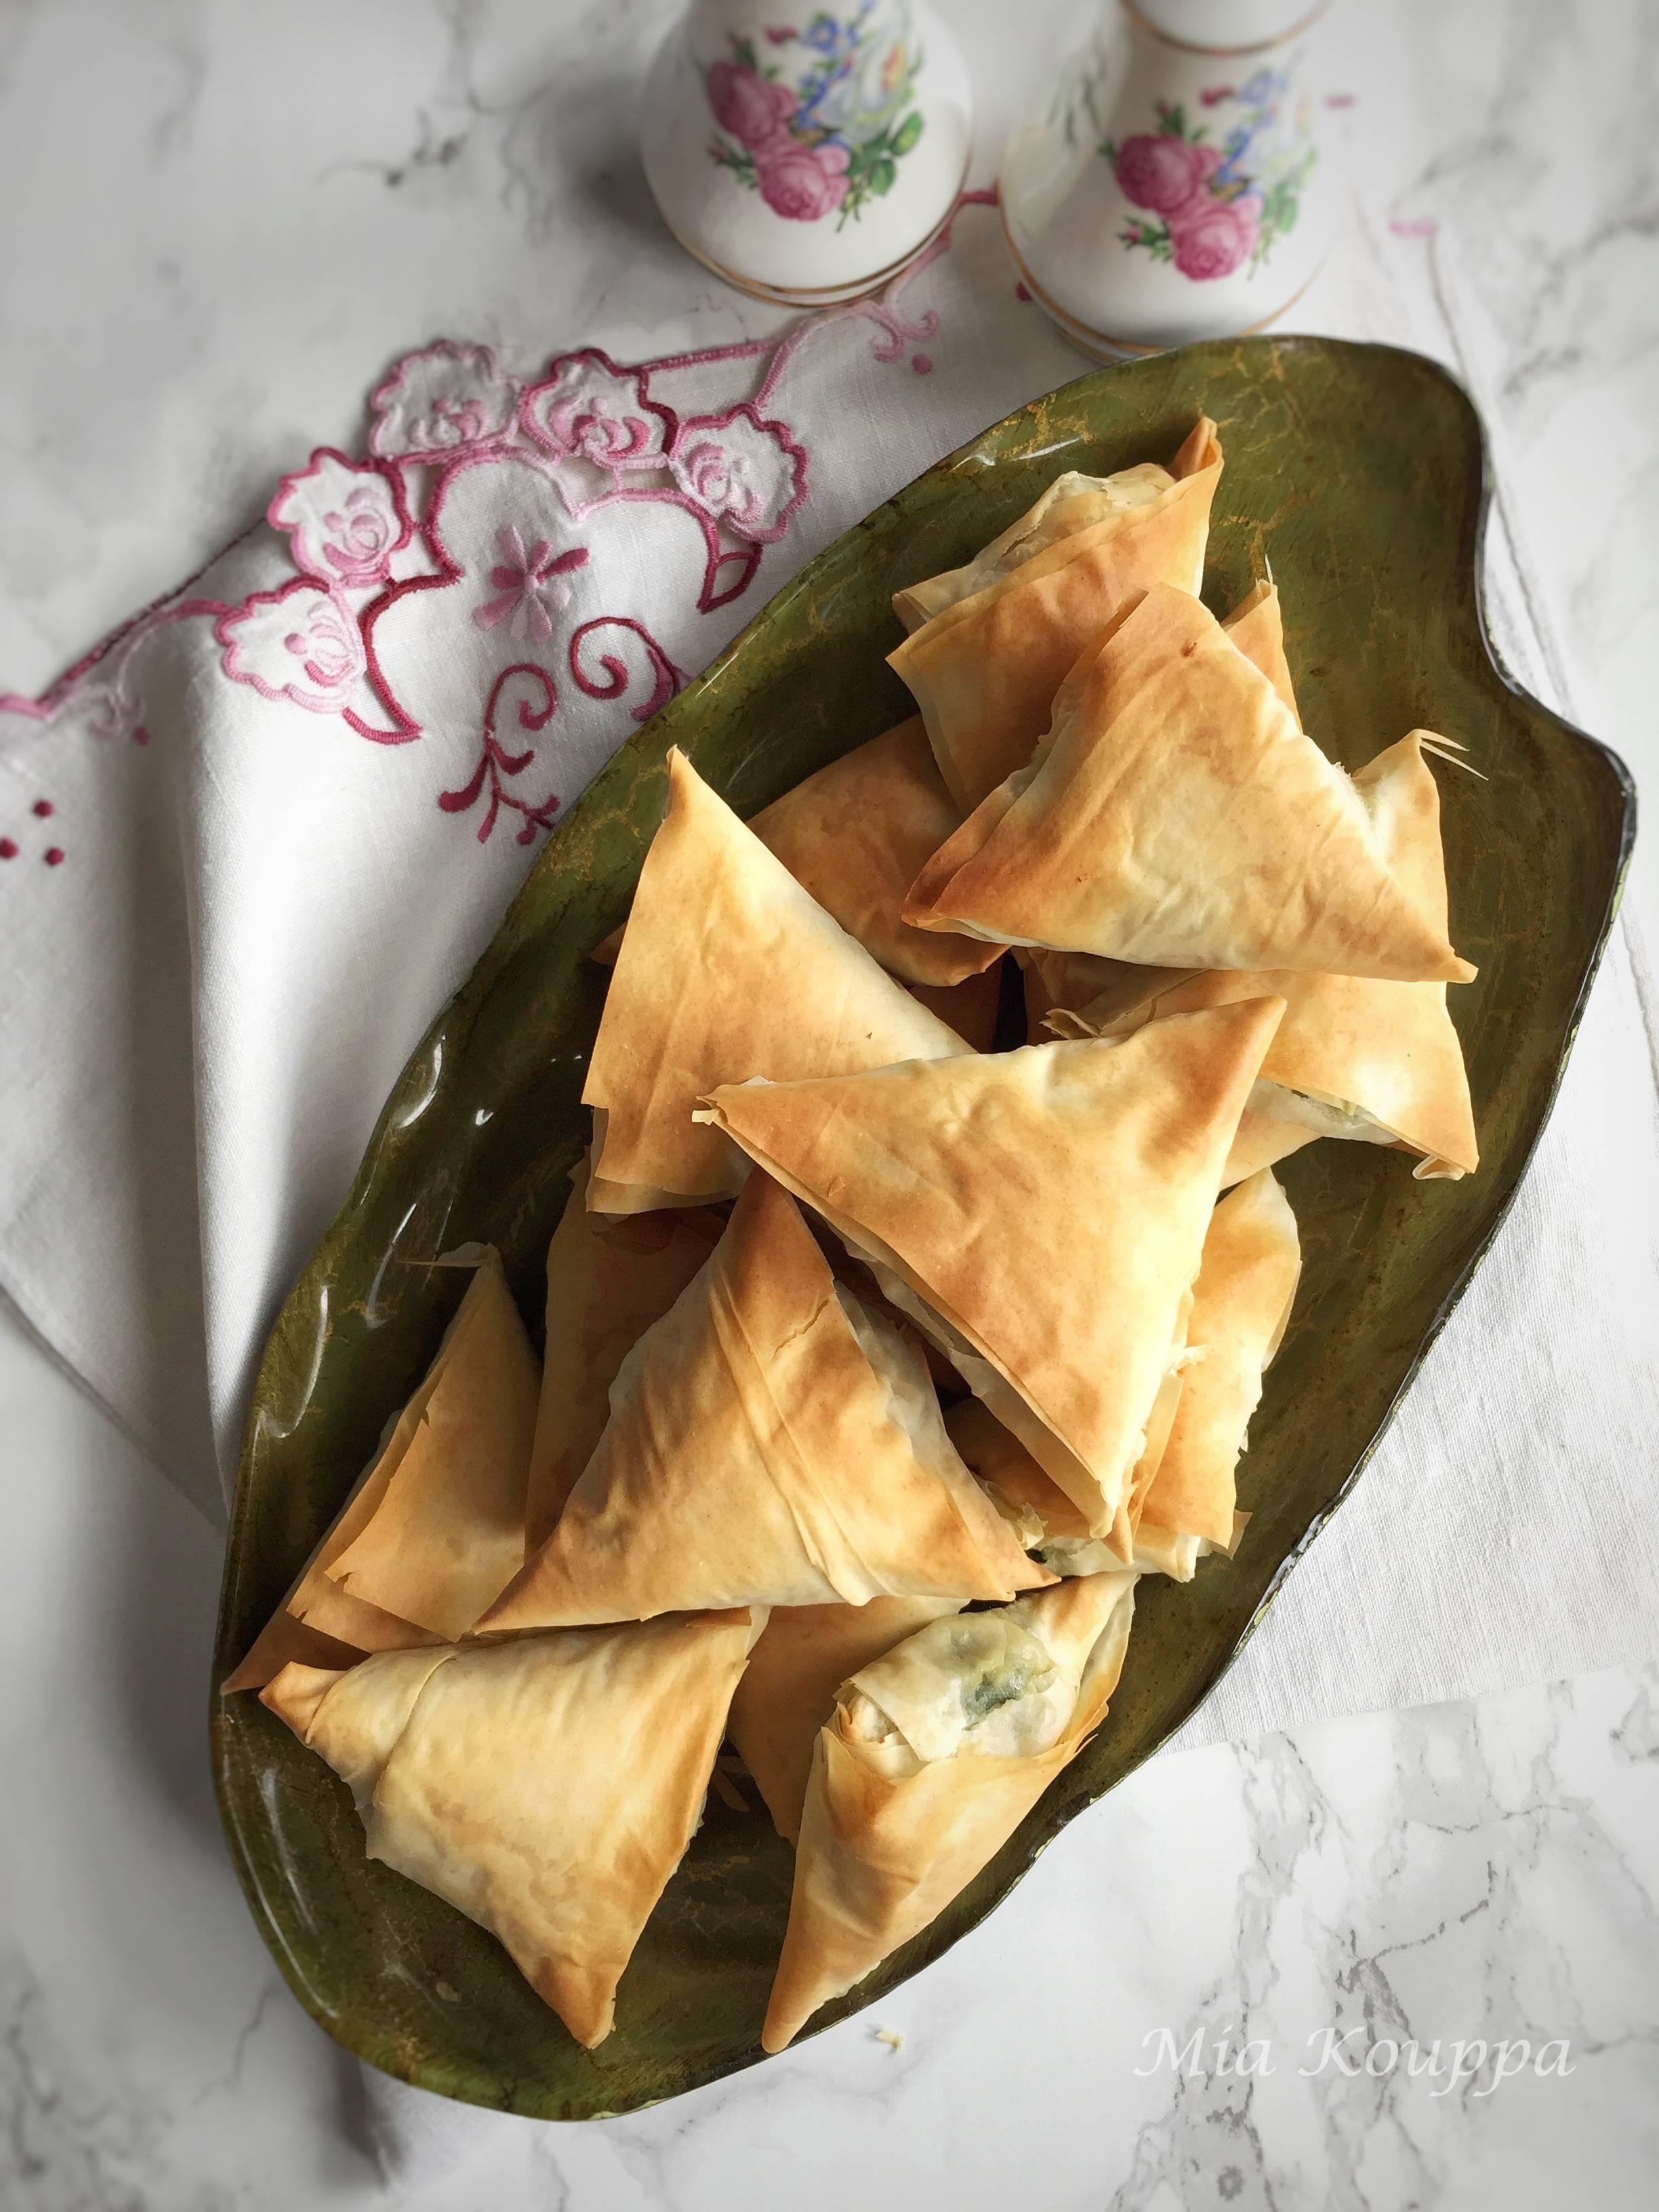
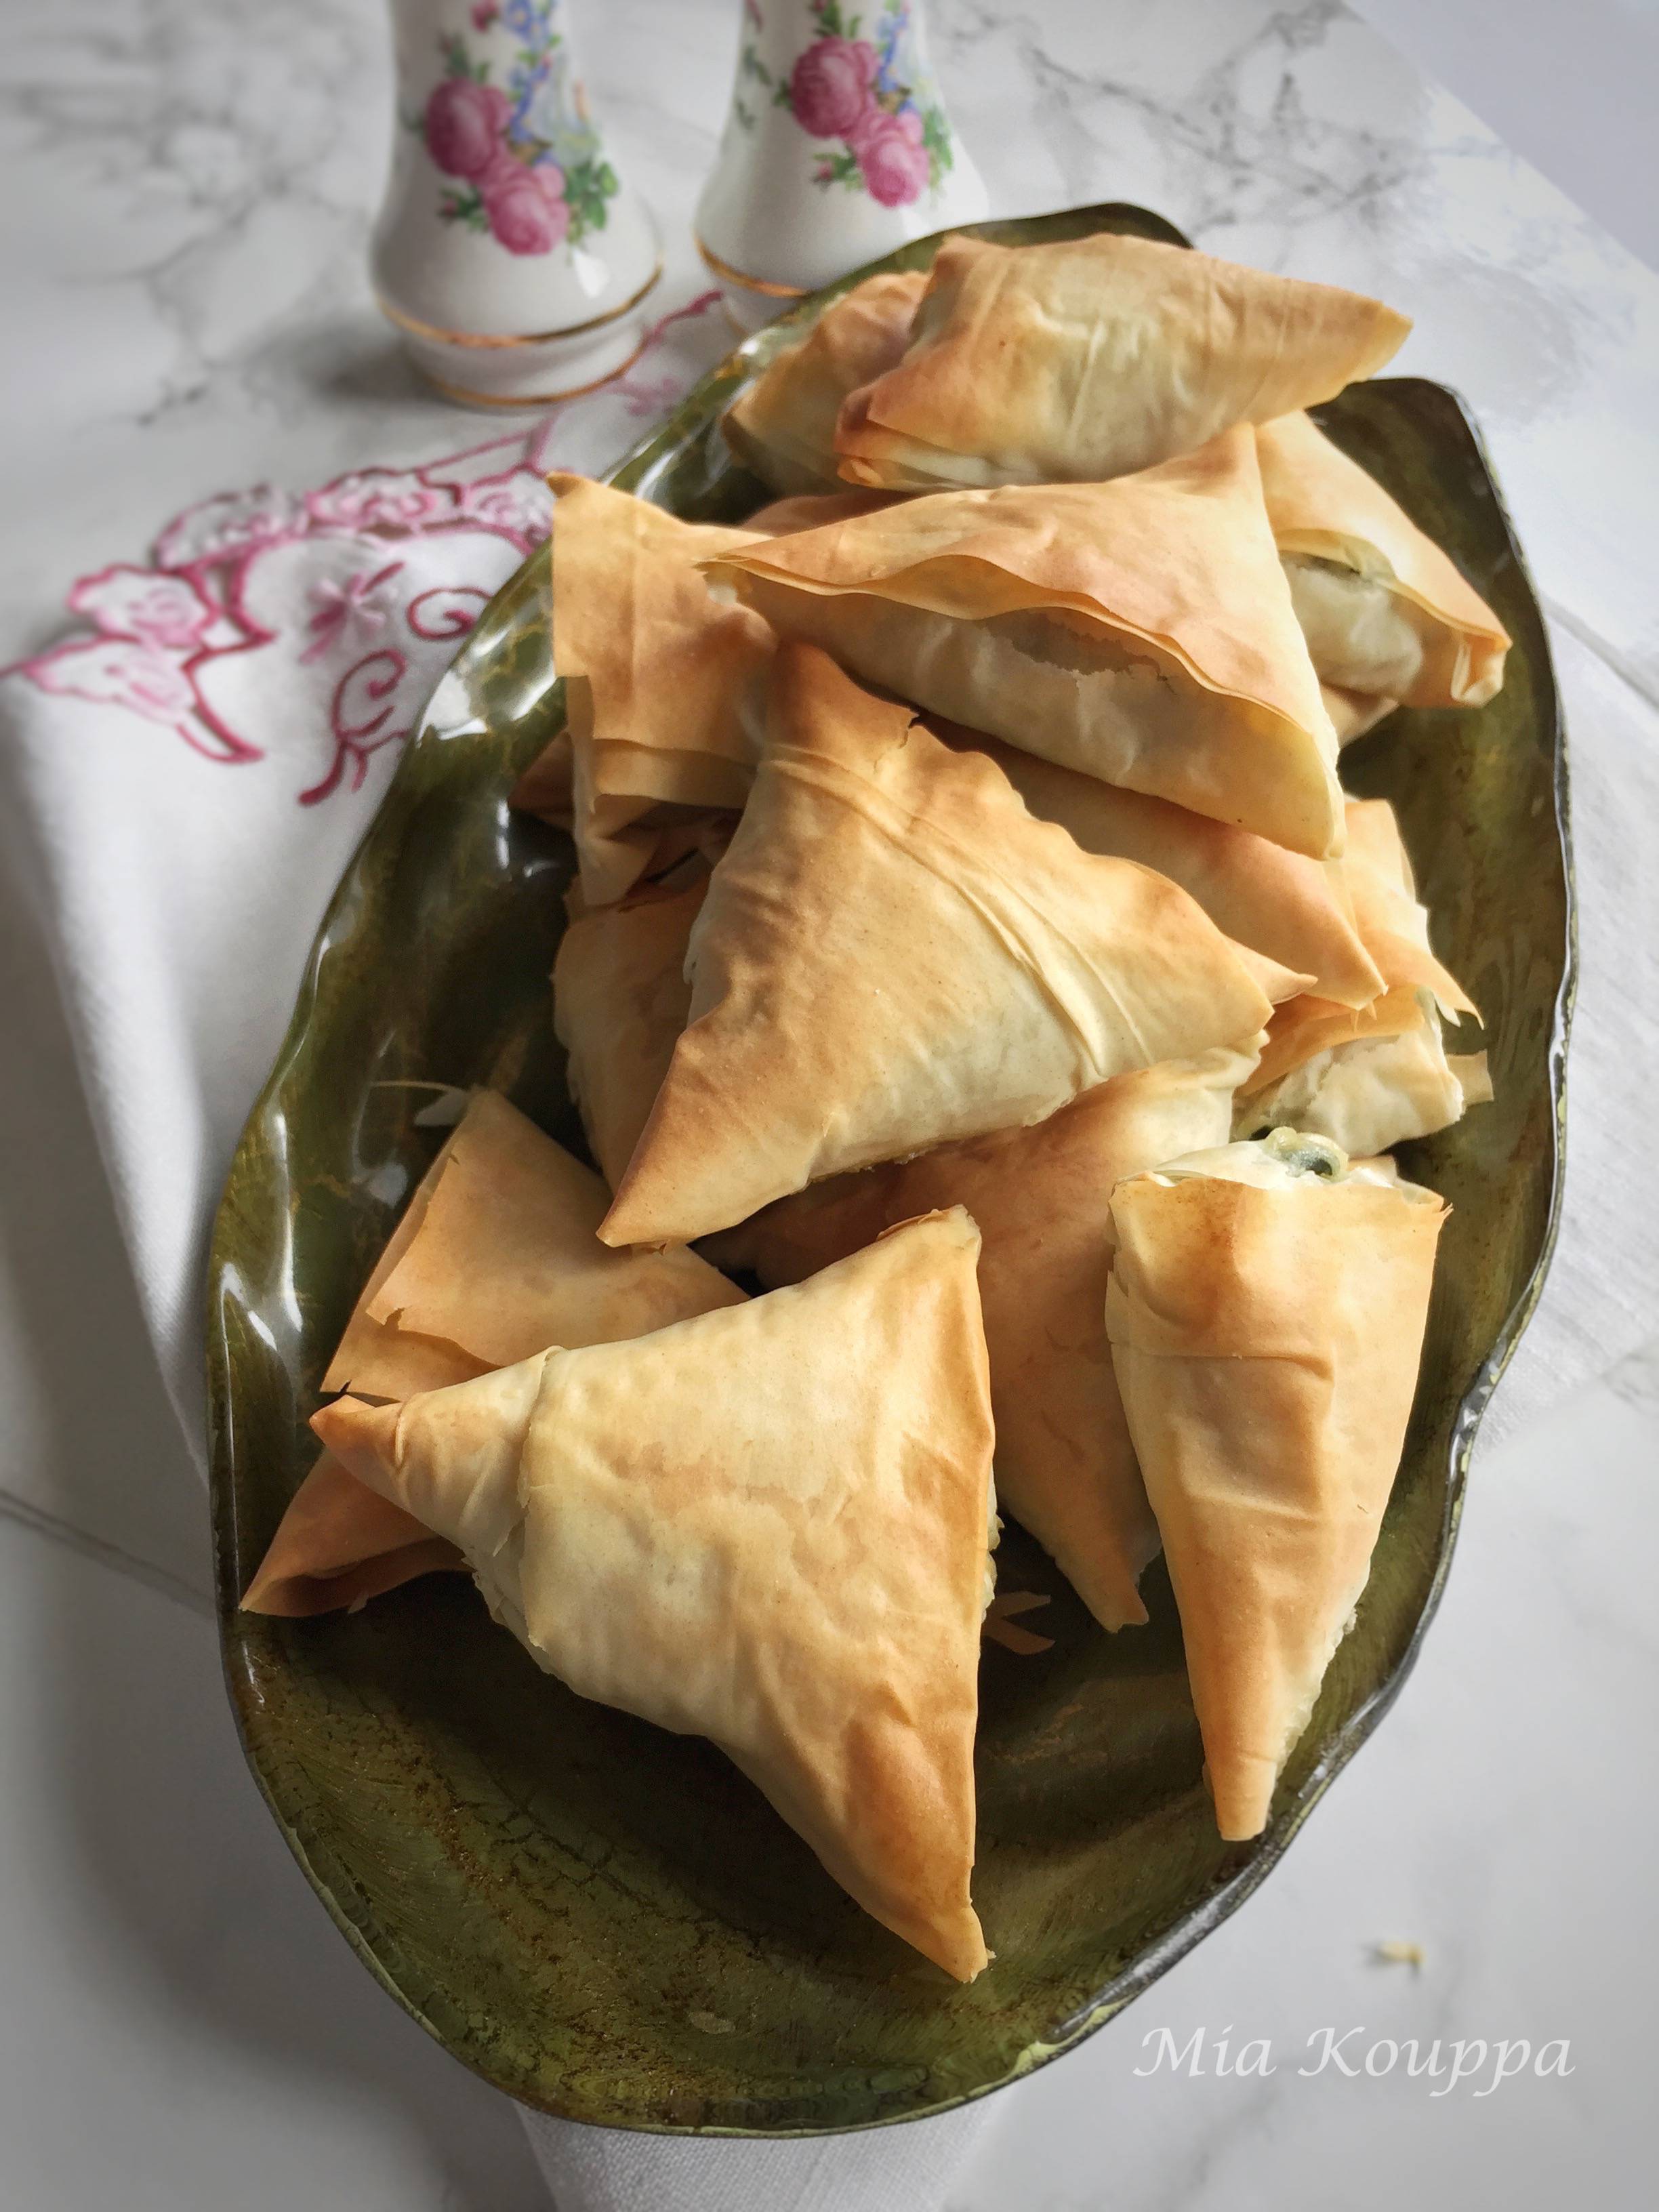
Spanakopita with store bought phyllo (Σπανακόπιτα με αγοραστό φύλλο)
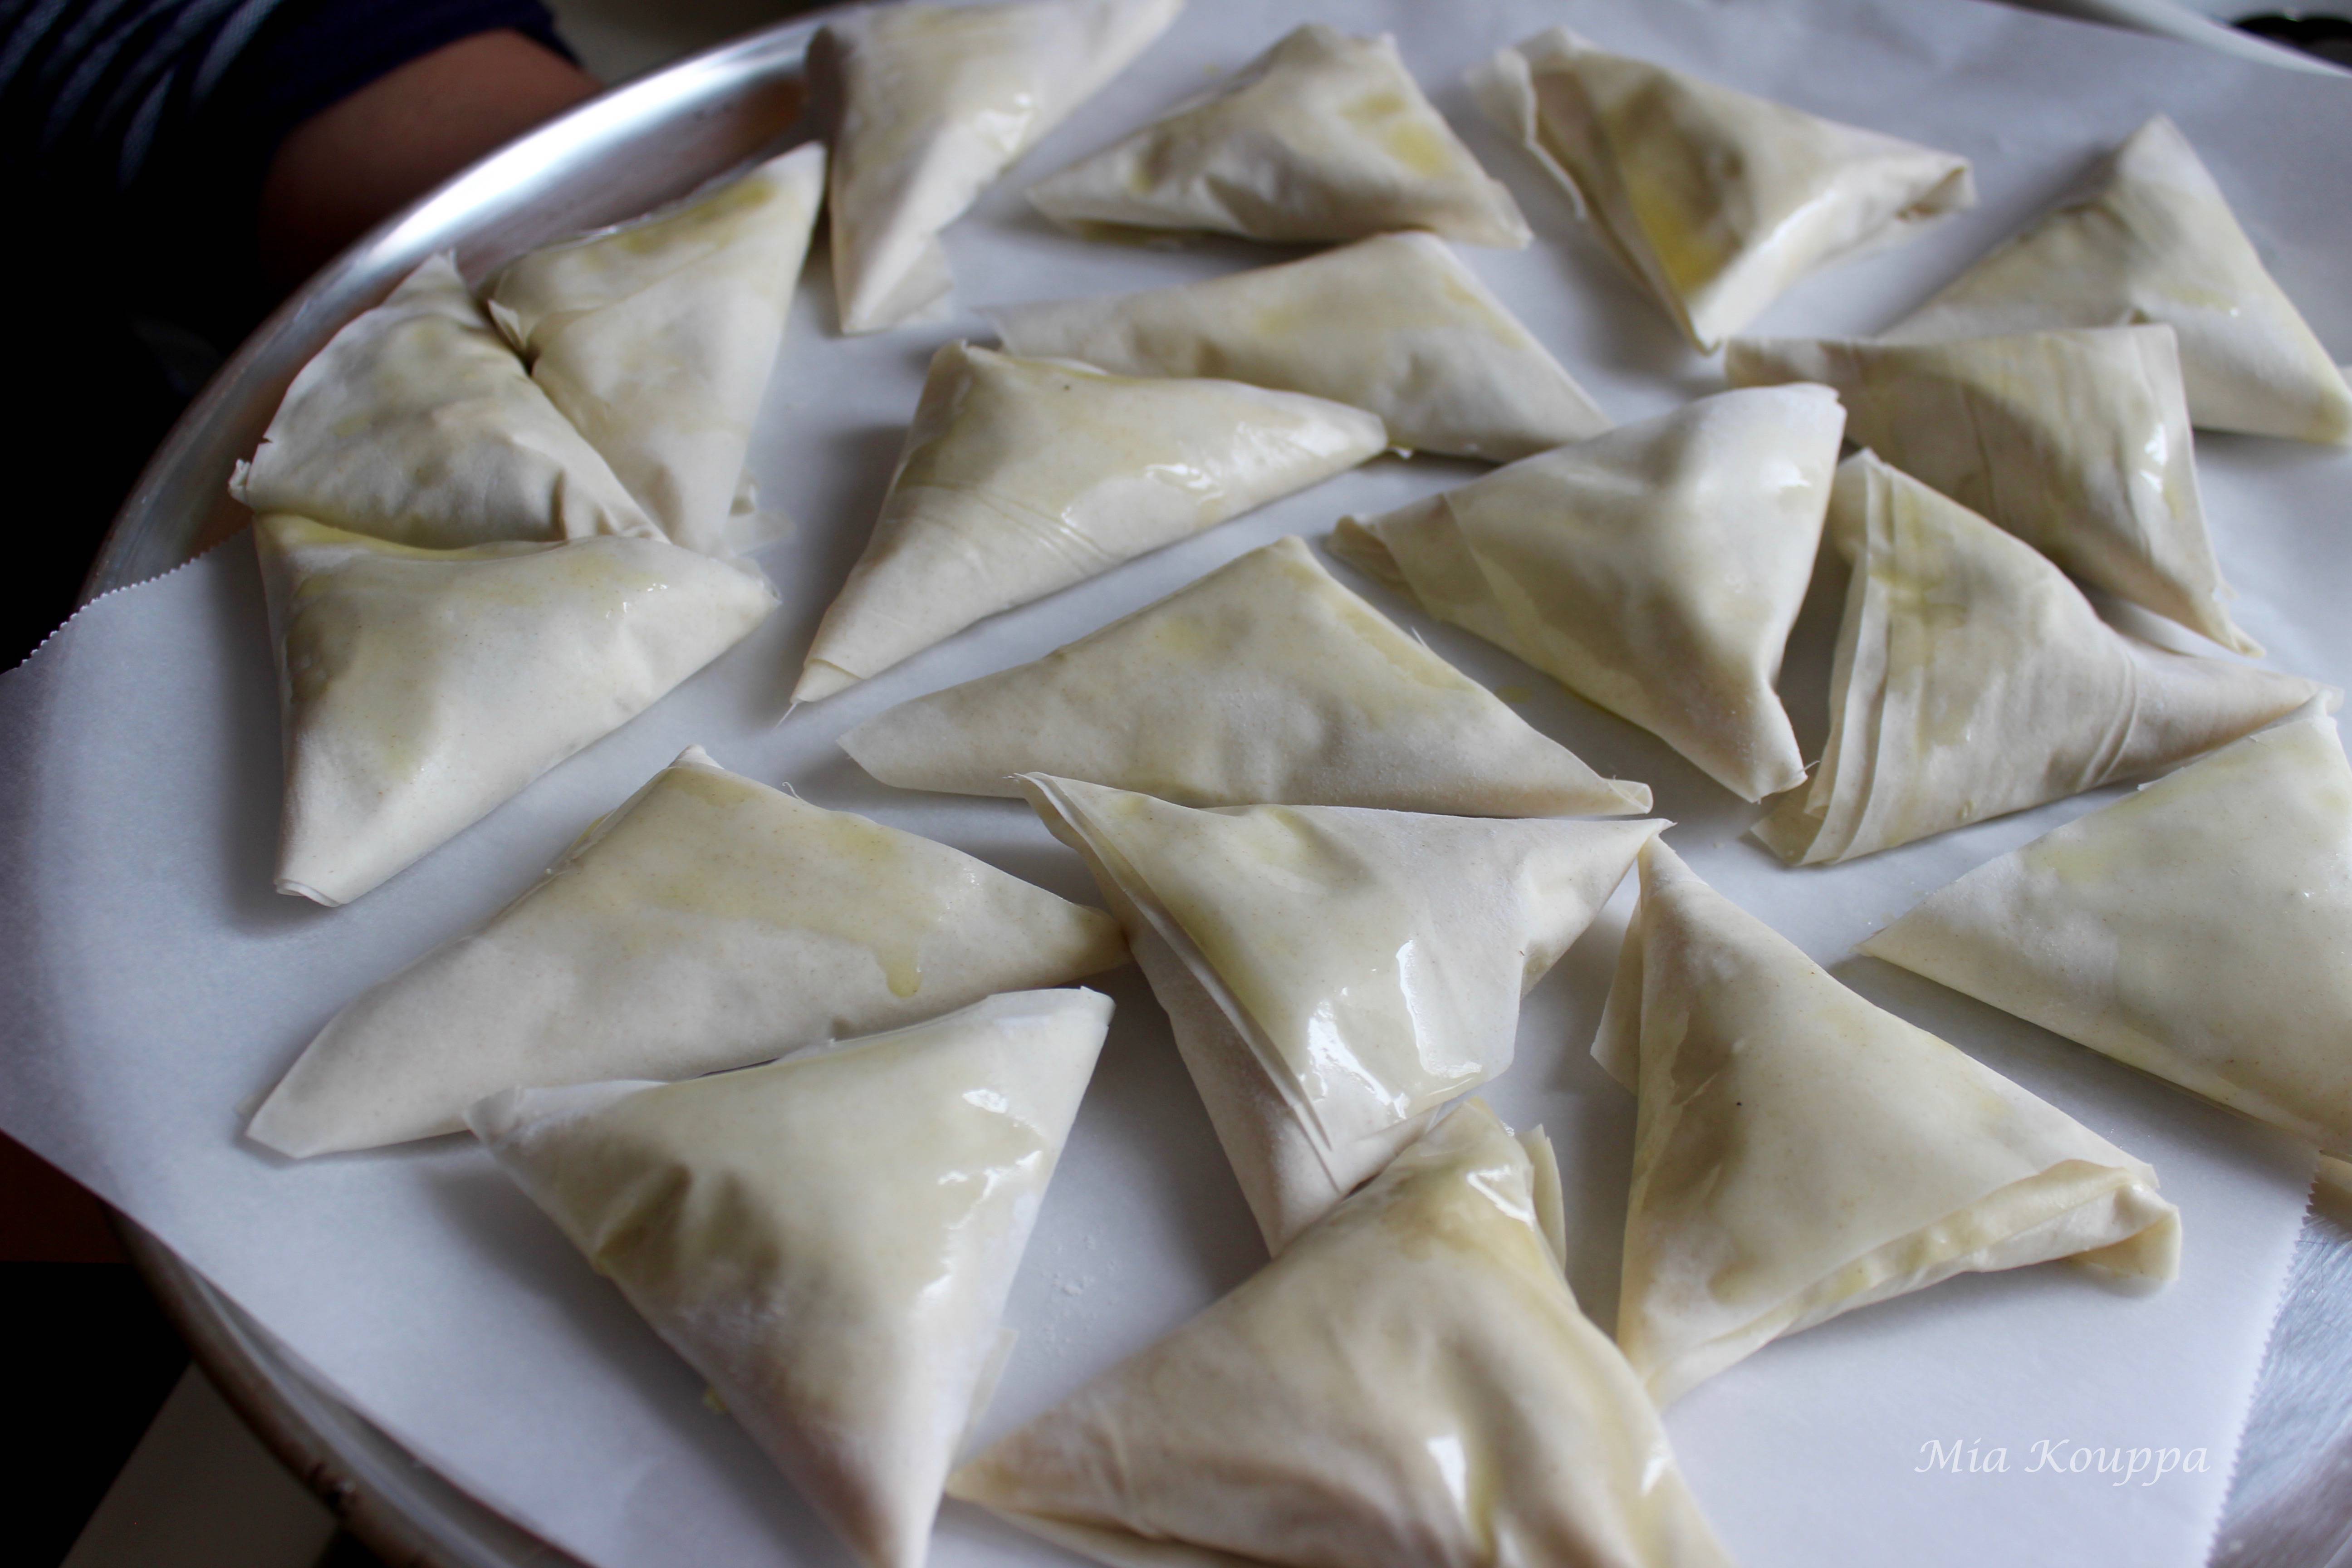
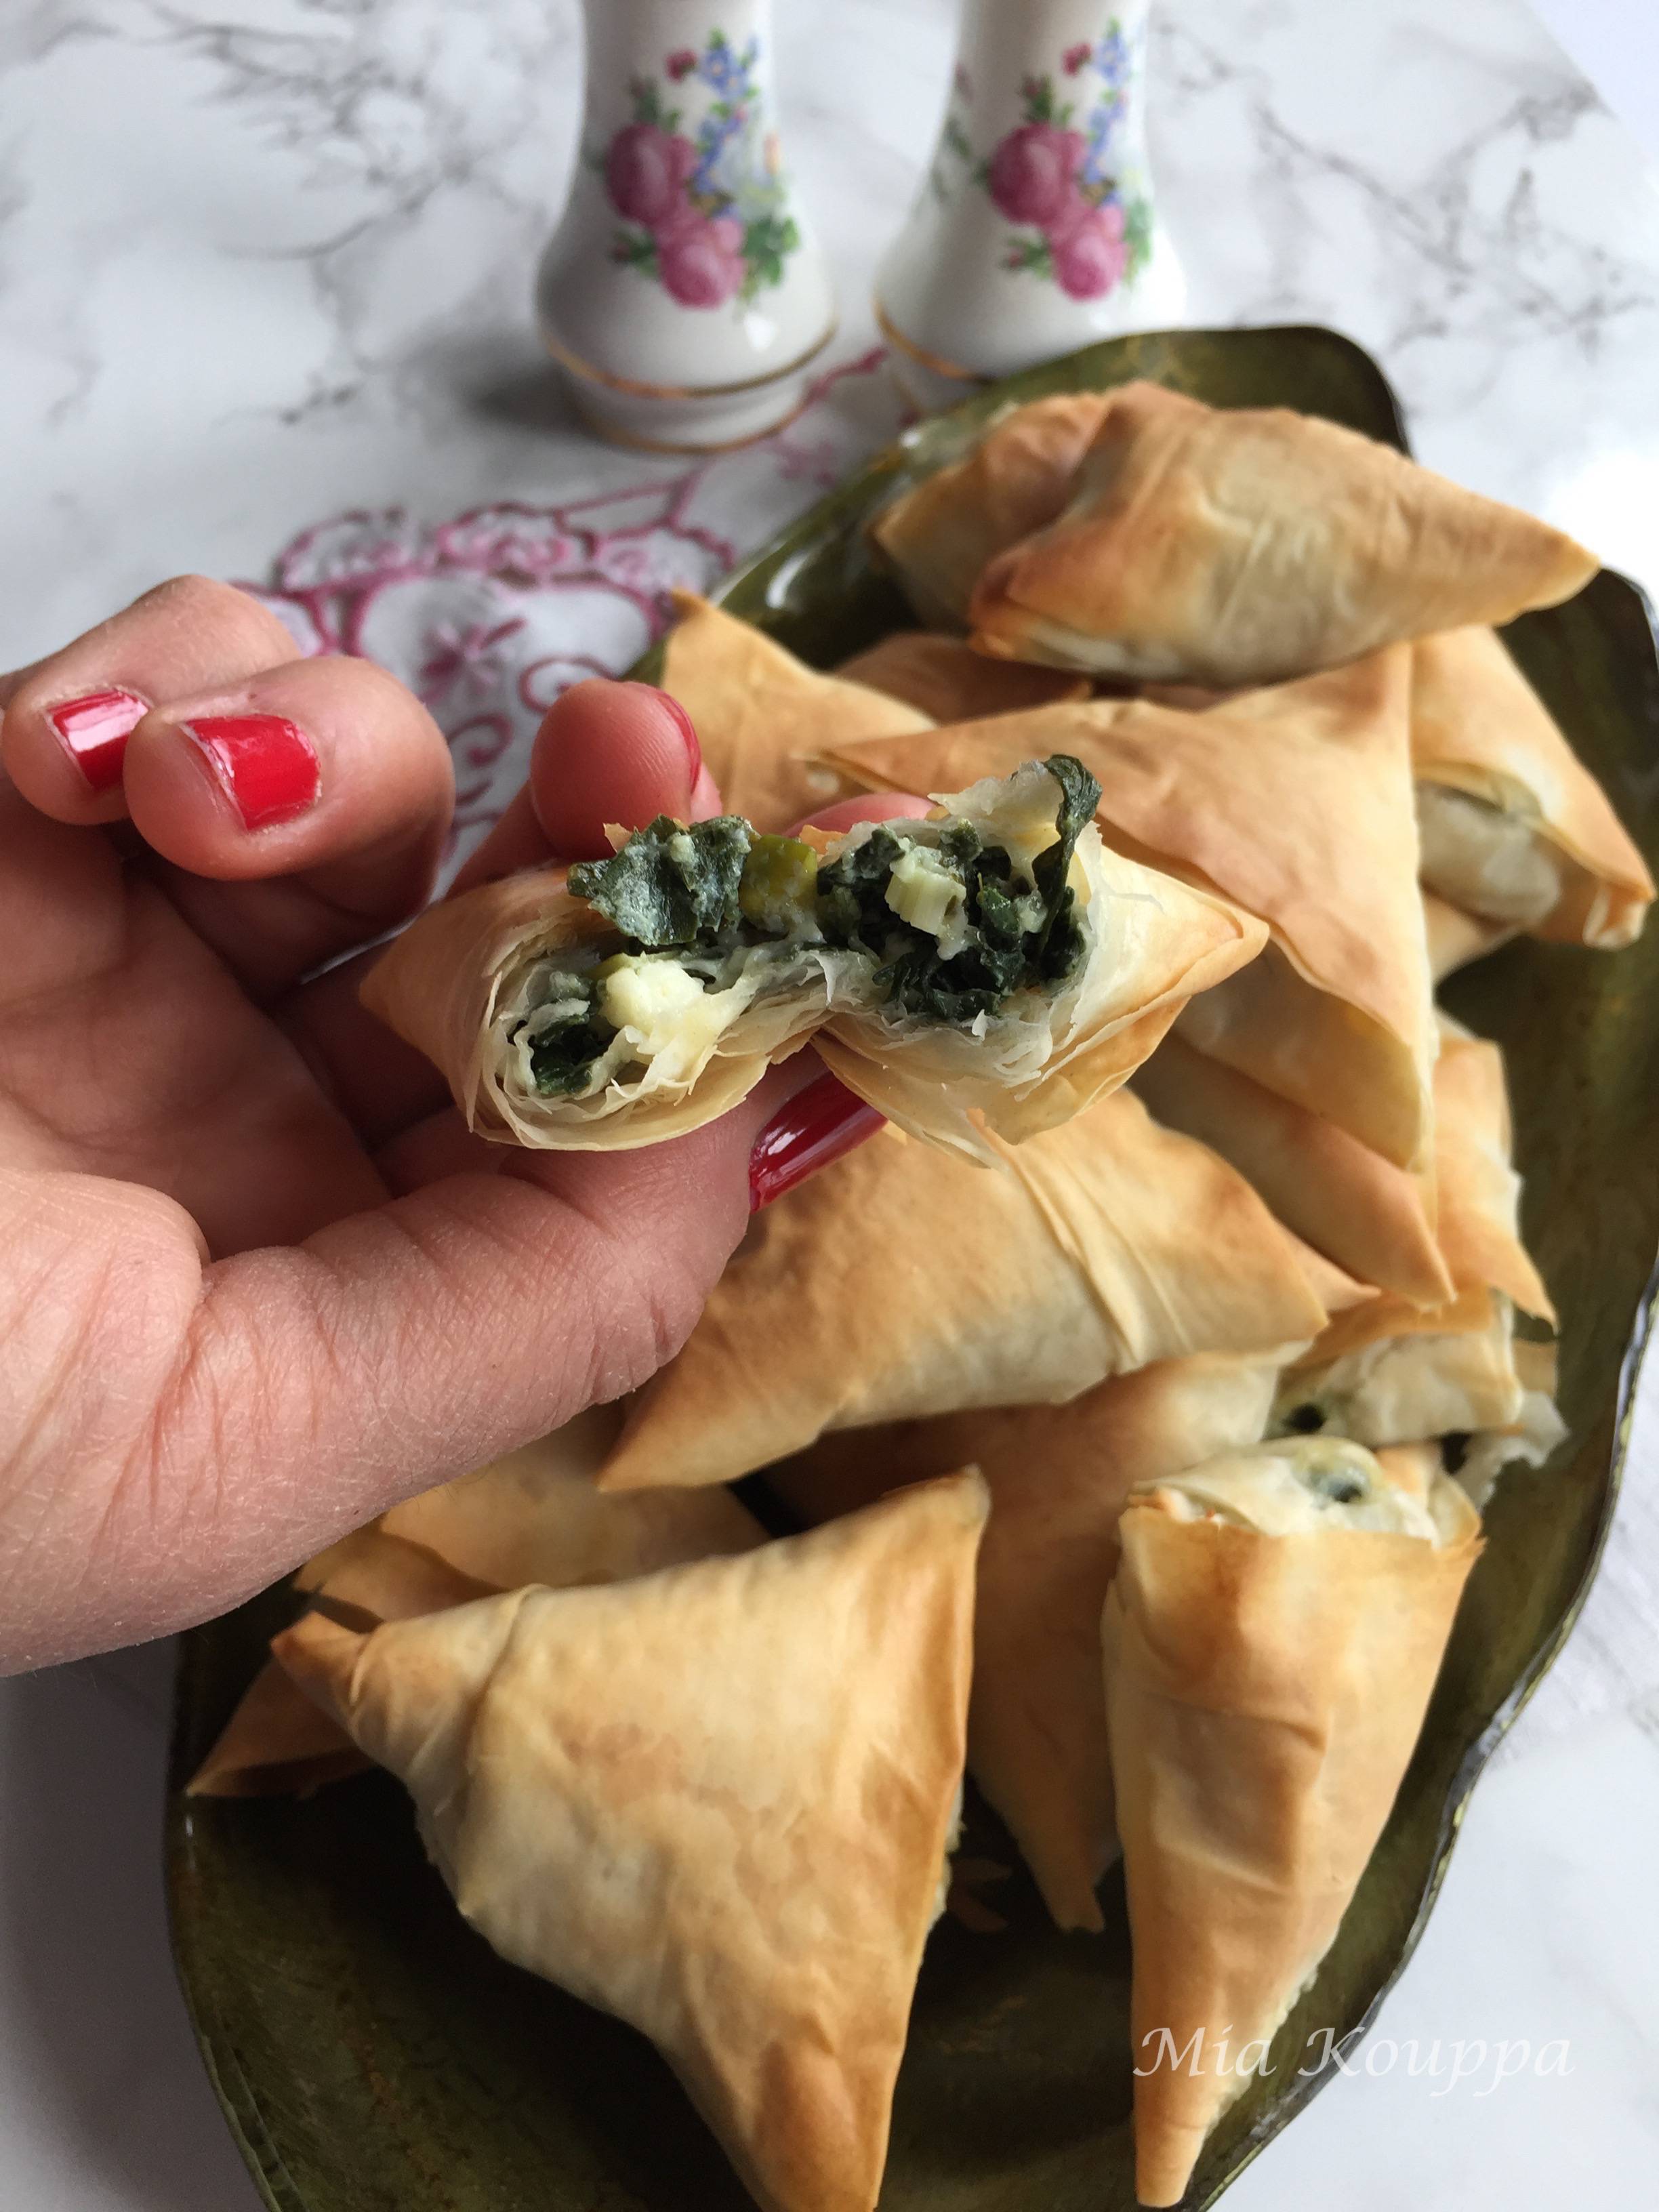
Spanakopita triangles made with thin, store bought phyllo. This is a delicious meze with a spinach and feta filling wrapped up with crispy and flaky phyllo dough. So easy to make, and delicious too.
Growing up in a Greek family there were so many recipes that we enjoyed that were made with phyllo dough. I could never understand why people seemed worried about working with phyllo; for me, this was just a basic ingredient! Phyllo was used to make dessert like Galaktoboureko or Portokalopita, or savoury dishes like cheese pies (Tyropitakia) or mini meat pies (Kreatopitakia). There was always a package of fresh phyllo in the refrigerator, or stored in the freezer. I do the same now in my own home and this is handy when I want to cook something Greek and delicious, like these spanakopita triangles.
Why this recipe is great
Ask most non-Greeks what their favourite Greek food is and I think that most will say spanakopita. Perhaps this is because spanakopita is so easy to pronounce, not requiring the guttural sounds difficult to articulate unless you have practiced them since birth. Although this is true, it must be more than mere phonetics. I actually think that spanakopita are so revered because they are, in a word, yummy.
Spanakopita are perfect in so many ways, and there are so many ways to prepare them. Here I share the recipe for what my Greek family affectionately calls spanakopitakia; the -kia tagged on to the end illustrating that these particular spanakopita are small and adorable. Made with store-bought phyllo, they are actually pretty easy (albeit somewhat time consuming) to make.
Key ingredients
Spanakopita are essentially spinach based fillings wrapped in some type of dough. The ingredients are simple, straightforward and no nonsense, nothing that can’t be found in a well stocked grocery store. Because of this, the quality of ingredients truly is important. Buy the freshest vegetables you can find, and make sure you choose your feta wisely.
Phyllo Phyllo (filo) is a very thin dough that is usually made with water, flour and sometimes a bit of oil. It is paper thin, and very delicate so it dries out and tears quite easily. Still, it is actually pretty easy to work with. I try to purchase fresh phyllo dough whenever I can. Otherwise, frozen phyllo dough is an option too.
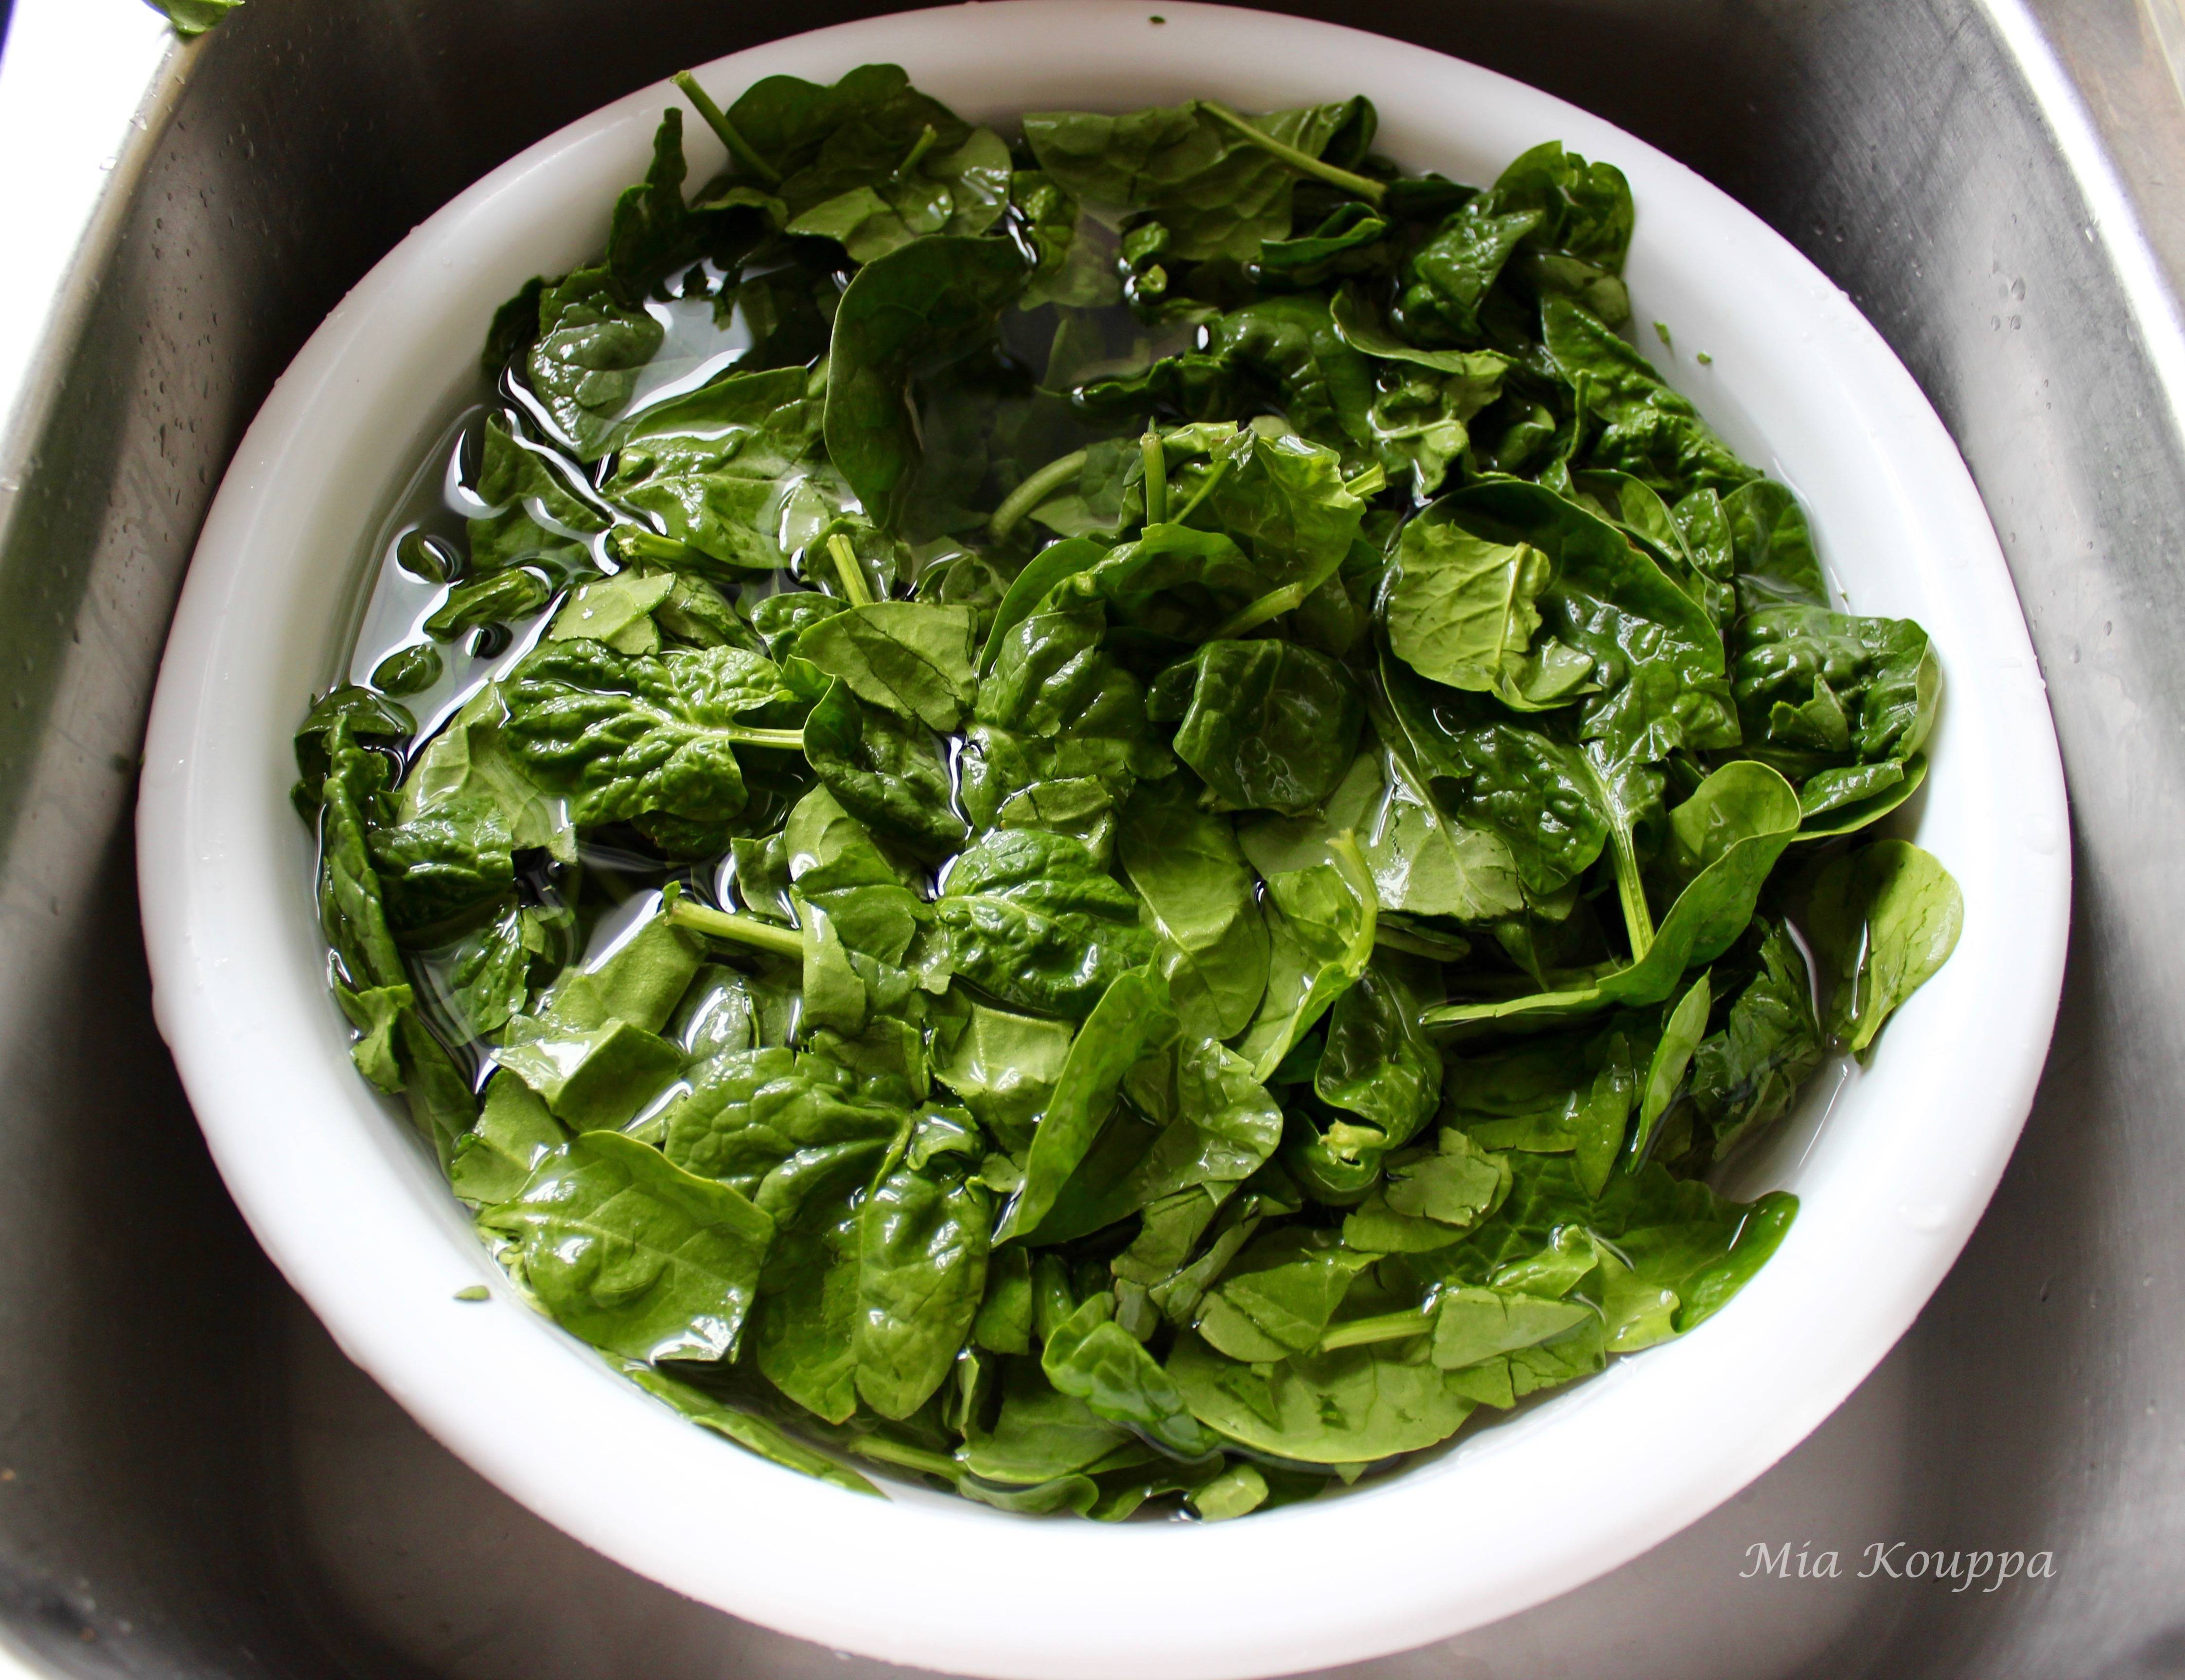
Spinach When I prepare spinach I remove the tough stems. If the stems are delicate then I do not bother removing them. Wash your spinach well to remove any dirt.
Curly leaf lettuce I love adding lettuce to my spanakopita filling. This might seem unusual but I learned this trick from my Greek parents; the lettuce adds a lightness to the filling.
Green onions Also called spring onions or scallions, I love adding them to my filling. They are flavourful without being too powerful in their taste. I use the white and green part of the onion as each offers their own unique flavour.
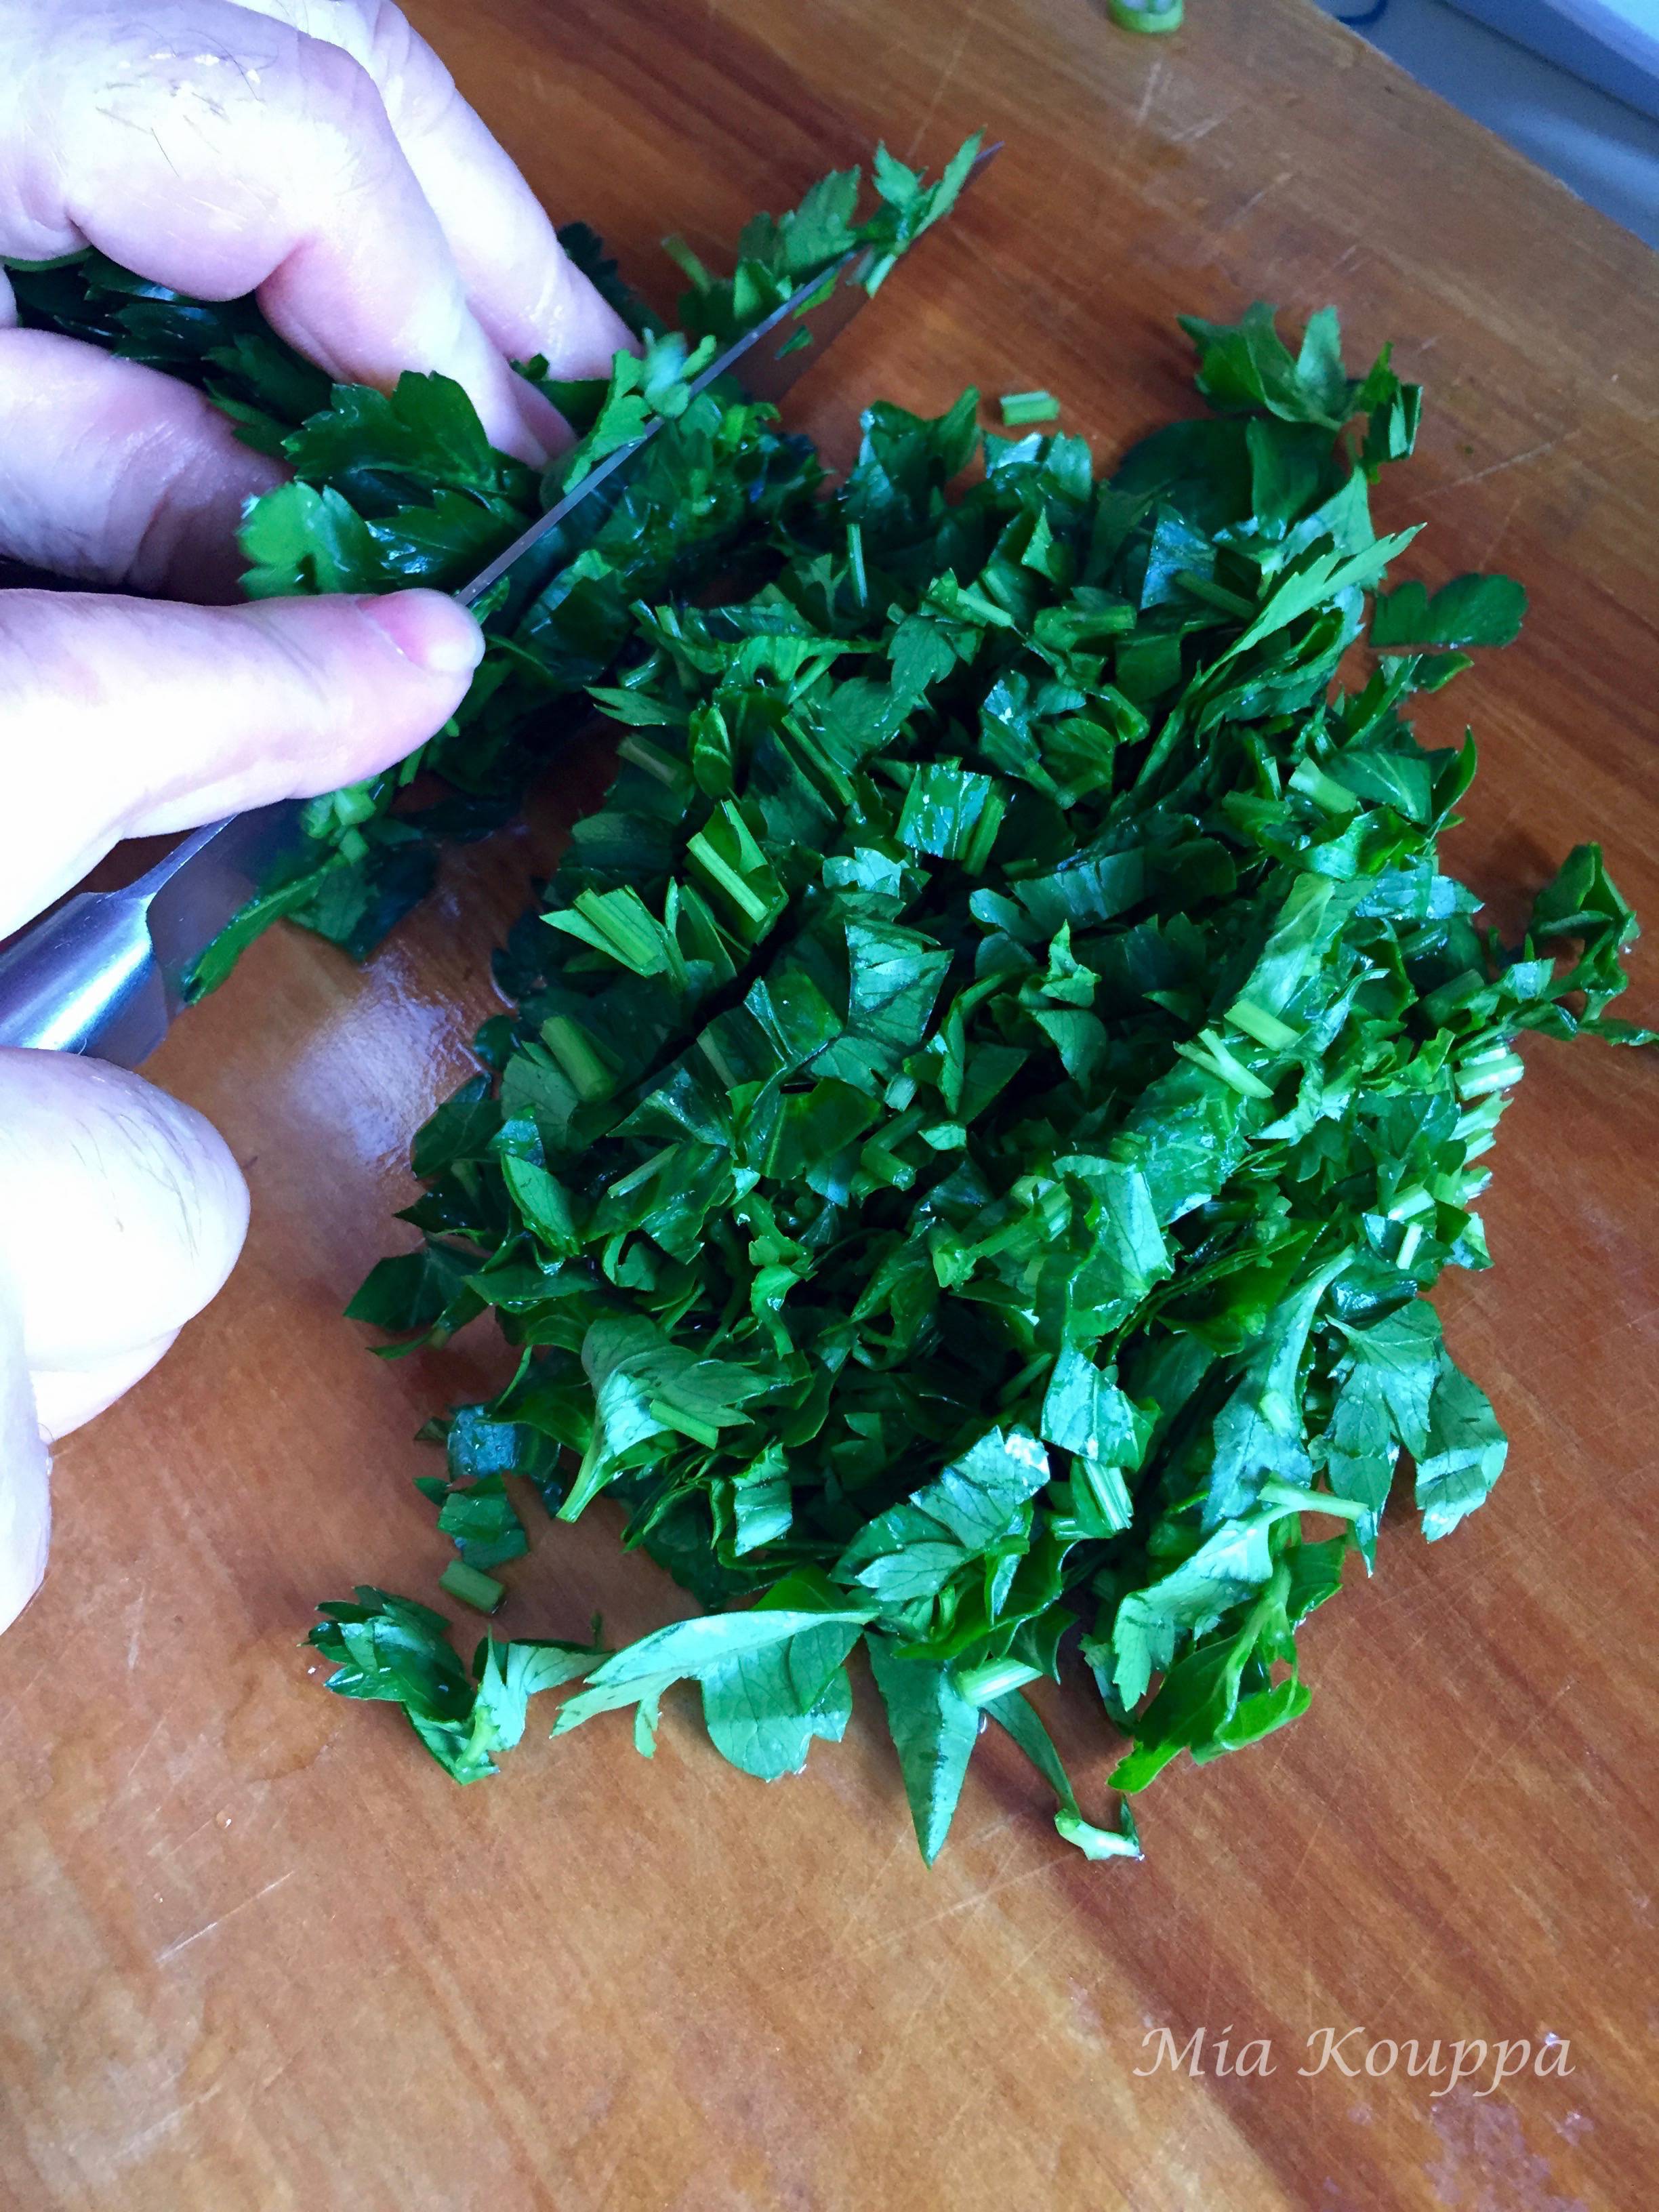
Parsley I use flat-leaf parsley in the filling. I use the entire leaf and stem, not letting anything go to waste. I love the flavour which is fresh and only slightly peppery. It is one of the most common herbs used in Greek cooking!
Egg I add a large egg to my filling in order to help bind everything together.
Feta As always, I use Greek feta in my filling. If you want to learn more about feta, here is a great resource with all the feta facts you might need.
Olive oil I only use Greek olive oil. Here it is used to brush between the various phyllo layers, which makes it flaky when the triangles are baked.
How to make it
Step 1
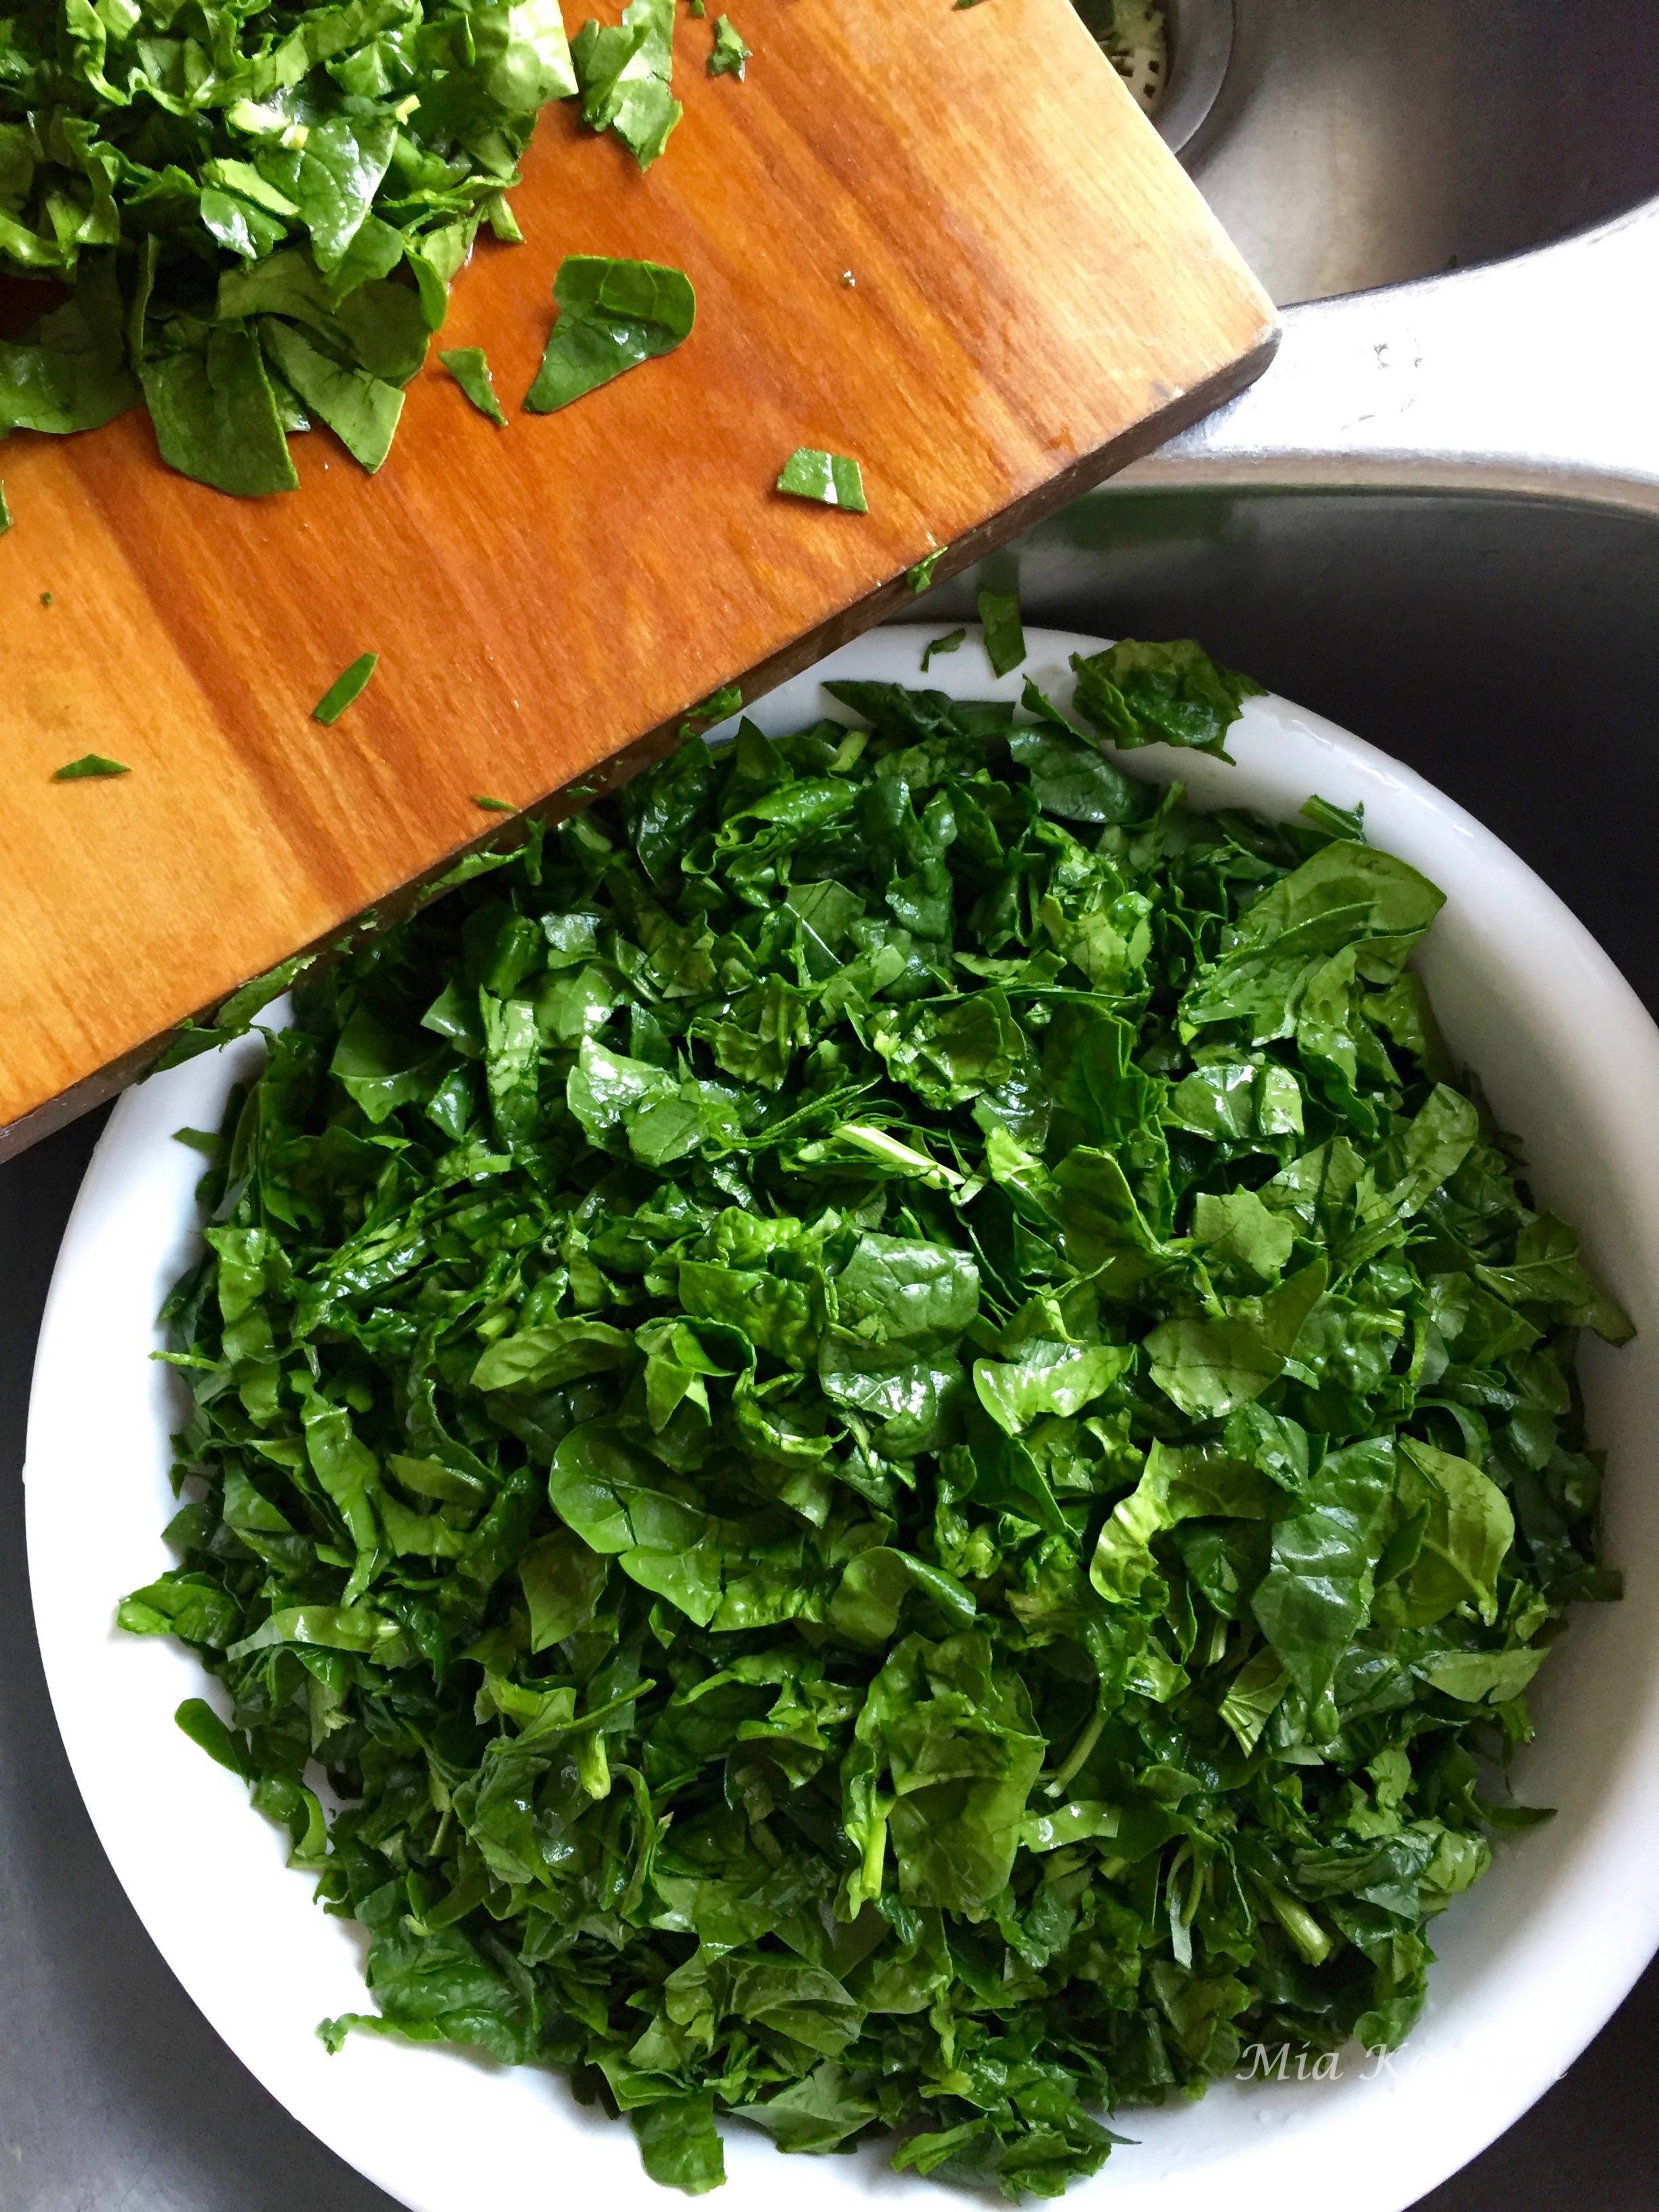
Wash spinach and lettuce very well and remove any leaves which appear wilted or discoloured. Unless the stems of the spinach leaves are very large and tough, you do not need to remove them. Finely chop the spinach and lettuce. Set aside.
Step 2
Meanwhile, boil a large pot of water. While the water is getting to the boil, wash and then finely chop up the green onions and the parsley. Use both the white and green part of the onion.

Step 3
Once the parsley and onions are chopped, place them in a large colander.
Step 4
When your pot of water has boiled, drop in your spinach and your lettuce. Blanch these for a mere 30 seconds. Then, take your pot and drain your spinach and lettuce into the colander. You will be pouring the hot, boiling water over the green onions and parsley. Immediately run cold water over the vegetables to cool them and to retain their vibrant green colour.

Step 5
Let the vegetable mixture drain for a while. In order to remove all of the water however, place your vegetables in the center of a square of tulle or cheesecloth (or even a clean kitchen towel) and squeeze out as much water as possible.

Step 6
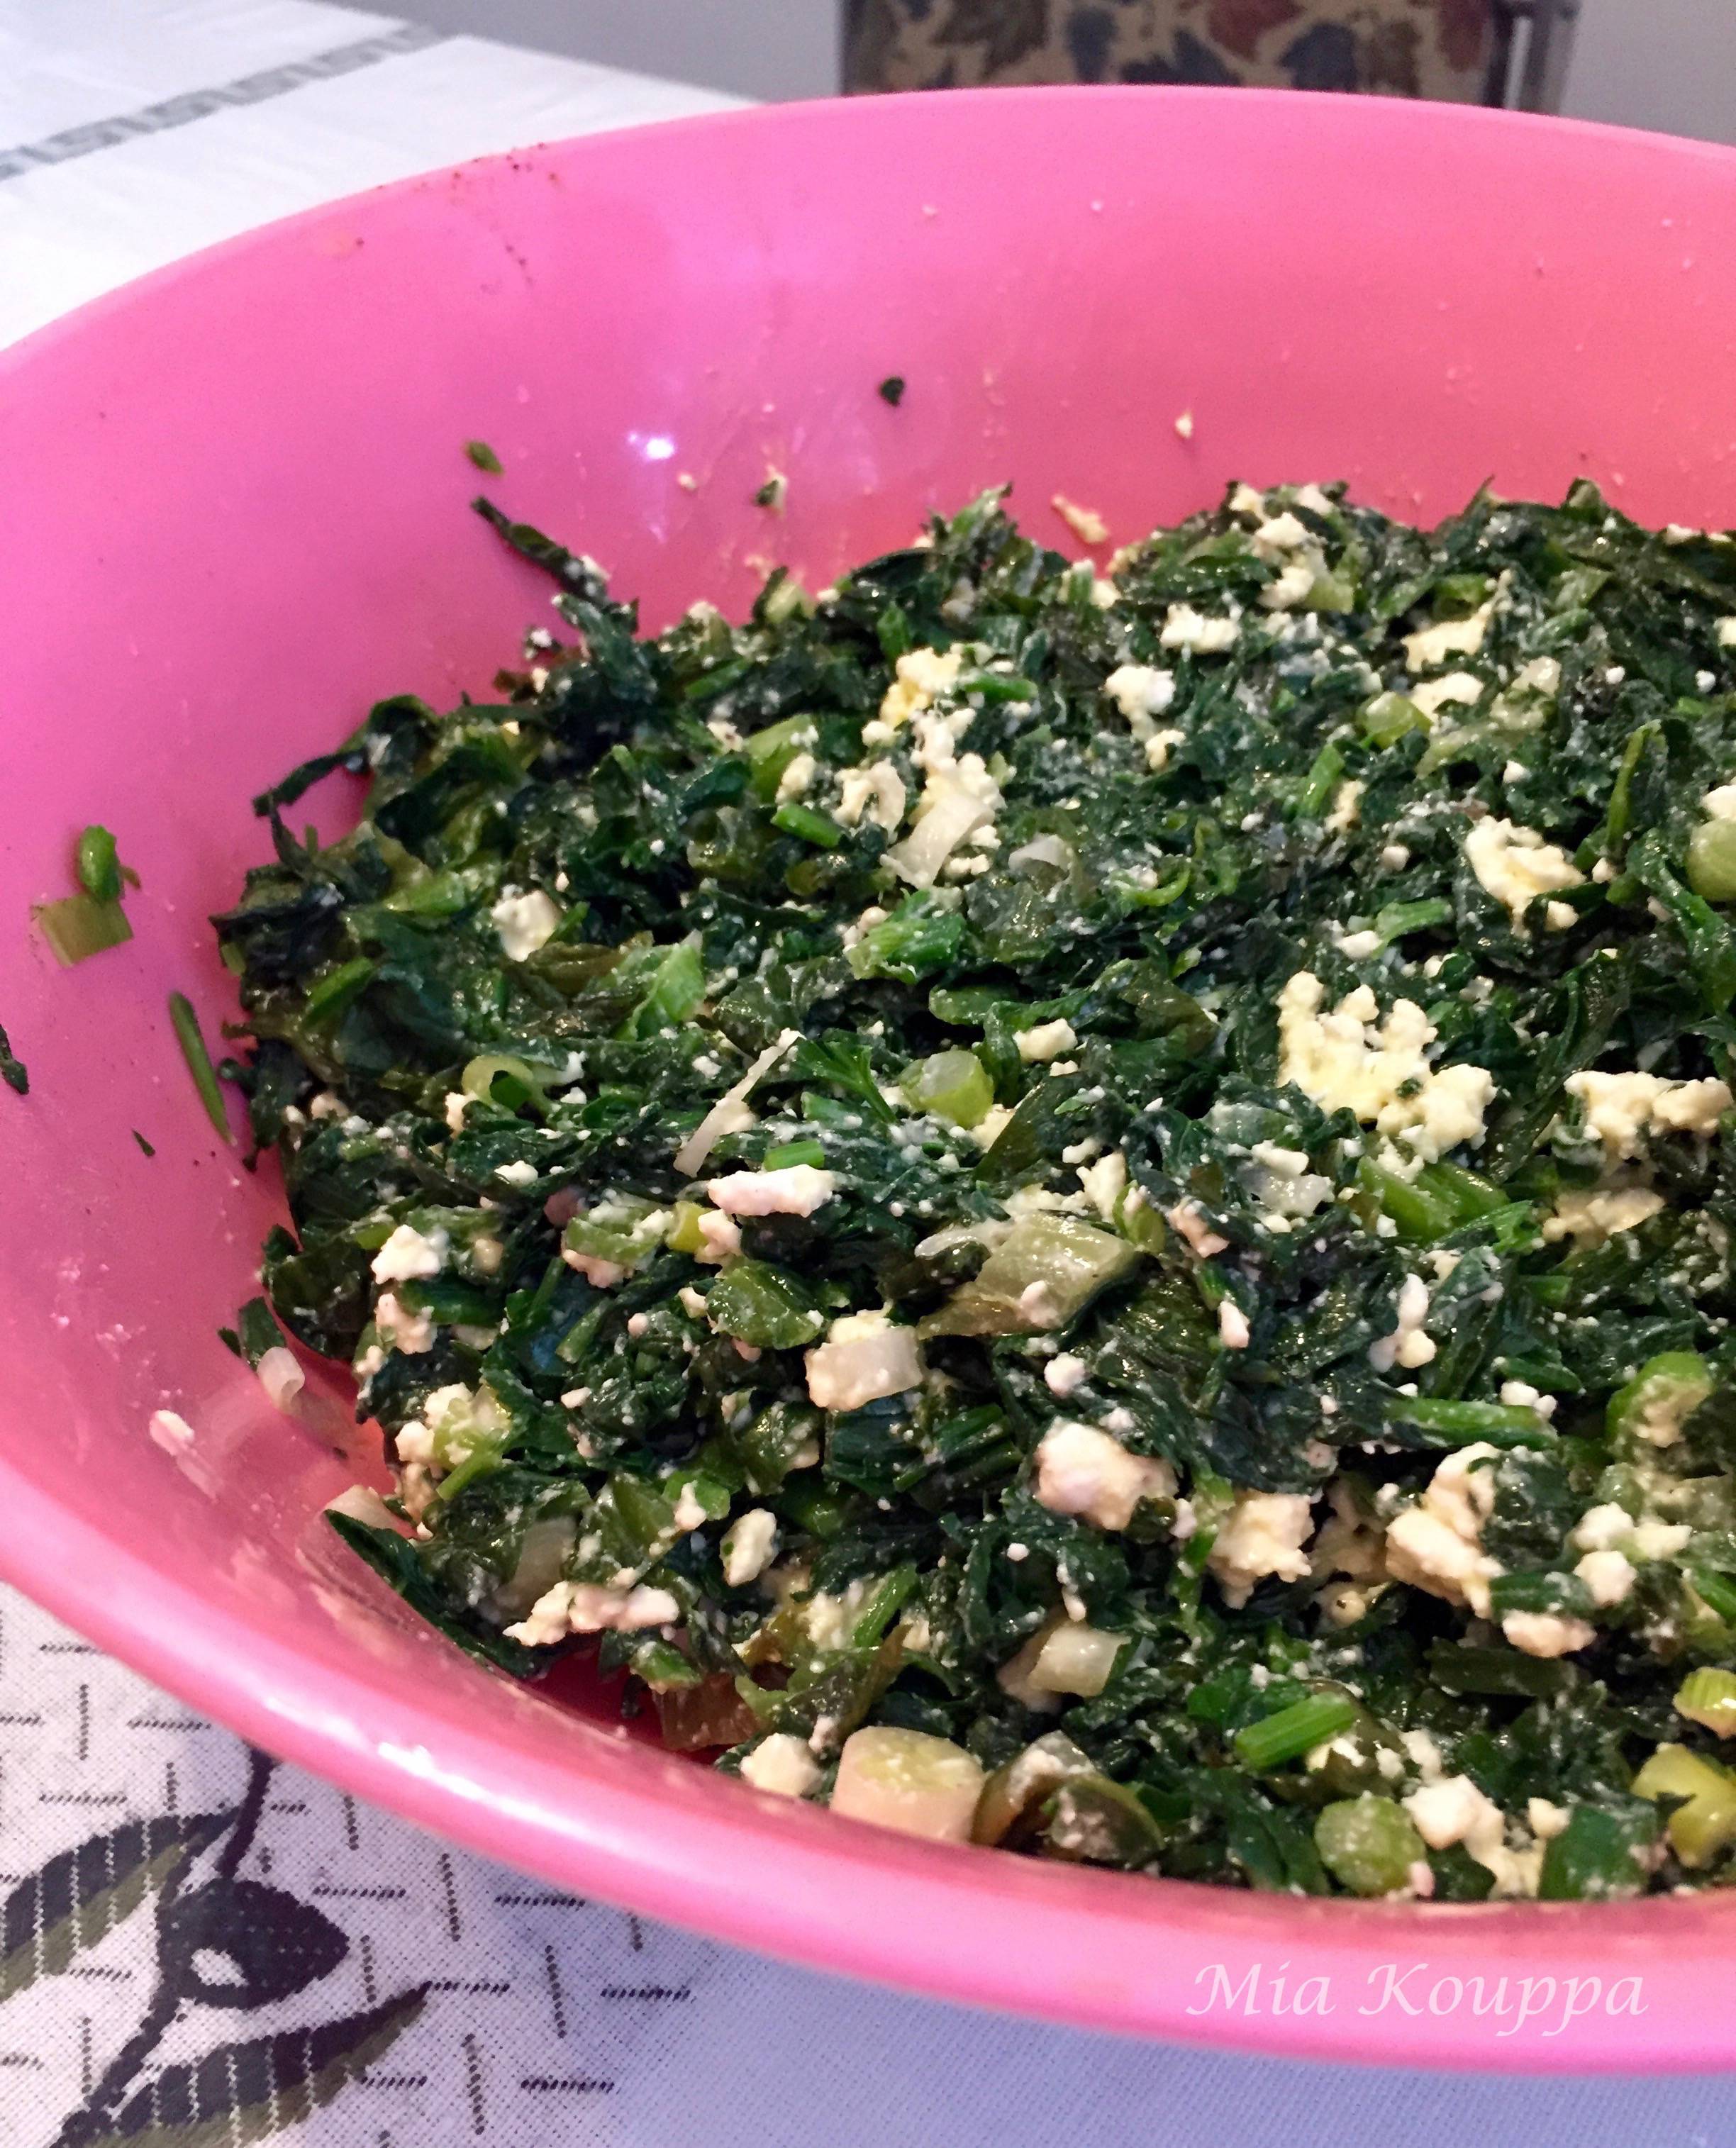
Once the water has been squeezed out, place the vegetables in a bowl. To the vegetables add a beaten egg, salt, pepper, olive oil and crumbled feta. Mix well to combine.
Step 7
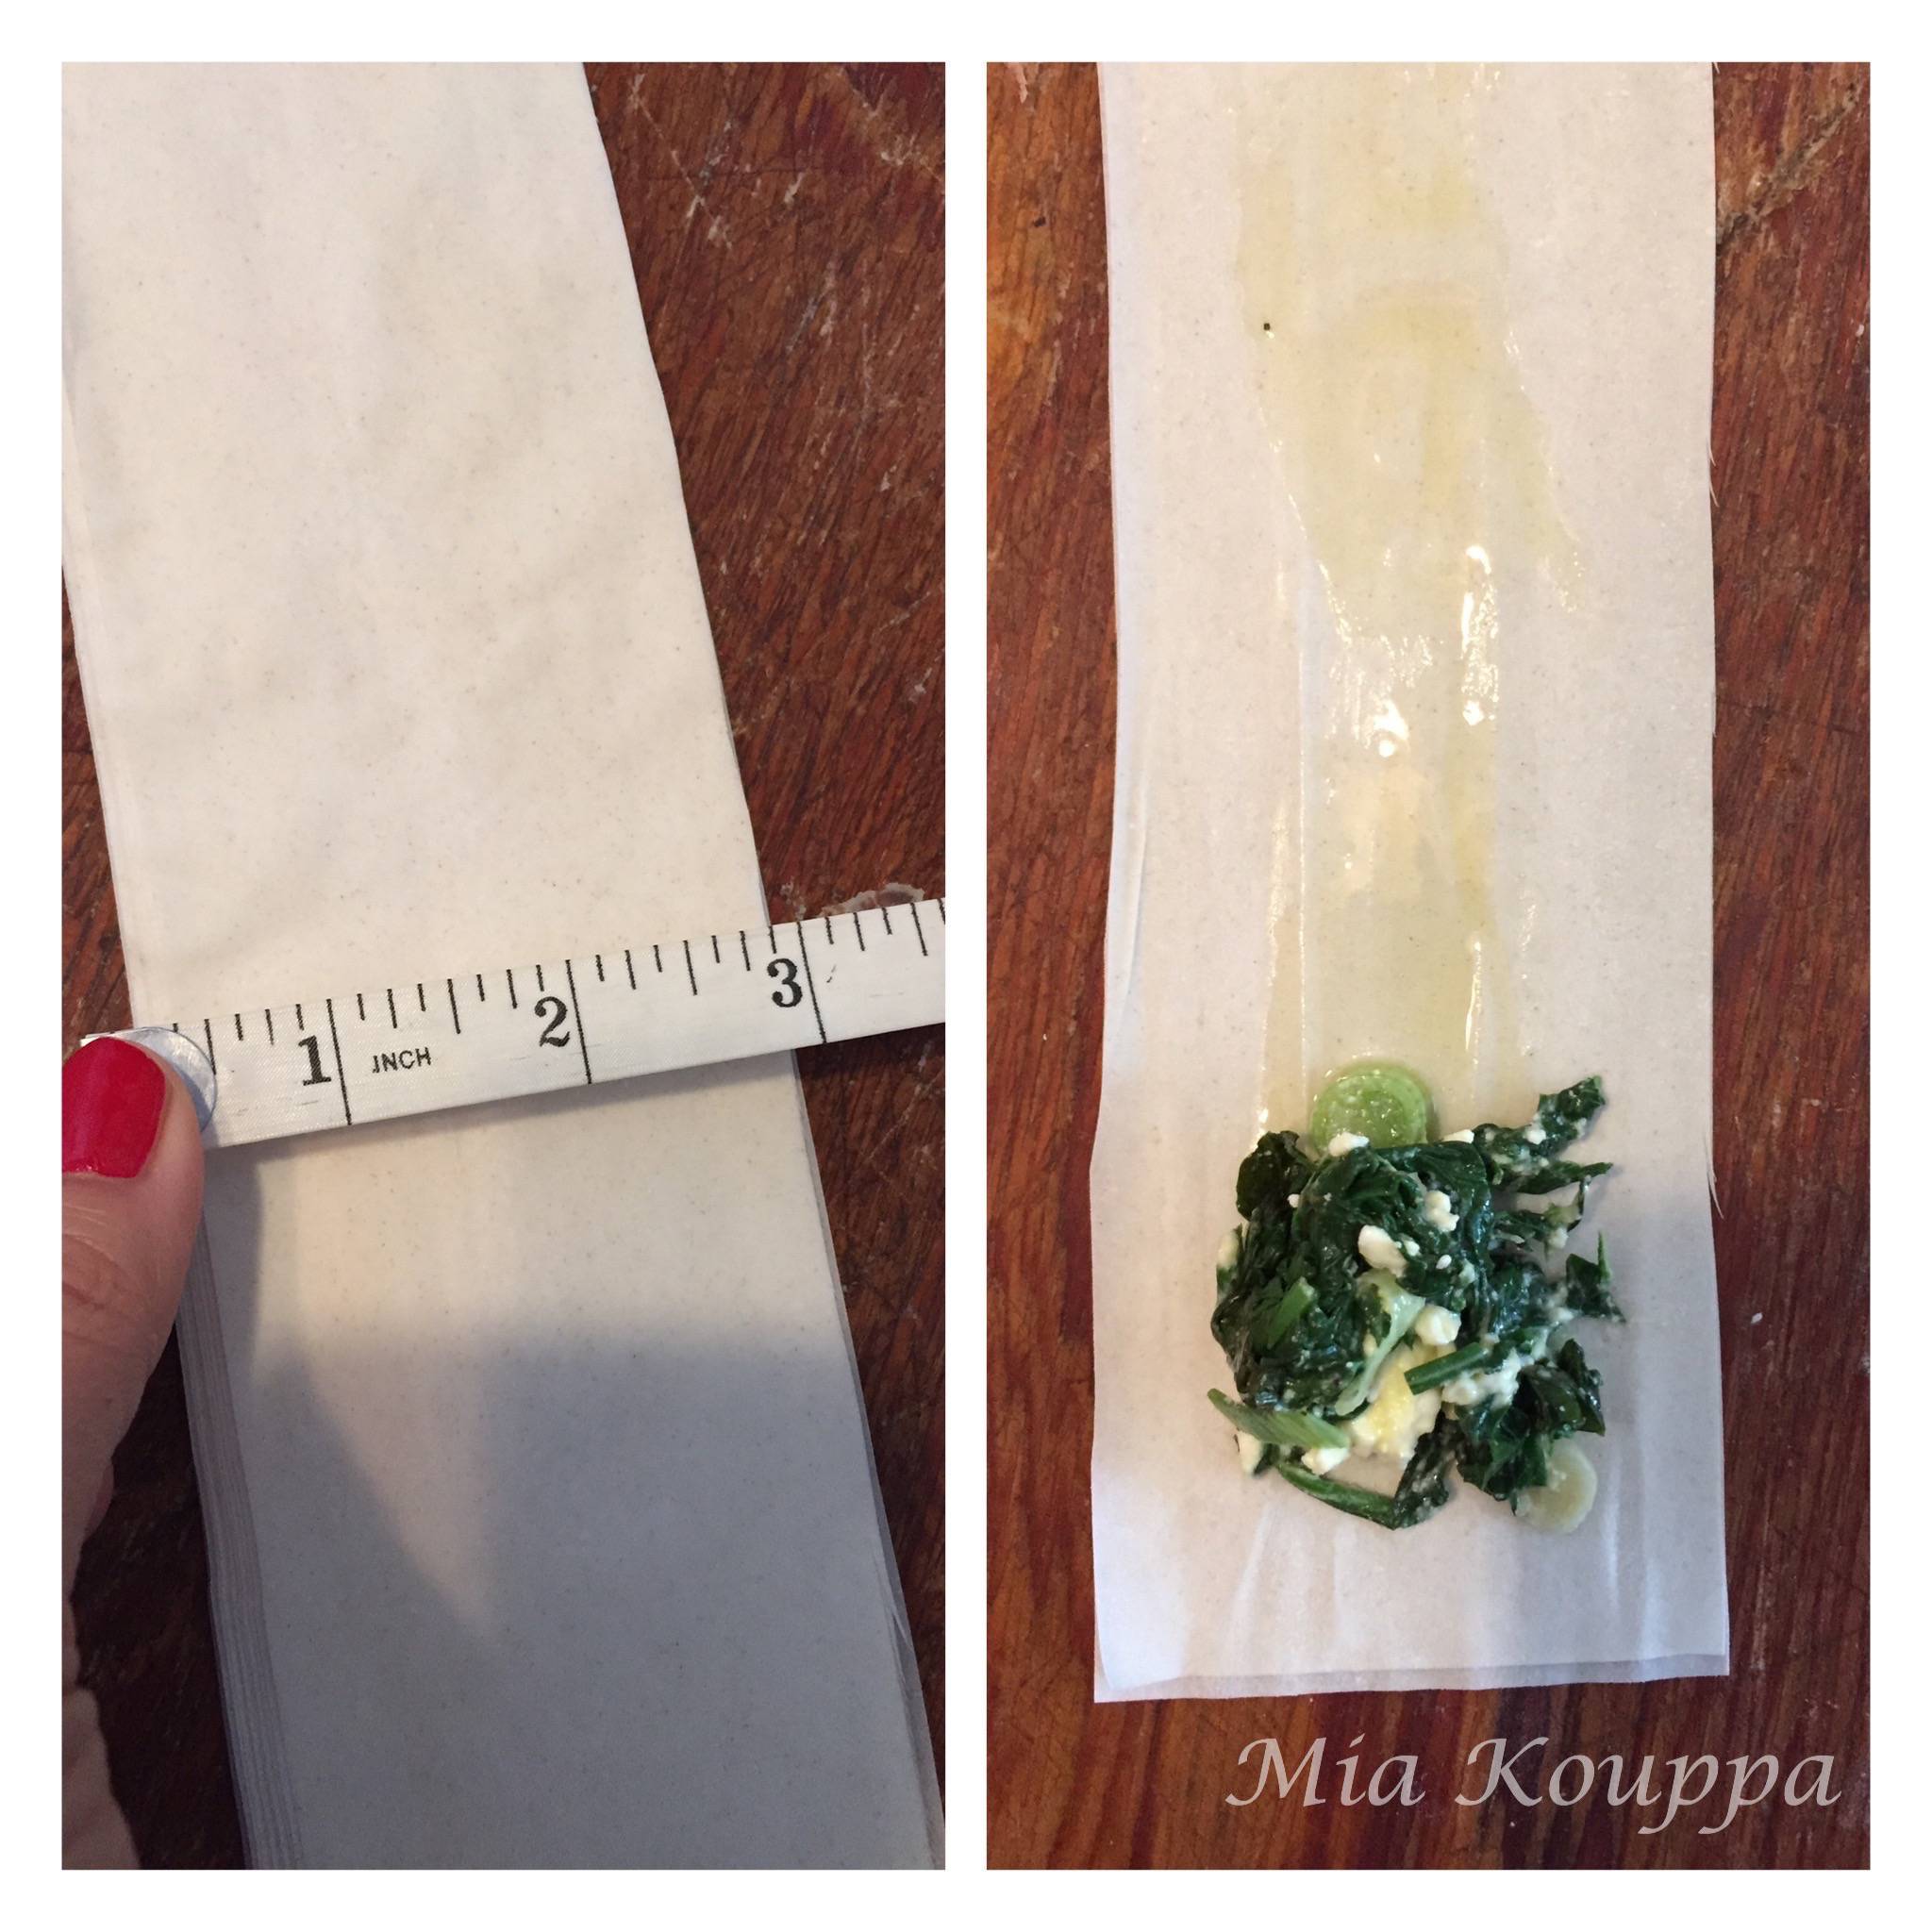
Unroll your phyllo dough. It will likely be rectangular shaped. Place the long end of the rectangle from left to right on your work surface, and the shorter end, top to bottom. Starting at the top, cut out strips of phyllo which are 3 inches wide. Pile the strips one on top of the other, to help keep things organized.
Step 8
Once you are ready to start making the spanakopita triangles, take a double layer of phyllo and lay it in front of you. Brush with some olive oil (you don’t want to soak it through, and it does not need to be brushed with olive oil all over). A good tip is to soak your pastry brush in the oil one time and use that to brush on the strips.
Step 9
Place approximately 2 teaspoons of filling at the bottom of the phyllo strip. You are now ready to start making your triangles. Pay attention!
Step 10
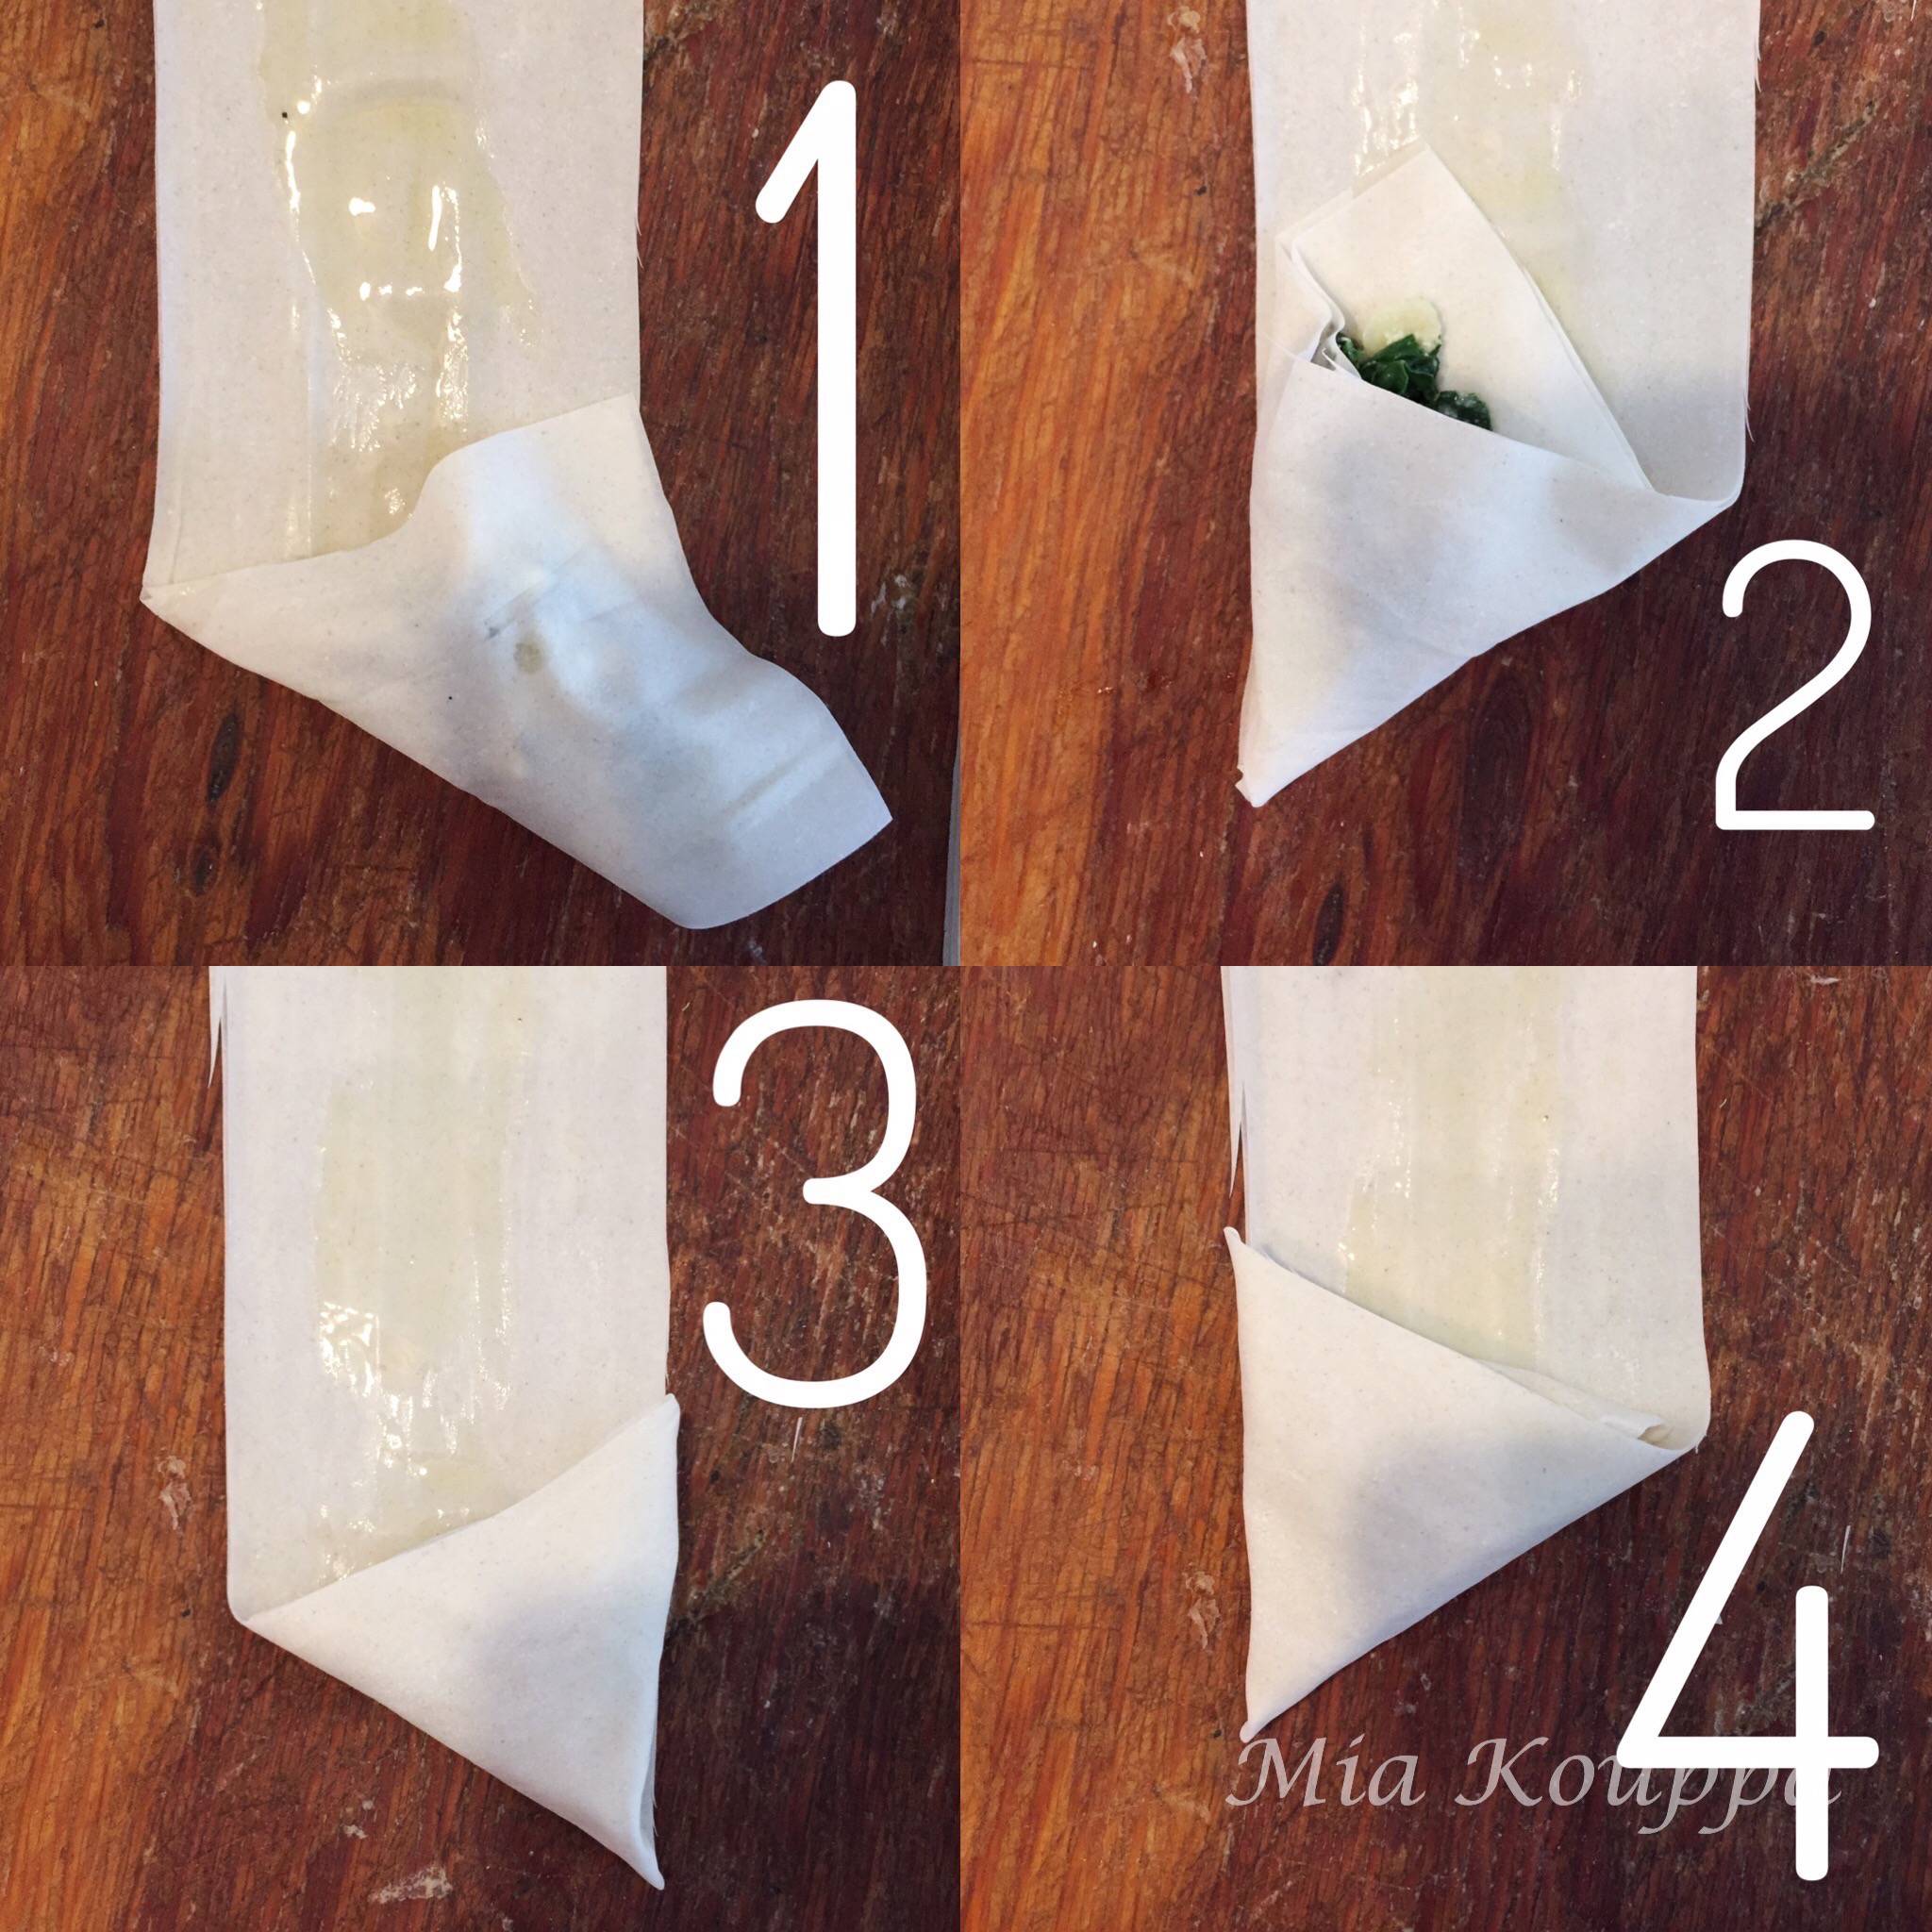
Take the bottom, left hand corner of your phyllo strip and fold it over the filling, bringing it to the right hand edge, just above where your filling ends. Then, take what is now the bottom right hand corner, and fold it over so that it reaches the left hand edge. Now move again to the left hand corner, and bring that to the right hand edge. Keep repeating. You will see that after a few movements, your triangle will start to take shape. Refer to the pictures above to help visualize what we are trying to describe, as well as this video. Repeat process to make more triangles.
Step 11
Place your prepared spanakopitakia on a parchment lined baking sheet. Brush olive oil on the top of each spanakopita triangle. Bake on bottom rack of oven for about 10 minutes and then move the baking sheet to the middle rack of the oven for approximately 10 more minutes. Your spakanopita are done when the phyllo (filo) has crisped up and taken on a beautiful and toasty tan colour.
Recipe variations
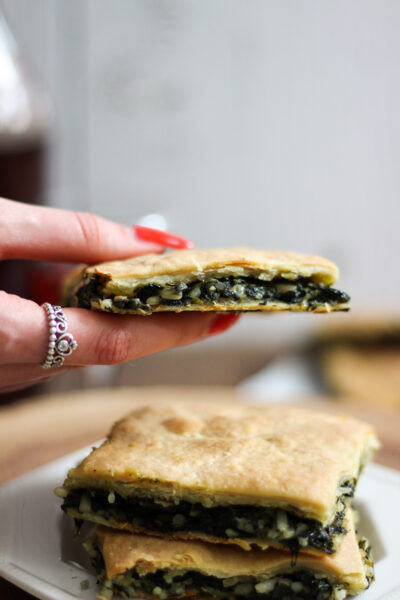
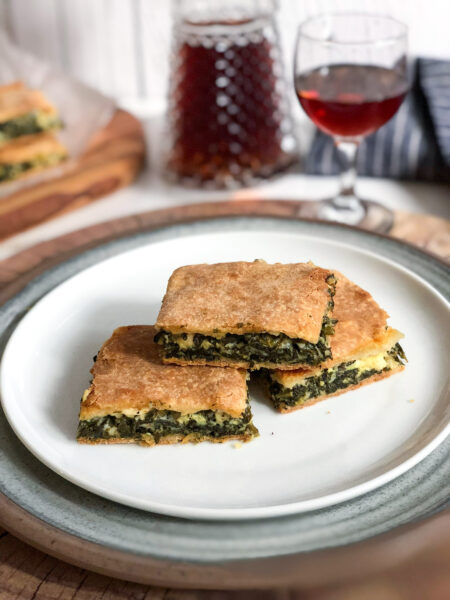
I like to make this recipe by forming individual triangles of spanakopita. However, you can make a pan of spanakopita. the way you would do this is to take a 9 x 11 inch baking pan, grease the bottom and then lay 8 sheets of phyllo on the bottom, applying a bit of oil between each sheet. Next, add the filling and then layer the top with an additional 8 sheets of phyllo, greasing lightly between each sheet. Prior to baking, score the top layer of phyllo with a sharp knife and then bake in the middle rack of the oven at 350 degrees Fahrenheit for about 30 minutes, or until golden brown.
You can also decide to make spanakopita without phyllo at all! Check out this recipe for Greek Spanakotiropitakia (Spinach and cheese pitas) without phyllo! They are absolutely great!
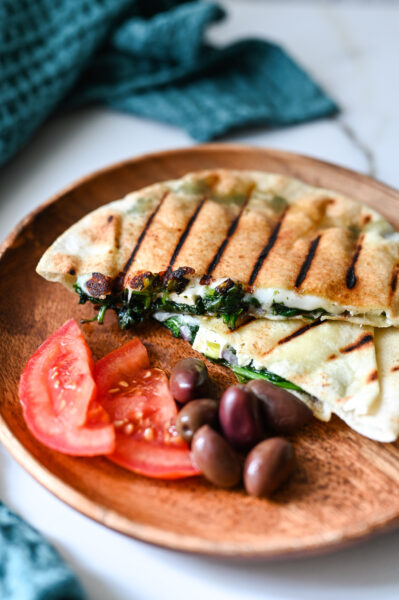
If you are feeling particularly adventurous and want something super easy, give this Sheet pan spanakopita quesadilla a try! So easy, can feed a lot of people, and is truly, truly delicious.
Helpful hints
Working with phyllo
Phyllo dough (sometimes referred to as filo dough) has a bad reputation as being a finicky ingredient which is difficult to work with. Many recipes warn against the fact that it dries out quickly, tears easily and should therefore be handled with extreme caution. We say, hogwash! Sure, phyllo can dry up when exposed to air for a long time…but it has to be a pretty long time, longer than it will take for you to fold your spanakopita, even for the first time. To help avoid the horror of dried phyllo however you can always cover, with a clean cloth, the phyllo you are not yet working with. Phyllo also has a tendency to tear relatively easily, so be careful, particularly if you have long fingernails, since you will be manipulating the phyllo dough quite a bit here.
Where to find phyllo
You can find phyllo dough in pretty much any Middle Eastern or Mediterranean grocer, or any well stocked supermarket. It is often available both frozen and fresh. We prefer the fresh variety because we find the frozen phyllo sometimes gets a bit soggy after it has thawed. If the frozen phyllo is all you can find however, go for it!
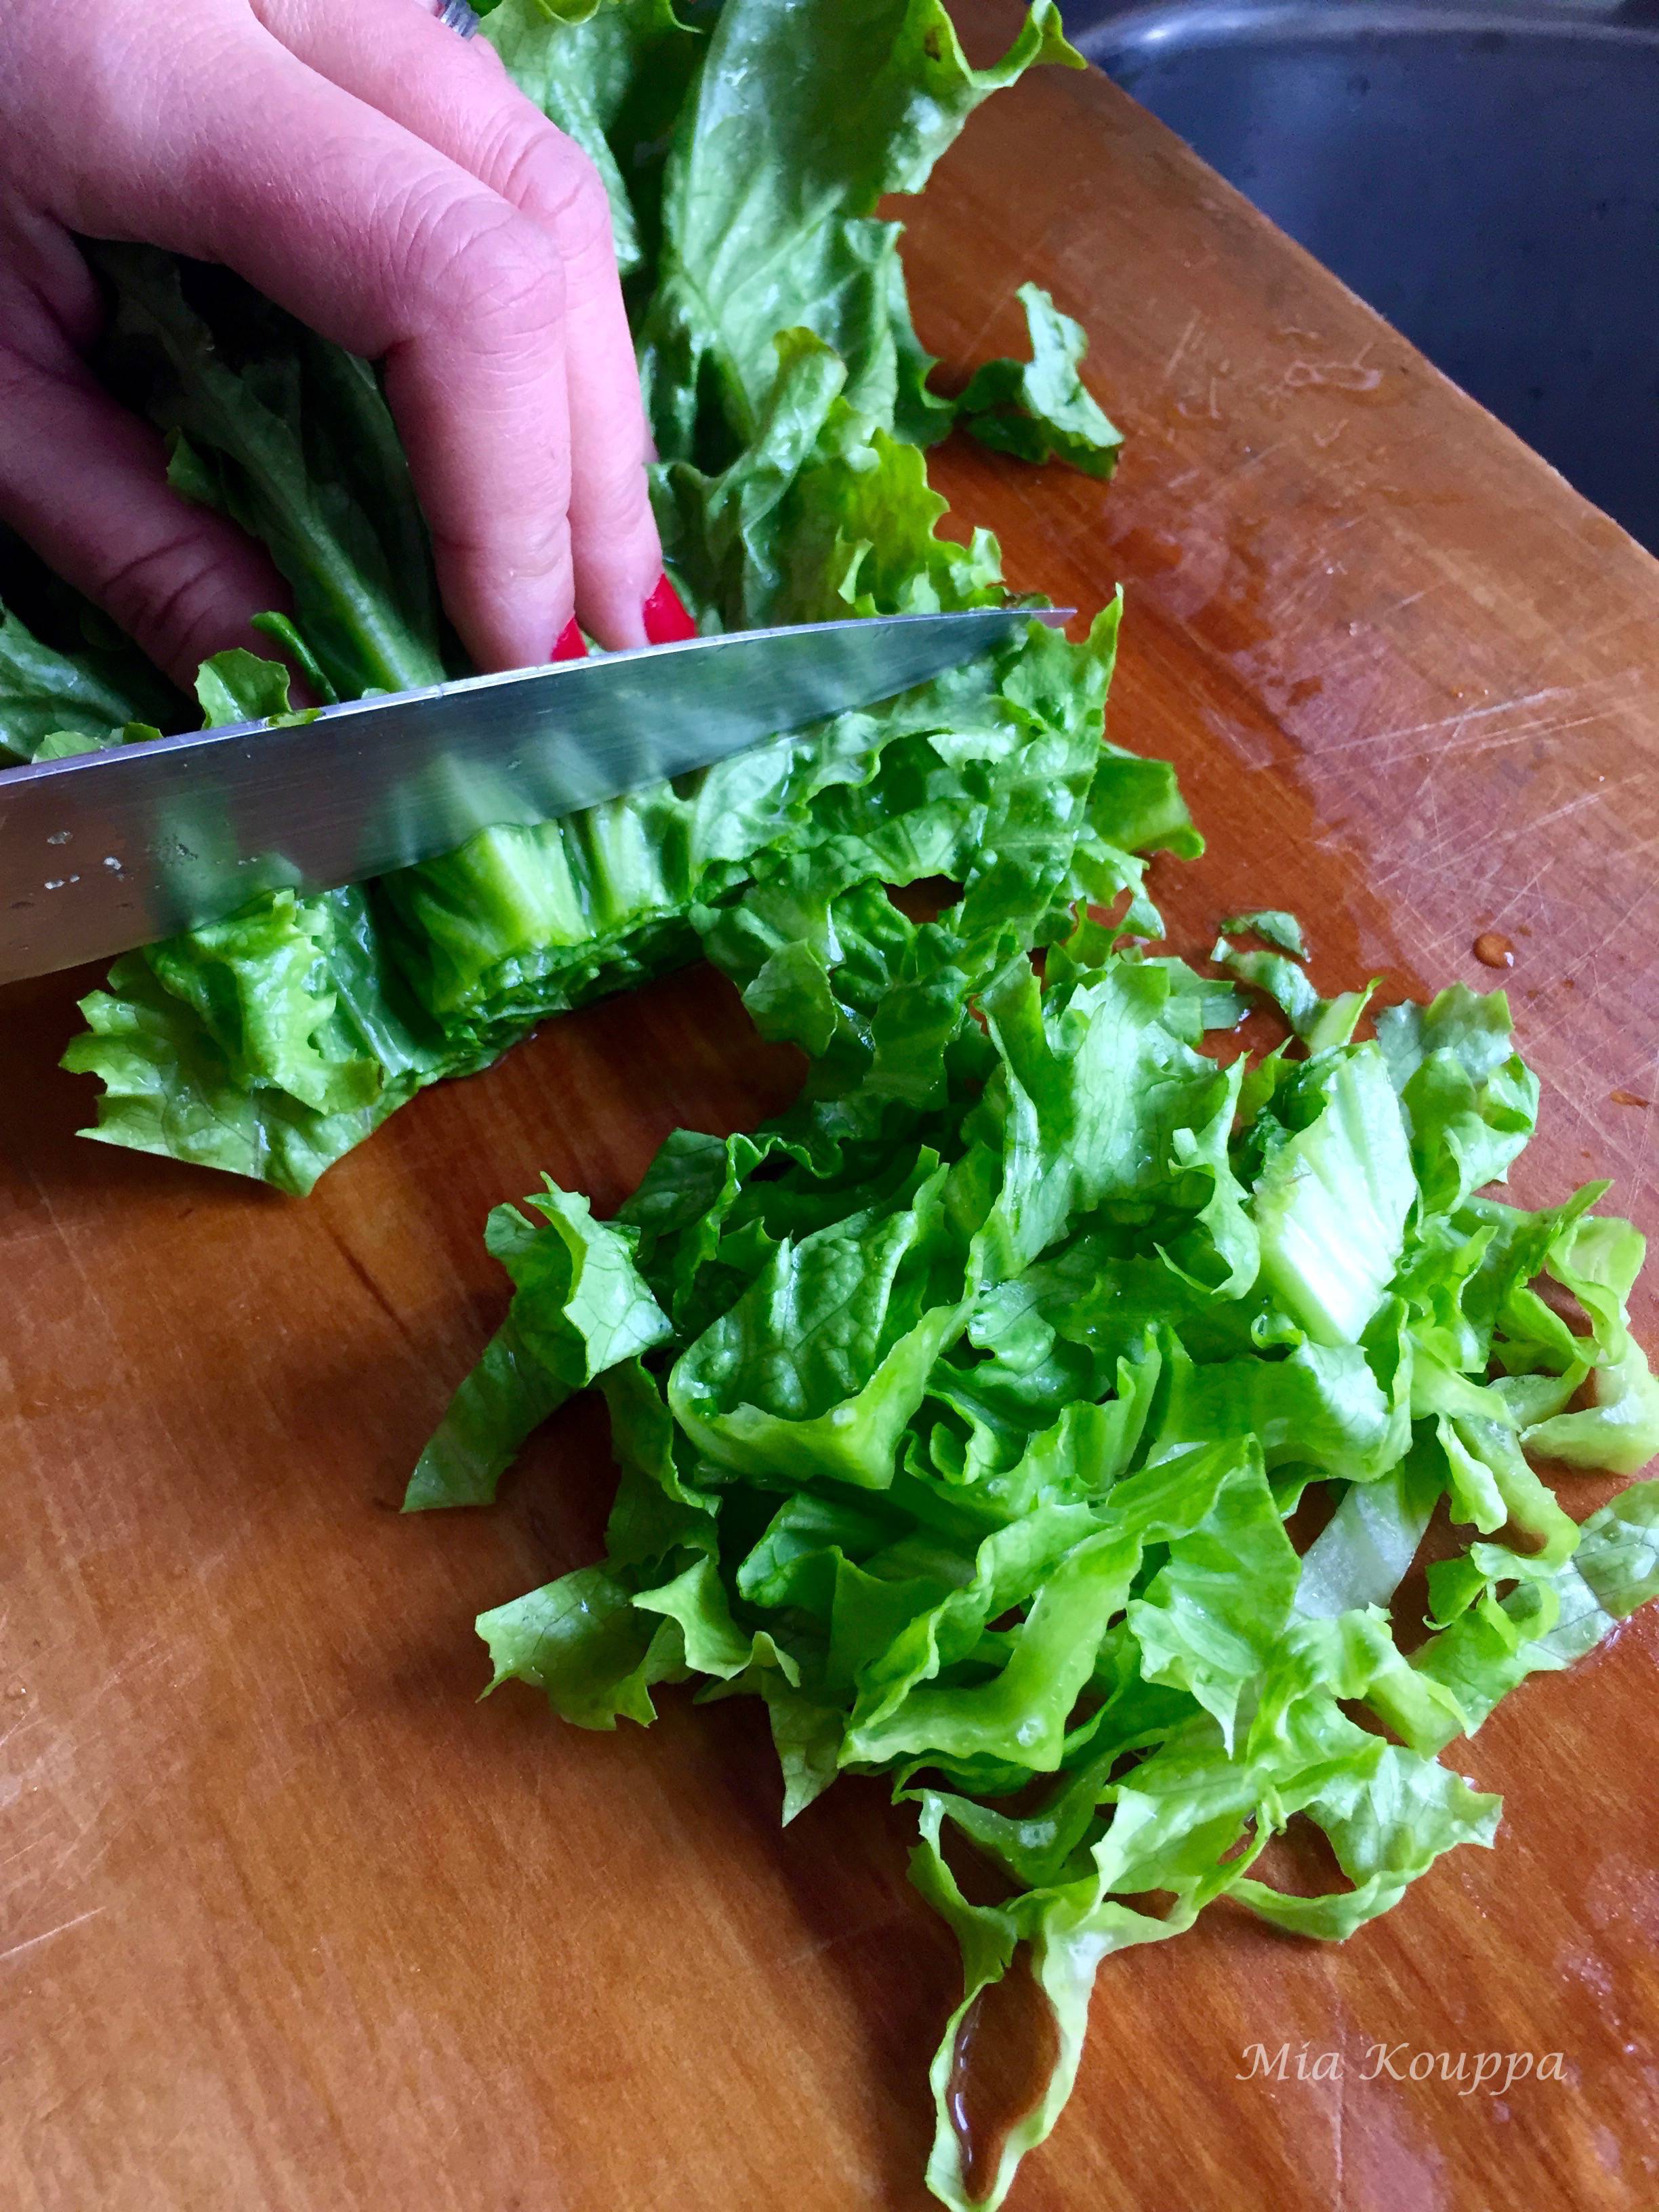
Chop your greens
The spinach and other greens in this recipe will need to be chopped quite finely, but not so finely that they end up being unrecognizable. You are not mincing, you are chopping, and the sizes do not need to be exact. As an estimate, each piece of chopped vegetable should be about 1 to 2 centimeters wide.
Remove water from vegetables
After blanching the greens, our parents use a piece of tulle that they have specifically for squeezing the water out of the vegetables. They also have a beautiful piece of lace that they sometimes use (don’t you?). If you don’t have tulle or beautiful lace, a piece of cheesecloth or a clean kitchen towel will work just fine. The important thing is to try to squeeze as much water out of the vegetables as possible, otherwise your phyllo may get soggy. Just when you think you have squeezed out all the water, squeeze again. There is more water in there than you might think.
How to fold the triangles
We have tried really hard to describe, through words, pictures and video, how to fold a spanakopita using store bought phyllo so that you end up with perfect little triangles. Hopefully our instructions, or your innate instinct and talent, are enough to have you create spanakopitakia that you are proud of. But really, appearance is not everything and delicious things come in all sorts of misshapen packages. If your spanakopitakia are more parallelograms than triangles…who cares!? (But send us a picture because we think those might be neat). The important thing to note when shaping your spanakopitakia is to ensure that the filling is fully enclosed by the phyllo dough so that it does not fall out.
Aside from the shape, the other point to keep in mind when folding your spakakopitakia is that you must not fold them too tightly. If you do, then as things expand slightly during the cooking process, your filling will explode (at least partially) out of the phyllo enclosure. Don’t worry, this won’t be dramatic, but it will make clean up a bit messier. More importantly, you may end up with a pita slightly void of filling. Sad.
The recipe below makes about 50 spanakopita triangles. You may find that you end up with some leftover filling. If you do, you can either freeze it for future use or cook it up in a frying pan, perhaps also adding another egg and having a messy omelet. If you run out of filling and have phyllo left over you can simply wrap it up well and store it in your refrigerator for another day.
Storing and freezing
One of the great things about these spanakopitakia is that they freeze really well. If you ever dreamed about being the type of host who can serve pop-in guests something amazing in a little over 30 minutes, these spanakopitakia are for you. I freeze folded spanakopita, unbaked, on a cookie sheet. Once frozen, I transfer them to a freezer bag until I want to serve them. At that time, I preheat my oven (350 degrees Fahrenheit) and bake from frozen on a parchment lined cookie sheet for about 30 minutes.
Freezing already folded spanakopita is a great option because these really are best eaten soon after they are baked. The phyllo dough is crisp and light, whereas, if they are refrigerated to be eaten the next day the phyllo loses it’s crispness. By baking only what you will eat that day, and freezing the rest, you are assured of having optimal spanakopitakia always!
Helpful hint – reheating spanakopita
If you do need to reheat your spanakopita however, and want to maintain the crispiness of the phyllo, I have discovered that the air fryer is the answer! I set the temperature to about 300 degrees Fahrenheit and reheat them for a few minutes; you don’t want them to burn, but you do want the phyllo to crisp up.
Alternatively, you can place them on a baking tray and use the oven. Same temperature as the air fryer, but it will take a little longer.
Related recipes
Vegan spanakopita (Νηστίσιμη σπανακόπιτα) This delicious spanakopita is made with homemade phyllo and the filling contains spinach, rice and fresh herbs. There is no cheese, and no eggs, making this the perfect vegan version that I love to make during periods of lent (nistea).
Spanakopita (Σπανακόπιτα) Another spanakopita made with homemade phyllo. Here the filling contains feta along with the spinach and herbs. I love this version and can eat it 6 times a day!
Spinach and cheese pita pocket An easy way to enjoy the great flavours of spanakopita, without the need to make or work with phyllo. This is an amazing pita pocket!
Spanakopita triangles with store bought phyllo or spanakopitakia
Equipment
- large sauce-pot
- colander
- cheesecloth
- baking sheet
Ingredients
- 15 ounces fresh spinach
- 1/2 head of curly leaf lettuce
- 9 spring (green) onions
- 1/2 cup packed, chopped flat-leaf parsley
- 1 egg
- 1 teaspoon salt
- 1/8 teaspoon pepper
- 2 tbsp (30 mL) olive oil
- 1 cup crumbled Greek feta
- 1 pound phyllo
Instructions
- Preheat oven to 350 degrees Fahrenheit.
- Wash spinach and lettuce very well and remove any leaves which appear wilted or discoloured. Unless the stems of the spinach leaves are very large and tough, you do not need to remove them.15 ounces fresh spinach, 1/2 head of curly leaf lettuce
- Finely chop the spinach and lettuce. Set aside.
- Meanwhile, boil a large pot of water. While the water is getting to the boil, wash and then finely chop up the green onions and the parsley. Use both the white and green part of the onion.9 spring (green) onions, 1/2 cup packed, chopped flat-leaf parsley
- Once the parsley and onions are chopped, place them in a large colander.
- When your pot of water has boiled, drop in your spinach and your lettuce. Blanch these for a mere 30 seconds. Then, take your pot and drain your spinach and lettuce into the colander. You will be pouring the hot, boiling water over the green onions and parsley. Immediately run cold water over the vegetables to cool them and to retain their vibrant green colour.
- Let the vegetable mixture drain for a while. In order to remove all of the water however, place your vegetables in the center of a square of tulle or cheesecloth (or even a clean kitchen towel) and squeeze out as much water as possible.
- Once the water has been squeezed out, place the vegetables in a bowl. To the vegetables add a beaten egg, salt, pepper, olive oil and crumbled feta. Mix well to combine.1 egg, 1 teaspoon salt, 1/8 teaspoon pepper, 2 tbsp (30 mL) olive oil, 1 cup crumbled Greek feta
- Now you are ready to fold your spanakopitakia.
- Unroll your phyllo dough. It will likely be rectangular shaped. Place the long end of the rectangle from left to right on your work surface, and the shorter end, top to bottom. Starting at the top, cut out strips of phyllo which are 3 inches wide. Pile the strips one on top of the other, to help keep things organized.1 pound phyllo
- Once you are ready to start making the spanakopita triangles, take a double layer of phyllo and lay it in front of you. Brush with some olive oil (you don’t want to soak it through, and it does not need to be brushed with olive oil all over). A good tip is to soak your pastry brush in the oil one time and use that to brush on the strips.
- Place approximately 2 teaspoons of filling at the bottom of the phyllo strip. You are now ready to start making your triangles. Pay attention! 🙂
- Take the bottom, left hand corner of your phyllo strip and fold it over the filling, bringing it to the right hand edge, just above where your filling ends. Then, take what is now the bottom right hand corner, and fold it over so that it reaches the left hand edge. Now move again to the left hand corner, and bring that to the right hand edge. Keep repeating. You will see that after a few movements, your triangle will start to take shape. Refer to the pictures above to help visualize what we are trying to describe, as well as this video. Repeat process to make more triangles.
- Place your prepared spanakopitakia on a parchment lined baking sheet. Brush olive oil on the top of each spanakopita triangle. Bake on bottom rack of oven for about 10 minutes and then move the baking sheet to the middle rack of the oven for approximately 10 more minutes. Your spakanopita are done when the phyllo (filo) has crisped up and taken on a beautiful and toasty tan colour.
- Enjoy!
definitely an easy to follow and very delicious recipe. I have made this from other recipes before but with a bit of rice and fresh dill and mint and without the lettuce. Your recipe is slightly different. I made a quarter quantity using a half egg. I finished off the parsley that I had left over from another of your recipes. txs.
Thanks Marina. Yes, there are so many variations to this recipe, all of them delicious.. We will be posting other versions in the future. 🙂
Thanks for the suggestion! It’s been a long time since I’ve worked with phyllo, but your reminder that these freeze well may change that. And I’ve never seen these with greens other than straight spinach–I’m liking the idea of the mixed greens and will definitely be giving these a try when my first greens bed starts to produce!
Super! I hope you like them. They sure are handy to have in the freezer 🙂
These have always been a favorite! They’re fun to make, too!
They really are fun to make….and eat 😝❤
Made this recipe over my lunch hour … kinda. Same ingredients but made one big pan instead of folding several little pieces… I cant wait for it to come out of the oven. Next time I buy feta, will make the olive no knead bread.
Smart Marina!! It is surely easier and quicker to make a pan out of this spanakopita…something we also do often. Hope you enjoyed it, and looking forward to hearing how you like the bread. 🙂 Have a wonderful day!