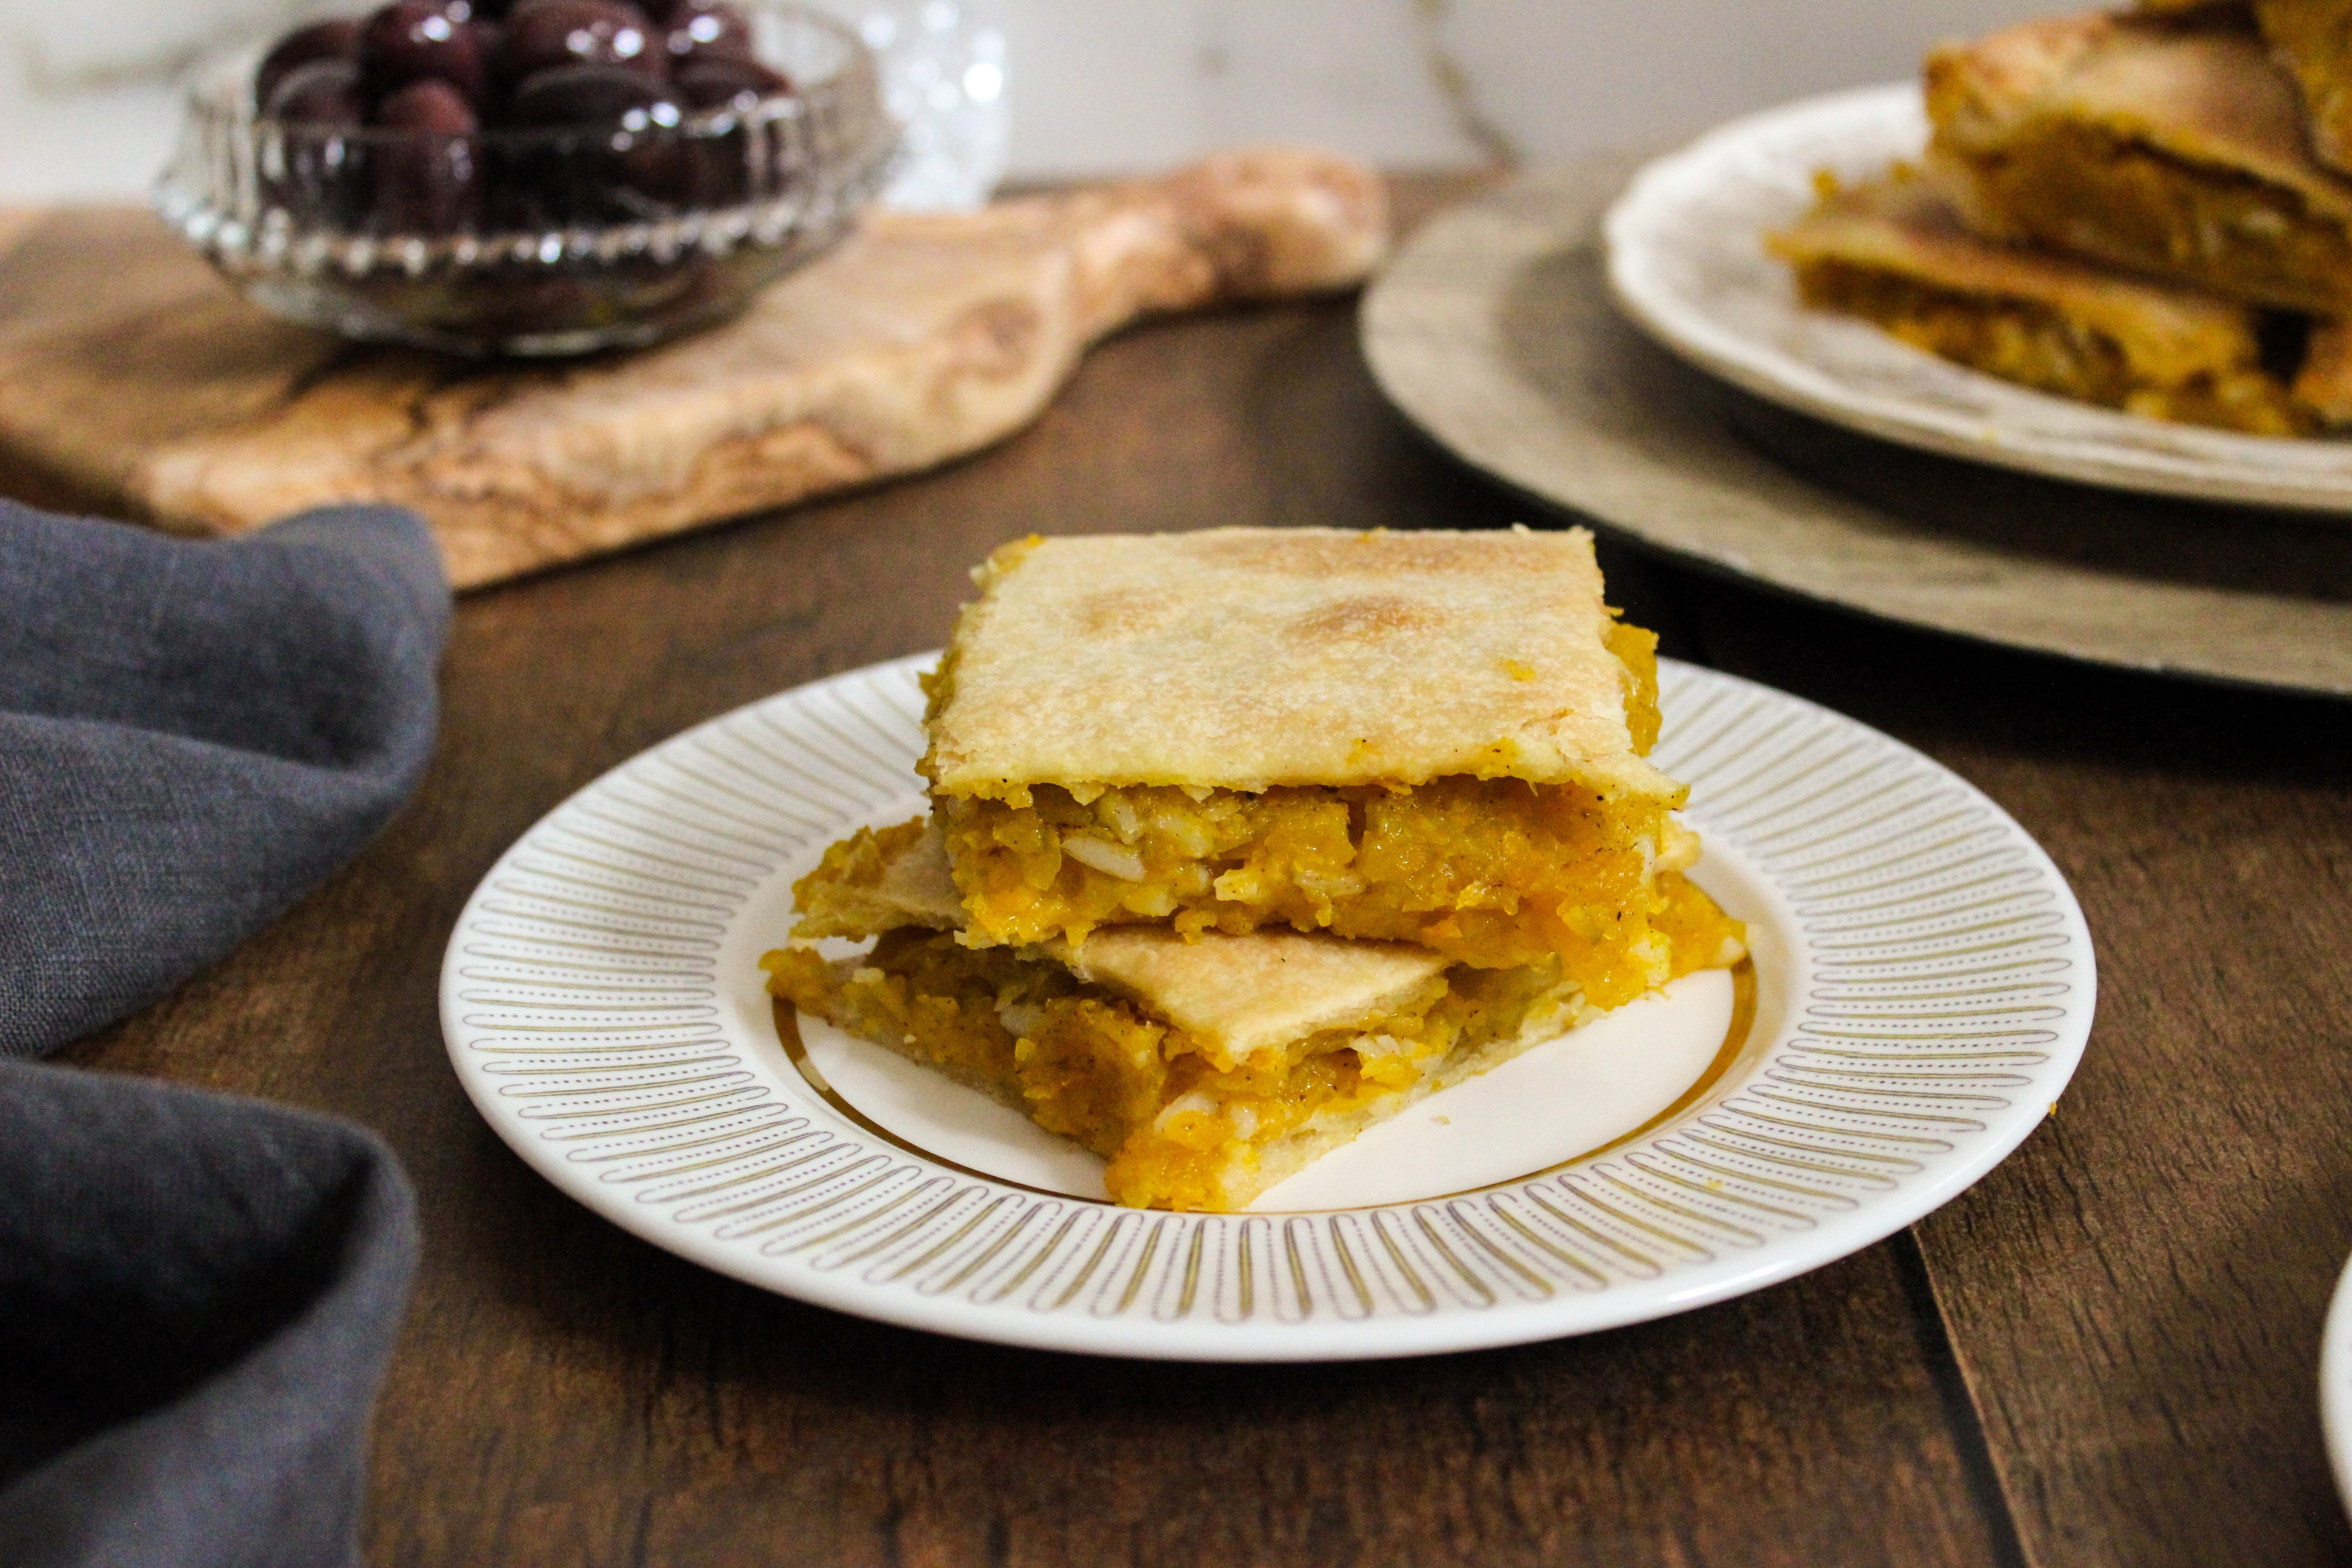
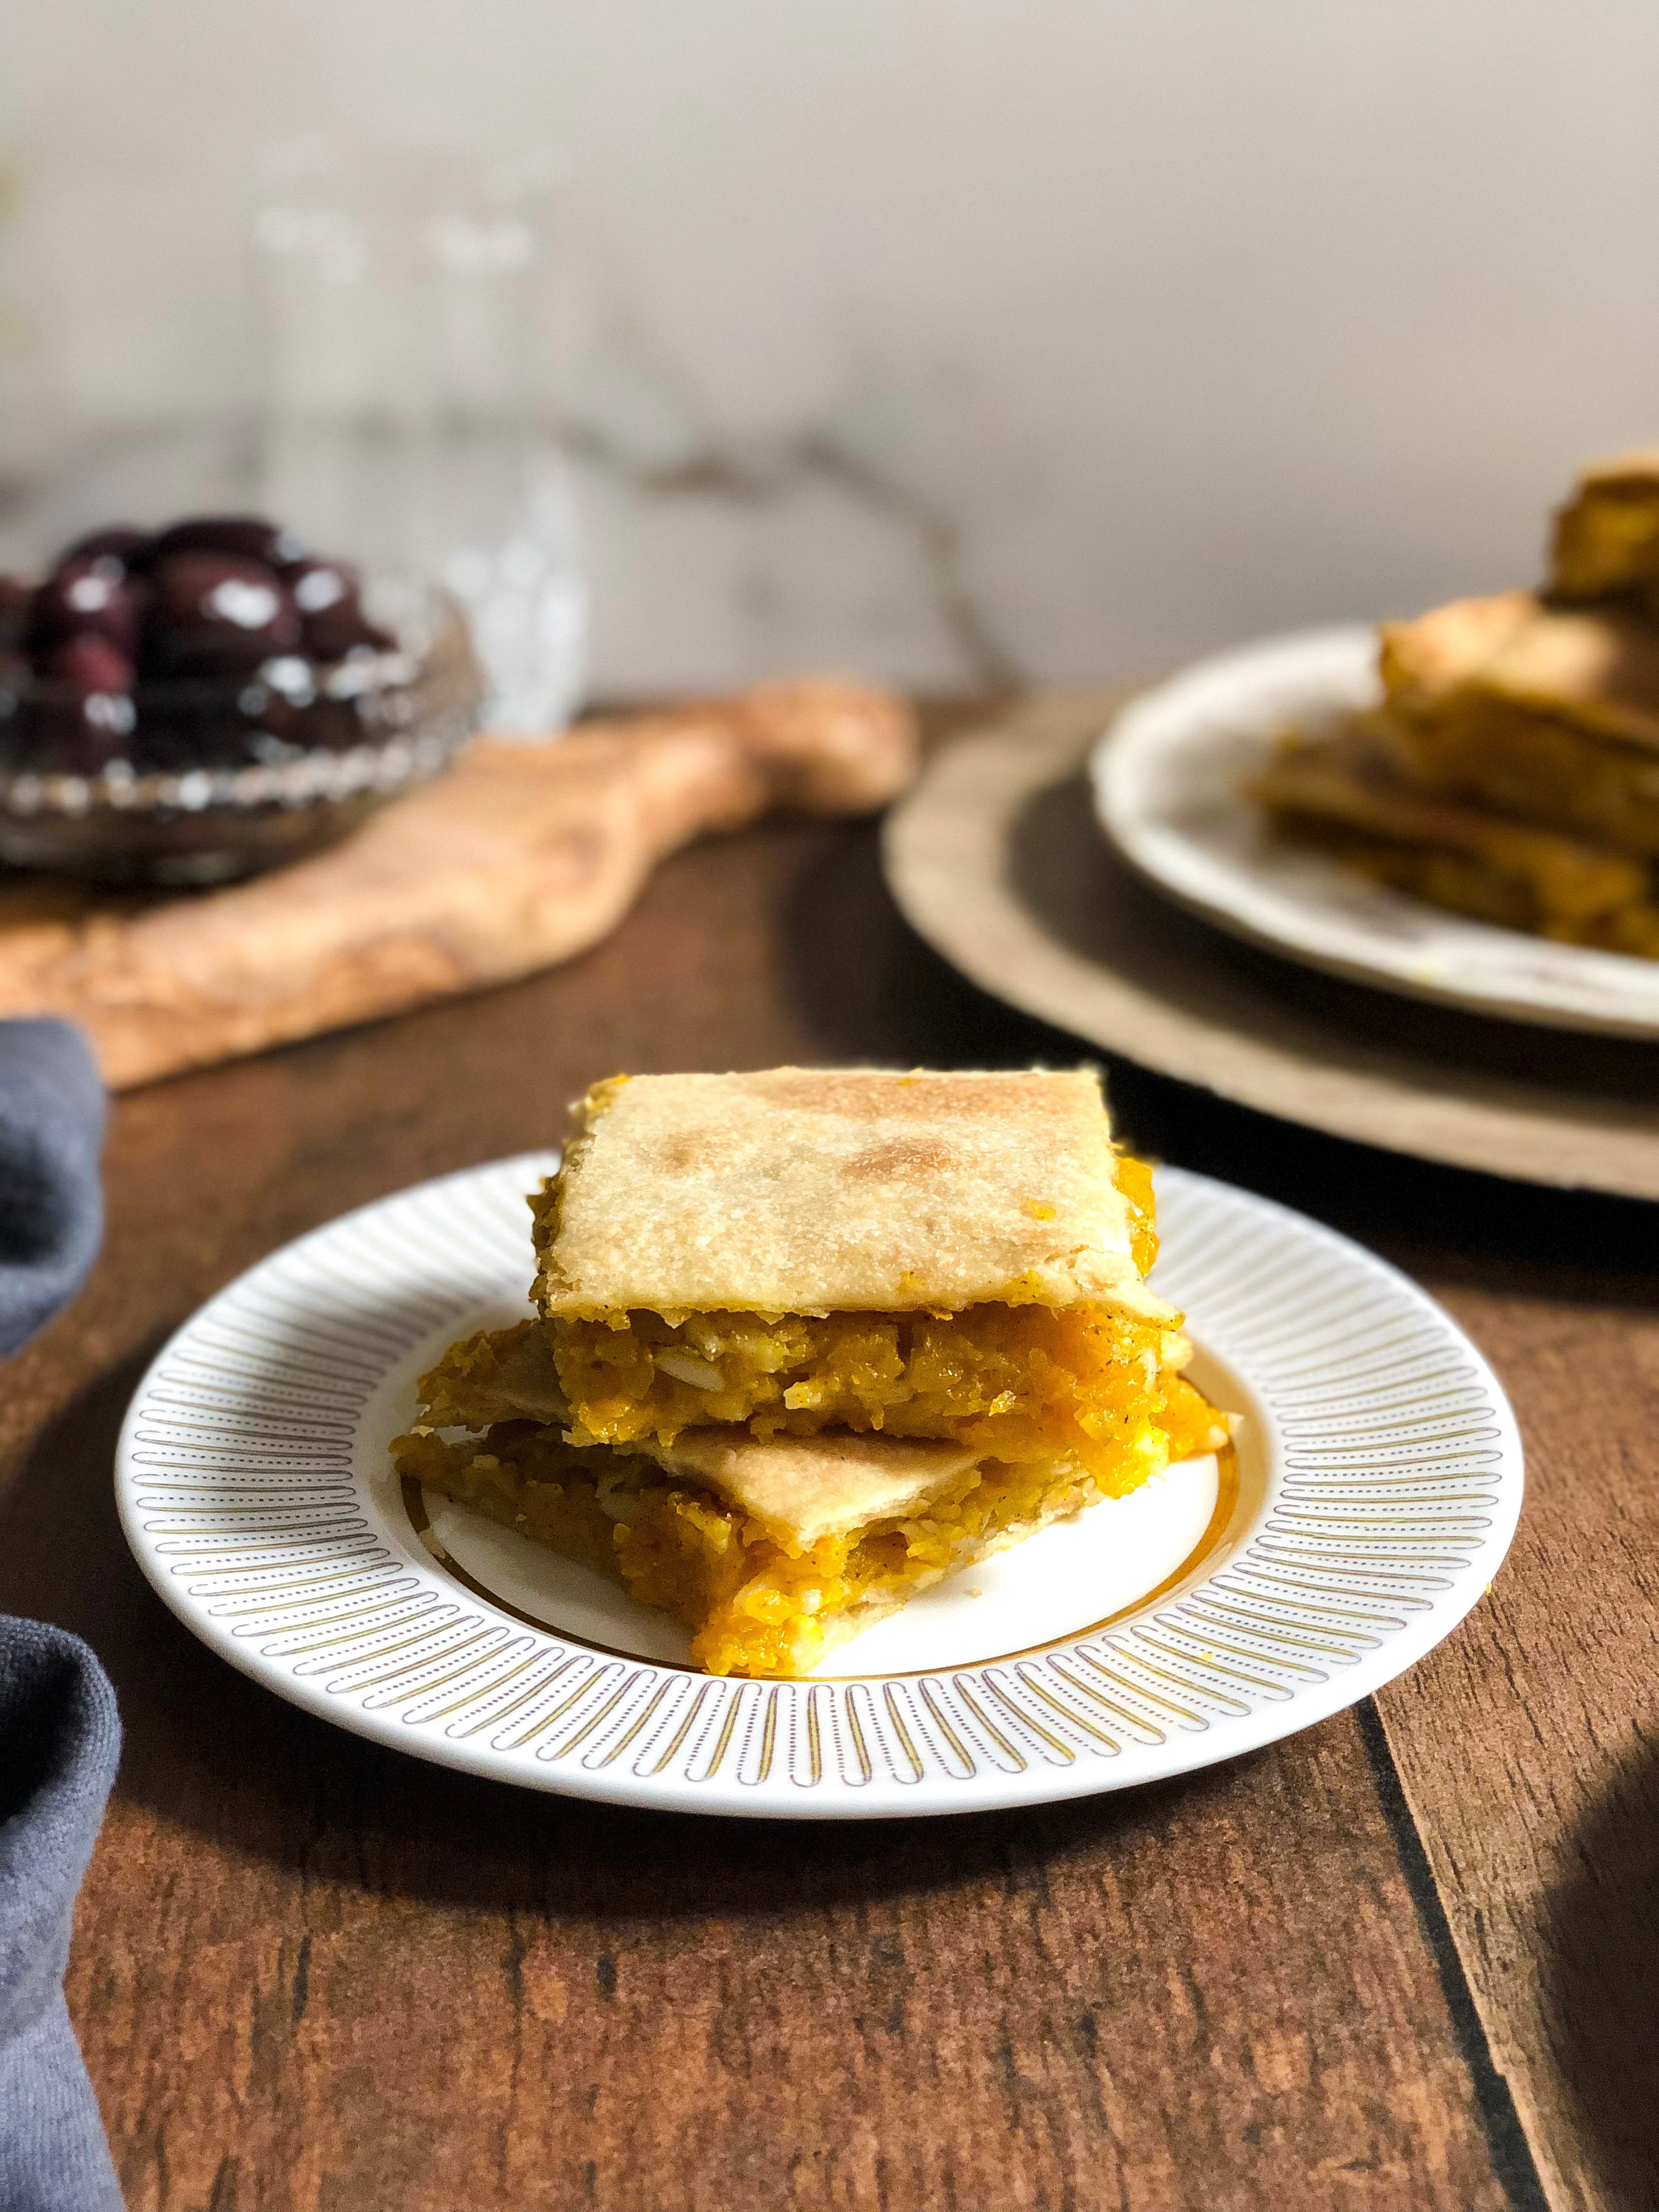
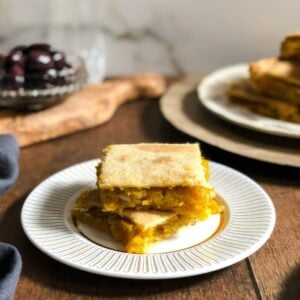
Greek pumpkin or winter squash pita (Πίτα με γλυκοκολοκύθα)
A Greek pita called kolokithopita made with pumpkin or winter squash, rice and a homemade dough. This slightly sweet (but still savoury), and perfectly spiced traditional pita is naturally vegan, so if is often served during periods of Greek lent.
Fall in Canada brings so much wonder. Leaves change into the most beautiful colours, the air is brisk and fresh, and sweater season makes even the grumpiest of humans appear snuggle-worthy. But sometimes I think that all these wonderful things get usurped by pumpkin spice; I actually think that pumpkin spice might take over the world…and I am intrigued.

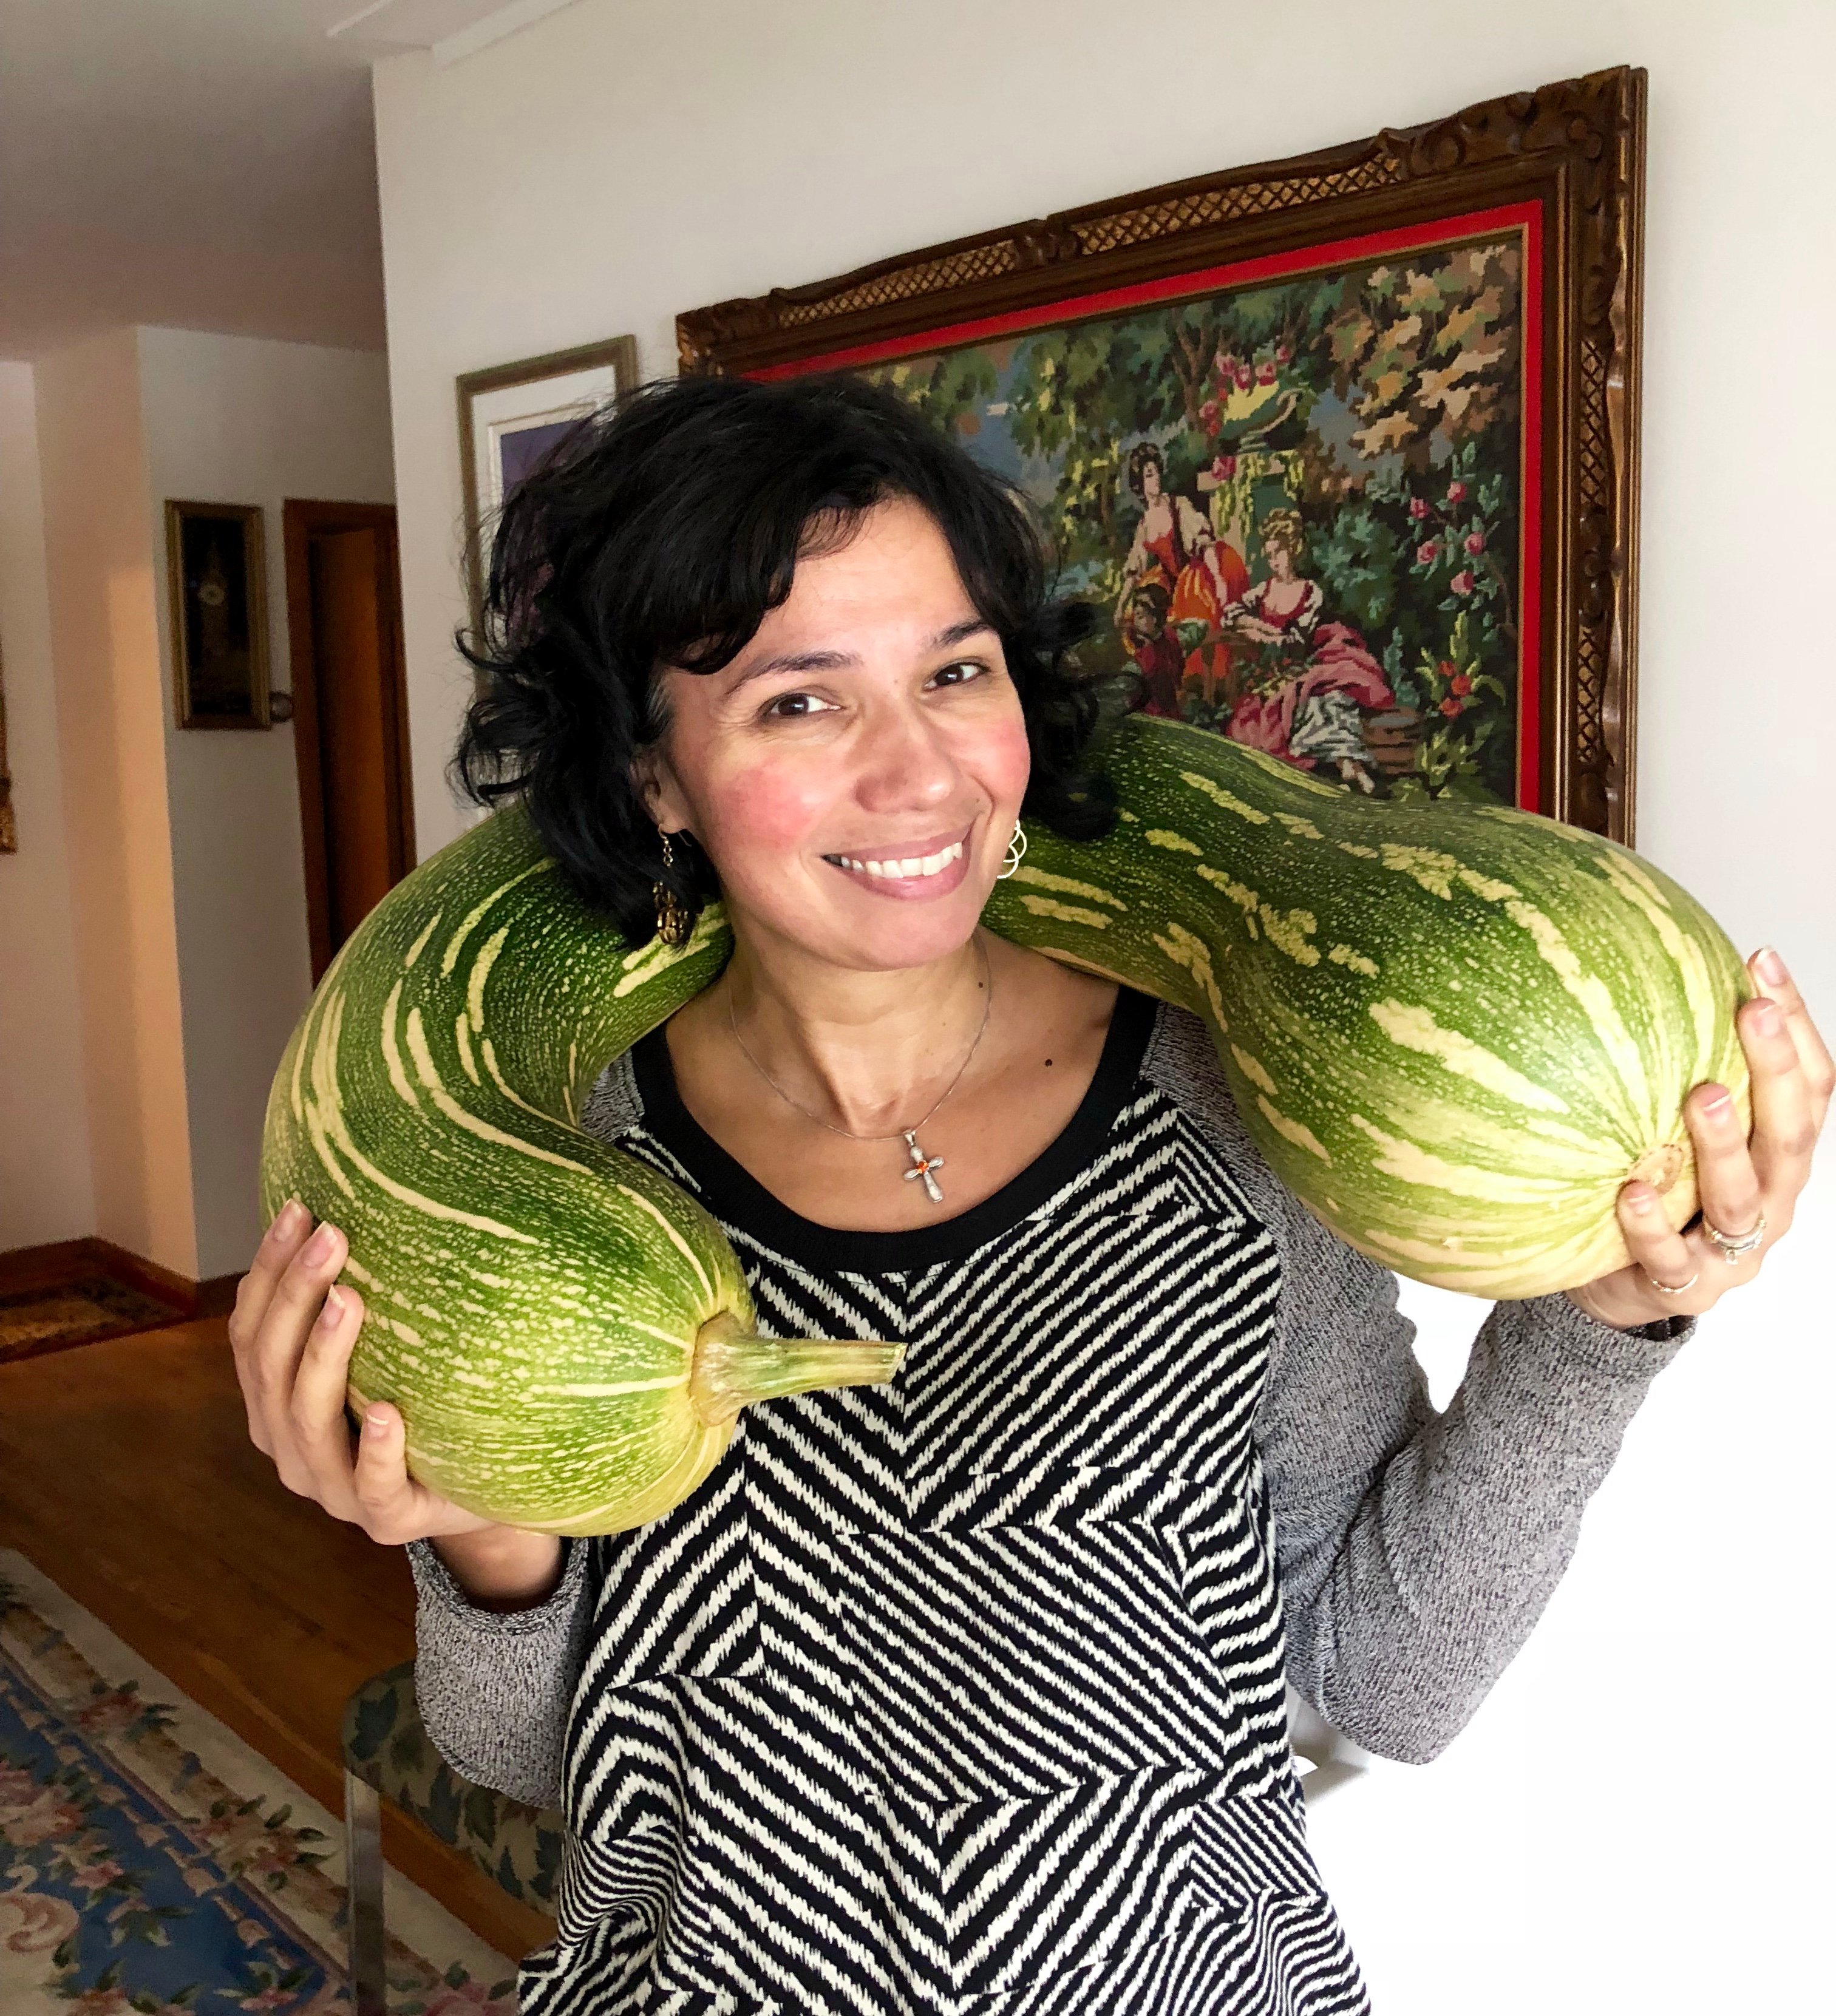
Growing up in a Greek home, we certainly ate our fair share of pumpkin and other great, big winter squash, all of which were grown in our parents’ garden. When we were young, my siblings and I were fascinated by the story of Charlie Brown and the Great Pumpkin, curious about the whole jack-o-lantern thing, and wondered why the gang wasn’t discussing the type of pita they would make with their pumpkin patch find. Notice that I said pita, not pie.
In fact I first had pumpkin pie (like the kind that you can find gracing the table of many Thanksgiving gatherings) a few years ago. Yup! I know, crazy right! It came into my life as a dessert contribution to a dinner party I was hosting, which featured turkey and stuffing and cranberry sauce, and all other non-Greek things. Pumpkin pie fit right in. My parents were there and when I asked them if they wanted to try some of the pumpkin pie that Jane had brought over, they eagerly said yes. They expected a Greek pumpkin pita and were impressed that Jane, our Anglo-saxon friend, had learned to cook Greek food. How cute are they?! In any case, after their initial surprise at the slice of pie which was presented, they deemed it delicious. Not pita-delicious, but good just the same.
Why I love this recipe
Traditional and authentic
This recipe represents so much of what traditional and authentic Greek cooking is. First of all, it is a pita and Greeks love their pitas! Also, it is a seasonal recipe, making use of ingredients that are harvested at this time of year. It is also simple and rustic. There are really. not that many ingredients, and yet the end result is amazing.
No dairy, no eggs
This kolokithopita is vegan and therefore also perfect for periods of Orthodox lent when faithful abstain from eating eggs, dairy and meat.
Delicious!
There is no other way to describe this pita – it is amazing! The flavour is so good, the texture perfect. I just love it, and I know you will love it too!
Key ingredients
Pumpkin or winter squash This recipe can be made with almost any orange or yellow fleshed winter squash. Pumpkin is a great choice, but any gourd will do. Different squash have different amounts of water in them, so the key is to make sure you remove as much of it as possible.
Long grain rice i like to use long grain rice in this recipe. Any liquid remaining in the squash (you will not remove all of it) will help cook the rice, which you have also soaked for at least an hour.
Onion I use a yellow onion for this recipe – mild flavour, and delicious.
Sugar This pita is slightly sweet. You should taste your squash in its raw state to determine how sweet it is naturally. The amount of sugar that you add to the mixture will depend on that. The amount of sugar I list is for a squash that is only a little sweet raw.
Olive oil I use olive oil in the filling and also to brush on top of the dough. Only Greek olive oil of course!
Cinnamon The use of cinnamon in savoury dishes is common in Greek cooking, and it goes so well in this dish!
Salt & pepper Of course, basic seasonings help elevate the flavour of everything!
Flour I use all purpose flour to make the dough; this is also called plain or regular flour.
Vegetable oil I do use vegetable oil in the dough because it does not give a strong flavour.
How to make it
Do not be intimidated by the long list of steps! I have purposefully written this recipe out with a lot of detail so that it is easy for you to follow. Be sure to plan ahead because your pumpkin does need to drain for at least one hour, or even overnight.
Prepare the filling
Step 1
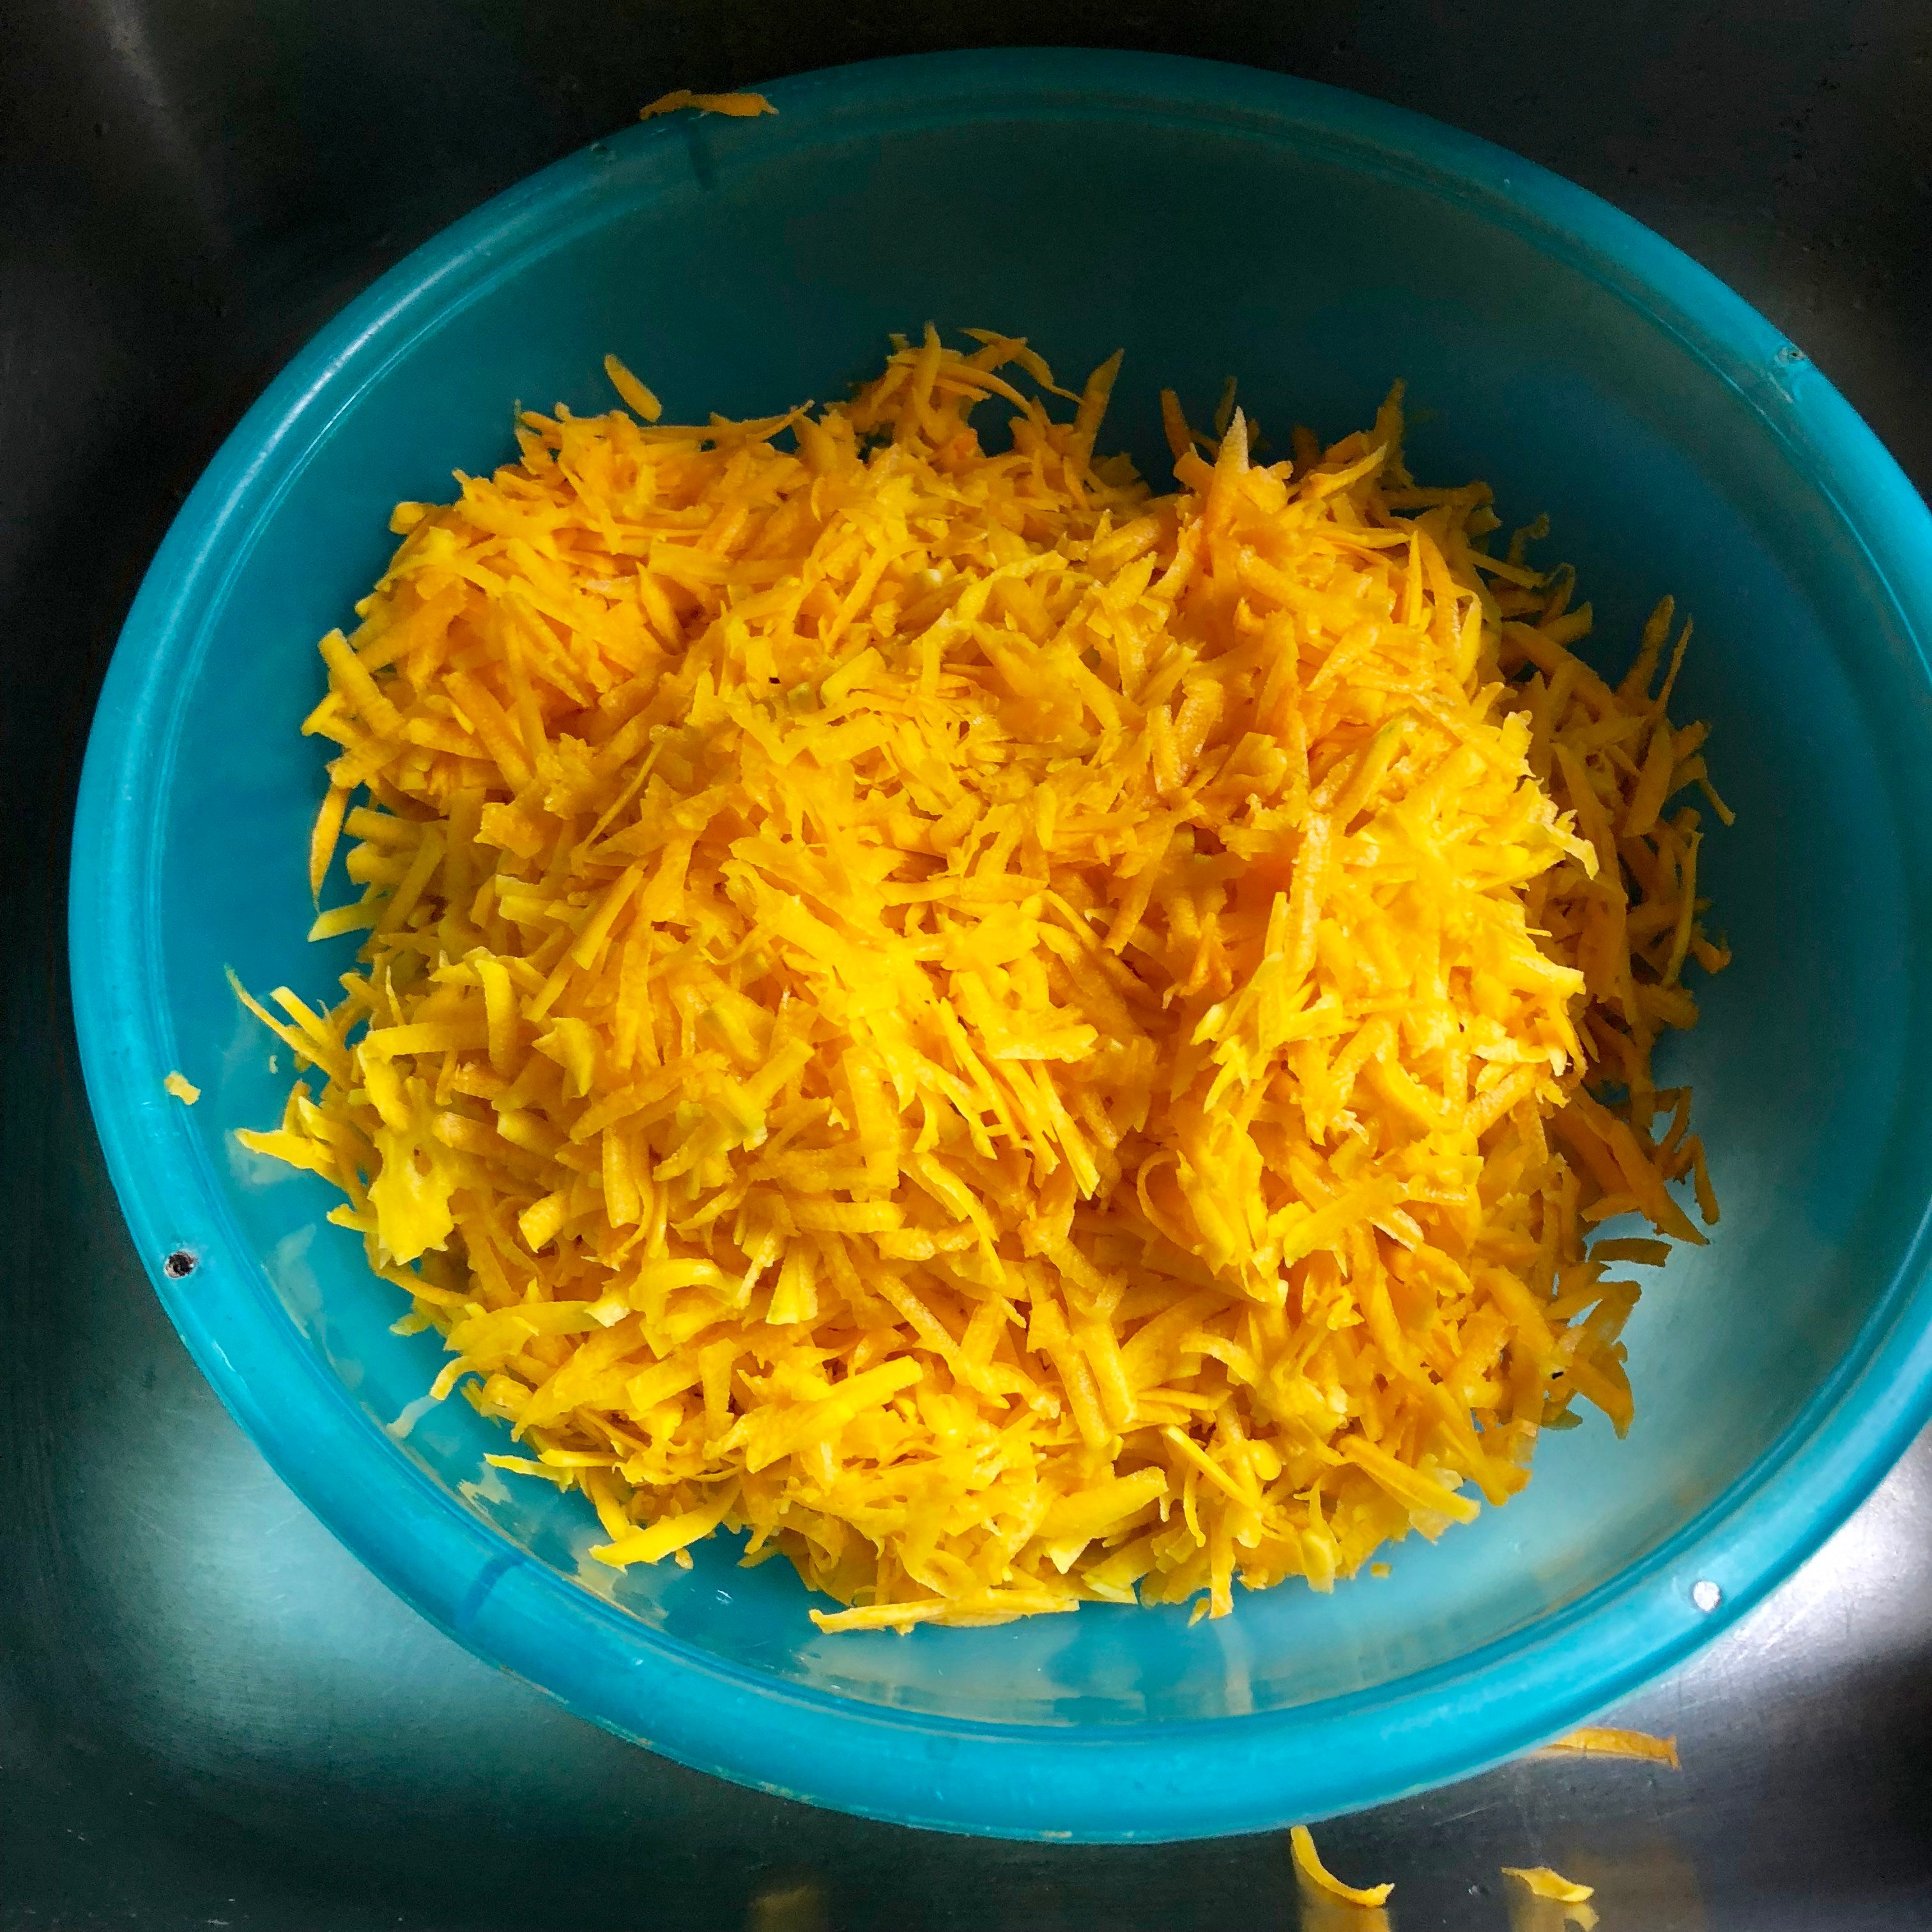
Place your grated squash in a large colander and allow it to drain and soften for at least one hour, or overnight. If you plan on letting it sit overnight, place in the refrigerator and then bring to room temperature before proceeding. If you will only let it sit for a minimal amount to time, you can massage your grated squash with your fingers, to soften it up.
Step 2
In the meantime, soak your uncooked rice in water, at room temperature, for at least 60 minutes. Your rice should be covered by at least one inch of water.
Step 3
Using a cheesecloth, a clean kitchen towel, or your hands, drain as much of the water out of the squash as possible.
Step 4
Next, using the same method, squeeze as much water out of the grated onion as possible. Combine the squash and onion in a large bowl.
Step 5
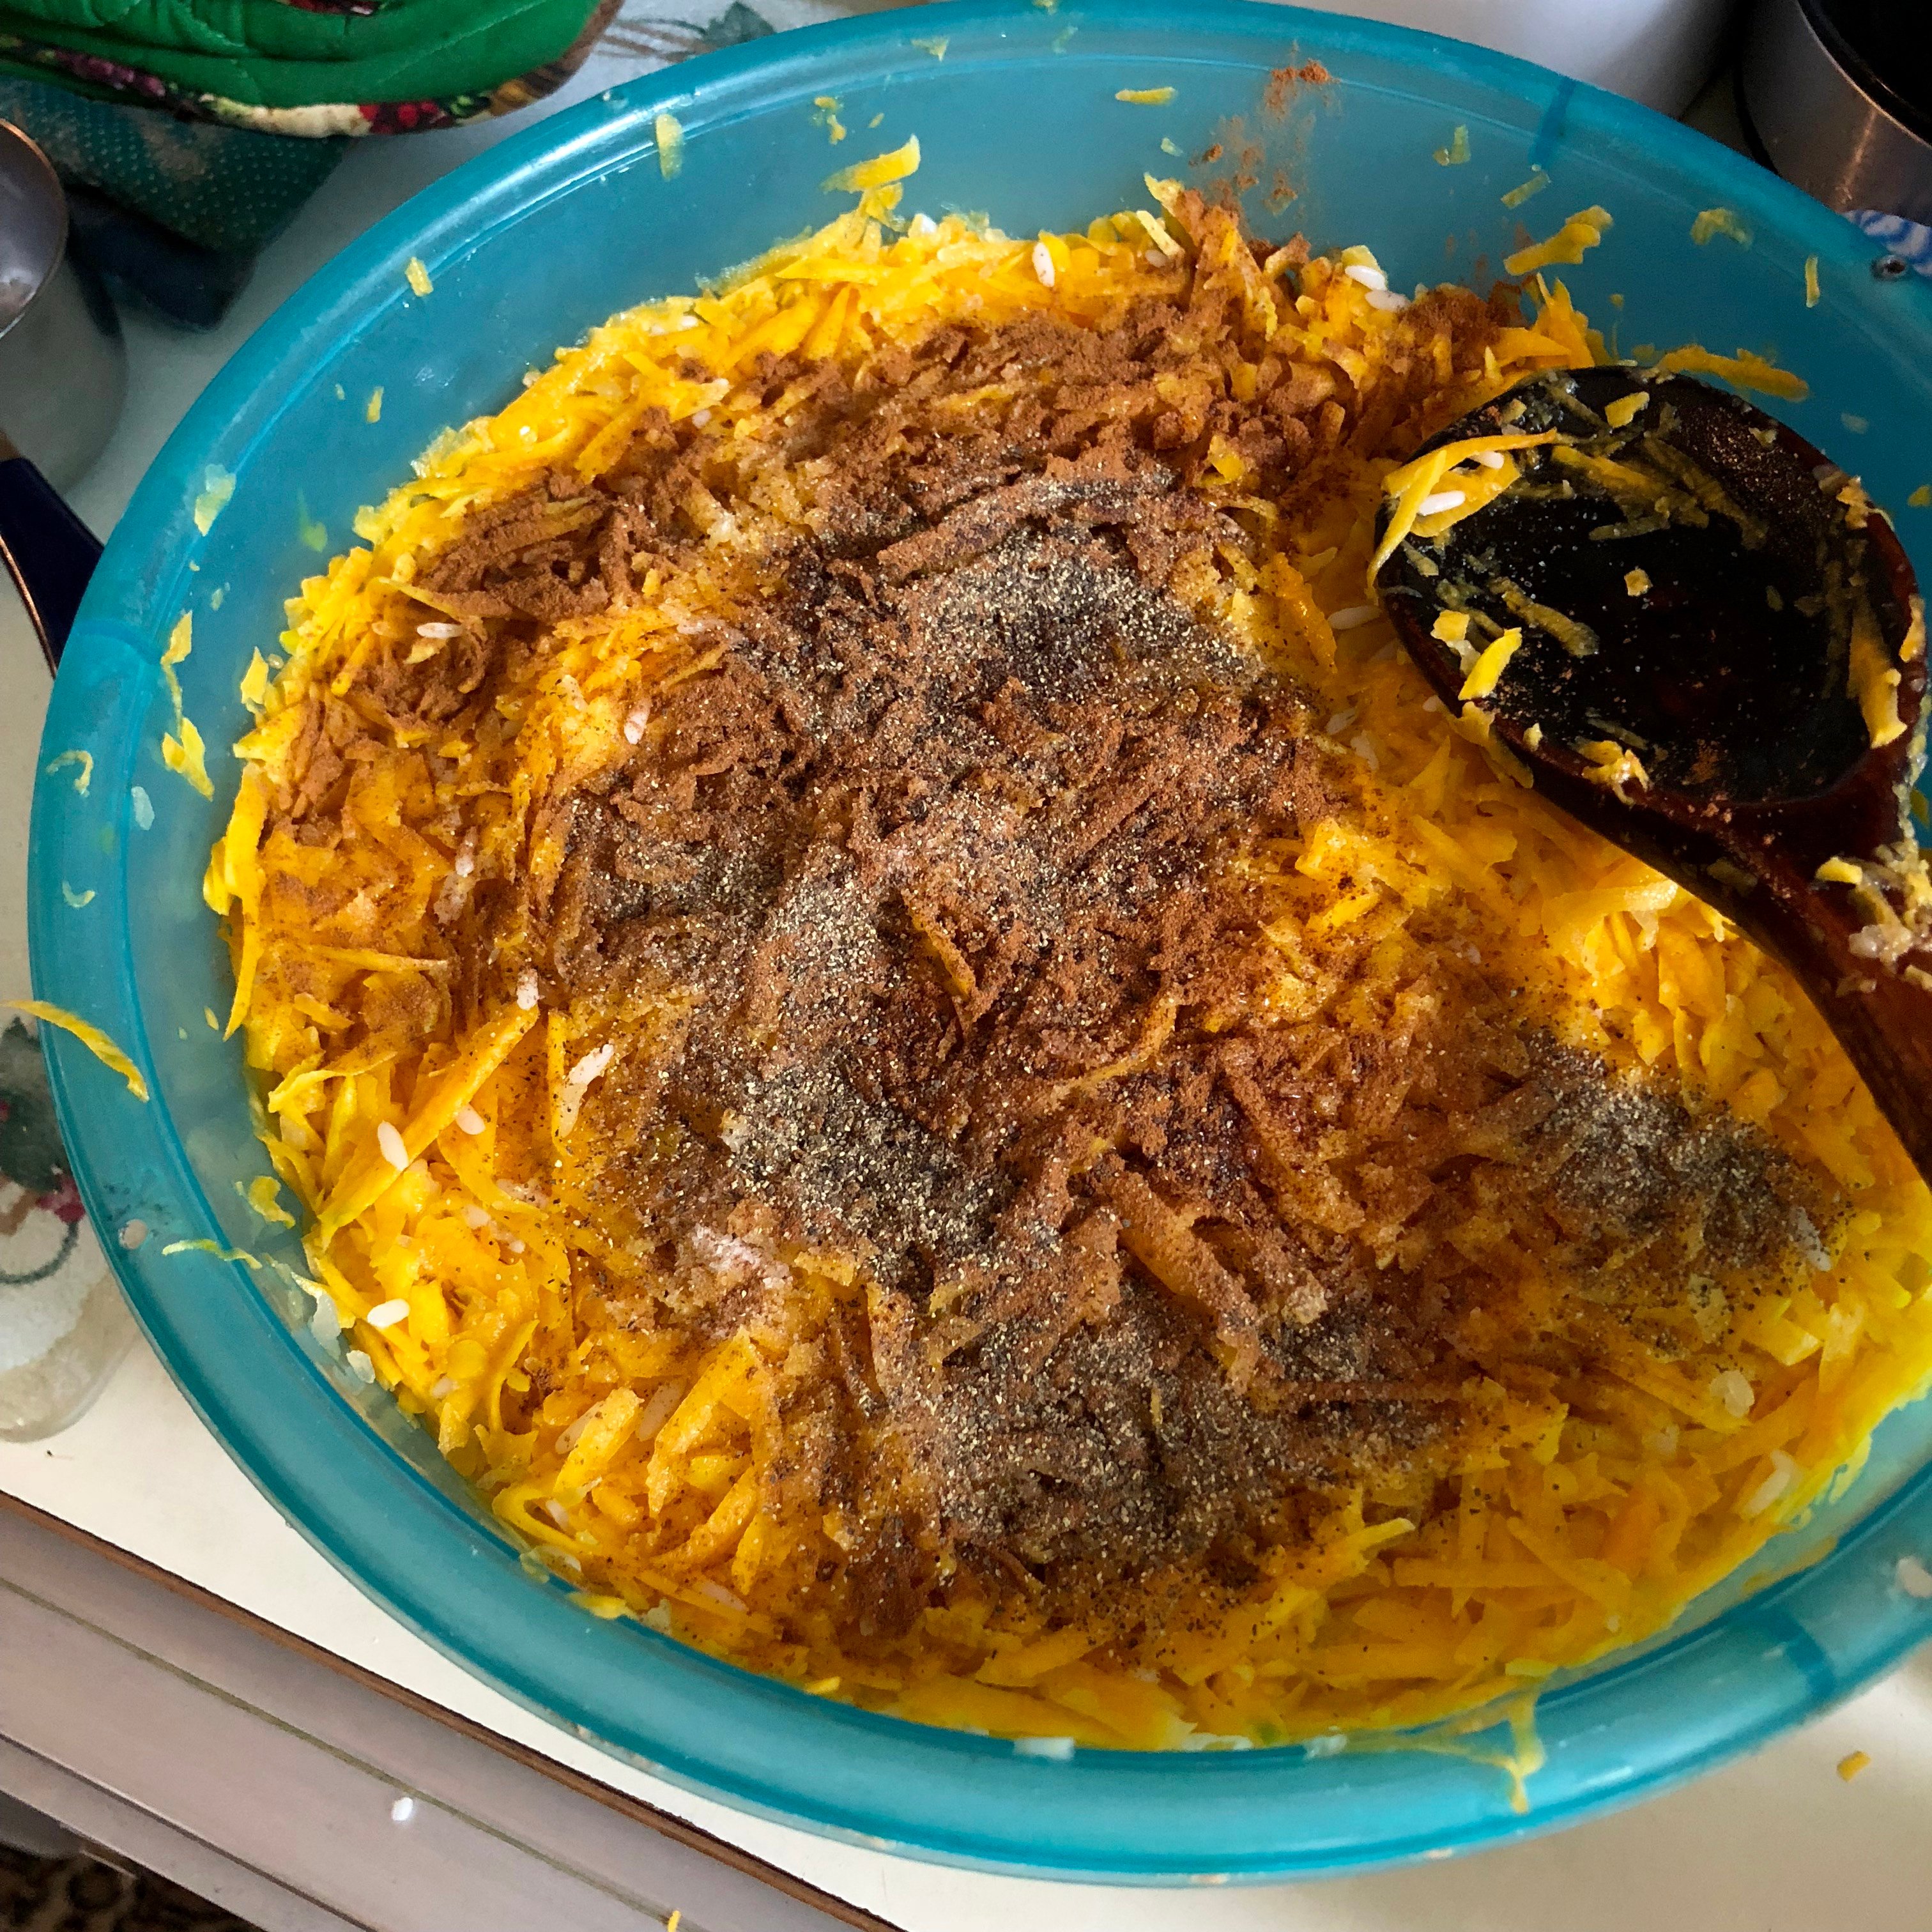
Drain the rice and add that to the bowl containing the squash. Next add the sugar, olive oil, salt, pepper and cinnamon. Set the filling aside.
Make the dough
Step 1
Place your flour into a large bowl and add the 2 cups of hot water to it. Next add the vegetable oil and salt.
Step 2
Carefully, so as to not burn yourself (remember, the water was hot), begin to mix together the dough with your hands. Mix and then knead for about 5 – 10 minutes until you get a soft and pliable phyllo dough.
Step 3
Divide the dough into two pieces, with one slightly larger than the other. The larger half will be the bottom of your pita.
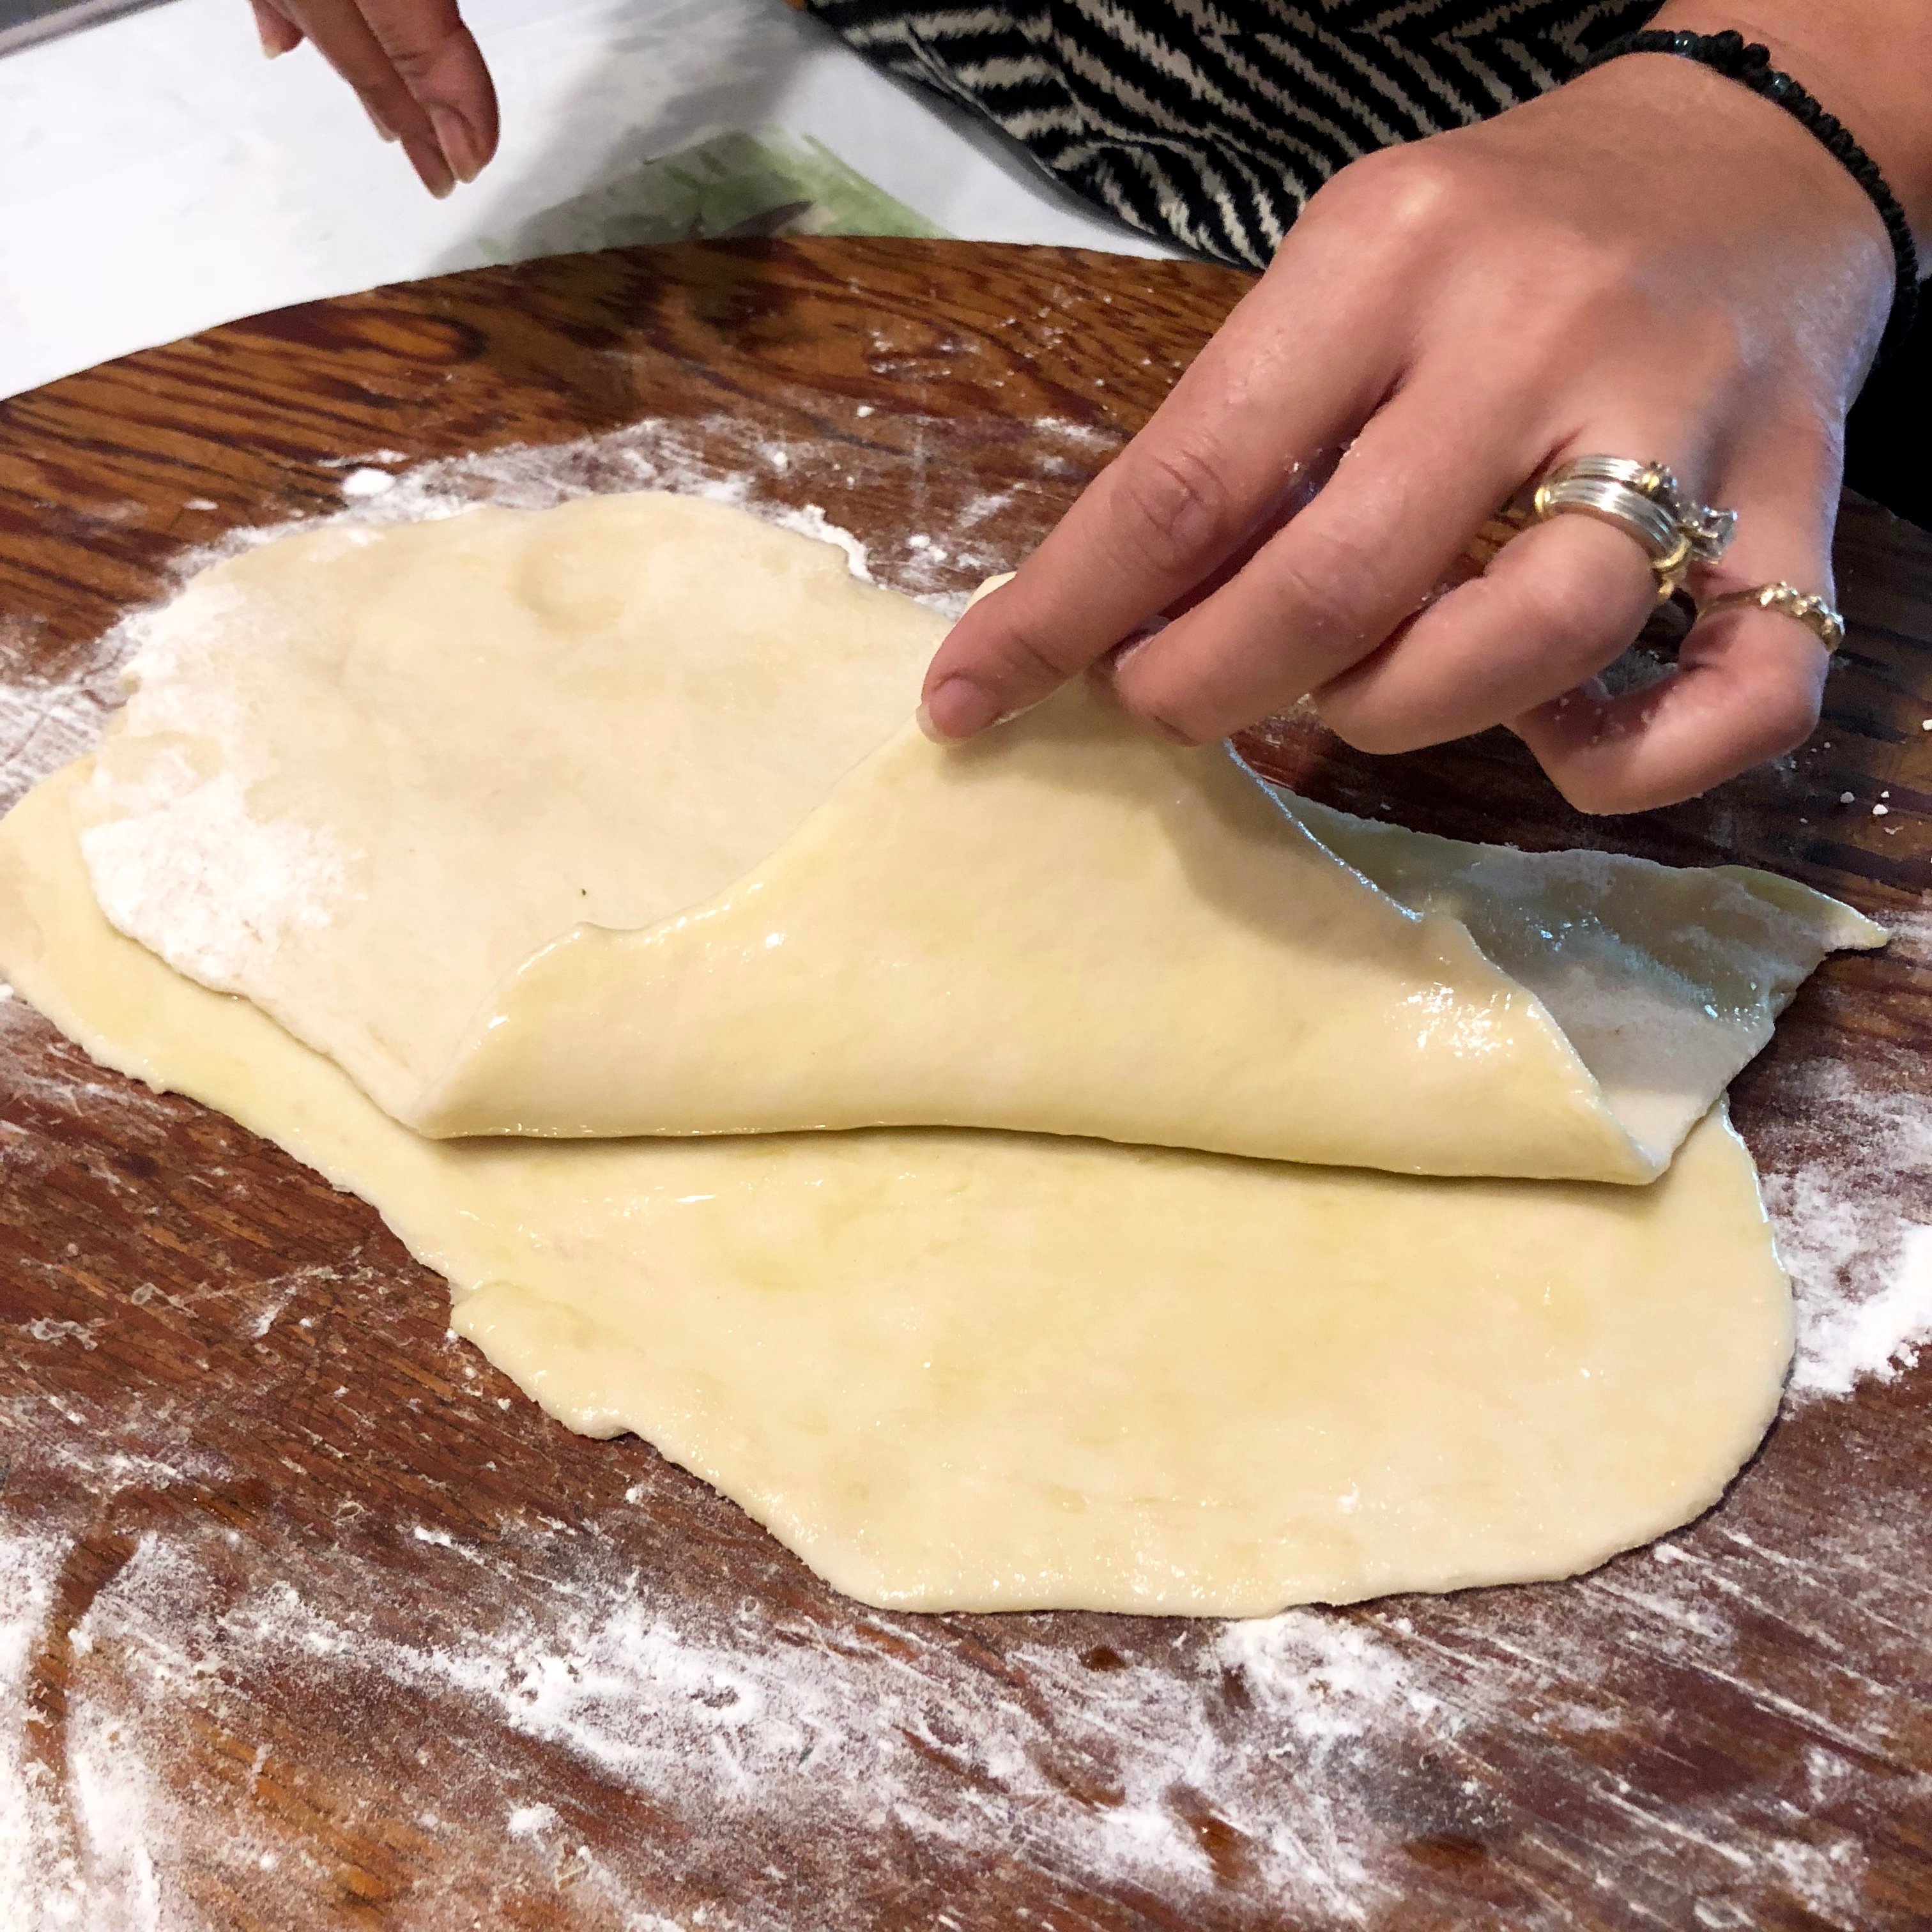
Step 4
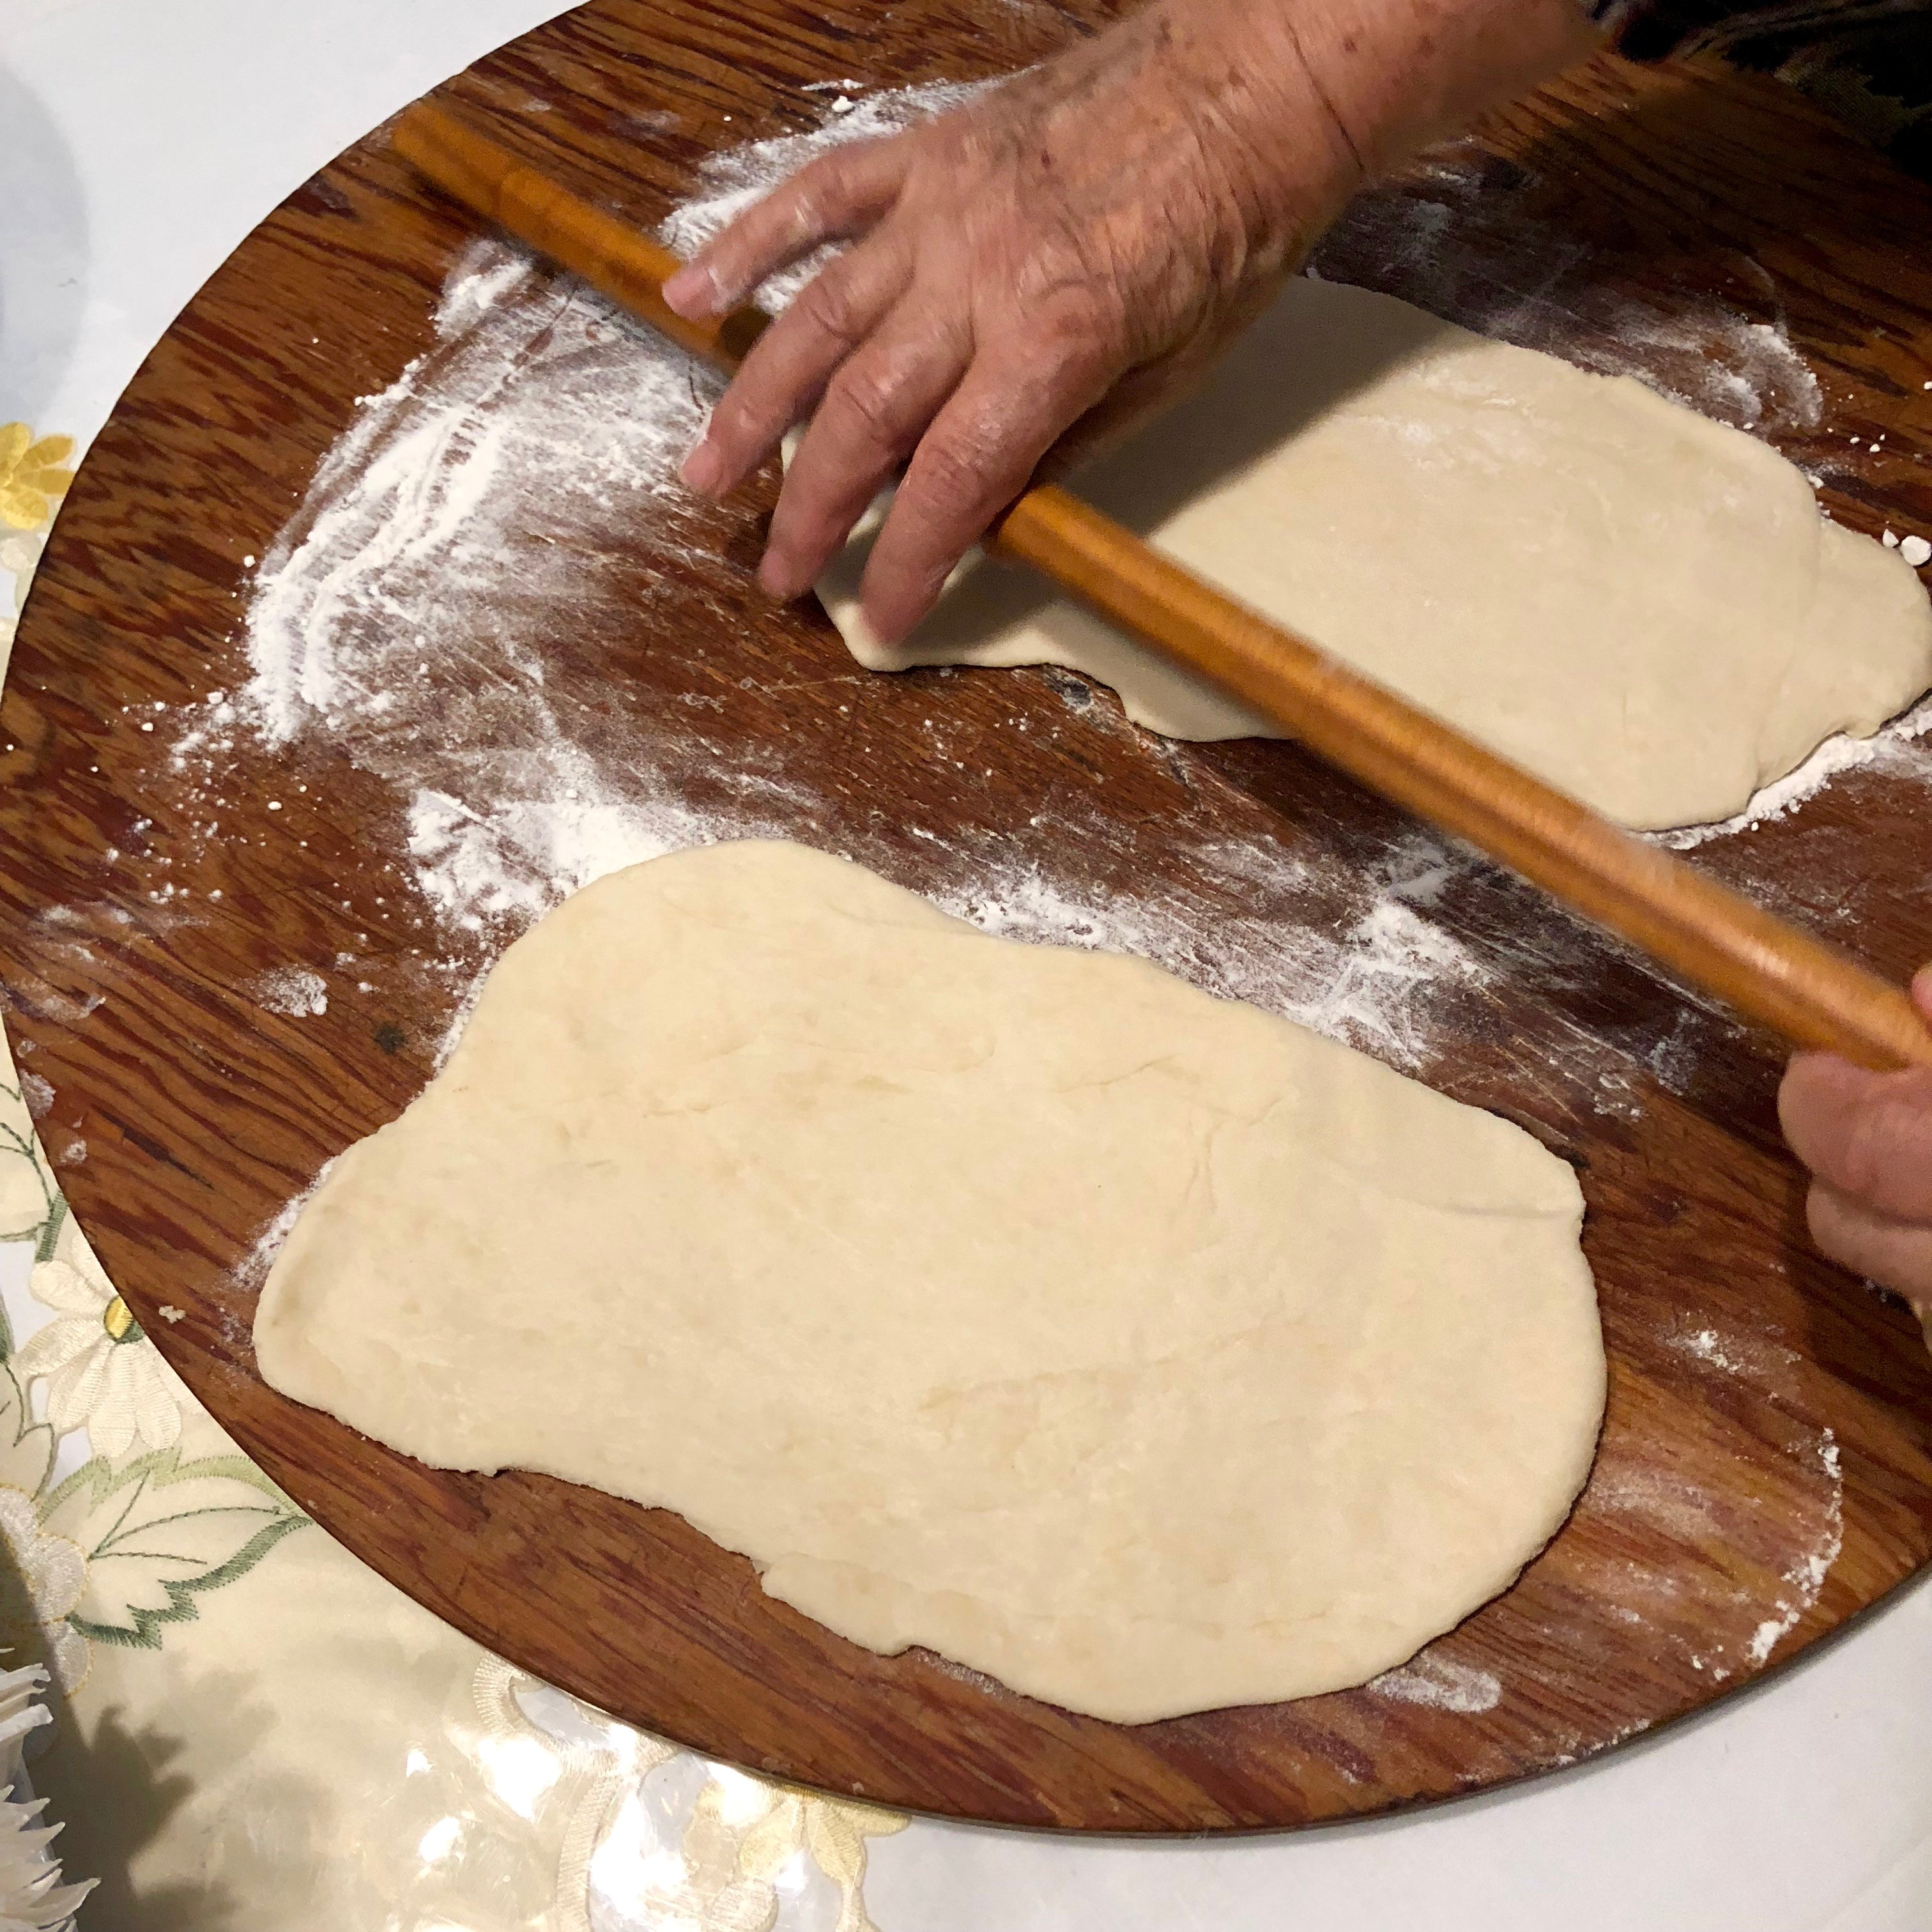
Take this slightly larger half piece of dough and divide it into two. Lightly flour your counter top or table and using a rolling pin begin to roll out each dough half. When each piece is an oval shape, about 20 to 30 centimeters in length, use your fingers to spread about 1/2 tablespoon of olive oil onto the surface of each. Then, flip one oval shaped piece of dough on top of the other, oiled sides meeting together. Using your rolling pin continue to roll out the dough until it is large enough to cover the base of your baking tray and come up the sides. The dough should also be thin enough that you can almost see through it.
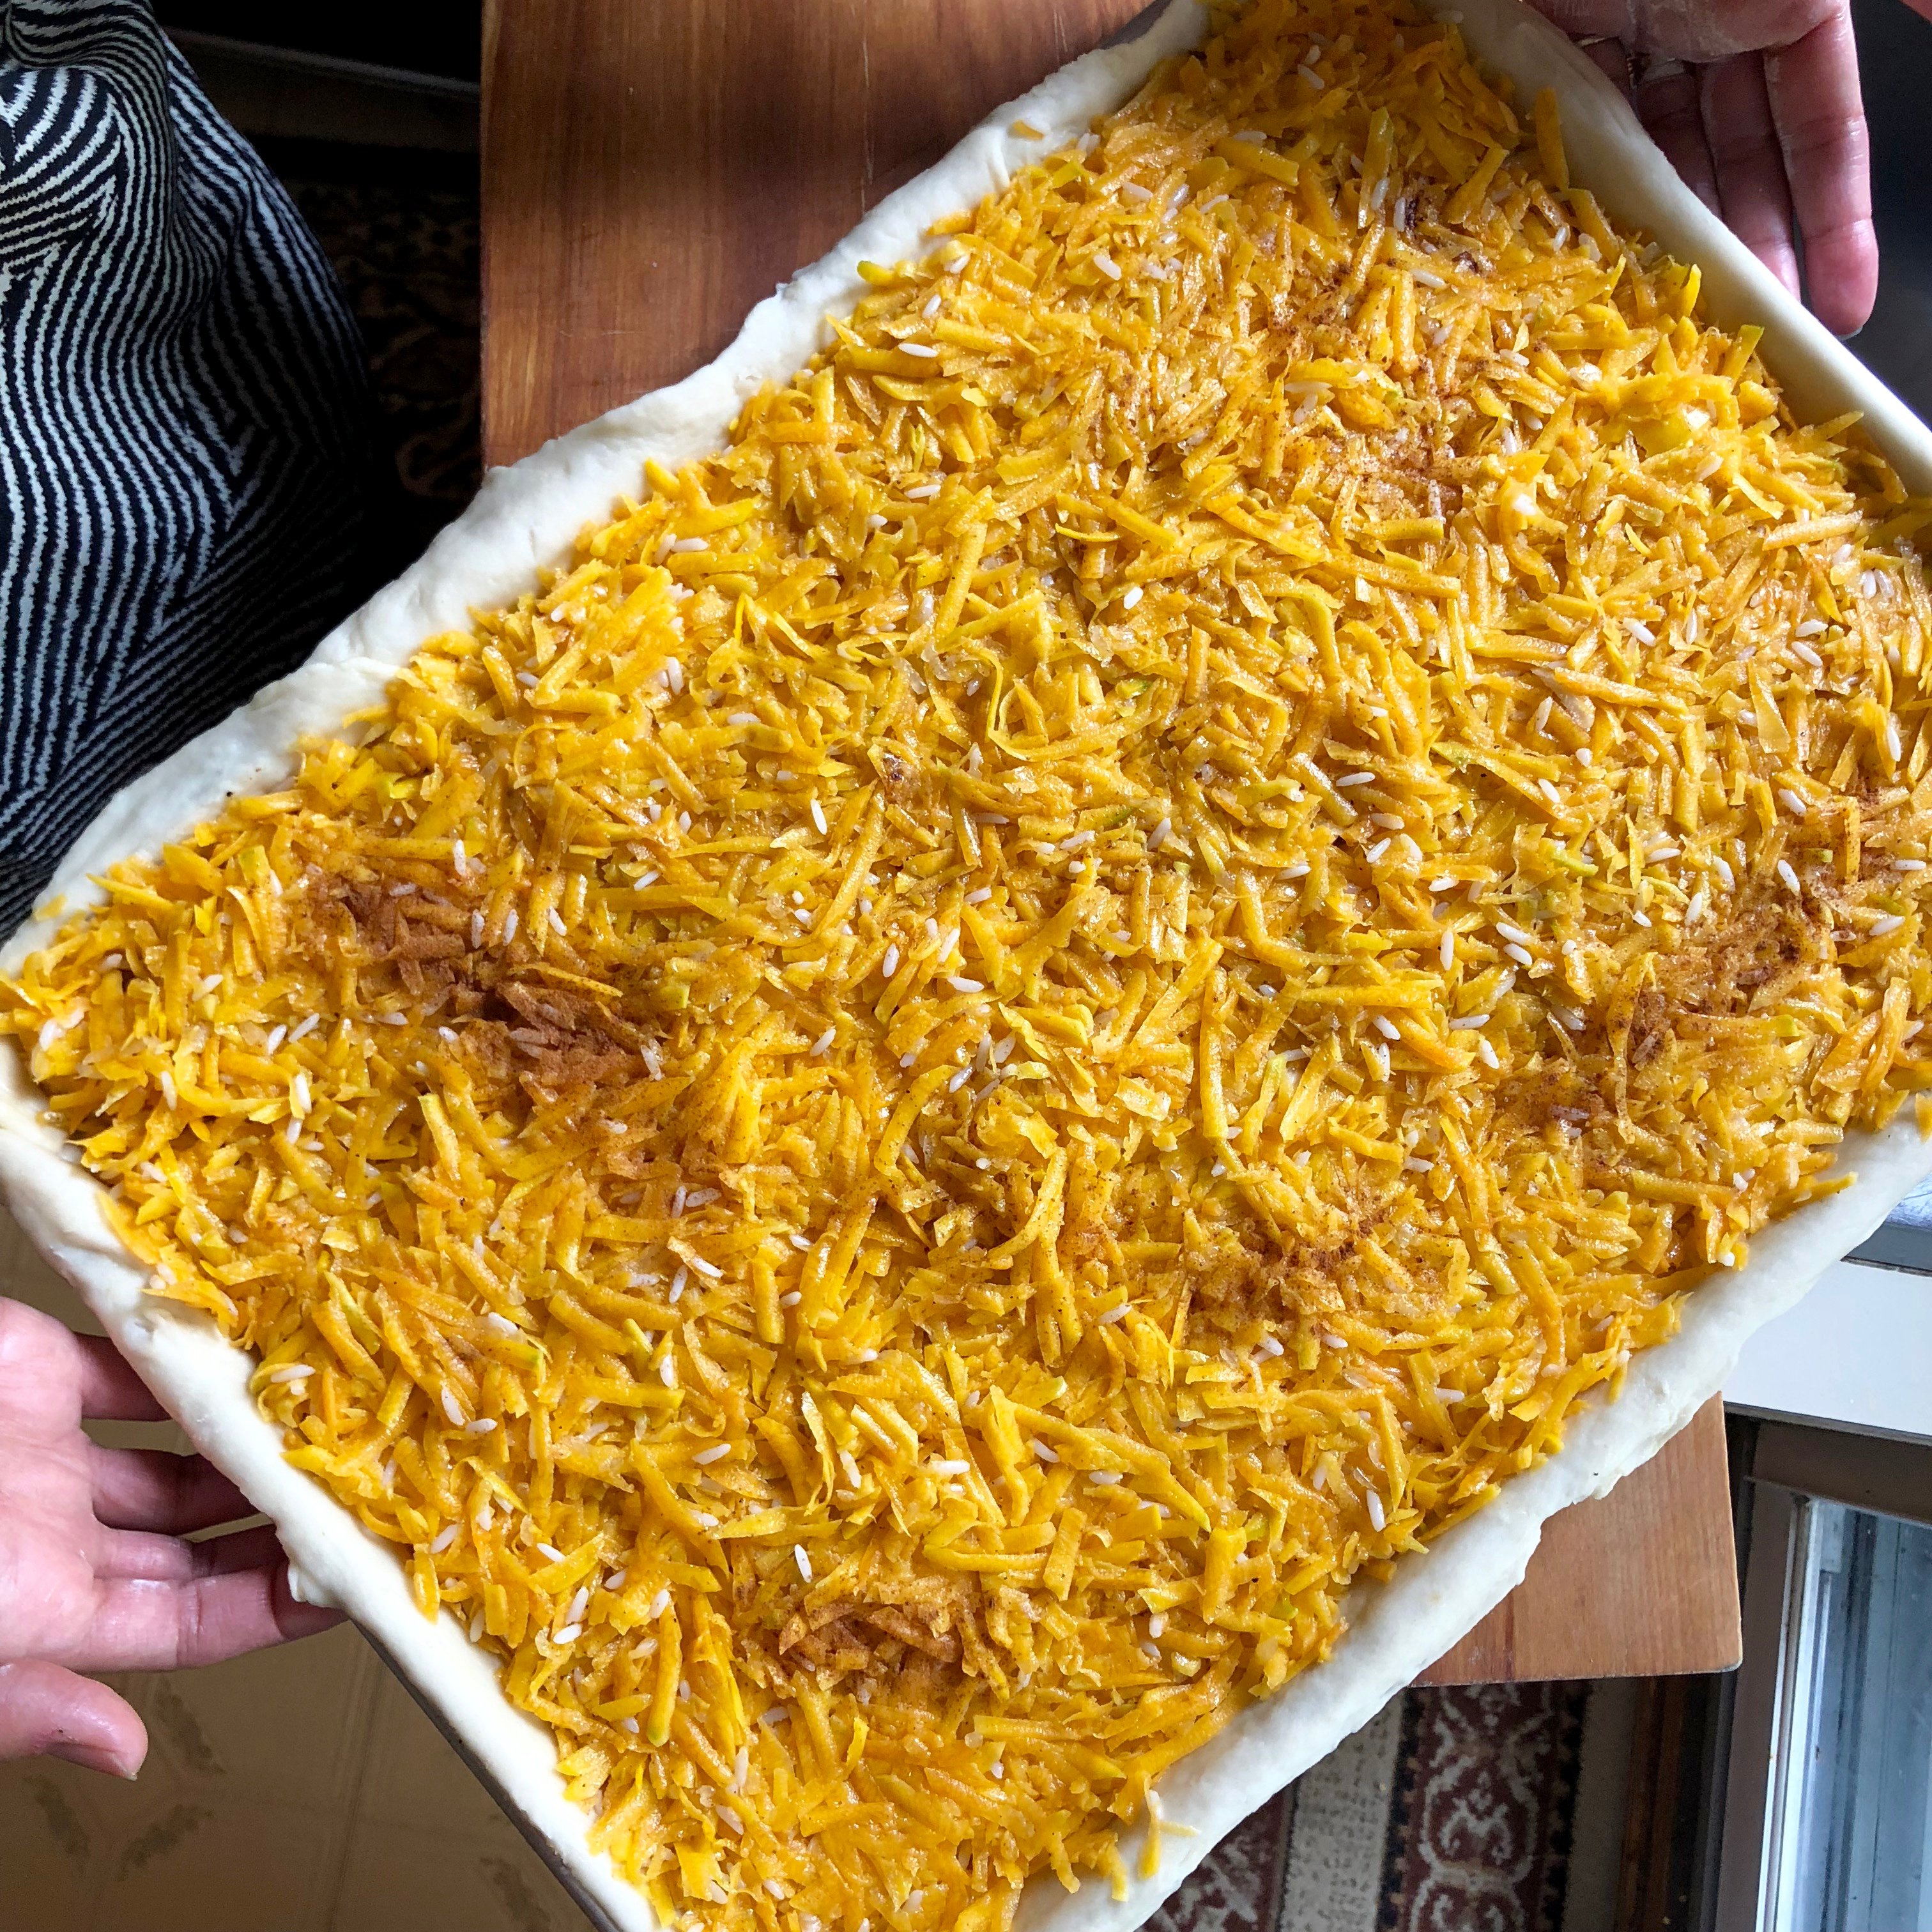
Step 5
Once your phyllo dough has lined the bottom of your baking tray, you can add the squash filling. Spread the mixture evenly and use a fork or the back of a spoon to gently press down on the filling to make sure it is compact throughout the entire surface.
Step 6
Roll out the remaining dough by repeating the process above. When you have rolled it out enough, carefully transfer it to the baking pan and cover your filling. Crimp the lower and upper layers of dough together and cut off the excess.
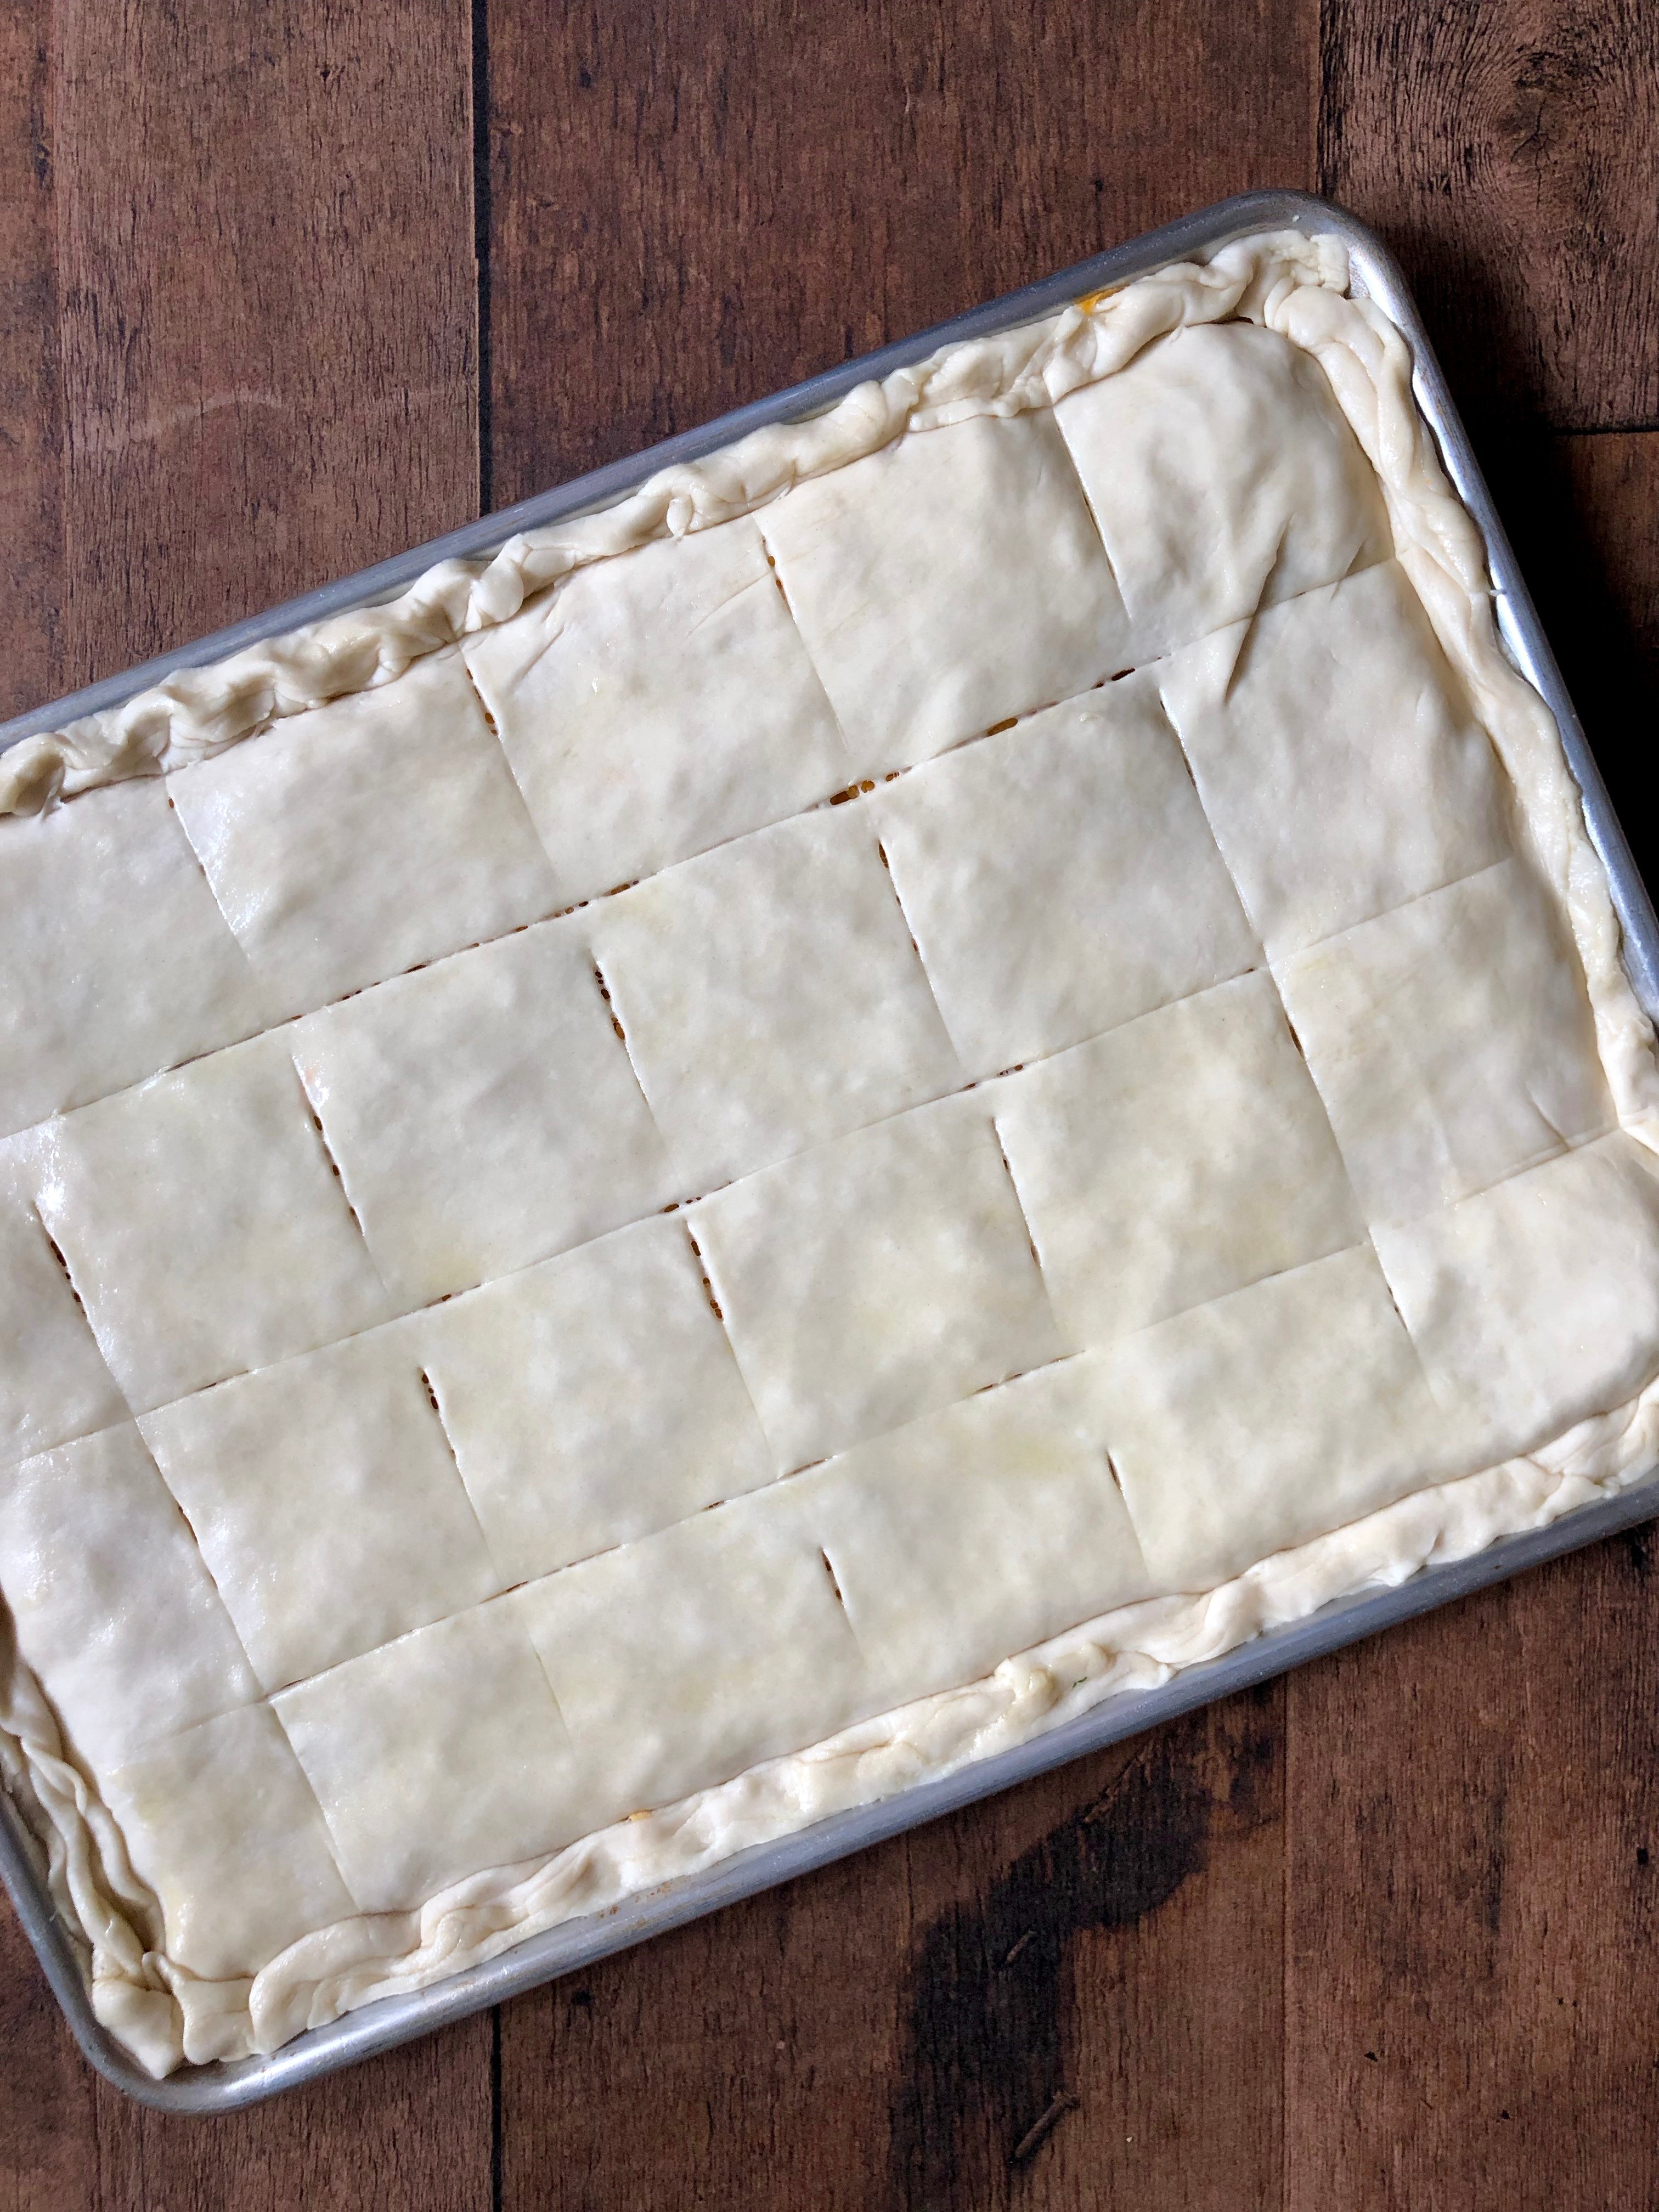
Step 7
Using a very sharp knife, gently score the top layer of dough; this will enable you to mark out the pieces of pita that you will ultimately cut. Using a pastry brush, gently brush the top of the pita with olive oil.
Bake the pita
Place your pita in the middle rack of your pre-heated oven (350 °F) and bake for approximately one hour. Remove from oven when the top of your pita is nicely browned. Allow to cool for at least 10 minutes before cutting into serving pieces.
Recipe substitutions
In the dough I add vegetable oil. You can use olive oil if you prefer; keep in mind that the colour and flavour of your dough will be different.
If you prefer to omit the sugar, you can. Depending on the squash you use, your pita might still be slightly sweet. If not, that is okay too.
Cooking tips
In the pictures featured here you will note that the squash which was used to make this particular pita is not actually pumpkin, but a non-identifiable winter squash with orange flesh which was growing in my parents’ garden. You can definitely use pumpkin to make this pita, or butternut squash, or any other orange fleshed variety of winter gourd. Because this pita is meant to be slightly sweet (not dessert sweet, but slightly sweet), it is a good idea to taste it raw after you have grated it. Depending upon how naturally sweet your squash is, you may decide to adjust the amount of sugar you add to the mix. The 1/4 cup of sugar added to this recipe is for a squash which is only mildly sweet in it’s raw state.
Because you have many choices of squash that you can use, everytime you make this pita, you may end up with a flavour and a colour which is slightly different. This is not a problem; remember that variety is the pumpkin spice of life.
The phyllo dough that my parents use to make this pita is different than the one they use for their spanakopita and tyropita. This particular recipe gives a phyllo which is slightly flaky, probably because of the way that it is rolled out.
My parents use a rectangular baking tray that is about 2 inches deep and 13 x 17 inches large. I recognize that you may not have this exact baking tray in you kitchen. My advice to you would be to use something of similar size (even if it’s round). Your pita will actually be about an inch thick after you prepare it and will then become less thick after baking because the filling will settle and decrease in volume.
It is a happy coincidence that this recipe is not only delicious, but it is also vegan. If you happen to be vegan, or fasting for periods of Orthodox lent, this is a great recipe for you! Even if you are not vegan or Orthodox, this is a delicious pita to add to your repertoire of recipes :).
Storing and reheating
Leftover pita can be kept in the refrigerator for 3 – 5 days. Reheat in the microwave, or eat it at room temperature.
Freeze your pita
You can also freeze this pita, baked. Wrap the baked pita well in plastic wrap, place in a freezer safe bag and defrost in the refrigerator.
If you prefer to freeze this pita unbaked, you can do that too! Prepare right up until the point of baking and wrap well and place in the freezer. Then, bake from frozen by allowing the pita to sit at room temperature for about 30 minutes first. You may need to adjust the baking time.
Related recipes
If you are looking for some more squash recipes, I think you should try these. You will love them!
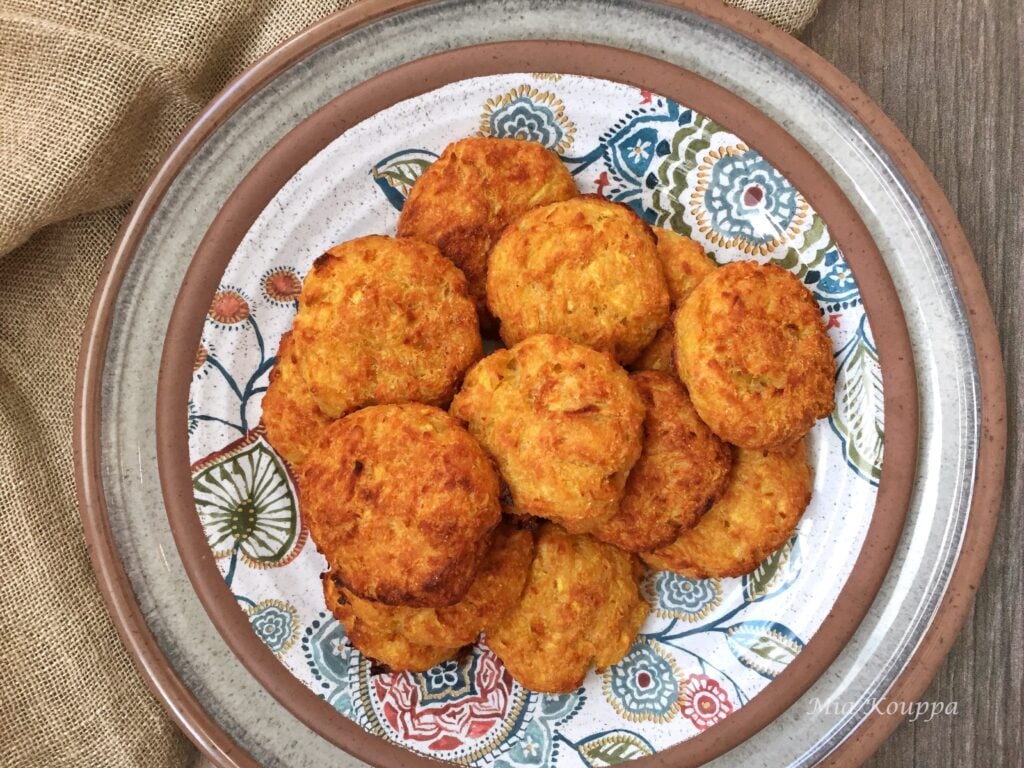
Baked squash fritters without cheese (Κολοκυθοκεφτέδες χωρίς τυρί)
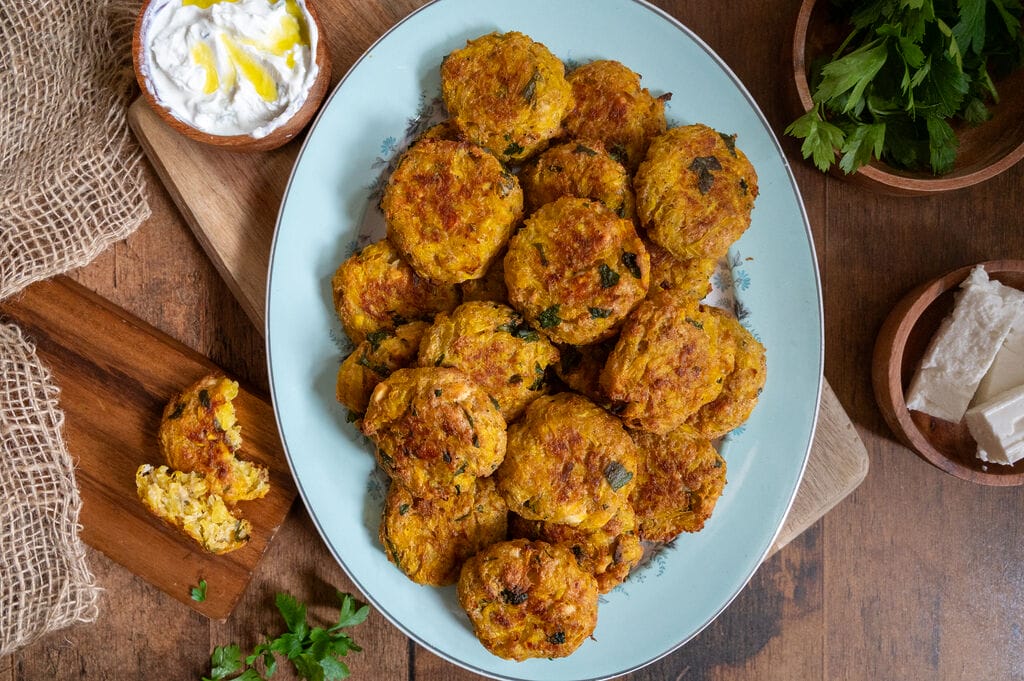
Baked squash fritters (Κολοκυθοκεφτέδες)
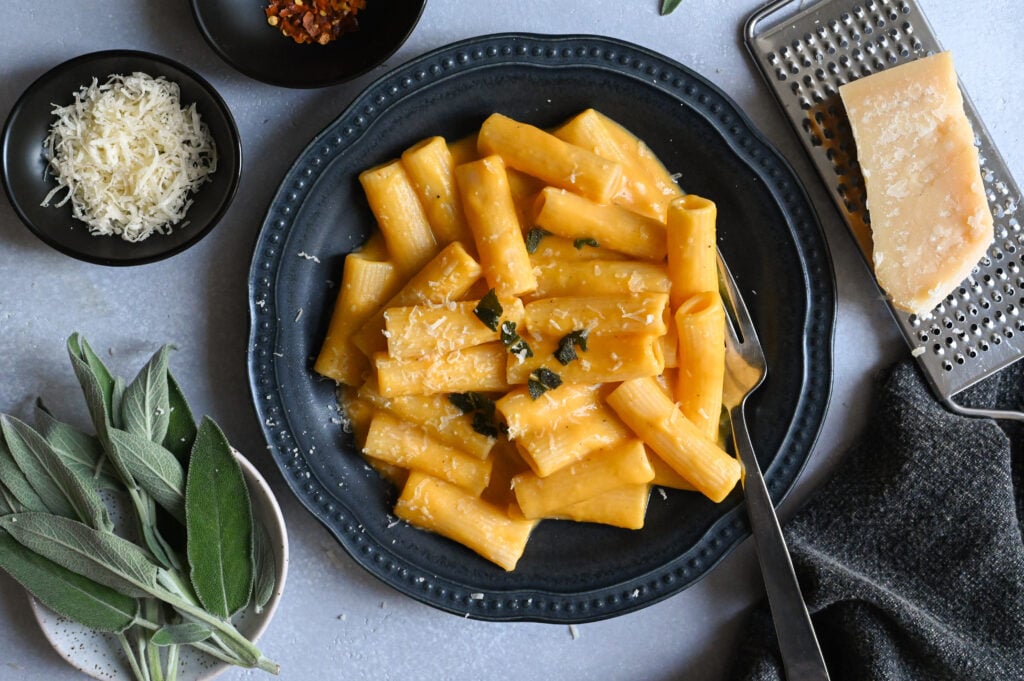
Butternut squash pasta with fried sage
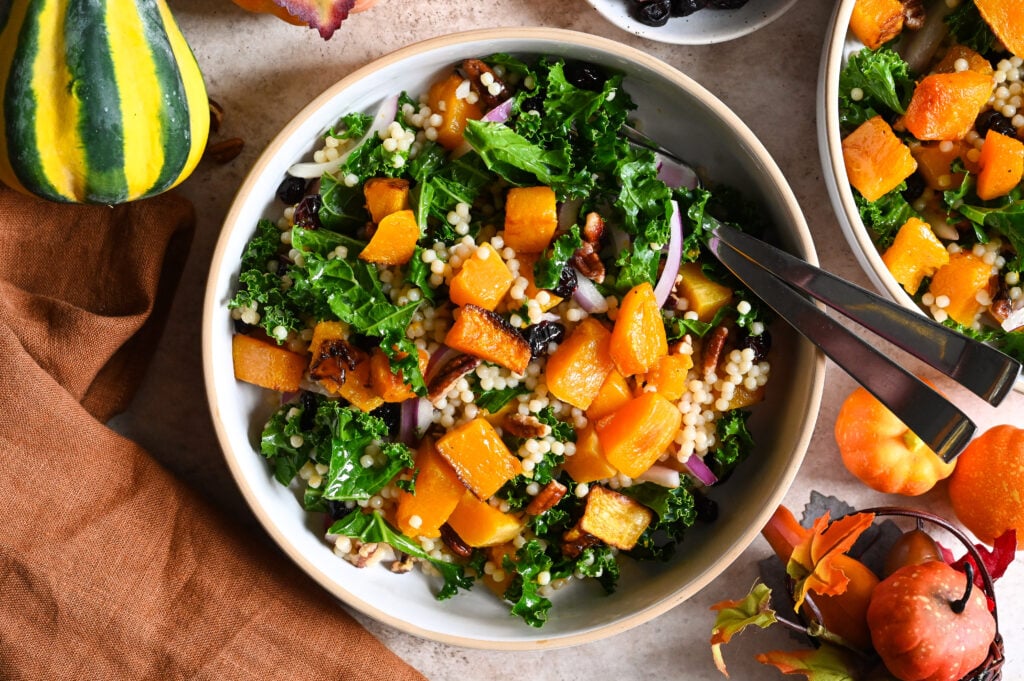
Squash and pearl couscous salad
Subscribe to our newsletter
We love hearing from you! If you have made our recipes, or if you have a question or comment, or simply want to say Hi!, please leave a comment and star rating below!
Be sure to follow along with us, on Facebook, Instagram and Pinterest. We have lots of fun over there.
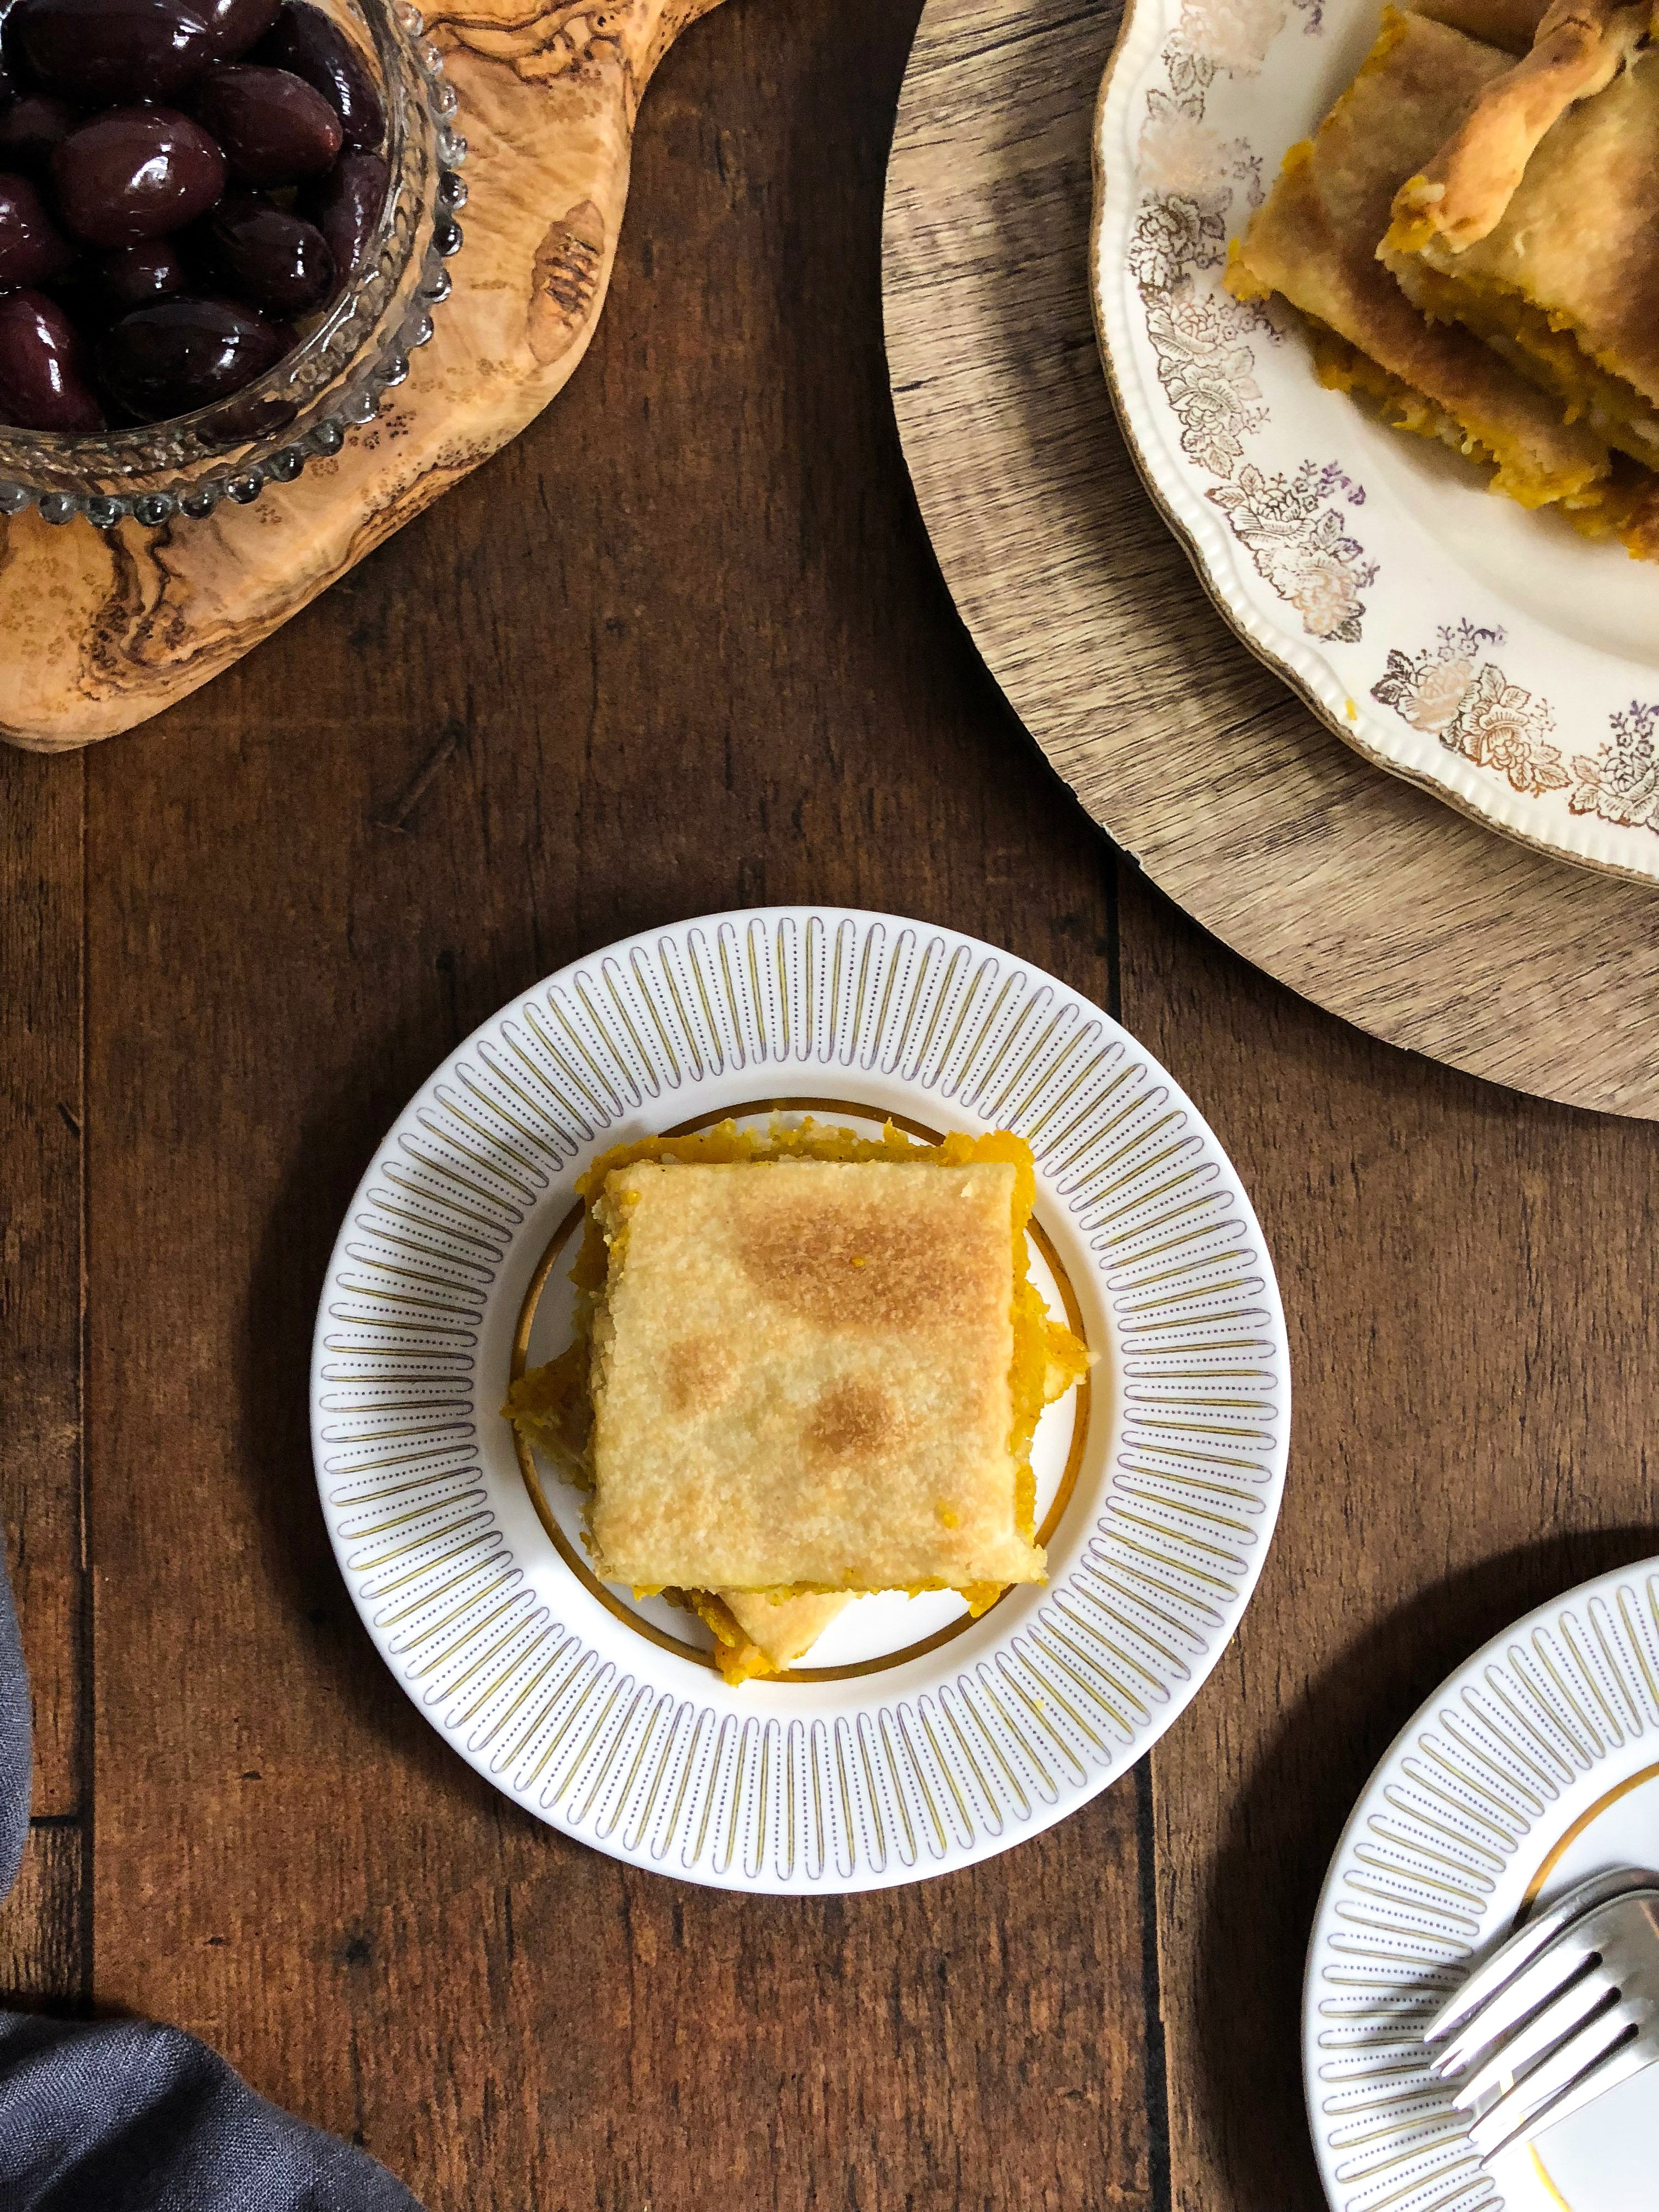
How to serve
This pumpkin or winter squash kolokithopita is great served as part of a meze table. If you are serving it as part of a meal, then pair it with a nice salad like a Maroulosalata (Greek lettuce salad) (Psilokomeni) or a heartier Greek potato salad with herbs. If you want to serve the pita as a side, consider serving it alongside Pork souvlaki or Greek grilled lamb chops (Paidakia arnisia stin skara). Add some olives to the table and you are ready for a great Greek feast!
Pumpkin or winter squash pita
Equipment
Ingredients
For the filling:
- 7 cups grated pumpkin or other orange fleshed squash
- 1/2 cup grated yellow onion
- 1/4 cup granulated white sugar
- 1/2 cup long-grain rice
- 1/3 cup Greek olive oil
- 1/2 teaspoon salt
- 1/2 teaspoon ground cinnamon
- 1/4 teaspoon ground black pepper
For the dough:
- 6 cups all-purpose flour
- 2 cups hot water
- 1/3 cup + 2 tablespoons vegetable oil
- 3/4 teaspoon salt
- 2 tbsp Greek olive oil
Instructions
Prepare your filling
- Place your grated squash in a large colander and allow it to drain and soften for at least one hour, or overnight. If you plan on letting it sit overnight, place in the refrigerator and then bring to room temperature before proceeding. If you will only let it sit for a minimal amount to time, you can massage your grated squash with your fingers, to help soften it up and release the water.7 cups grated pumpkin or other orange fleshed squash
- Soak your uncooked rice in water, at room temperature, for at least 60 minutes. Your rice should be covered by at least one inch of water.1/2 cup long-grain rice
- When you are ready to prepare your filling, use a cheesecloth, a clean kitchen towel, or your hands, to drain as much of the water out of the squash as possible.
- Next, using the same method, squeeze as much water out of the grated onion as possible. Combine the squash and onion in a large bowl.1/2 cup grated yellow onion
- Drain the rice and add that to the bowl containing the squash. Next add the sugar, olive oil, salt, cinnamon and pepper. Set aside.1/4 cup granulated white sugar, 1/3 cup Greek olive oil, 1/2 teaspoon salt, 1/2 teaspoon ground cinnamon, 1/4 teaspoon ground black pepper
- Preheat your oven to 350 degrees Fahrenheit. Grease a 13 x 17 inch baking tray with olive oil and set aside.2 tbsp Greek olive oil
To make the dough
- Place your flour into a large bowl and add the 2 cups of hot water to it. Next add the vegetable oil and salt.6 cups all-purpose flour, 2 cups hot water, 1/3 cup + 2 tablespoons vegetable oil, 3/4 teaspoon salt
- Carefully, so as to not burn yourself (remember, the water was hot), begin to mix together the dough with your hands. Mix and then knead for about 5 – 10 minutes until you get a soft and pliable phyllo dough.
- Divide the dough into two pieces, with one slightly larger than the other. The larger half will be the bottom of your pita.
- Take this slightly larger half piece of dough and divide it into two. Lightly flour your counter top or table and using a rolling pin begin to roll out each dough half. When each piece is an oval shape, about 20 to 30 centimeters in length, use your fingers to spread about 1/2 tablespoon of olive oil onto the surface of each. Then, flip one oval shaped piece of dough on top of the other, oiled sides meeting together. Using your rolling pin continue to roll out the dough until it is large enough to cover the base of your baking tray and come up the sides. The dough should also be thin enough that you can almost see through it.
- Once your phyllo dough has lined the bottom of your baking tray, you can add the squash filling. Spread the mixture evenly and use a fork or the back of a spoon to gently press down on the filling to make sure it is compact throughout the entire surface.
- Roll out the remaining dough by repeating the process above. When you have rolled it out enough, carefully transfer it to the baking pan and cover your filling. Crimp the lower and upper layers of dough together and cut off the excess.
- Using a very sharp knife, gently score the top layer of dough; this will enable you to mark out the pieces of pita that you will ultimately cut.
- Using a pastry brush, gently brush the top of the pita with olive oil.
Bake
- Place your pita in the middle rack of your pre-heated oven (350 °F) and bake for approximately one hour. Remove from oven when the top of your pita is nicely browned. Allow to cool for at least 10 minutes before cutting into serving pieces.
- Enjoy!
Video
Nutrition
Wonderful ! Love this delicious pumpkin pita.
Thank you so much! It really is a great way to use up pumpkin!
Could you mix it with like a galactobouriko filling together?,!
Hi Maria, We have never done that so cannot be certain how it would work. This pita is more of a savoury recipe, whereas galaktoboureko is a sweet. If you do give it a try, let us know! xoxo Helen & Billie
I love this so much! My mother-in-law used to make for me when I started dating her son! Will have to make again soon!
Well your mother-in-law must have been smitten with you right from the start! This is such a delicious treat! Hope that you give our recipe a try, and maybe impress your MIL 🙂 xoxo Helen & Billie
This is exactly the way my grandmother made it. She sometimes included golden raisins.
Amazing! The addition of raisins sounds lovely! Hope you enjoy our recipe, and find lots to love here with us 🙂 xoxo Helen & Billie
Omg I’ve looked for this recipe forever!! My mother m made it every year ! Thank you. This is truly the best!
This makes us SO happy! We are thrilled that you found the recipe! Hope you enjoy it!! Please let us know 🙂 xoxo Helen & Billie
Can I make this without the rice?
Hi there Cal! Technically yes, you can but the rice does help absorb some of the liquid that comes form the squash so that might be a bit of an issue. The rice also does act as a bit of a binder so if you are not adding rice you might want to add an egg. You could try substituting another grain (quinoa might work) if that is more to your liking. Let us know! xoxo Helen & Billie