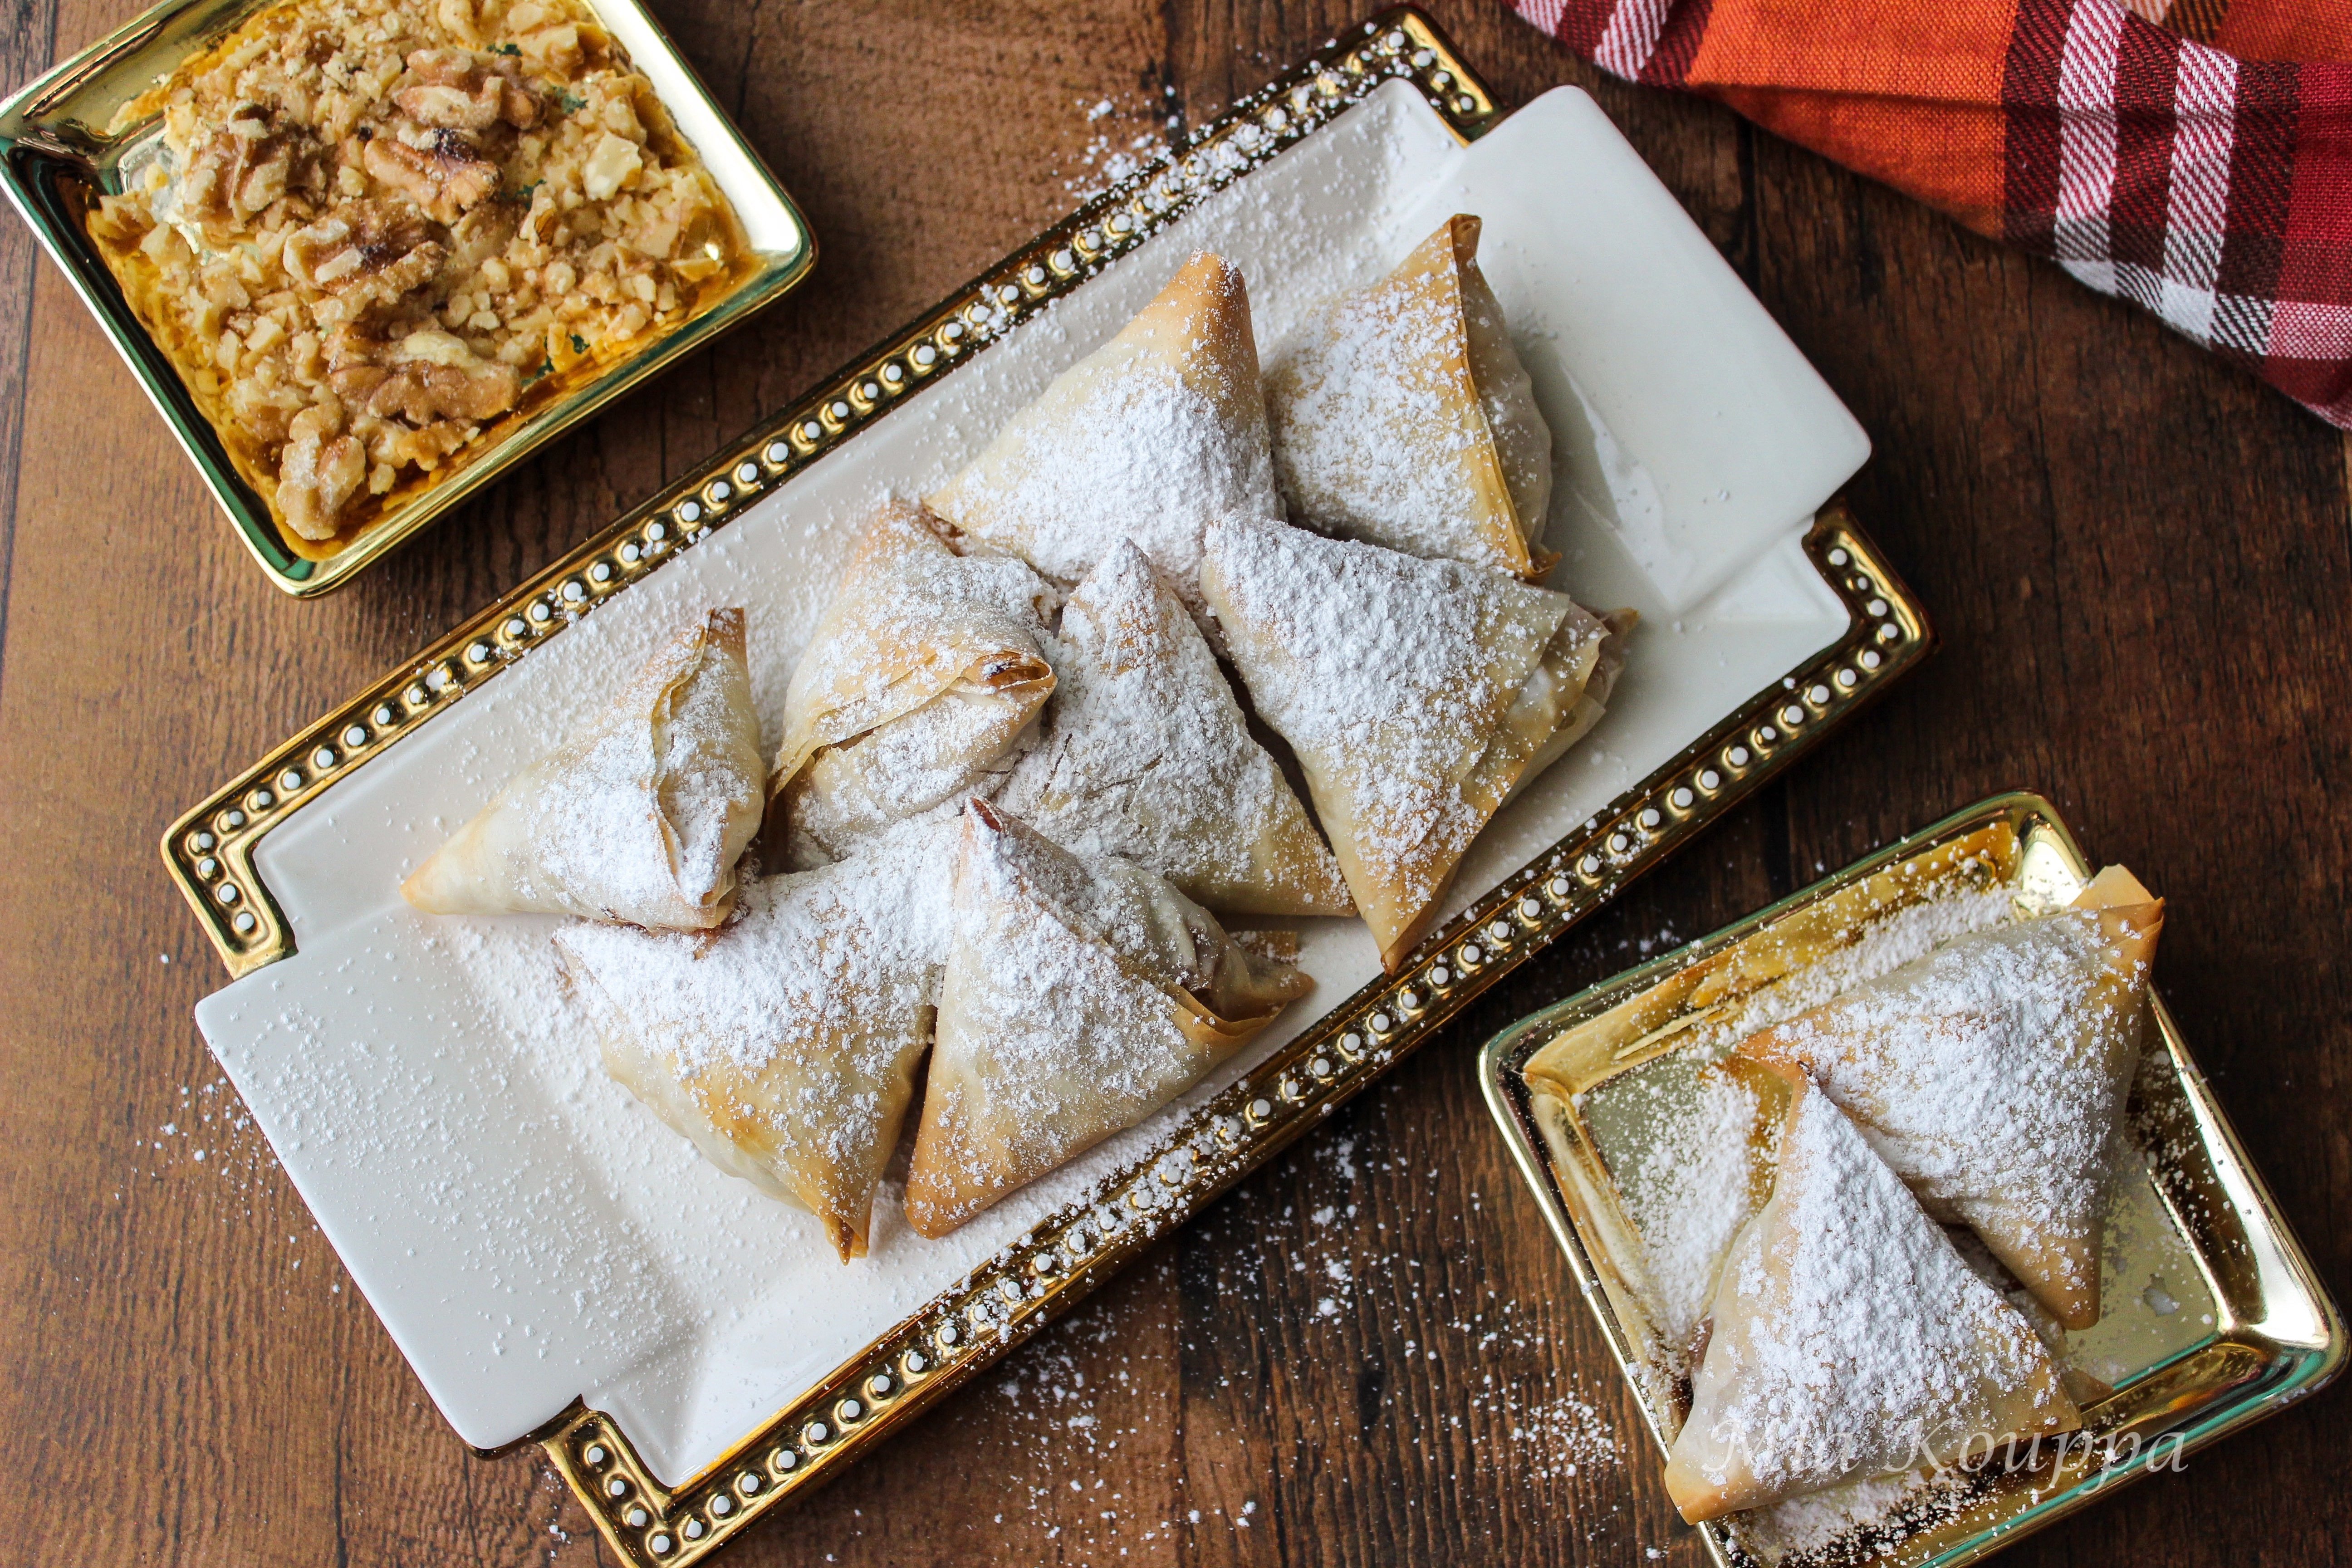
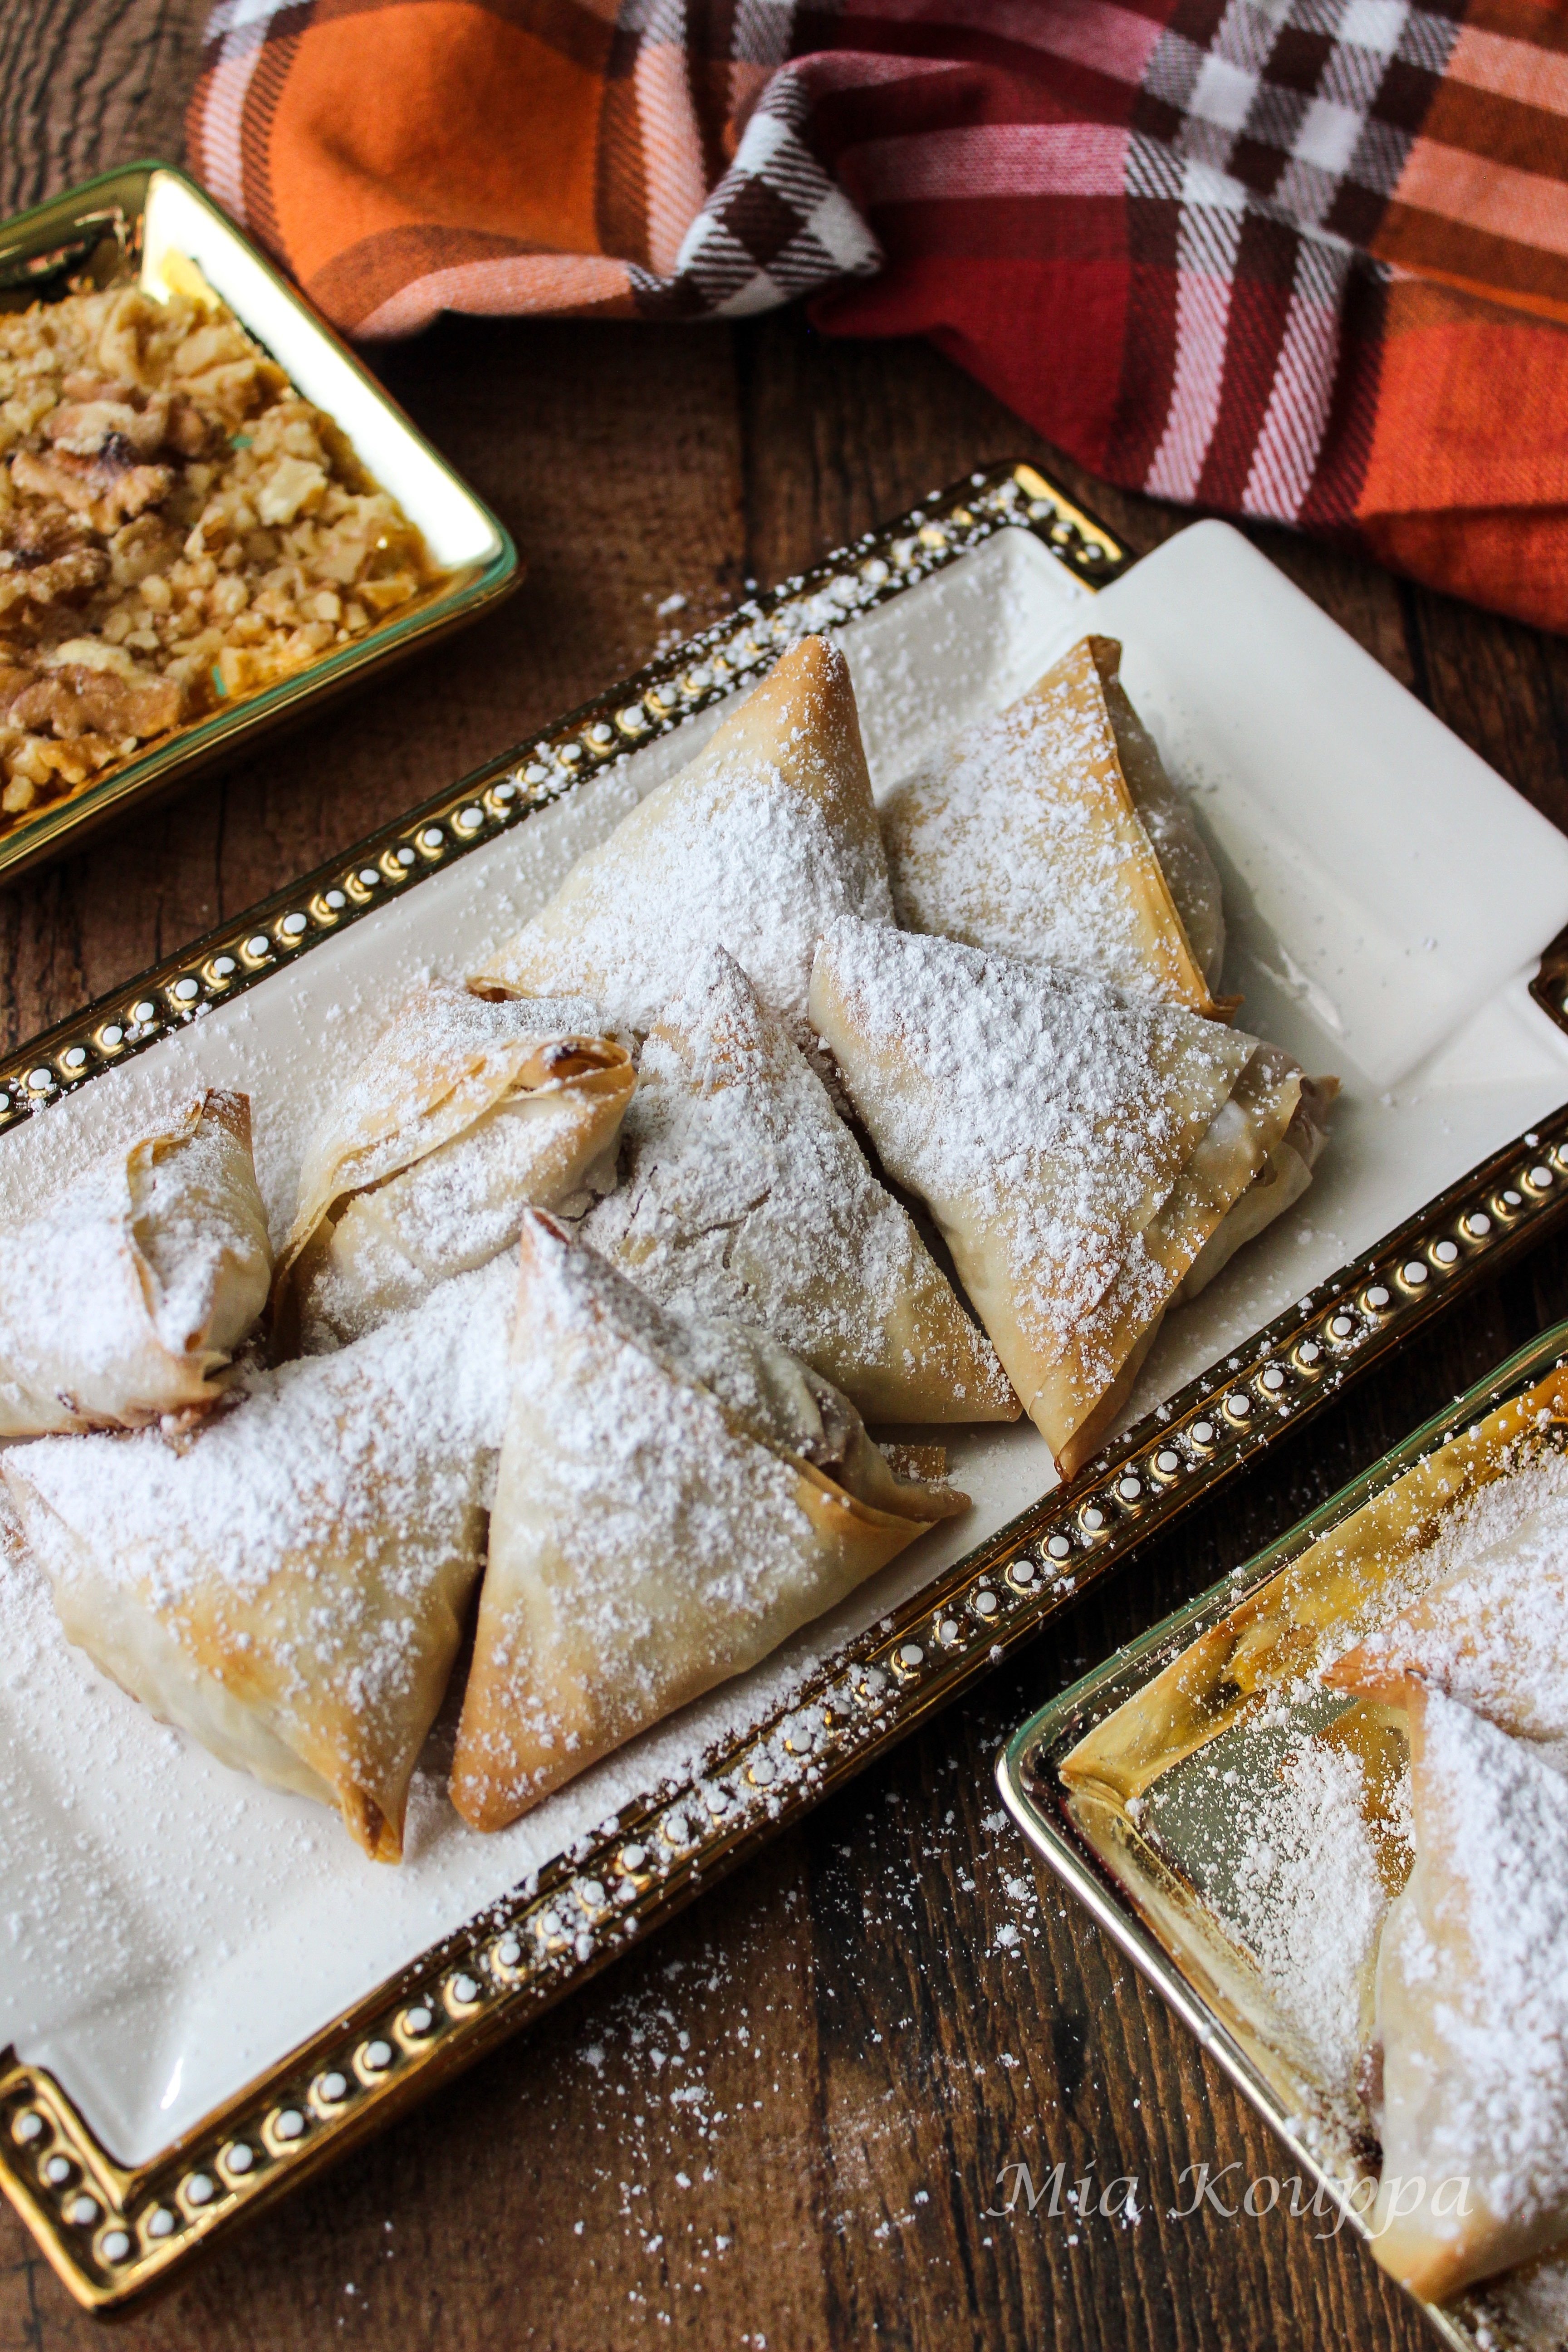
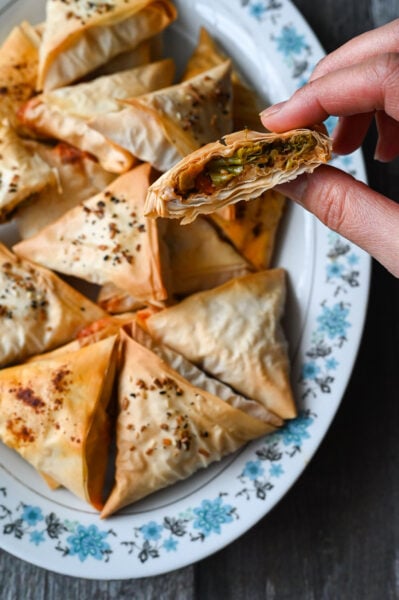
Mini apple pies with phyllo or milopitakia (Μηλοπιτάκια)
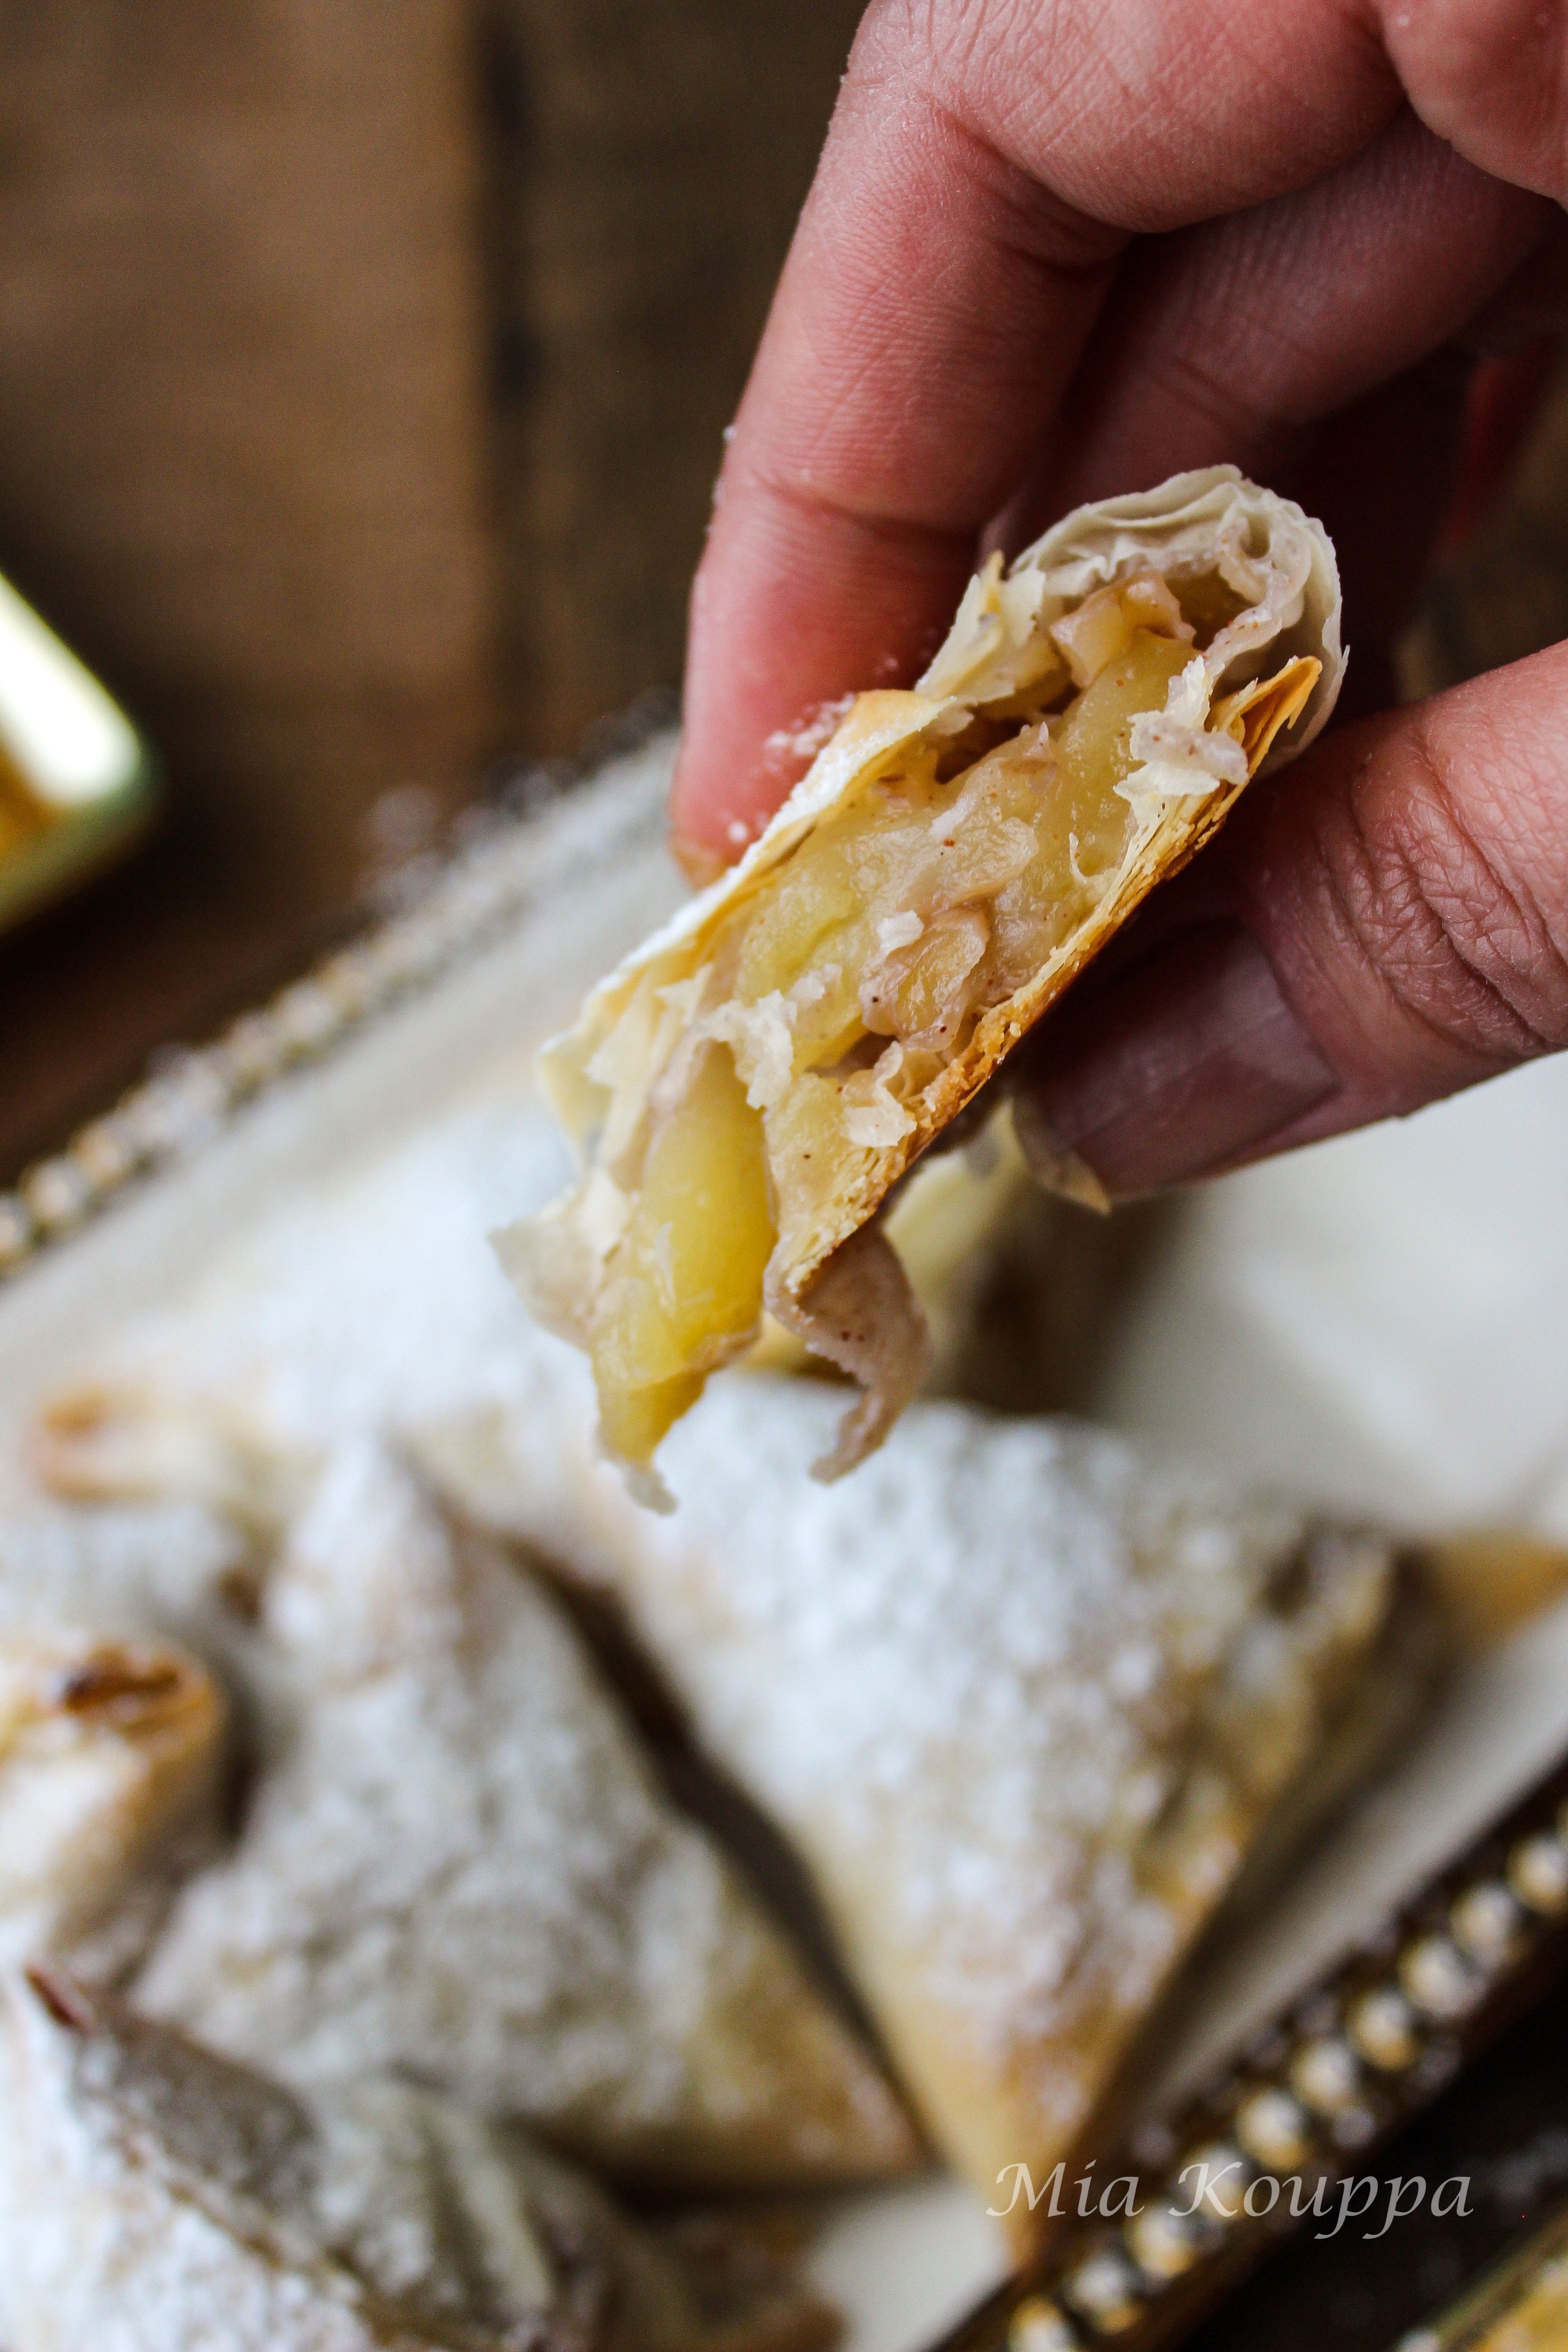
Crispy phyllo triangles filled with an apple pie and walnut filling. These are the perfect few bite desserts that are as delicious as traditional apple pie, without the fuss of making pastry dough. Sprinkle with some icing sugar for a bit more sweetness.
Growing up Greek, phyllo was a very common ingredient, whether it was used in savoury recipes like Greek zucchini pita with filo (Kolokithopita me filo) or in sweet desserts like Portokalopita or Apple pie flavoured soufra. Another related, popular ingredient was kataifi, which is basically shredded phyllo which resembles vermicelli. A great use of kataifi is in my apple flavoured Ekmek Kataifi.
Why I love this recipe
There is something about pie which just makes me feel warm and fuzzy inside. The almost meditative act of rolling out the crust, the smell of the pie in the oven, and the sight of the filling bubbling out through the vents on the top crust are enough to make me swoon. Apple pies are a particular favourite because they are appreciated by so many; who doesn’t love a classic apple pie? (If you answered “I don’t” to this question, please send me a private message so that we can talk about it).
Although I love baking pies, and have a pretty fail-proof pie crust recipe and technique, sometimes I don’t have the time to get involved in pastry making. So when time is limited but I can’t shake the need for a dessert with a warm apple filling, I get creative…and that’s how this recipe came to be.
Key ingredients
You really don’t need too many ingredients to make this amazing dessert. You also probably have most of the ingredients on hand, except perhaps the phyllo dough.
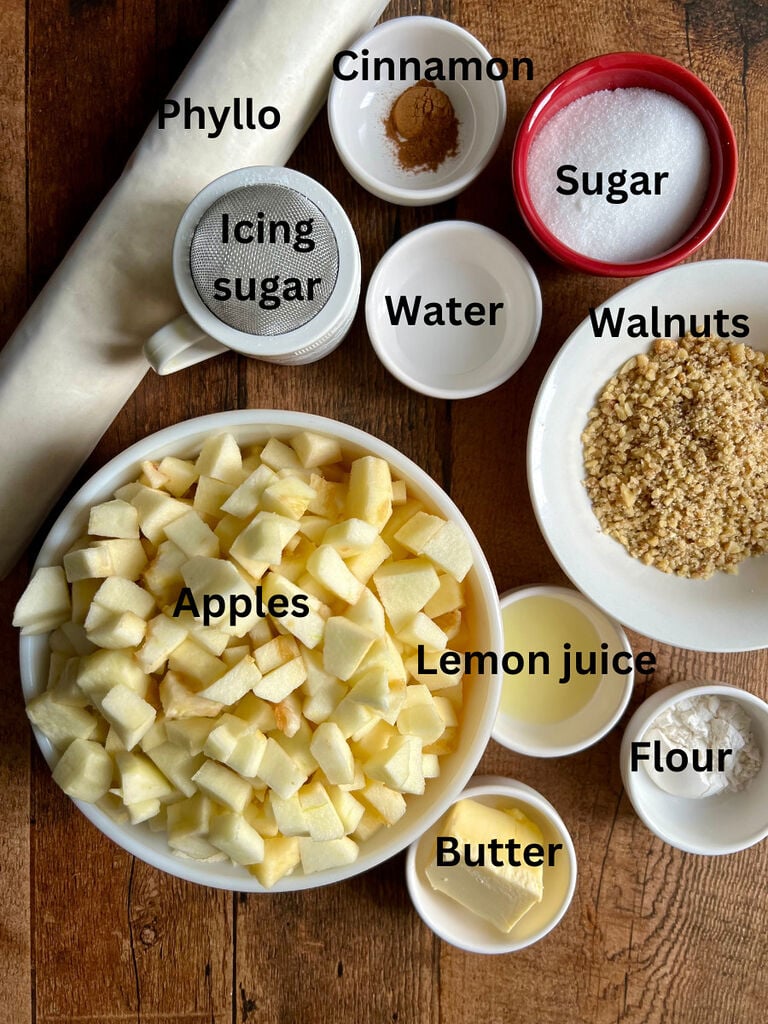
Apples Any apples will work in this recipe. Given the choice however I opt for golden delicious apples – I find that they bake up really well in desserts like this one, and in things like easy apple crisp.
Phyllo A very common ingredient in Greek cooking, phyllo (or filo) is usually made only with flour and water. It is rolled almost paper thin and is super versatile. I try to find it fresh (versus frozen) because I find it much easier to work with that way.
Sugar White granulated sugar lends the perfect amount of sweetness to this dessert filling.
Lemon juice Prevent browning of your apples, and add a touch of zesty flavour with fresh lemon juice.
Walnuts Finely chopped walnuts not only add flavour, but they also add texture to your mini apple pies.
Butter Brushed between the layers of phyllo and on top of your triangles before baking, butter helps the phyllo get crispy and flaky.
Cinnamon The classic spice of apple pie, I can’t make this dessert without ground cinnamon!
Flour The apples will release liquid as they bake and so the flour acts to absorb some of the liquid so that the phyllo does not get soggy.
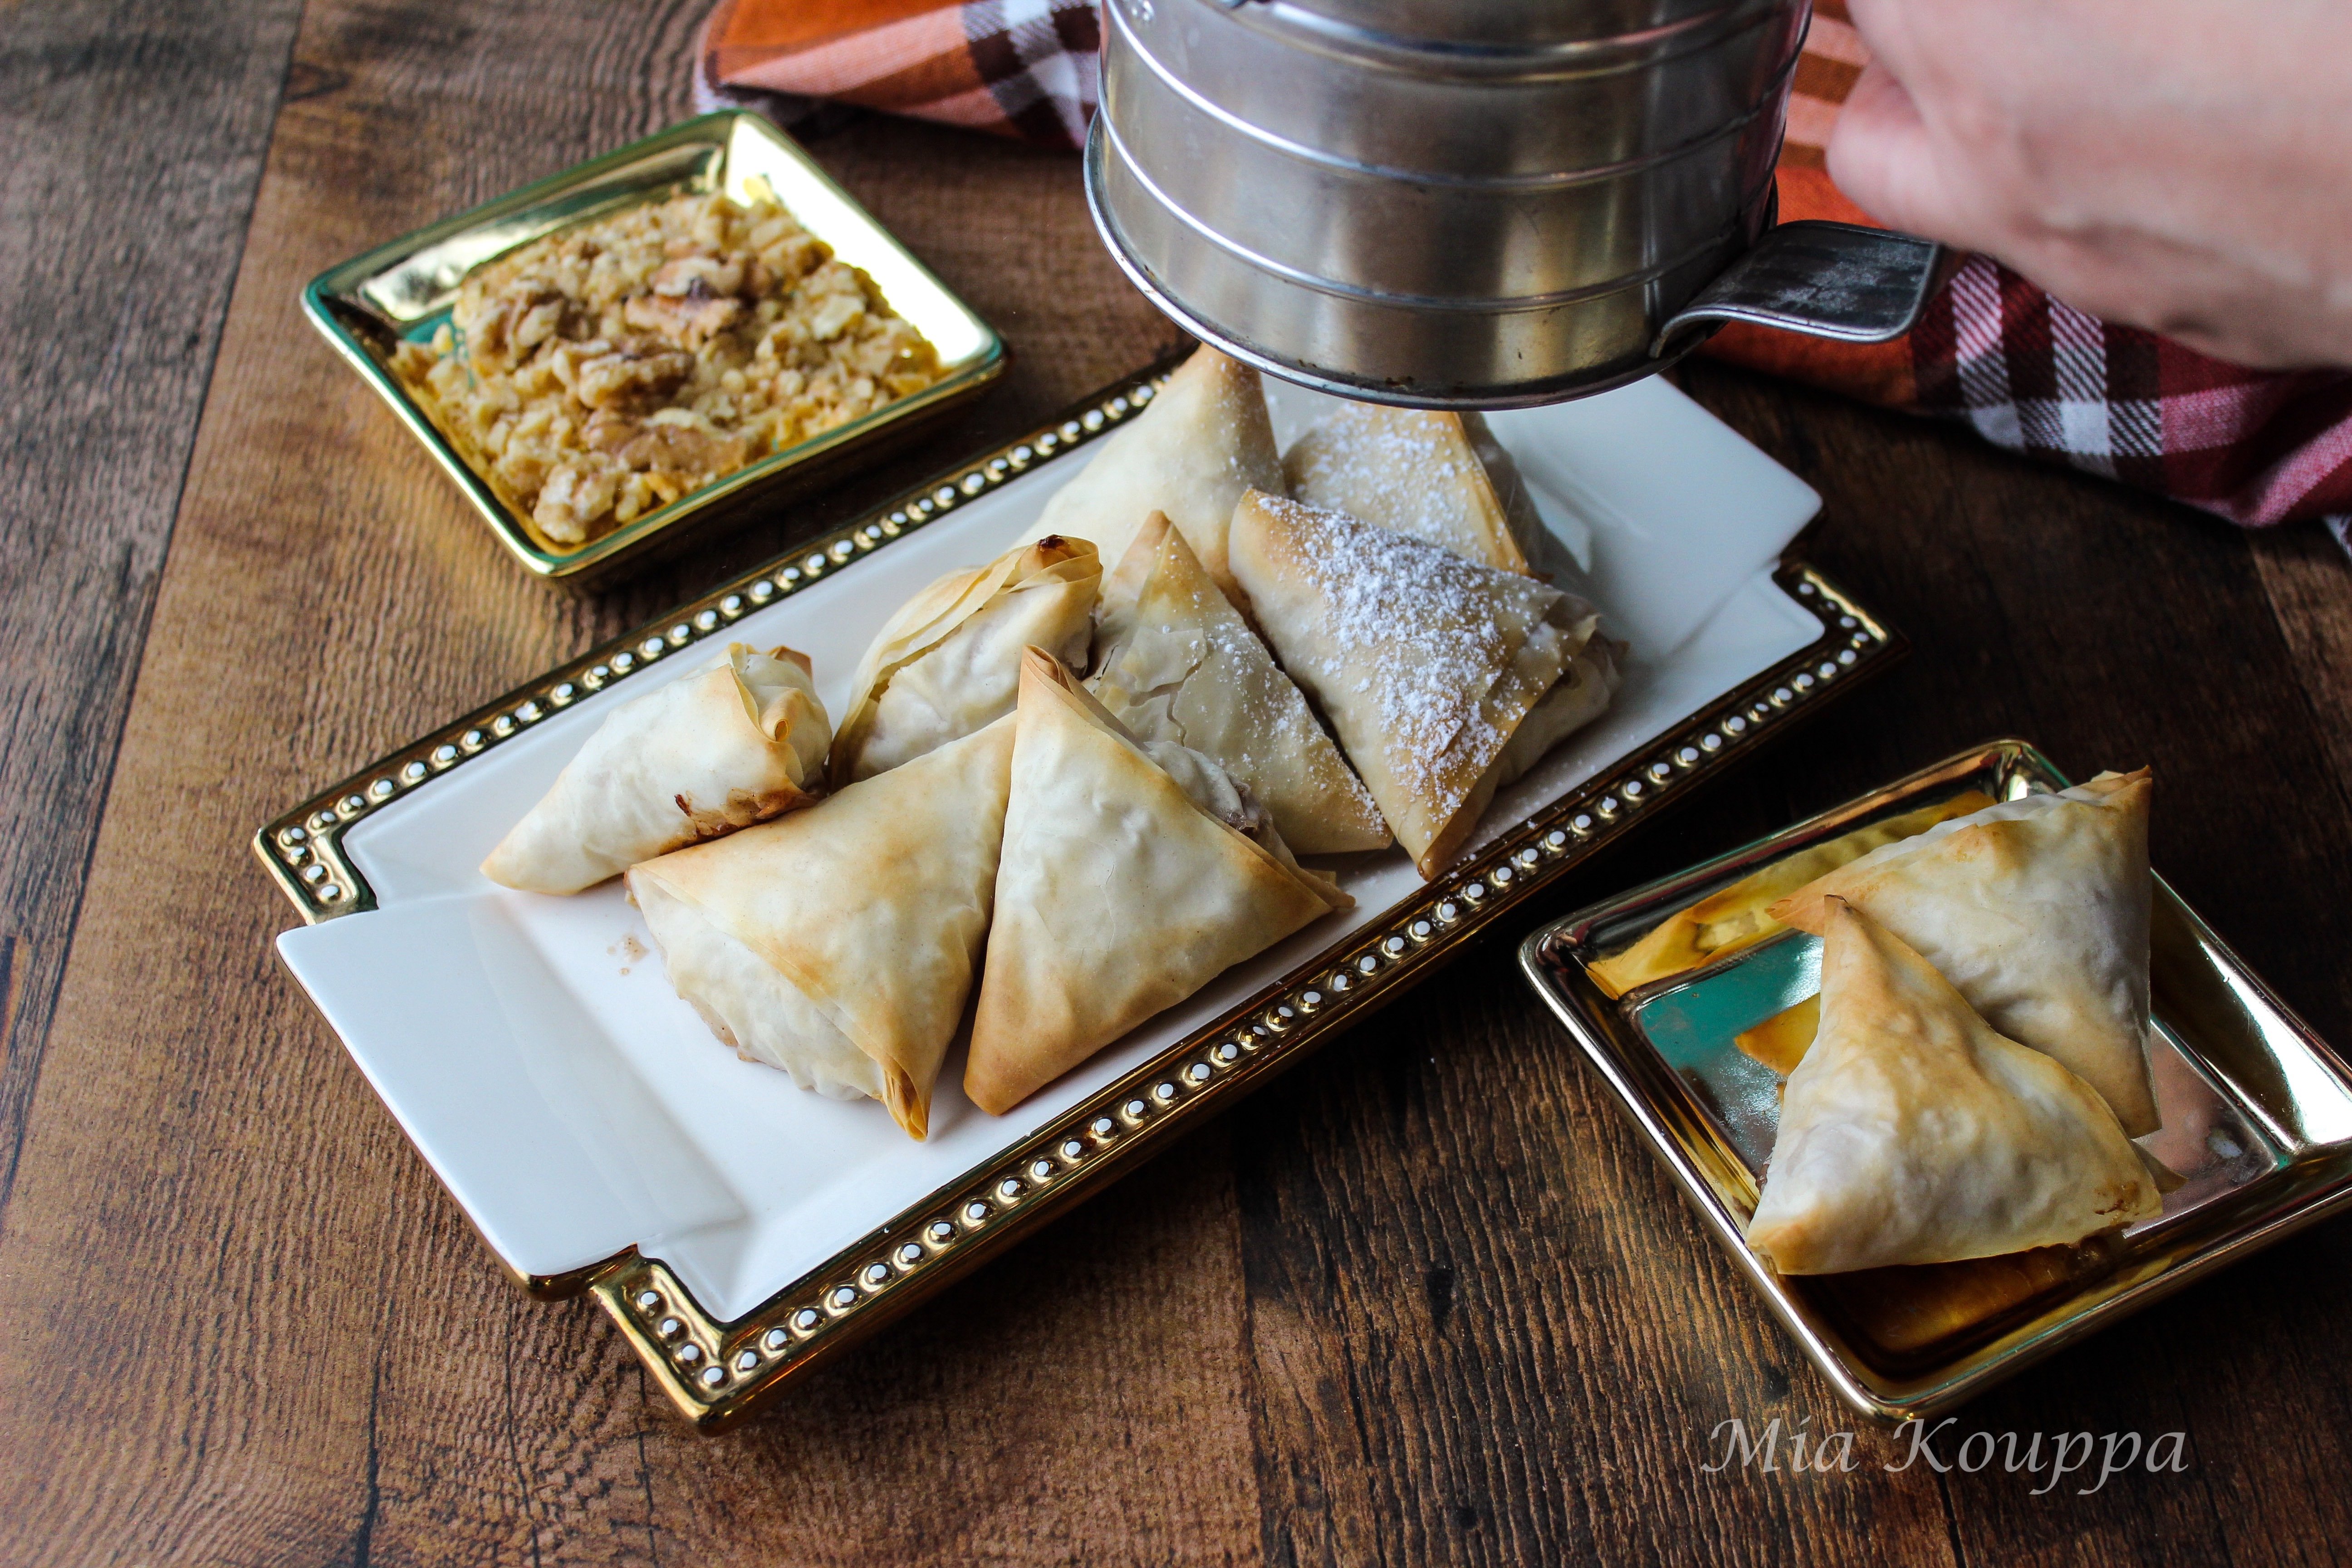
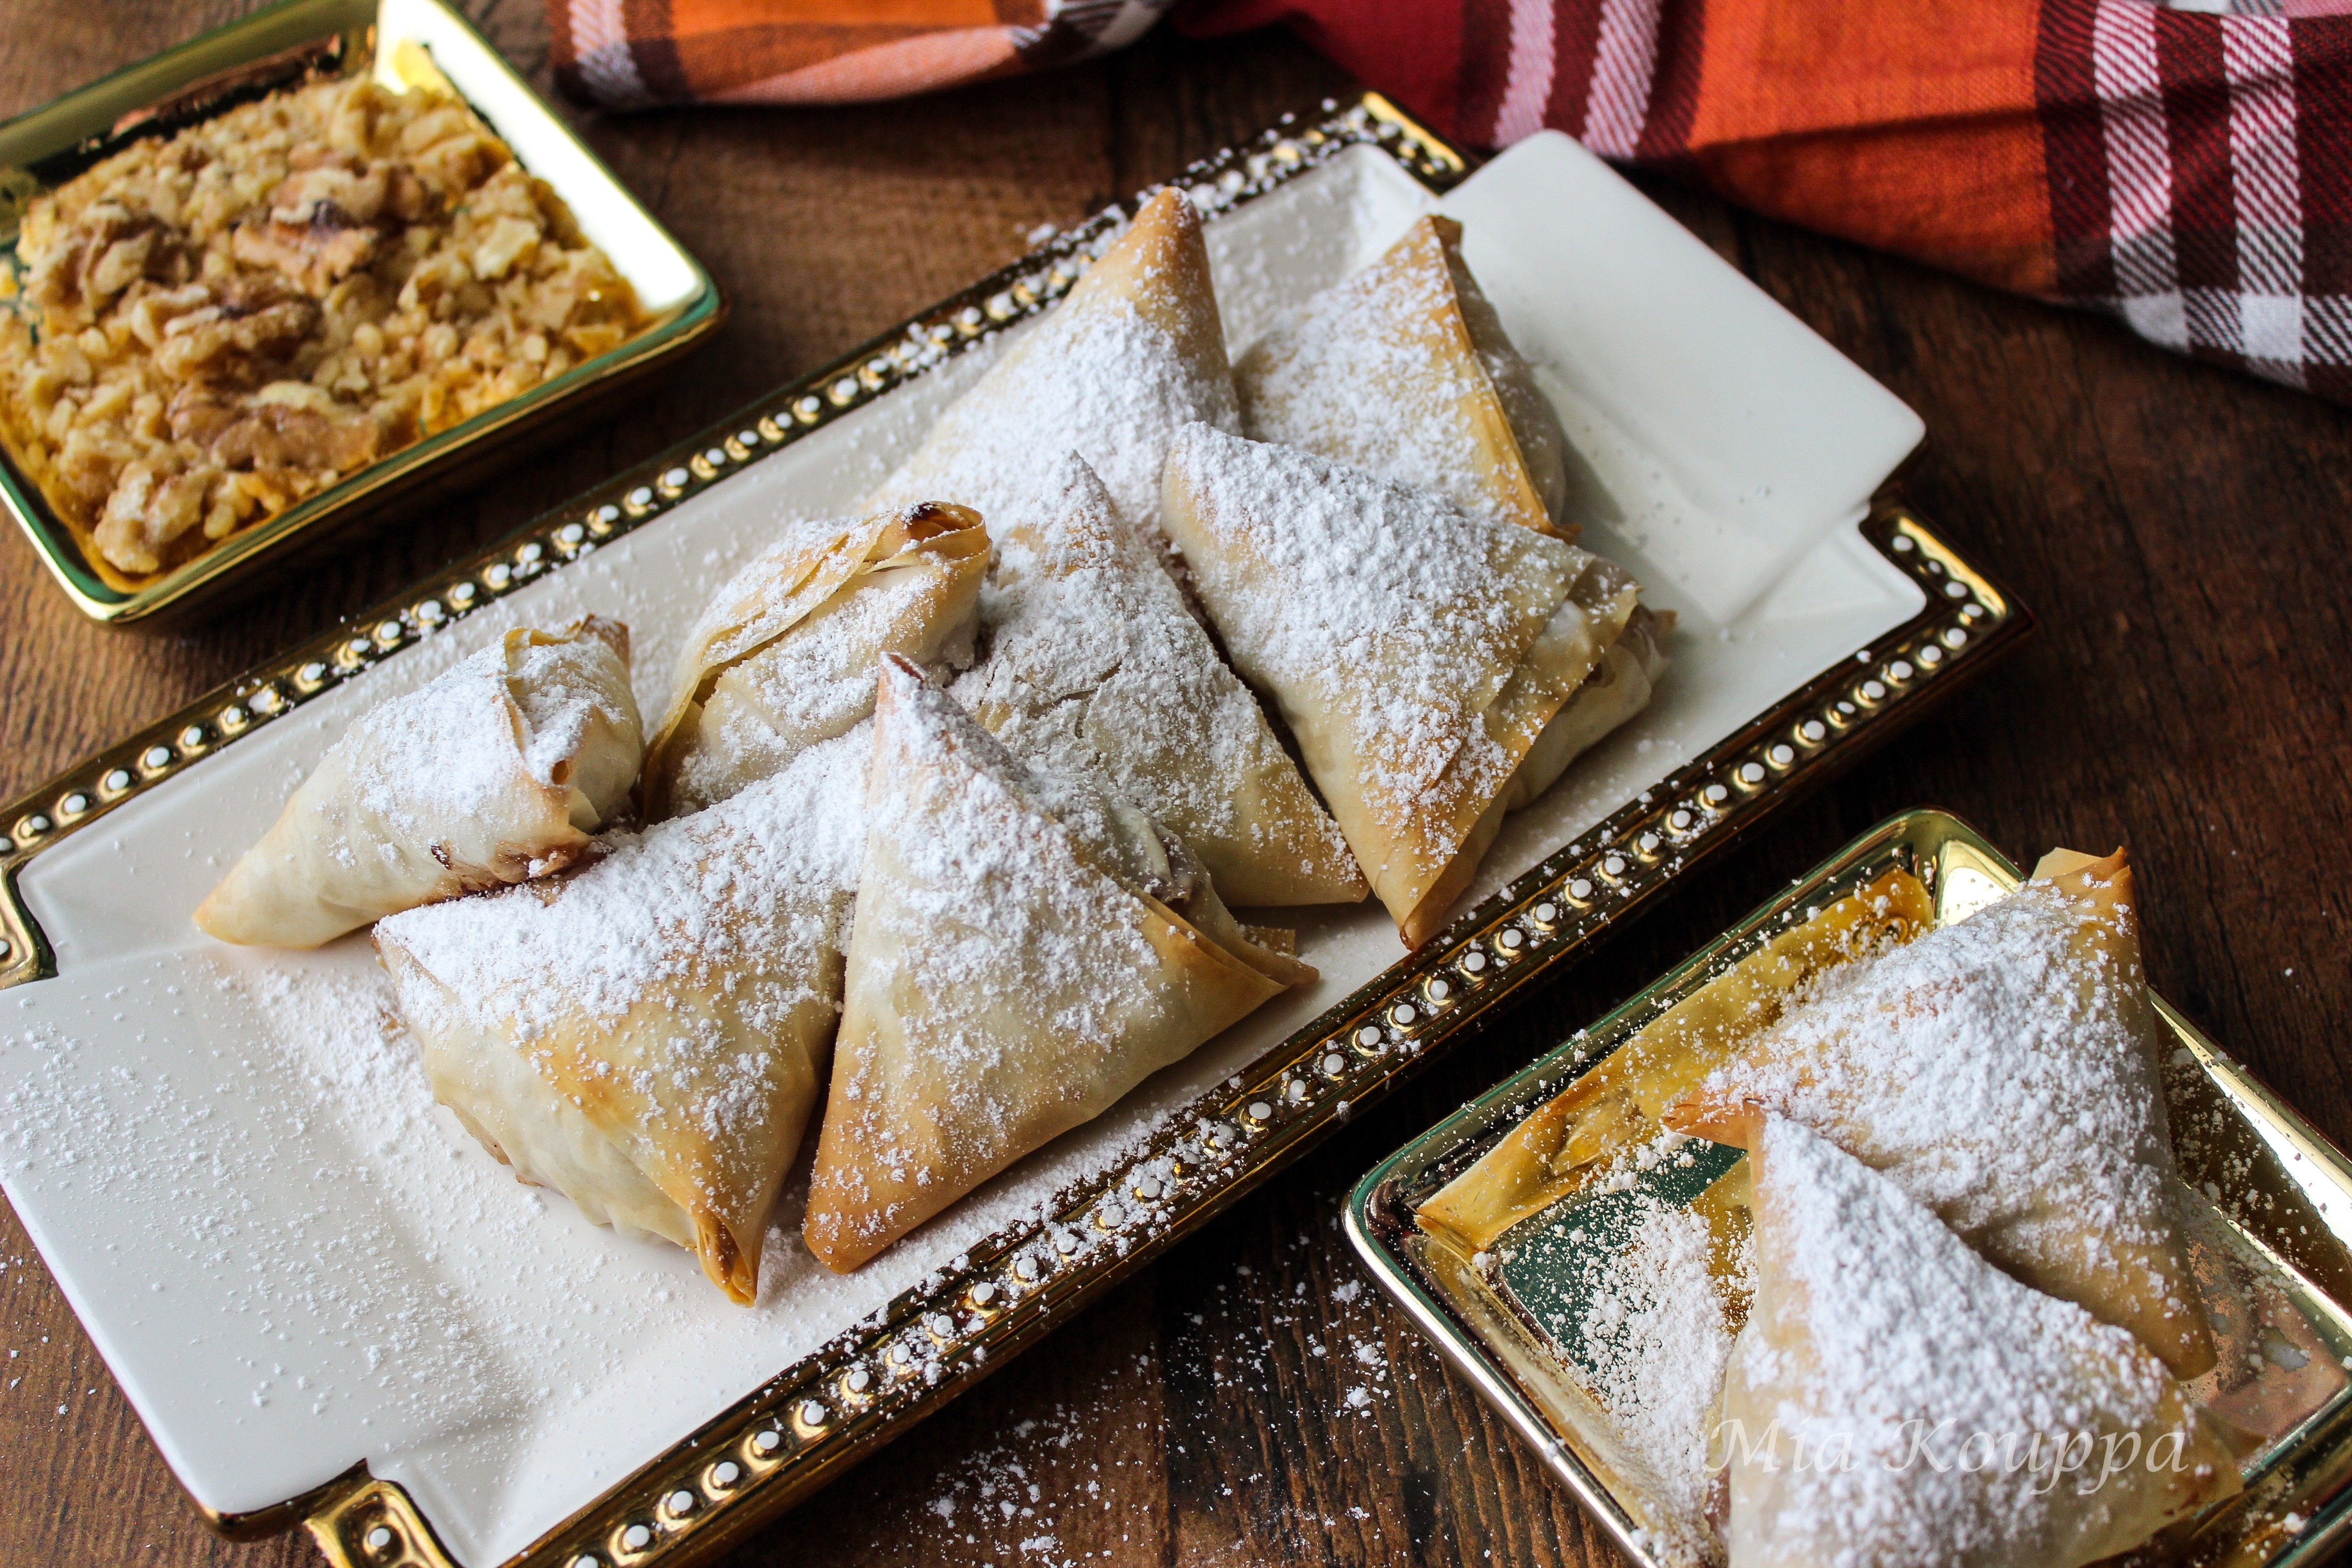
Icing sugar I like to dust the small apple pies with icing sugar. This looks pretty, but also tastes great.
How to make it
Making these small apple pies is really easy. Once you get comfortable working with phyllo you will see that these delicious treats are a breeze to make.
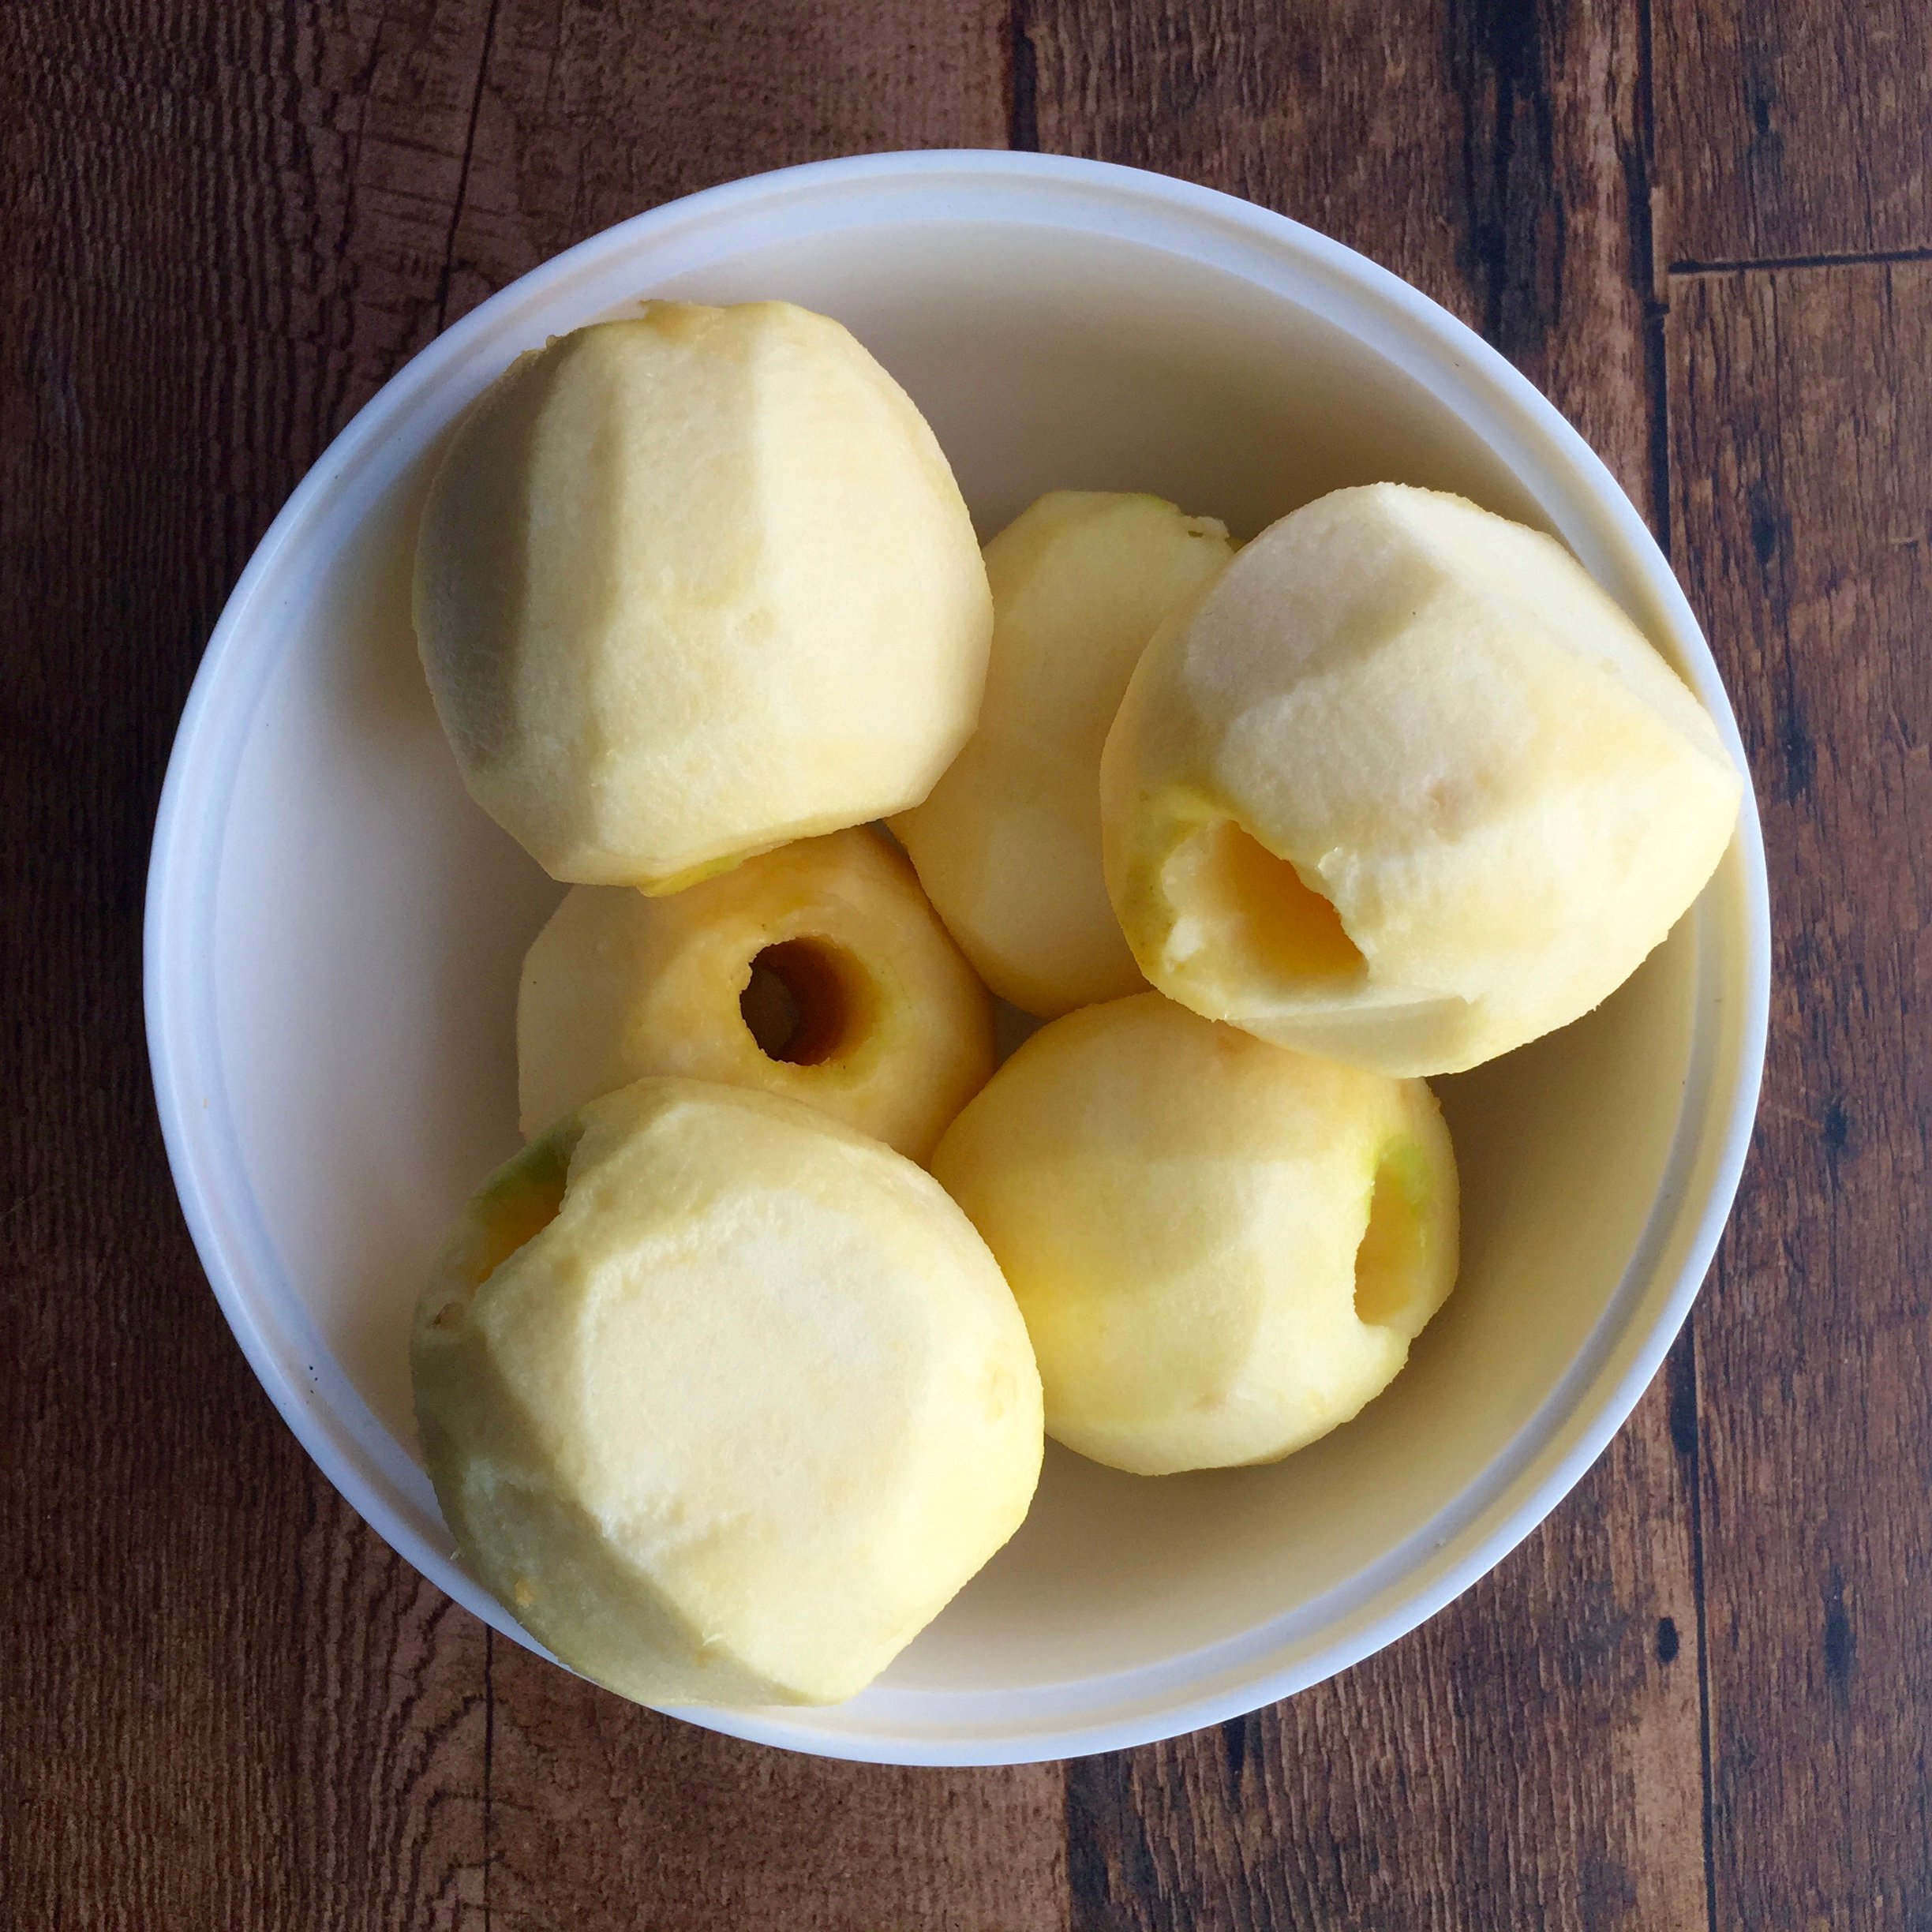
Step 1
Peel and core the apples. Chop them into small dice.
Step 2
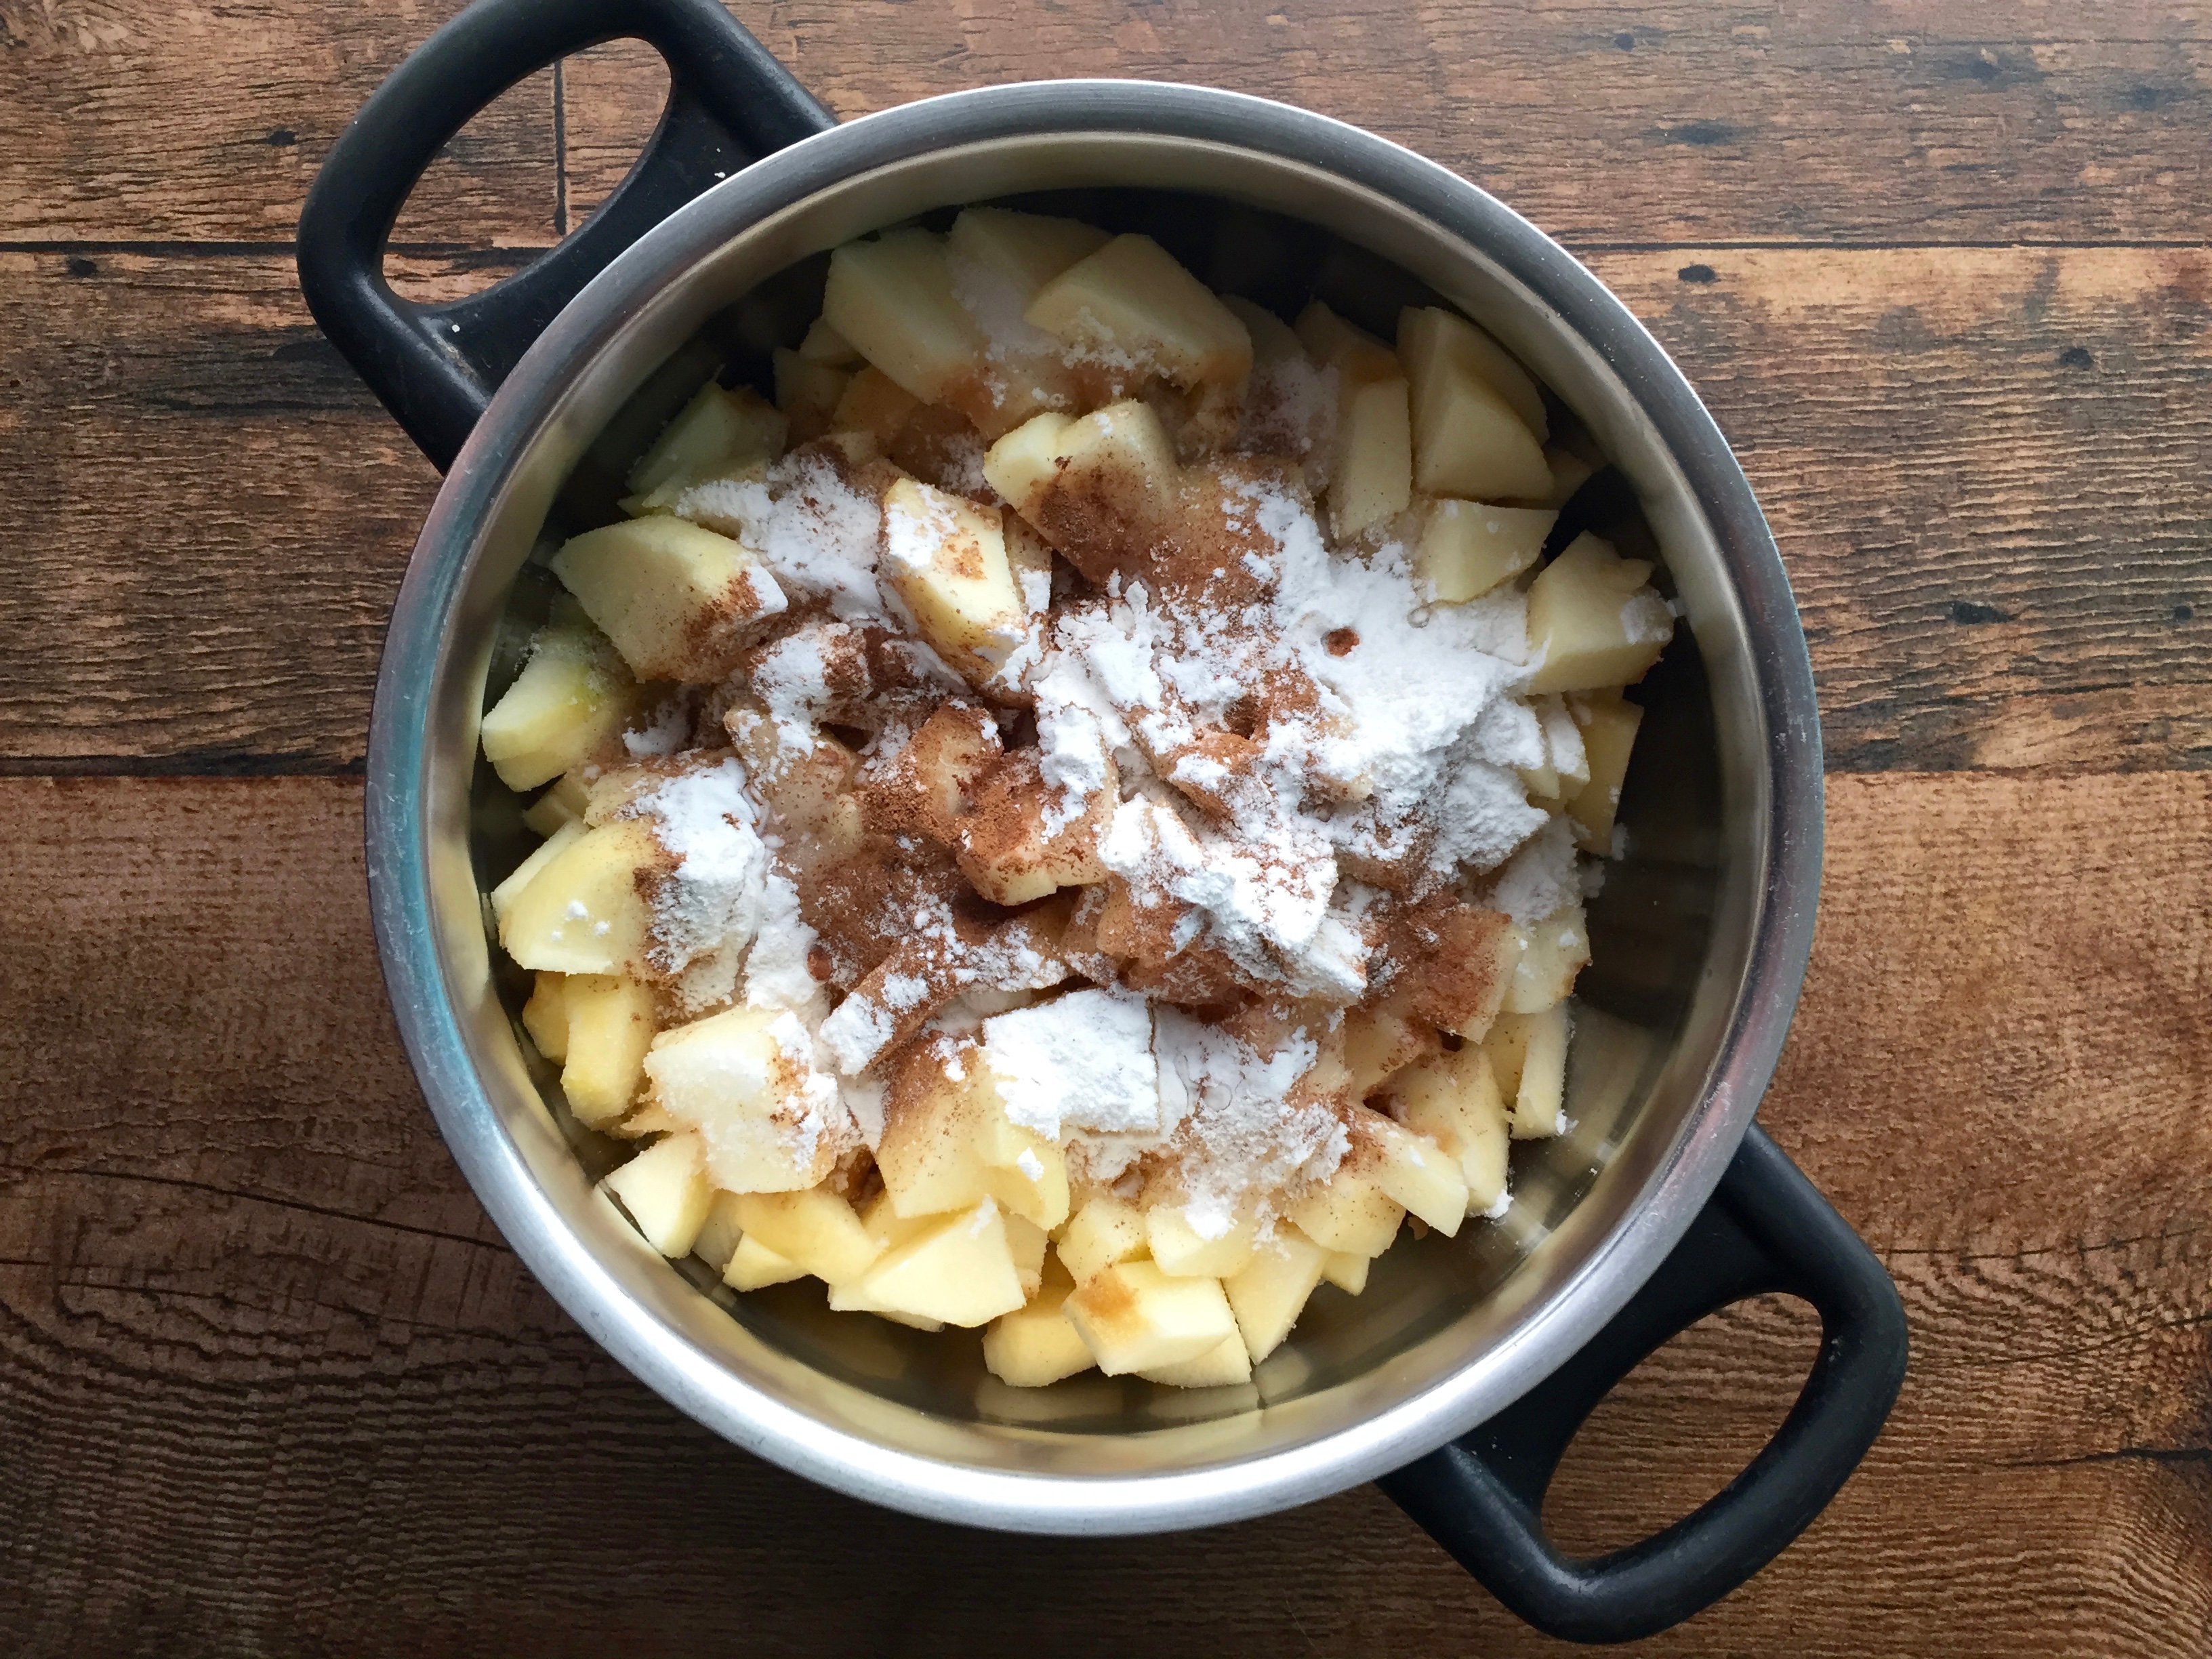
In a medium sized pot combine the apples, sugar, lemon juice, cinnamon, flour and water. Turn the heat to medium and cook the apples, stirring frequently for 15 minutes. The apples will release some juices and will soften.
Step 3
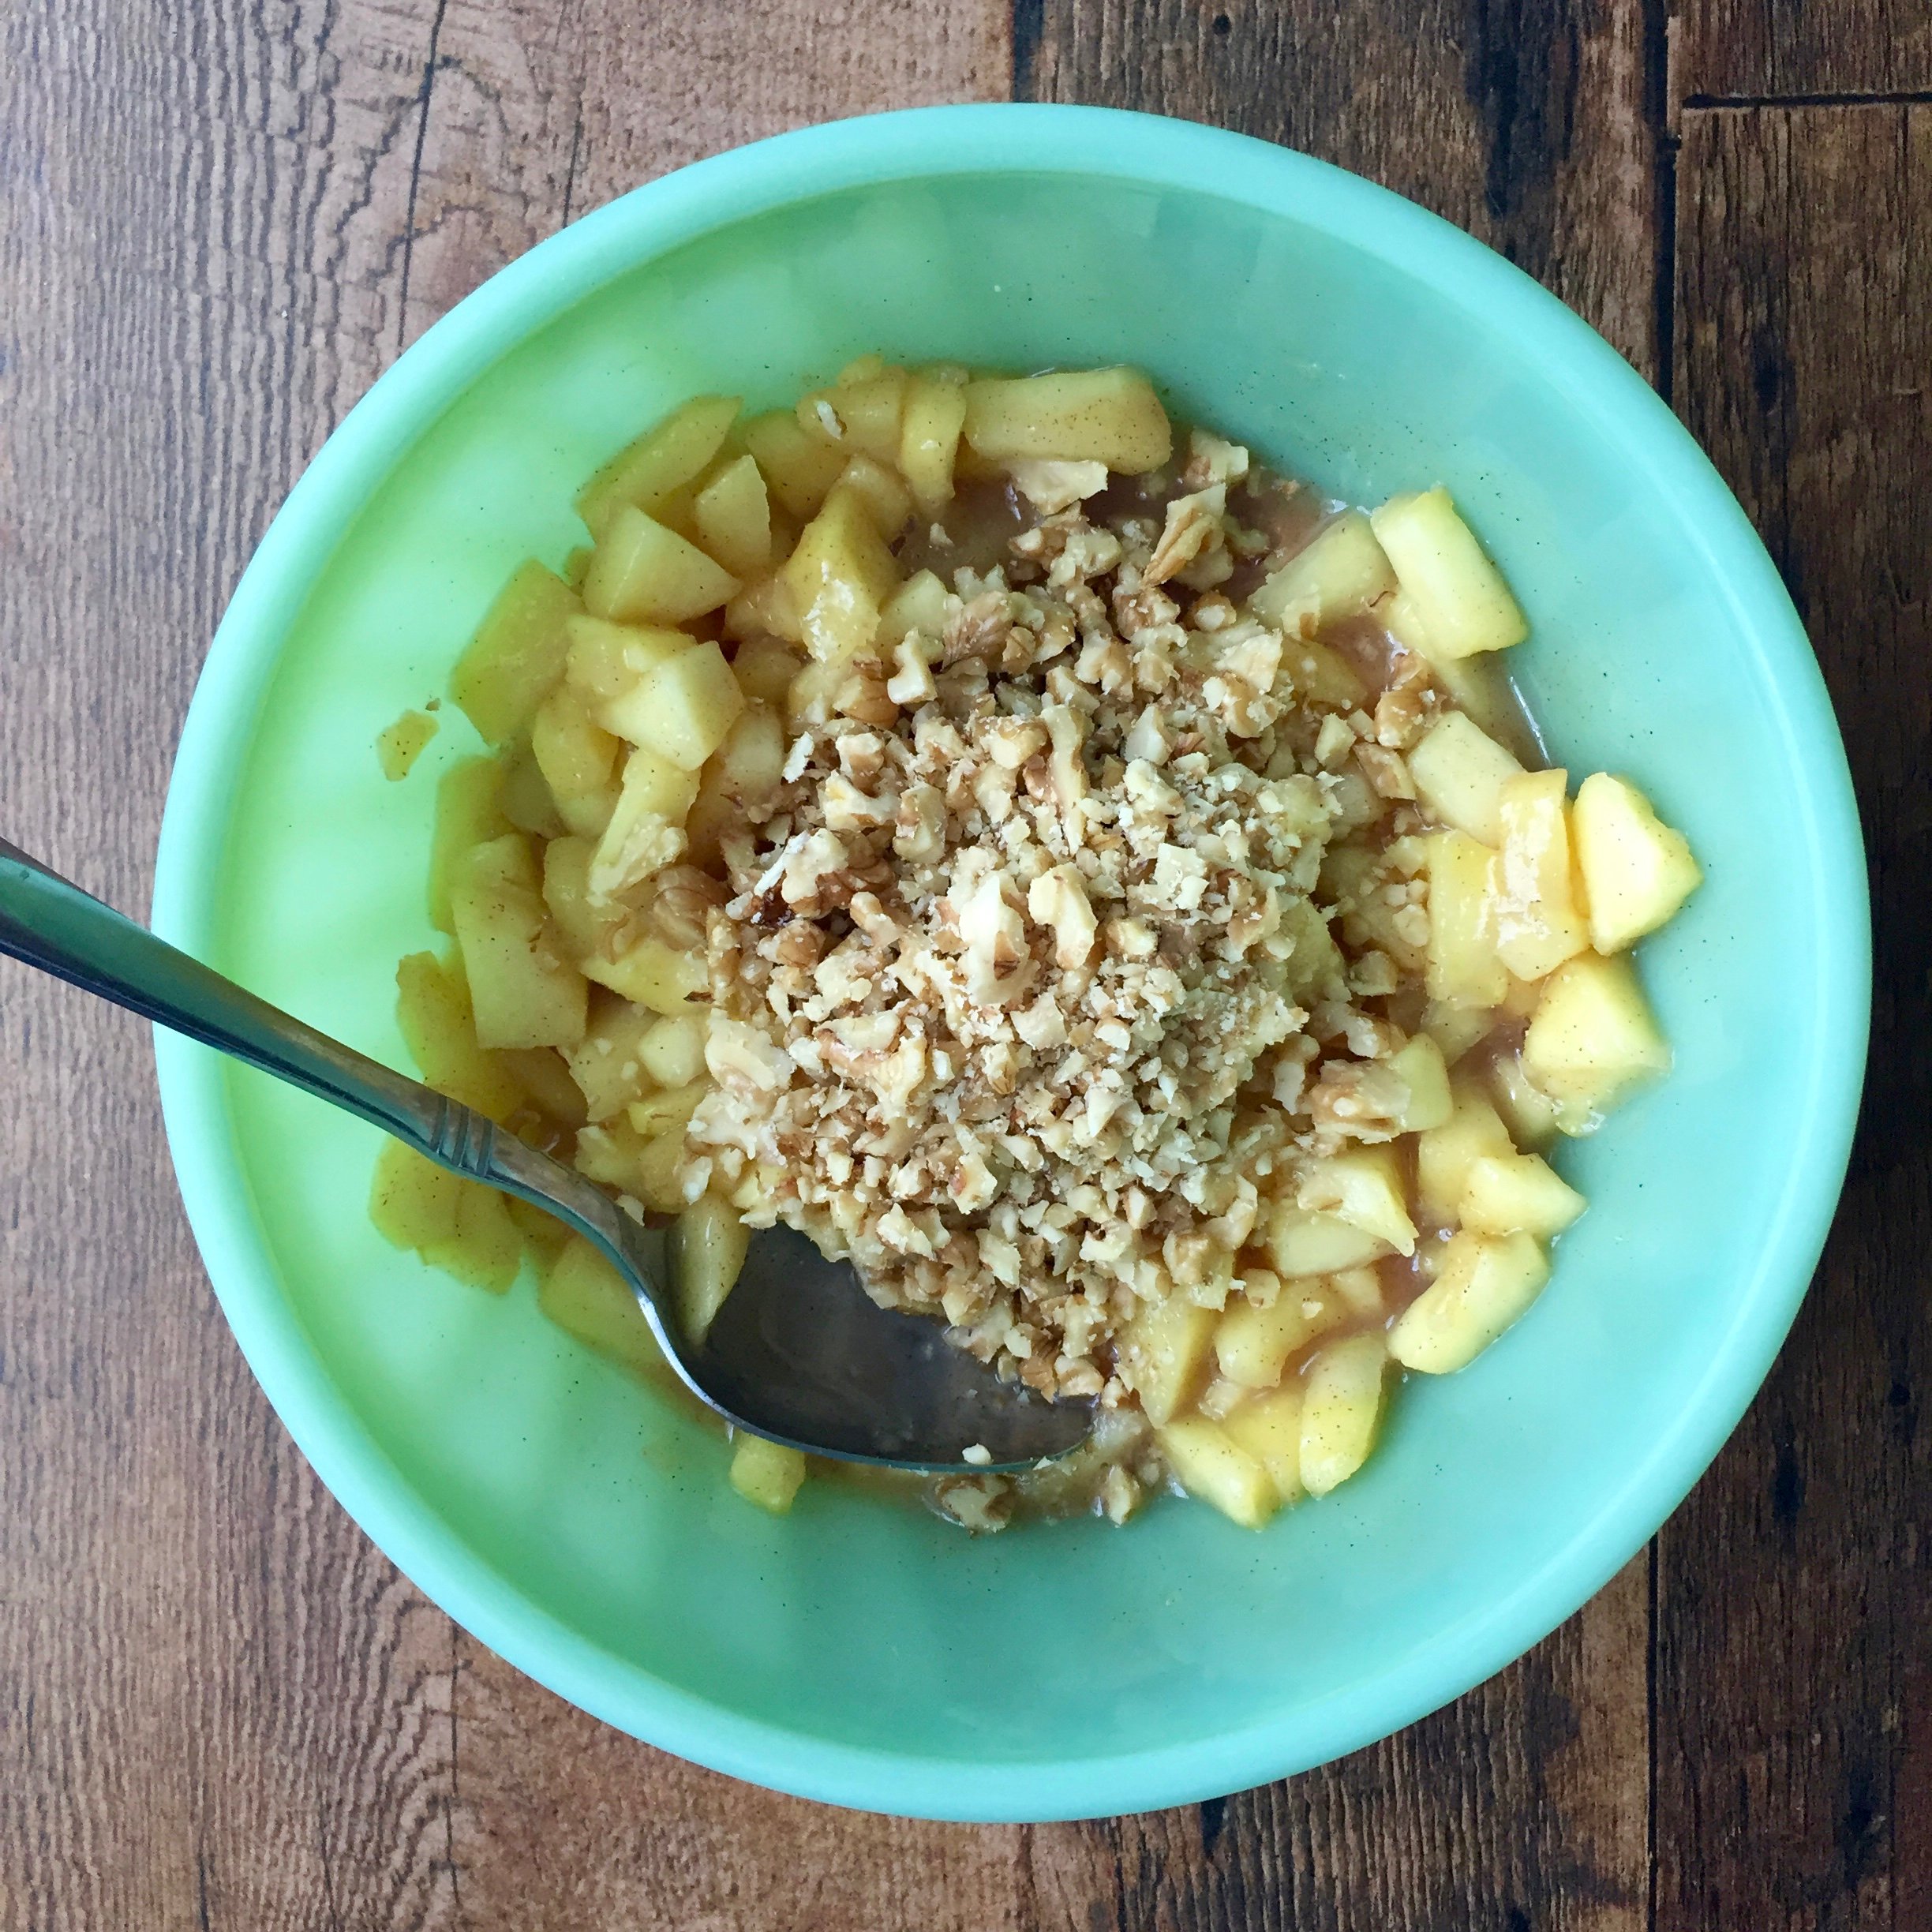
Add the walnuts to the apples and allow to cool.
Step 4
Preheat the oven to 350 degrees Fahrenheit.
Step 5
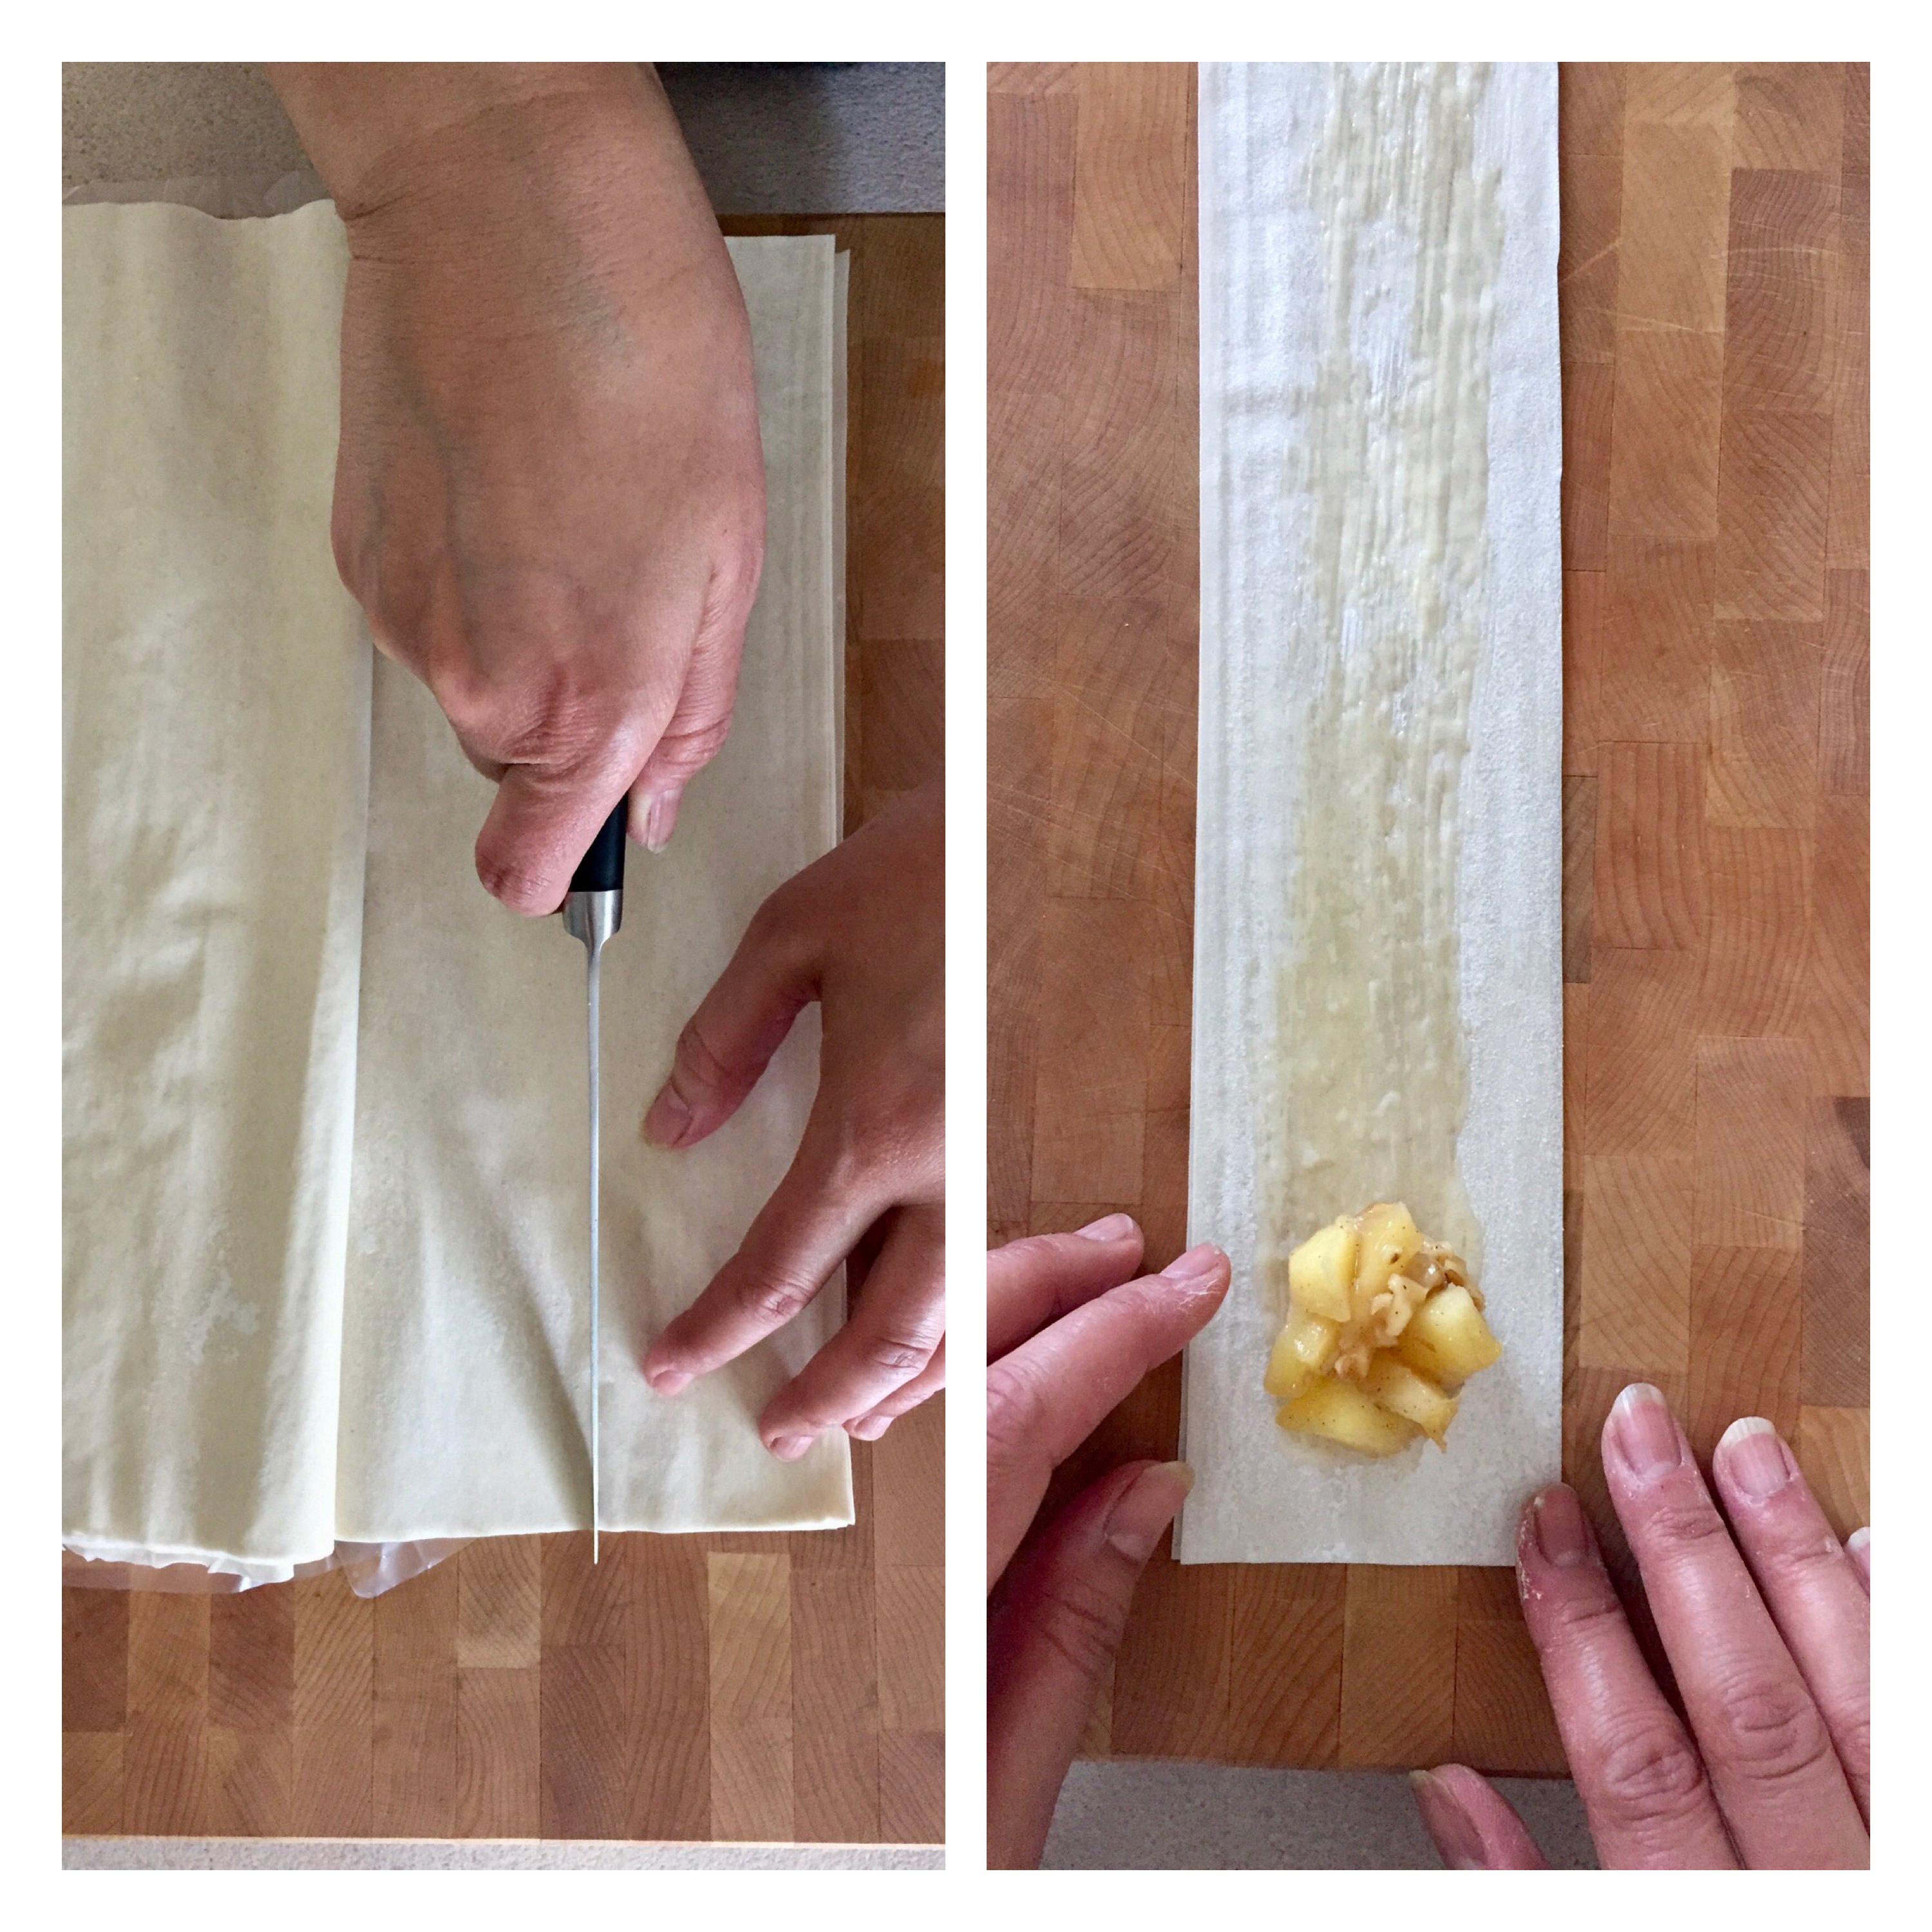
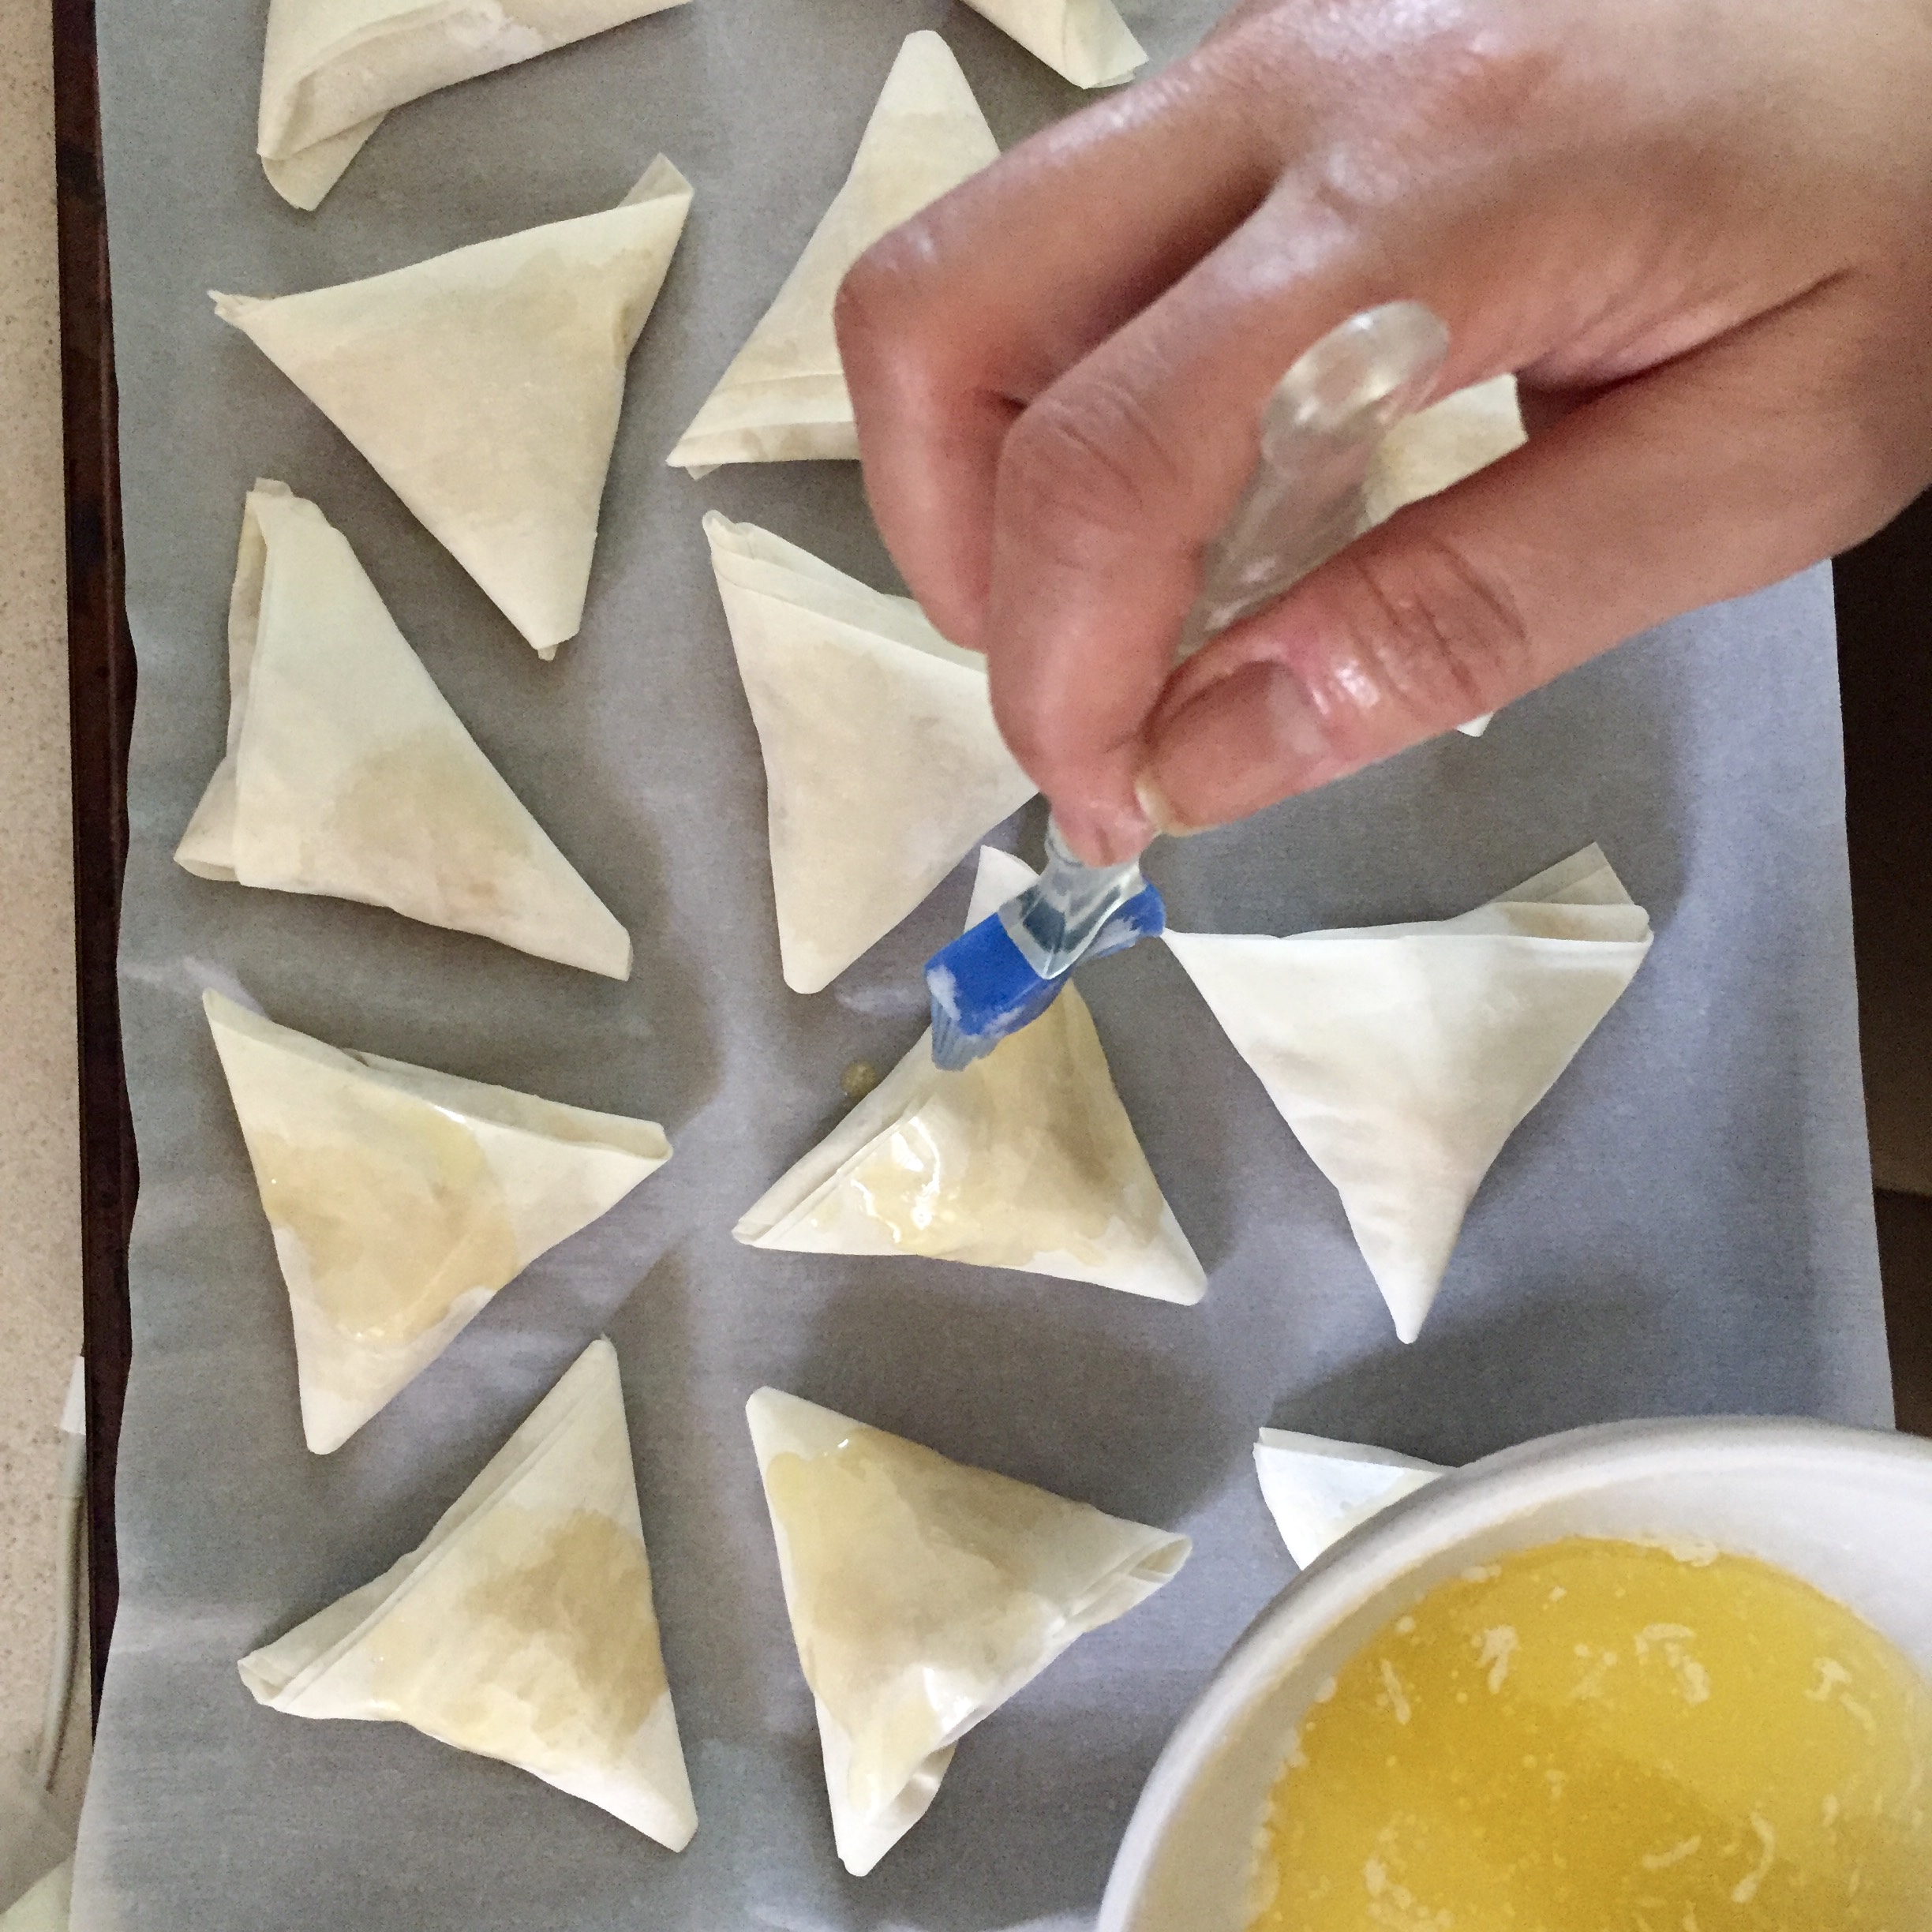
When the apples have cooled, melt your butter. Then, cut 3 inch strips of filo dough. Once you are ready to start making the triangles, take a double layer of phyllo and lay it in front of you. Brush with some melted butter (you don’t want to soak it through, and it does not need to be brushed with butter all over). A good tip is to soak your pastry brush in the melted butter one time and use that to brush on the strips.
Step 6
Place approximately 1 teaspoon of filling at the bottom of the phyllo strip. You are now ready to start making your triangles. Pay attention!
Step 7
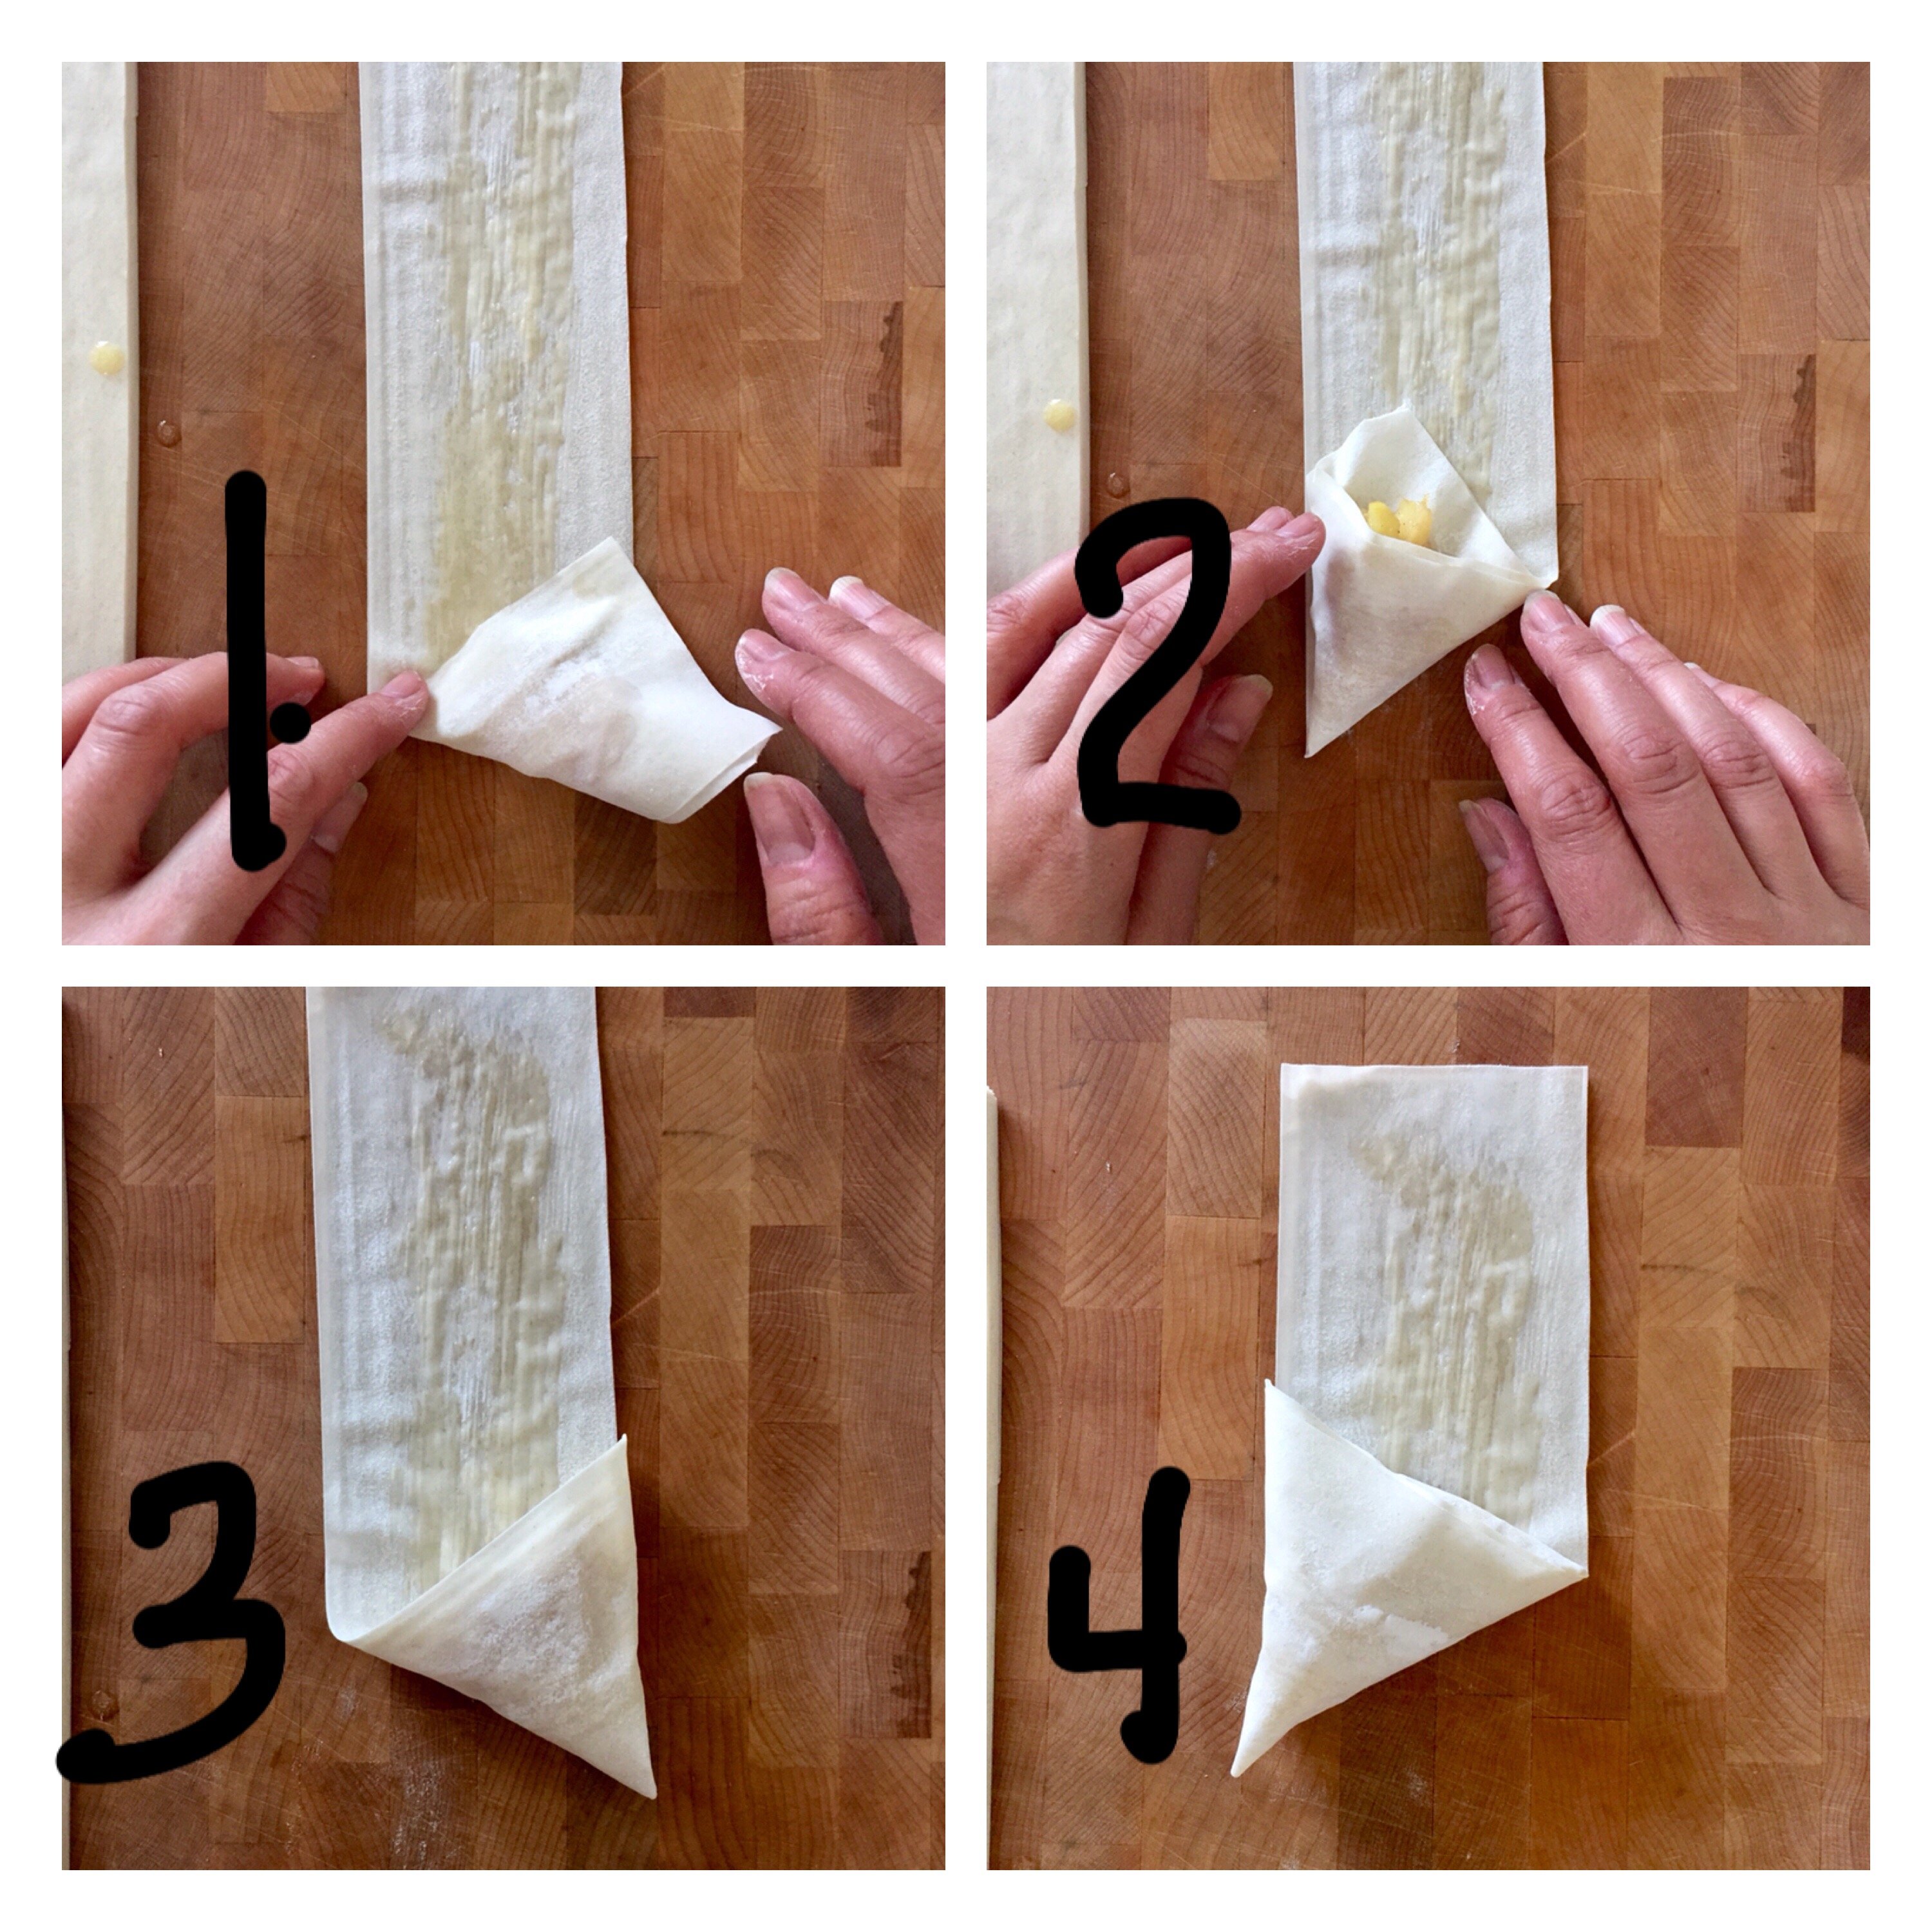
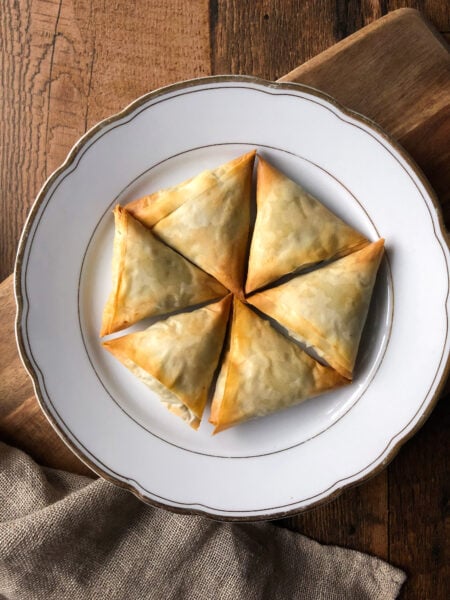
Take the bottom, left hand corner of your phyllo strip and fold it over the filling, bringing it to the right hand edge, just above where your filling ends. Then, take what is now the bottom right hand corner, and fold it over so that it reaches the left hand edge. Now move again to the left hand corner, and bring that to the right hand edge. Keep repeating. You will see that after a few movements, your triangle will start to take shape. Refer to the pictures above to help visualize what we are trying to describe. Repeat process to make more triangles.
Step 8
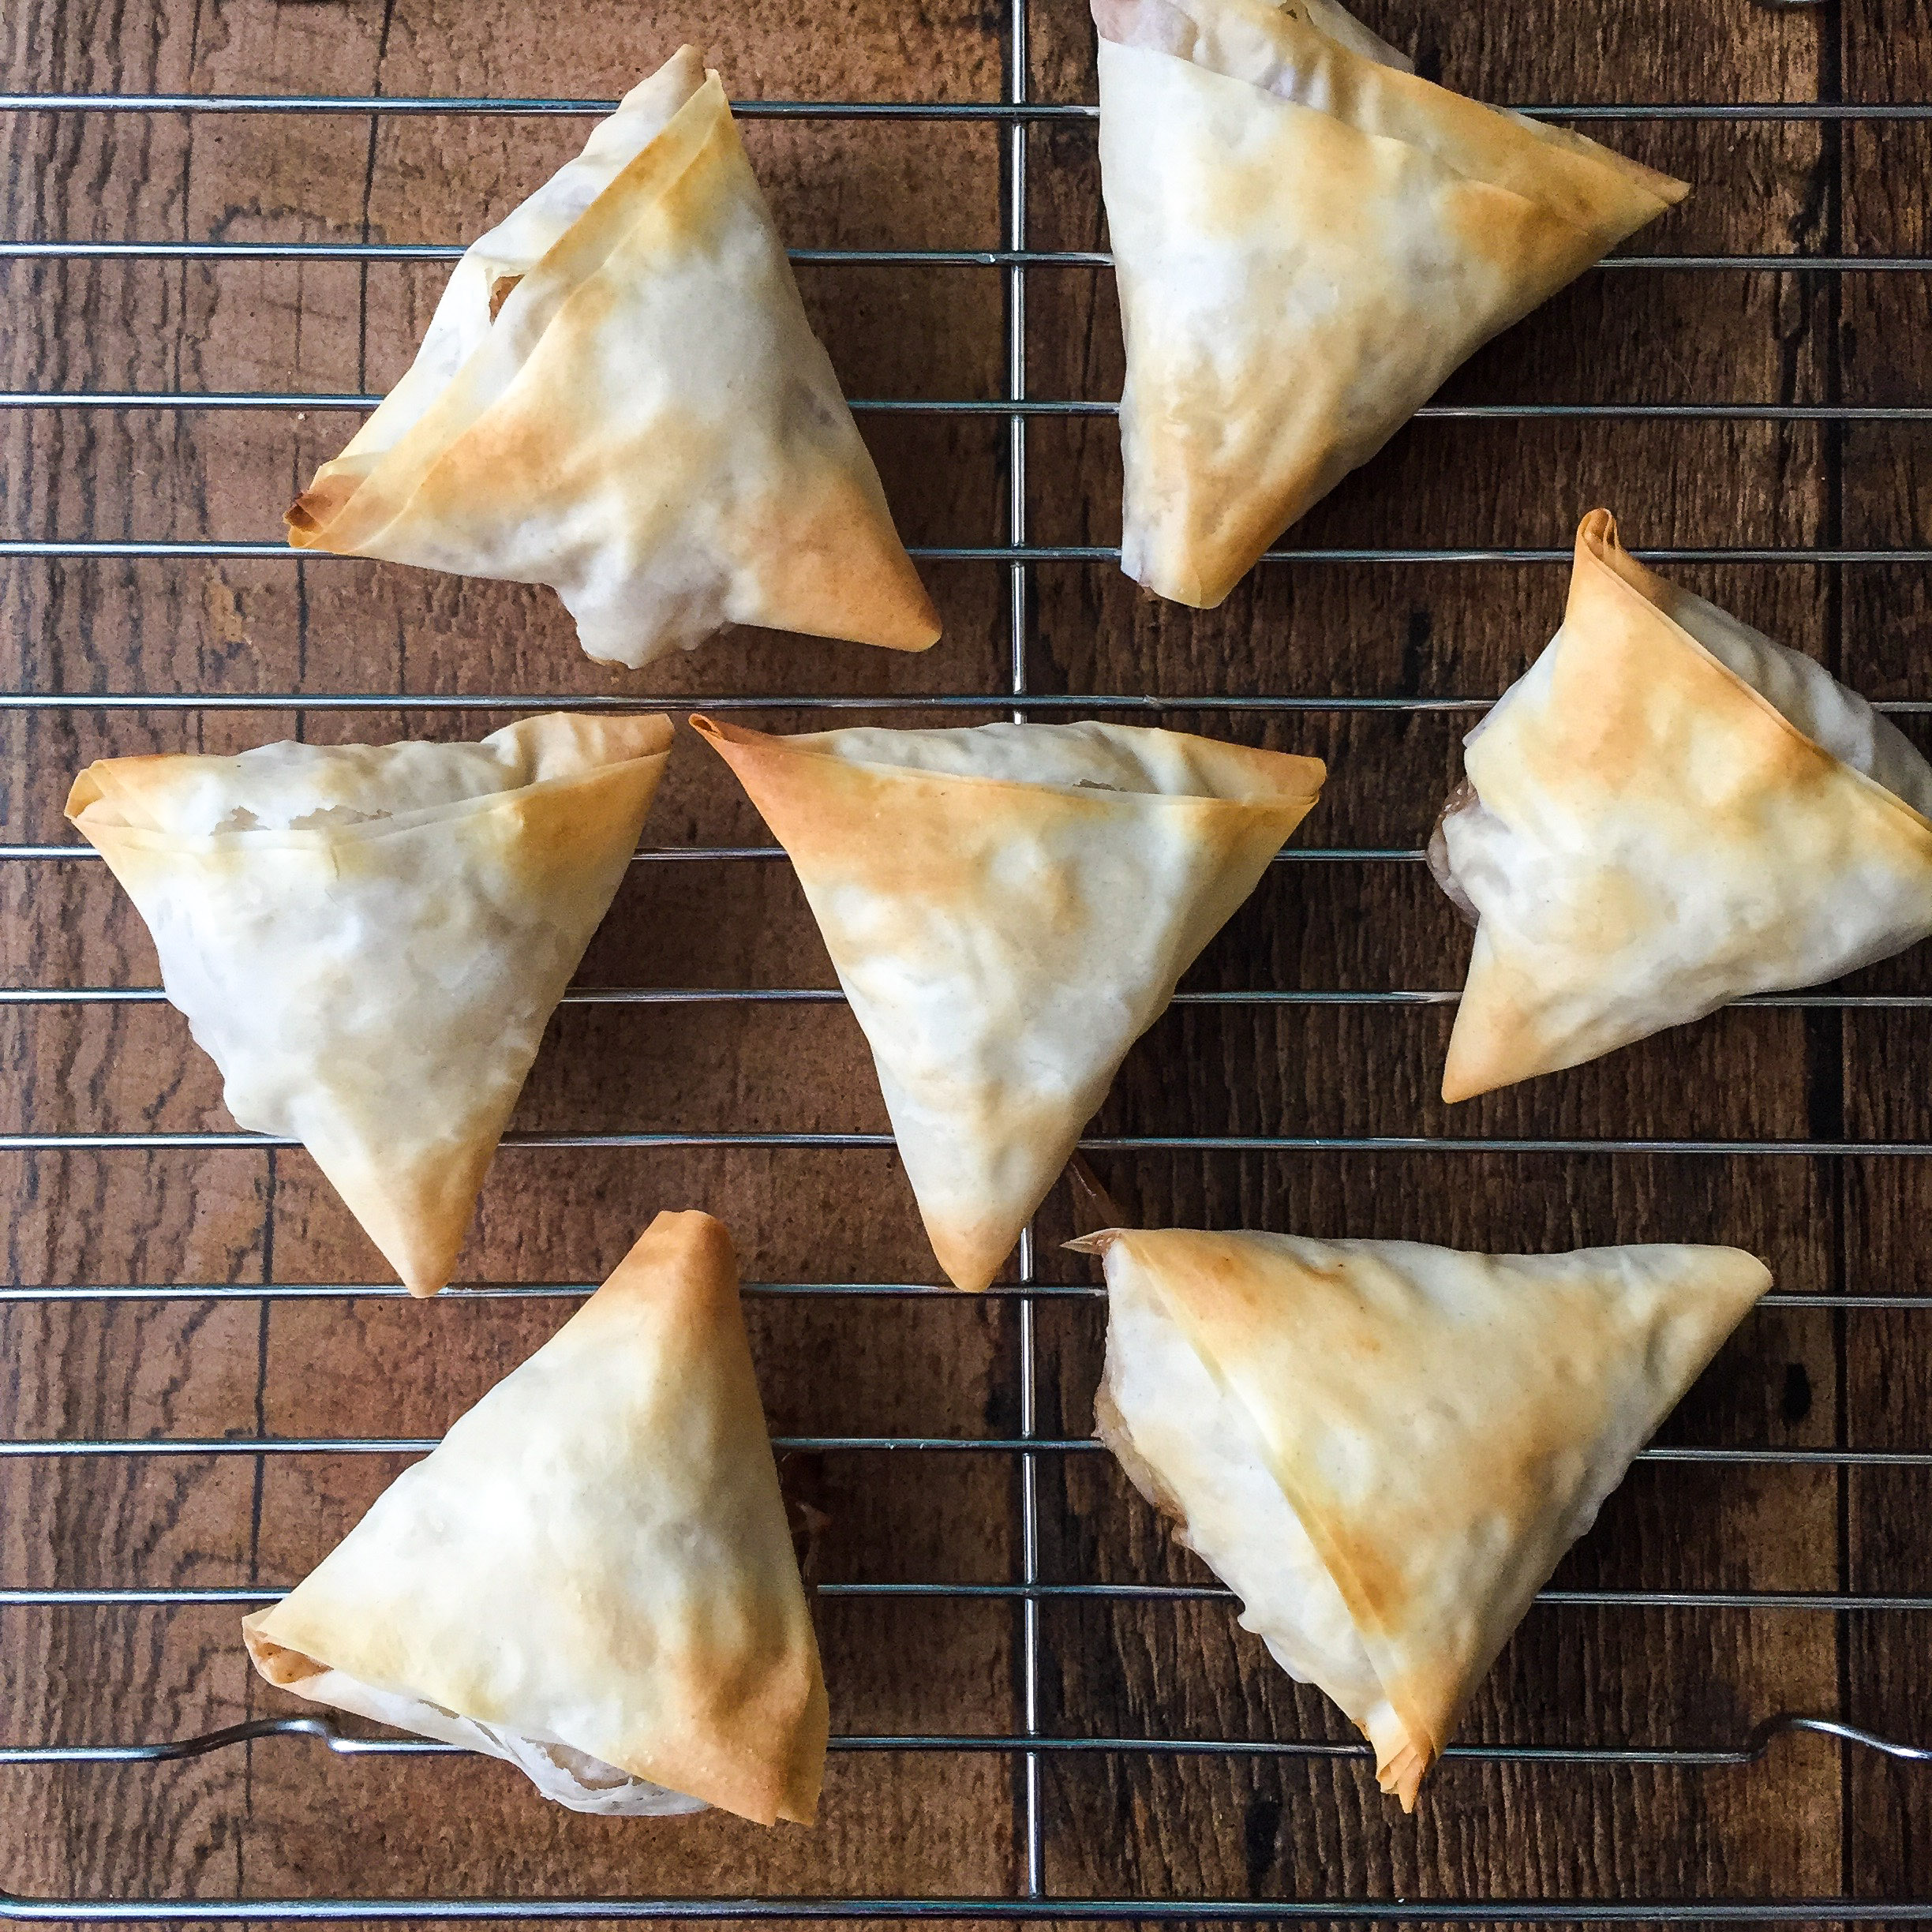
Place your triangles on a parchment lined baking sheet. Brush with a little more butter. Bake in the middle rack of your oven for 15 minutes. Remove from oven and allow to cool on the baking sheet.
Step 9
When your phyllo triangles are completely cooled, dust them with sifted icing sugar.
Helpful hints
Working with phyllo
Phyllo dough (sometimes referred to as filo dough) has a bad reputation as being a finicky ingredient which is difficult to work with. Many recipes warn that it dries out quickly, tears easily and should therefore be handled with extreme caution. I say, hogwash! Sure, phyllo can dry up when exposed to air for a long time…but it has to be a pretty long time, longer than it will take for you to fold your little apple pies, even for the first time. To help avoid the horror of dried phyllo however, you can always cover, with a clean cloth, the phyllo you are not yet working with. Phyllo also has a tendency to tear relatively easily, so be careful, particularly if you have long fingernails, since you will be manipulating the phyllo dough quite a bit here.
Get comfortable with phyllo
Using store bought phyllo to encase all sorts of wonderfulness is nothing new. I use phyllo for spanakopitakia, I use it to wrap up cheese fillings like when I make tyropitakia or cheese pies, meat like when I make mini meat pies with filo and other savoury and sweet concoctions. Once you get used to working with store-bought phyllo you will find yourself coming up with all sorts of ways to use it.
Where to find phyllo
You can find phyllo dough in pretty much any Middle Eastern or Mediterranean grocer, or any well stocked supermarket. It is often available both frozen and fresh. I prefer the fresh variety because I find the frozen phyllo sometimes gets a bit soggy after it has thawed. If the frozen phyllo is all you can find however, go for it!
Pick your apples
I once read that Golden Delicious apples were the ideal apples to use when making pie and other baked apple goods. Don’t ask me for the reference…because I have no idea where I first came across this bit of kitchen wisdom. In fact, I don’t even know if the source is reliable; all I know is that Golden Delicious apples make for great desserts. At the same time, I have used other kinds of apples too, to make all sorts of desserts, and those have been just as wonderful. My tip: use whatever apple you like or have.
How to shape them
I have tried really hard to describe, through words and pictures, how to fold your mini apple pies using store bought phyllo so that you end up with perfect little triangles. Hopefully my instructions, or your innate instinct and talent, are enough to have you create milopitakia that you are proud of. But really, appearance is not everything and delicious things come in all sorts of misshapen packages. If your apple pies are more parallelograms than triangles…who cares!? The important thing to note when shaping your milopitakia is to ensure that the apple filling is fully enclosed by the phyllo dough so that it does not fall out.
Aside from the shape, the other point to keep in mind when folding your mini apple pies is that you must not fold them too tightly. If you do, then as things heat up during the cooking process, your filling will explode (at least partially) out of the phyllo enclosure. Don’t worry, this won’t be dramatic, but it will make clean up a bit messier. More importantly, you may end up with a less apple pie filling in your triangle. Sad.
Recipe variations
Instead of mini apple pies, try making mini pear pies! Substitute the apples for the pears for a delicious and different dessert.
Instead of walnuts, add in pecans or even finely chopped almonds.
Storing and freezing
I like to freeze my folded but unbaked mini apple pies. I place them on a baking tray and when they are frozen, I transfer them to a freezer bag. Then, when I need (or want) a treat, I simply bake them from frozen on a parchment lined baking sheet. I increase the regular baking time by about 5 to 7 minutes; keep an eye on the mini pies and remove them from the oven when they are golden brown and your kitchen smells like a dream.
I store the baked milopitakia at room temperature, covered loosely for up to 3 or 4 days. Alternatively, they can be stored in the refrigerator and reheated in the oven.
Related recipes
Bougatsa (Μπουγάτσα) The classic Greek dessert filled with creamy custard. Individual parcels make eating this bougatsa easy, and delicious.
Pizzapitakia phyllo pizza pockets Three types of pizza inspired fillings for the best variety and best flavour.
Mushroom and chestnut phyllo triangles I love these vegan and mild flavoured triangles made with mushrooms and chestnuts. So good!


Mini apple pies with phyllo
Equipment
Ingredients
- 6 apples we like to use Golden Delicious here
- 1/2 cup granulated sugar
- 1 tbsp fresh lemon juice
- 1/2 teaspoon ground cinnamon
- 1 tbsp all-purpose flour
- 1 teaspoon water
- 1 pound store-bought phyllo (filo)
- 1/2 cup finely chopped walnuts
- 1/4 cup butter
- 1/4 cup icing sugar
Instructions
- Peel and core the apples. Chop them into small dice6 apples
- In a medium sized pot combine the apples, sugar, lemon juice, cinnamon, flour and water. Turn the heat to medium and cook the apples, stirring frequently for 15 minutes. The apples will release some juices and will soften.1/2 cup granulated sugar, 1 tbsp fresh lemon juice, 1/2 teaspoon ground cinnamon, 1 tbsp all-purpose flour, 1 teaspoon water
- Add the walnuts to the apples and allow to cool.1/2 cup finely chopped walnuts
- Preheat the oven to 350 degrees Farenheit
- When the apples have cooled, melt your butter. Then, cut 3 inch strips of filo dough. Once you are ready to start making the triangles, take a double layer of phyllo and lay it in front of you. Brush with some melted butter (you don’t want to soak it through, and it does not need to be brushed with butter all over). A good tip is to soak your pastry brush in the melted butter one time and use that to brush on the strips.1/4 cup butter, 1 pound store-bought phyllo (filo)
- Place approximately 1 teaspoon of filling at the bottom of the phyllo strip. You are now ready to start making your triangles. Pay attention!
- Take the bottom, left hand corner of your phyllo strip and fold it over the filling, bringing it to the right hand edge, just above where your filling ends. Then, take what is now the bottom right hand corner, and fold it over so that it reaches the left hand edge. Now move again to the left hand corner, and bring that to the right hand edge. Keep repeating. You will see that after a few movements, your triangle will start to take shape. Refer to the pictures above to help visualize what we are trying to describe. Repeat process to make more triangles.
- Place your triangles on a parchment lined baking sheet. Brush with a little more butter. Bake in the middle rack of your oven for 15 minutes. Remove from oven and allow to cool on the baking sheet.
- When your phyllo triangles are completely cooled, dust them with sifted icing sugar.1/4 cup icing sugar
- Enjoy!
These look so irresistible, shall I take one?
You can take several 🙂 🙂
Can these be frozen?
They can!! And they can be baked from frozen – just increase the cooking time. Enjoy! 🙂
When you say phyllo is it tthrone we make baklava..because you say one sheet …and it seems thin for some reason I didn’t understand what phylo
to use.
Thank you
Hi Alexandra, The phyllo we use in this recipe is the super thin one that you purchase (not homemade). It is the same phyllo that we use when we make baklava and galaktoboureko. Hope that helps! xoxo Helen & Billie
And because you fold it back and forth in triangles, you actually get several layers.
Yes! Crispy and delicious! Hope you loved the recipe! xoxo Helen & Billie
Made this recipe the other day and it turned out amazing! Buttery and crispy and the apple was perfect. I excluded the walnuts due to an allergy risk and they still tasted great, but I was wondering if you knew of any substitutes that would add back the texture walnuts would provide? Mainly I’m interested in finding a tree nut substitute for when I attempt baklava so I can share it with my friends who have nut allergies – if it’s best to leave the nuts out entirely I can confirm it still tastes very good!
Hi Charlie! Thanks so much for you nice comment – so happy that you tried this recipe, and loved it! Easiest thing in this recipe is to do what you did and just leave the walnuts out. Aren your friends with the nut allergies able to eat sesame seeds? Our parents do make a baklava recipe with sesame seeds that is delicious. xoxo Helen & Billie