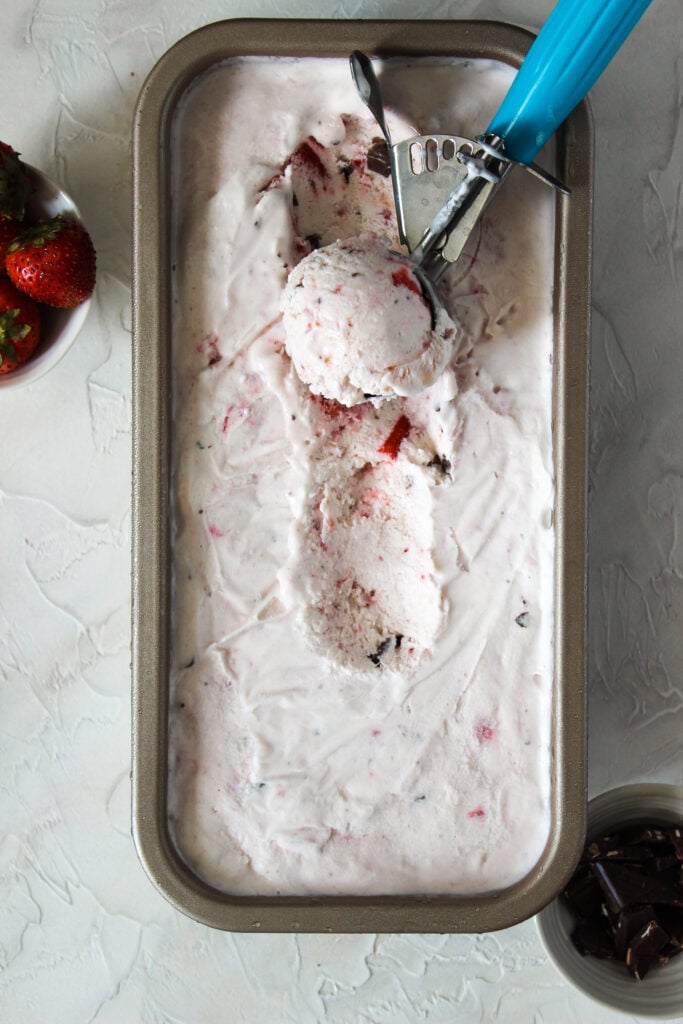
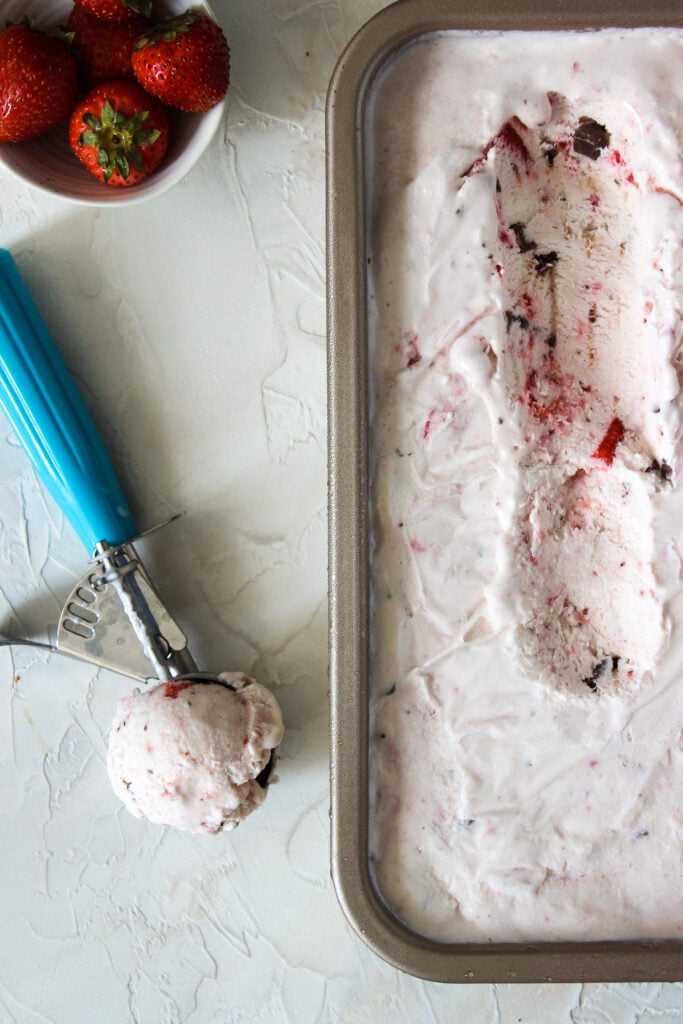
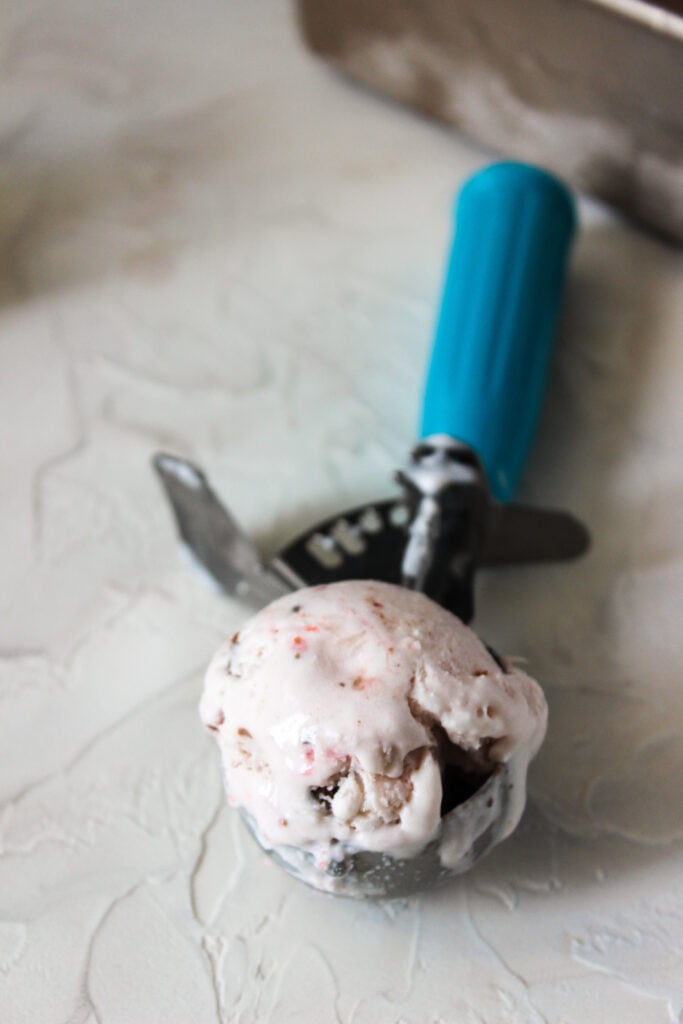
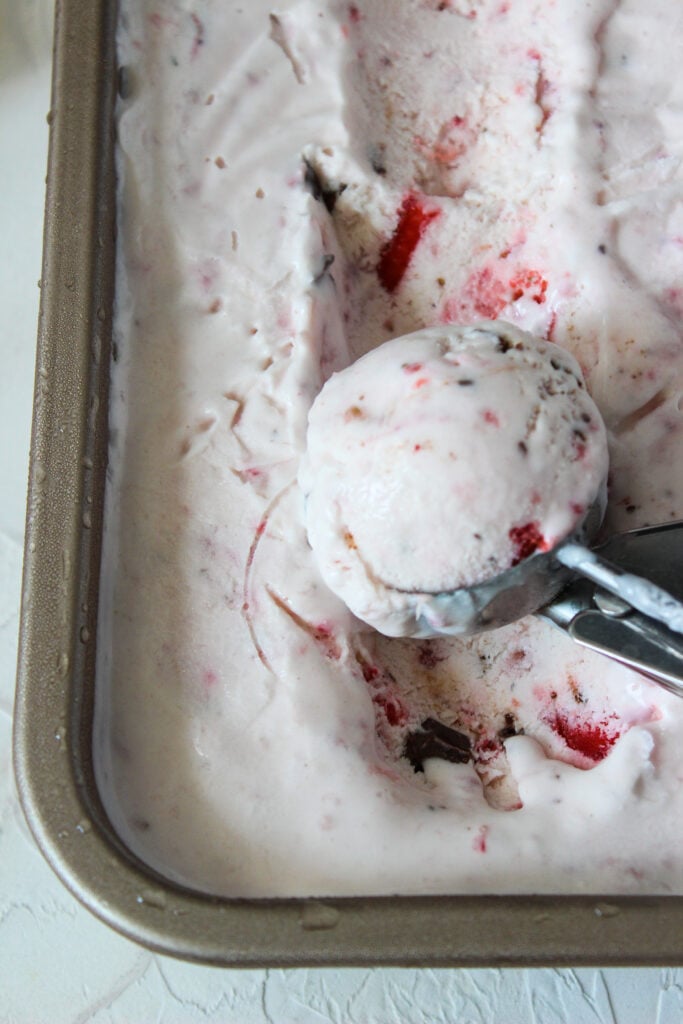
No-churn strawberry ice cream with chocolate chunks
Chocolate and strawberry flavour in every cool and creamy taste
Years ago, probably 15 or so, one of us became obsessed with the idea of owning an ice cream maker. With young children at the time, we convinced ourselves that it was mandatory to serve them home-made ice-cream; domesticity and mothering at its finest.
Several months following the decision that our kitchen small appliances were lacking, there was a sale, and an ice cream maker was purchased. It came home, the box was opened and the instructions were quickly read. What was this? In order to make ice cream you first had to freeze the actual ice cream maker? Okay, so ice cream making would have to wait a few hours; actually 24 hours. No problem.
The ice cream making machine, not large, but also not small, was shoved in the chest freezer amidst the frozen peas and frozen spanakopitakia. It took up a bit of space, but it was all going to be worth it in the end. Nothing was too much for our darling little ones.
Next, it was time to finish reading the booklet that came with the ice cream maker, and decide on one of the recipes which were included. What was this? We had to use eggs to make a custard base? Okay, this was do-able. This was going to be just fine.
The process began the next day (did we mention that the ice cream making container needed 24 to freeze completely). Believe us, making that custard for the children’s ice cream was done with as much care as caring for the children themselves. Still, we ended up with scrambled eggs.
A few many, many tries and eggs later, we had custard. Then the time-consuming task of making the ice cream continued. Ultimately, we ended up with delicious ice cream that our little family of four finished off in one sitting. That was a lot of work for a few scoops.
As life continued to be busy, the ice cream machine kept in the freezer just-in-case ended up being buried as other items were pulled out, reshuffled, and added in.
The ice cream machine is still in our freezer (not even kidding!). It has been used a grand total of 1 time (again, not kidding). We come across it every once in a while and always think that we should maybe make some ice cream – then we find some ice cream we purchased and think again.
But now, we may actually be ready to rethink our nostalgic relationship with this machine. We have discovered no-churn ice cream. A little late in the game perhaps; people have been making no-churn ice cream for years, but better late than never! No machine needed, no advance planning to freeze the machine, no temperamental custard to make. Our no-churn strawberry and chocolate ice cream is a breeze to make, can be ready in a little over six hours, and makes plenty. This no-churn ice cream will make you scream with joy!
Helpful hints
Can I use any loaf pan or container to freeze my no-churn ice cream?
You can, but you don’t want your ice cream to be too thin so don’t use too large a pan. A loaf pan really is the ideal shape. As well, keep in mind that a metal pan will freeze your ice cream quicker than a glass one will.
Can I serve the ice cream straight from the freezer?
Best to wait a few minutes before serving as it will be easier to scoop. But don’t wait too long; no-churn ice cream melts faster than traditional custard based ice cream. This isn’t such a bit problem though – you’ll be eating it up quickly since it’s so delicious!
Can I leave large strawberry pieces in my ice cream?
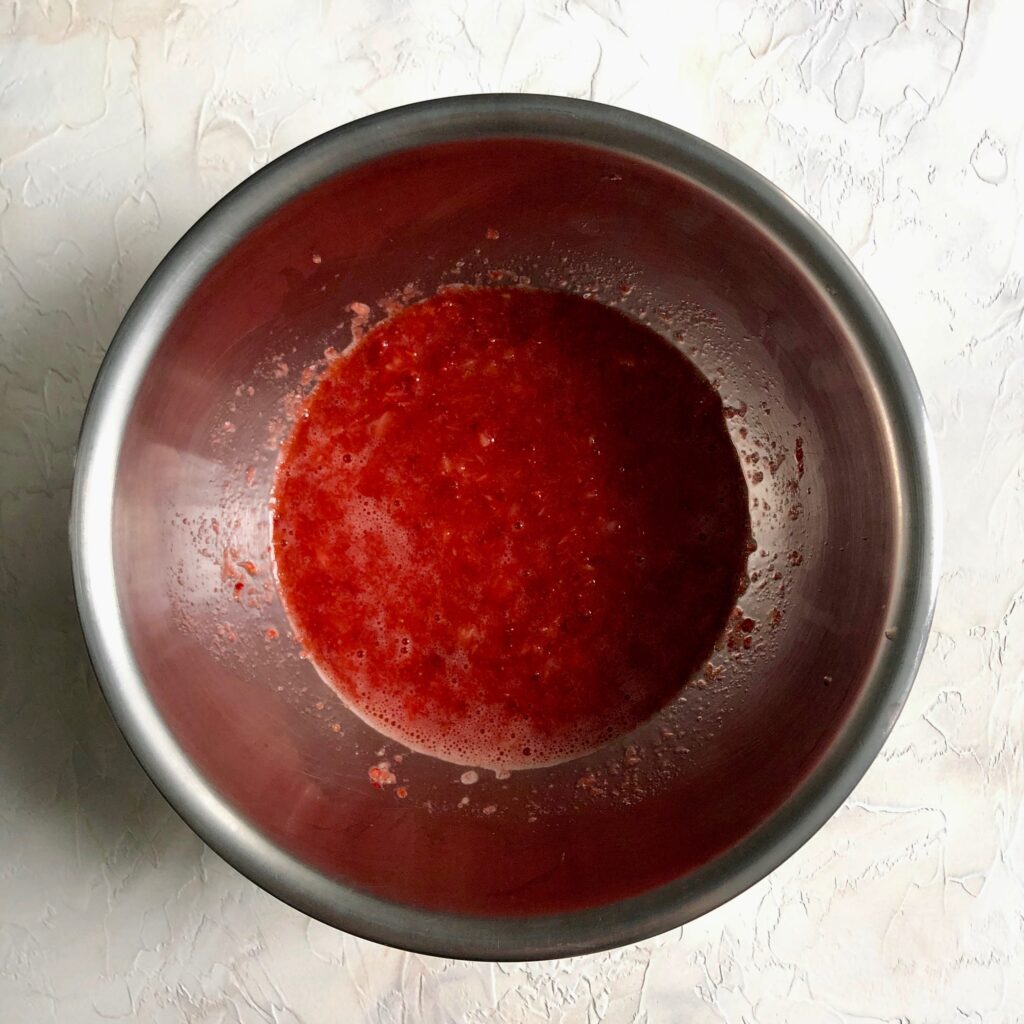
It’s best not to leave too large strawberry pieces in your ice cream as they will freeze and ice crystal may form around them, making for a weird texture when you are eating your ice cream. We mashed our strawberries to almost a pulp, and left a few smaller chunks which was fine.
Pin this recipe if you like it!

Looking for other refreshing dessert ideas? Here you go:
We love hearing from you! If you have made our recipes, or if you have a question or comment, or simply want to say Hi!, please leave a comment below!

No-churn strawberry ice cream with chocolate chunks
Equipment
- stand mixer or hand mixer
Ingredients
- 2 cups (500 mL) heavy whipping cream chilled
- 14 oz can of sweetened condensed milk, chilled about 1 3/4 cups
- 1 teaspoon sugar
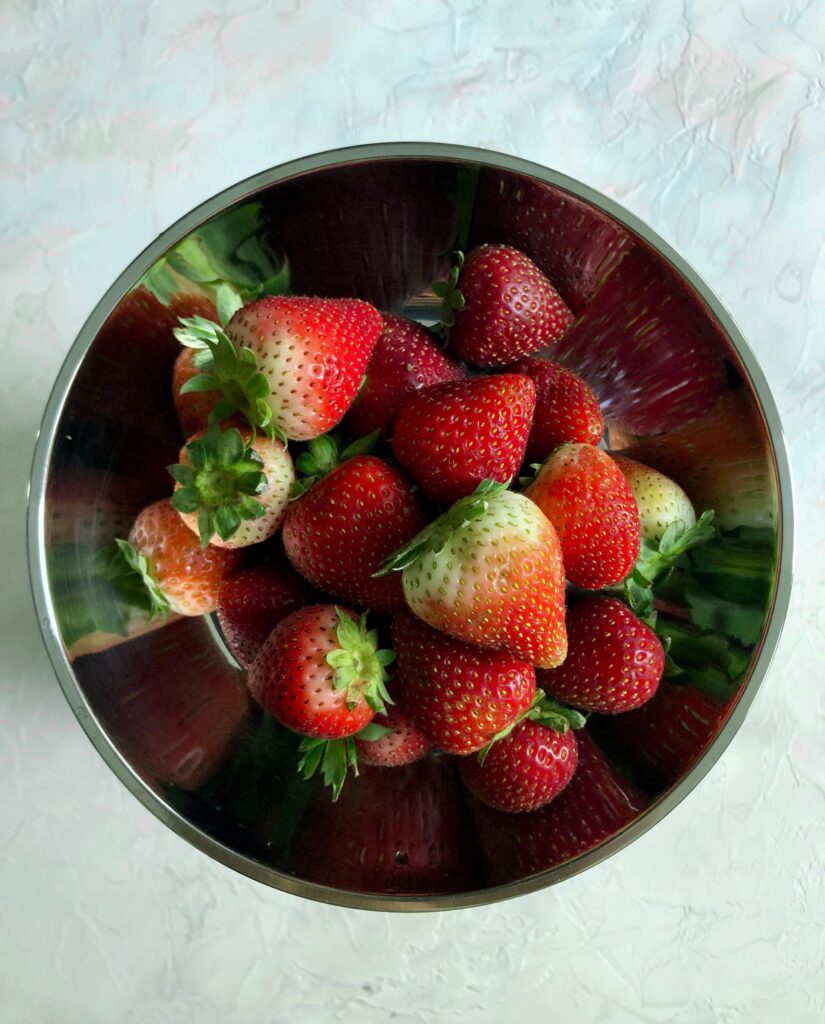
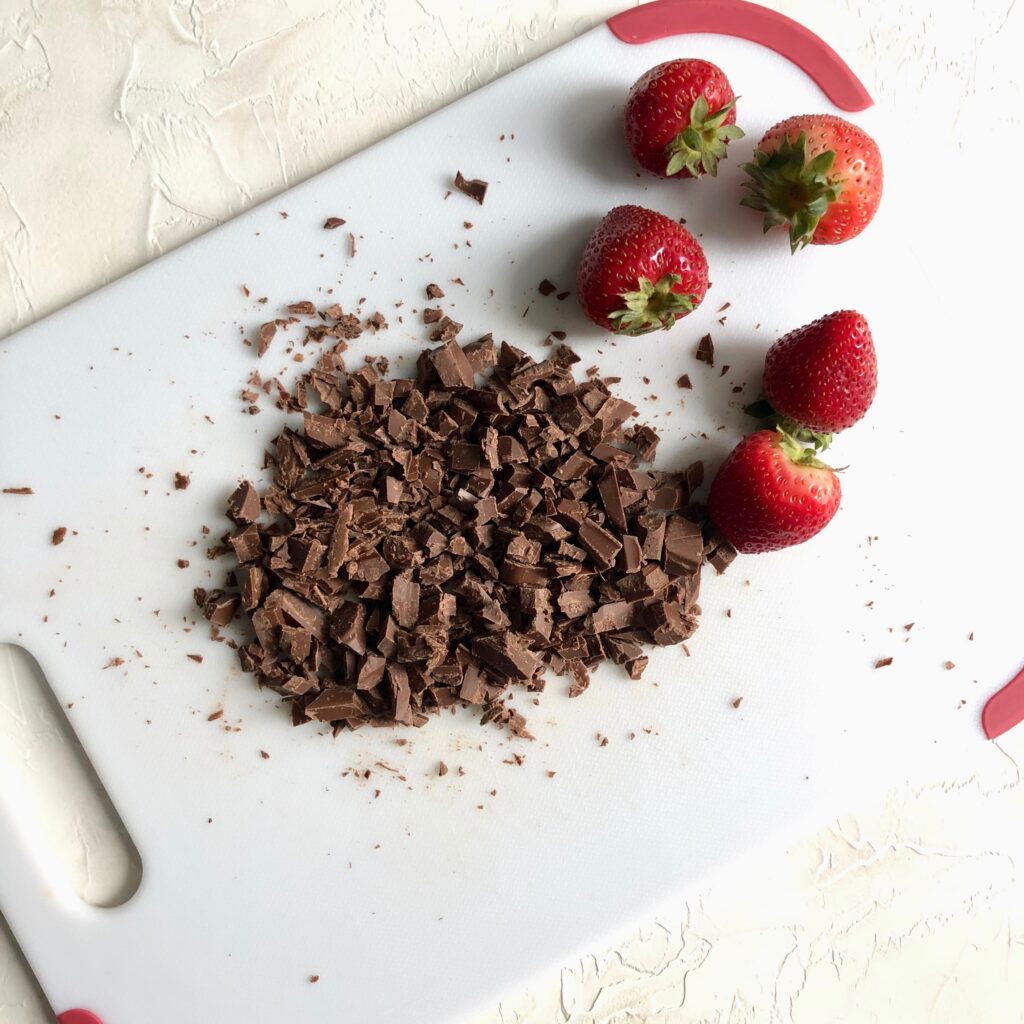
- 1 lb fresh strawberries, washed and stem removed 454 grams
- 85 grams dark chocolate bar, cut into chunks
Instructions
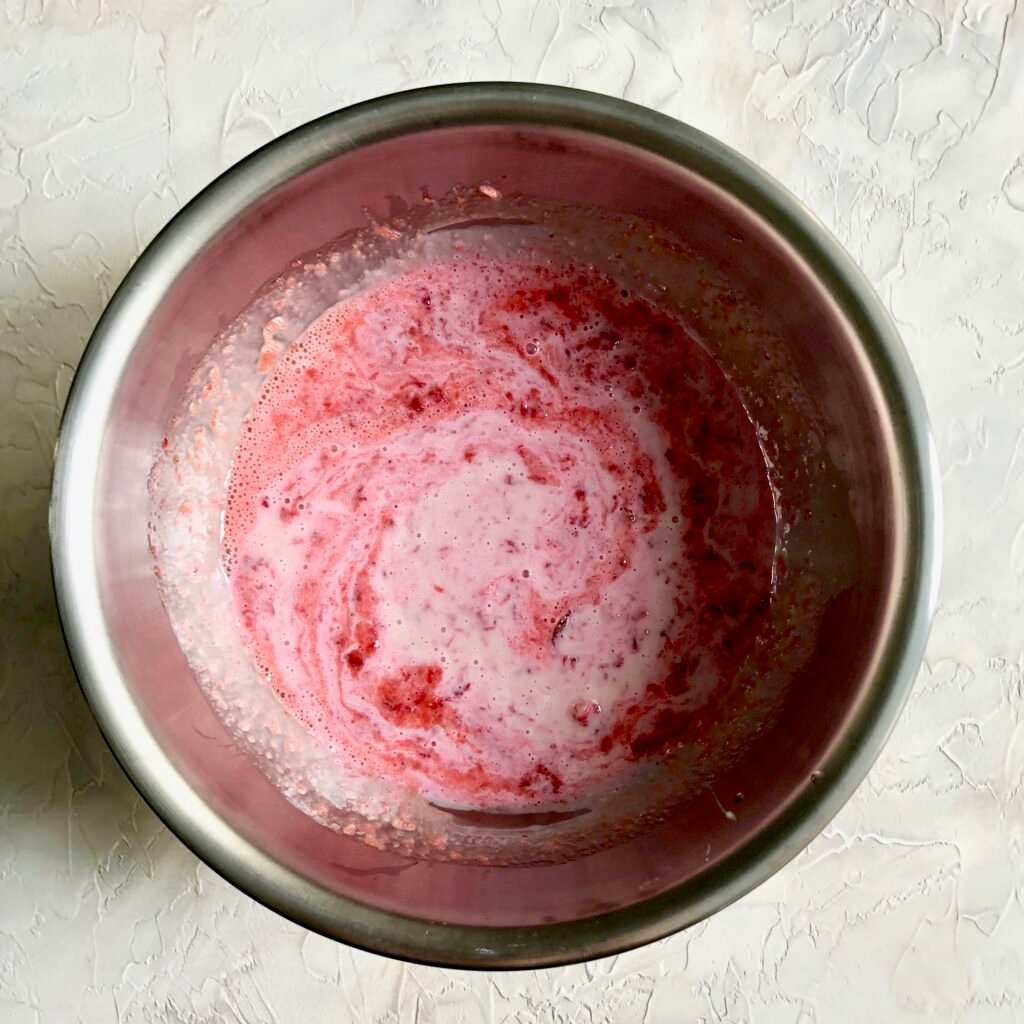
- Place your strawberries into a large bowl and use a fork or a potato masher to mash the berries. Mash them until you have reached your desired consistency. You can mash them completely, or leave a few small pieces intact. Stir in the sweetened condensed milk and set aside.
- Pour the chilled whipping cream into the bowl of your stand mixer and using the whisk attachment, mix until stiff peaks form. This will take about 5 minutes. Half way through the mixing, add the sugar. Be careful not to over mix.
- Add the whipped cream to the strawberry mixture and fold everything together using a rubber spatula.
- Gently fold in your chocolate chunks.
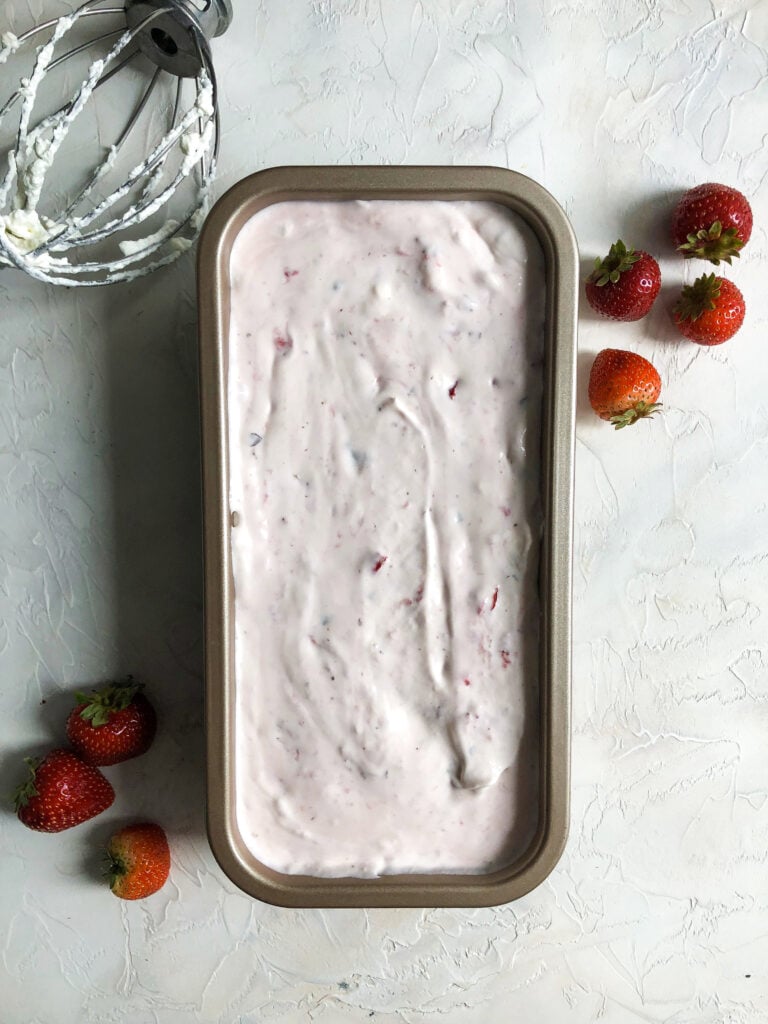
- Pour into a loaf pan. We used a 5 X 11 inch loaf pan.
- Cover with plastic wrap so that the plastic actually touches the surface of the mixture; this will eliminate ice crystals from forming on the top of your ice cream. As an extra precaution against ice crystals we also place the plastic covered loaf pan in an extra large freezer bag. Place your loaf pan in the freezer.
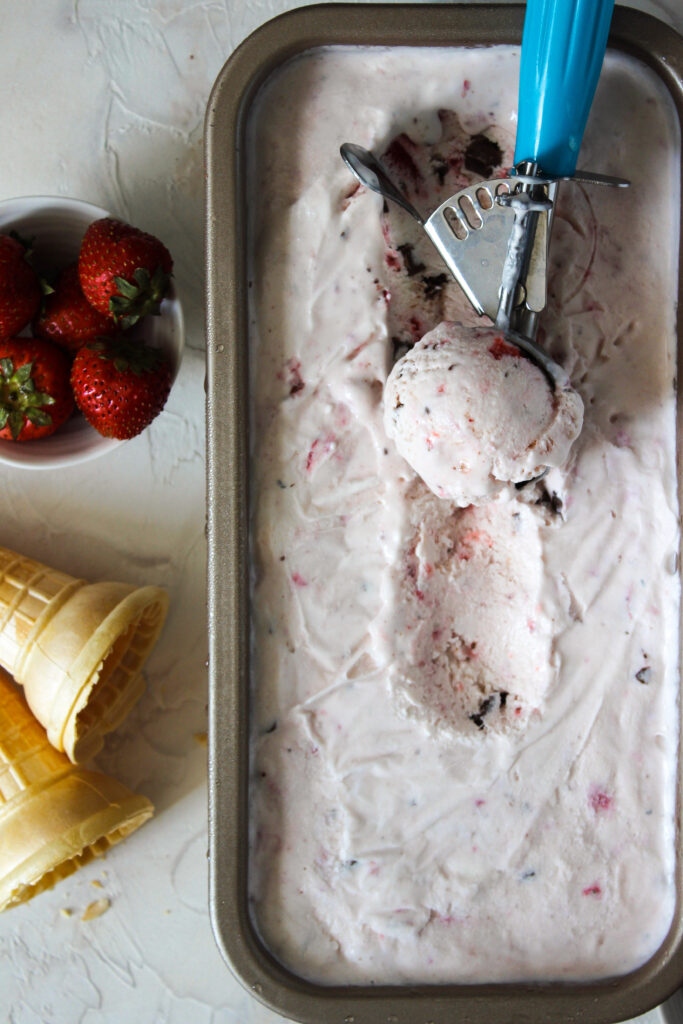
- Freeze for about 6 hours, or overnight.
- Scoop and enjoy!
This looks amazing, I can’t wait to try it. I’m even thinking of maybe substituting peaches some time. I found out about you from Chrissy T. 🙂
Thank you Julie! And we’re so happy that you have found us (thanks Chrissy! 🙂 ) and we hope that you find much too love with our posts and recipes.
Hello Helen & Billie!
My sweet grandchildren (5, 2 1/2) and I made this Saturday morning and Papou and I just tried it… absolutely delicious! So easy to make with no fuss and muss! Can’t wait for them to come over tomorrow and taste!
Thank you for yet another reason to cook… bake… make ice cream… eat!
I tell EVERYONE about you two!
Chrissy
Your message has made our day Chrissy!! Thank you so much for trying our ice cream recipe and we’re so happy that you loved it! The fact that you used our recipe to make ice cream with your grandchildren truly warms our hearts 🙂 We hope that they love it, and our proud of their accomplishment!! And thank you for spreading the word about Mia Kouppa; we appreciate it so much. xoxo Helen & Billie